Quick Summary: Battery terminal polarity tells you which post is positive (+) and which is negative (–). Match red to + and black to – to protect your car’s electronics. Use the symbols, colors, and a multimeter to confirm. Follow simple steps to jump-start, test voltage, and avoid costly damage.
Picture this: you’re late for work, turn the key, and hear a click. The battery is dead. Now you need a jump, but you’re not sure which terminal is which. That’s where battery terminal polarity matters. Get it wrong, and you can fry a fuse or worse. In this guide, I’ll show you how to identify polarity, test the battery, and connect cables the right way. You’ll learn what is battery terminal polarity, how to avoid mistakes, and how to fix common issues fast.

What Is Battery Terminal Polarity?
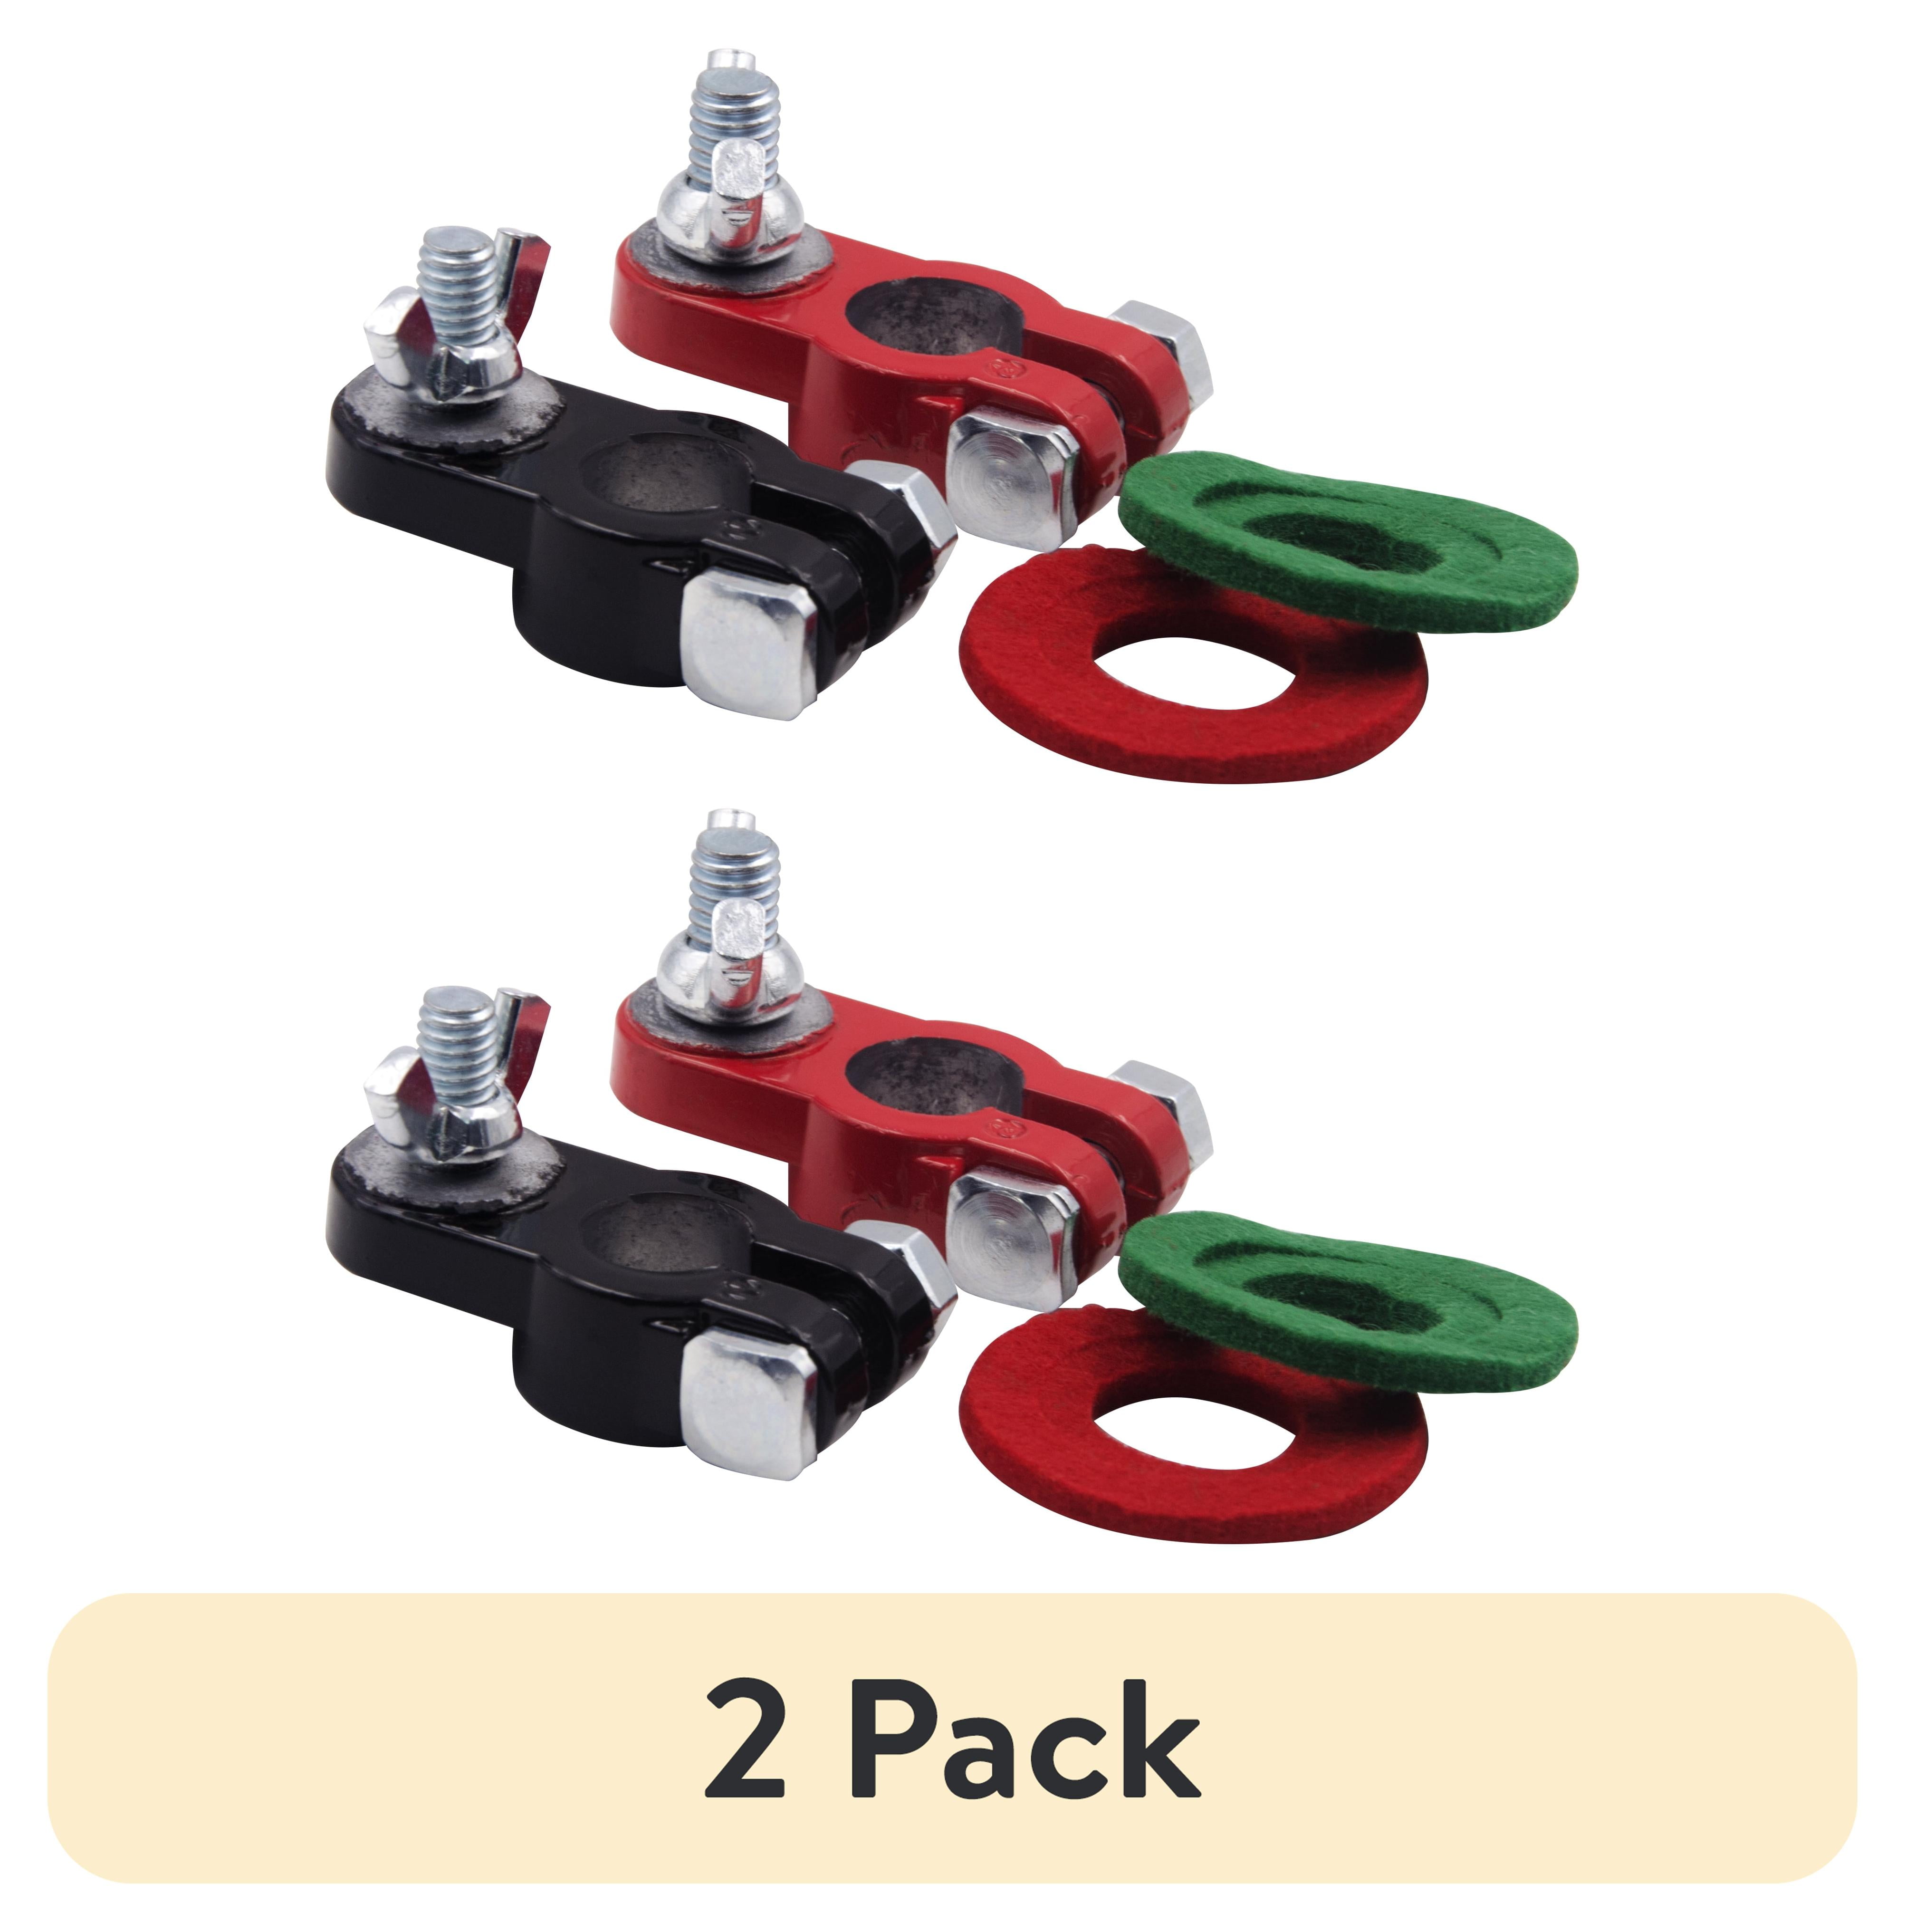
Battery terminal polarity tells you the direction of electrical flow at the battery posts. The positive terminal is marked with a plus sign (+), often red, and the negative terminal is marked with a minus sign (–), often black. In most U.S. cars, the negative terminal connects to the vehicle body as ground. Matching polarity protects your car’s electronics and ensures safe charging and starting.

Why Polarity Matters In A Car
Polarity keeps current flowing the right way through the starter, alternator, and modules. Reverse it, and you can short sensitive parts. You may blow fuses, melt wires, or damage the alternator diodes. Correct polarity also helps chargers and jump packs work as designed. It’s a small detail with big stakes.

How To Identify Positive And Negative On Any Car Battery
Use these simple checks. Confirm at least two signs before you connect anything.

Visual Cues: Color, Symbols, Size
Look for these quick markers:
- Symbols: + for positive, – for negative (often molded near the post)
- Color: Red cap or cable is usually +, black is –
- Cable path: Negative cable often goes to bare metal or the body
- Post size: On many batteries, the + post is slightly larger
- Fuse link: A fuse block or fusible link near the terminal is usually on +
When in doubt, stop and test with a meter. Never guess.
Use A Multimeter To Confirm Polarity
Here’s a sure method if colors or markings are unclear.
- Set a digital multimeter (DMM) to DC volts (20V range is fine).
- Touch the red probe to one post and the black probe to the other.
- Read the sign on the meter:
- A positive reading (for example, +12.6V) means the red probe is on +.
- A negative reading (for example, –12.6V) means the red probe is on –. Swap probes to confirm.
- Mark the posts with tape: red for + and black for –.
Tip: You can also check continuity from a post to bare chassis metal. The post with near-zero ohms to chassis is usually the negative on negative-ground cars.

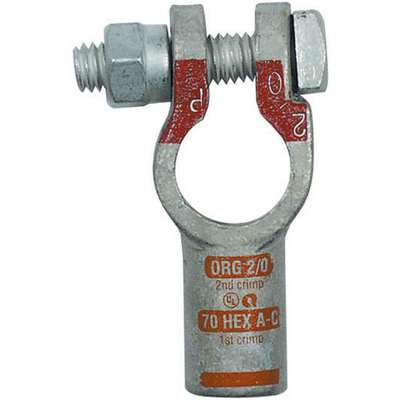
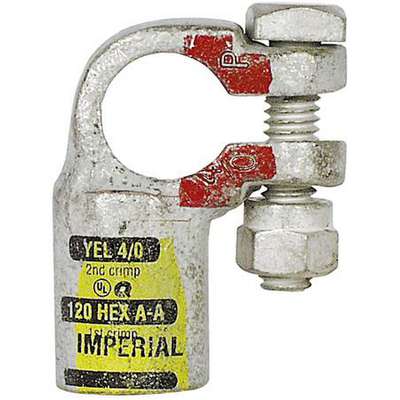
Special Cases: Side-Post, JIS, Reverse-Terminal, And More
Not every battery looks the same. Here’s how to handle the odd ones.
- Side-post batteries (GM style): Look for molded +/– near the threaded holes. Same color rules apply.
- JIS/Asian batteries: Posts may be smaller. Symbols are still your best guide.
- Reverse-terminal batteries: The posts sit on the “other” side. The + is still +. Follow the symbols, not position.
- AGM batteries: Same polarity rules. Do not guess based on case color.
- Lithium jump-starters: Always match red to + and black to –. Many packs warn or refuse to output if reversed.
When installing a new battery, make sure the terminal layout matches the car’s cables. If you have to stretch a cable, you likely have the wrong layout.
Tools You Need To Check And Connect Safely
These basics make the job quick and safe.
- Digital multimeter (DMM)
- Jumper cables with heavy gauge clamps
- Battery charger or smart maintainer
- Work gloves and safety glasses
- Wire brush or battery terminal cleaner
- Baking soda and water (for cleaning acid)
- 12V test light (optional)
- Dielectric grease (for corrosion prevention)
Step-By-Step: How To Jump-Start Your Car With Correct Polarity
Follow this order to protect your car and avoid sparks.

- Park close but not touching. Turn off both cars. Set parking brakes. Open hoods.
- Identify the battery terminals on both cars: find + and – on each.
- Connect red clamp to the dead car’s positive (+) terminal.
- Connect the other red clamp to the helper car’s positive (+) terminal.
- Connect black clamp to the helper car’s negative (–) terminal.
- Connect the last black clamp to an unpainted metal point on the dead car. Use a solid engine or chassis ground. Do not connect this last clamp to the dead battery’s – post. This reduces the risk of sparks near gas fumes.
- Start the helper car. Let it run for 2–3 minutes.
- Start the dead car. If it does not start, wait another 2–3 minutes and try again.
- Disconnect in reverse order:
- Black from chassis on the dead car
- Black from the helper car’s –
- Red from the helper car’s +
- Red from the dead car’s +
- Let the revived car run for at least 20–30 minutes. Or drive to charge the battery.
Roadside safety matters. Park in a safe spot and use hazard lights. For safe practices on the shoulder, follow tips from sources like the National Highway Traffic Safety Administration.
Common Jump-Start Mistakes To Avoid
- Reversing the red and black clamps
- Letting clamps touch each other once connected
- Clamping to painted or dirty metal (poor ground)
- Jumping a frozen battery (risk of explosion)
- Jumping a leaking or bulging battery (replace it)
- Cranking the starter for more than 10 seconds at a time (let it cool)
What Happens If You Reverse Polarity?
Reversed polarity can cause instant issues. Here is what you may notice and what can break.
- Immediate heavy spark when clamps touch
- Pop and smoke from a fuse or fusible link
- No start after the mistake, even with correct hookup later
- Blown main fuses, fried alternator diodes, or damaged control modules
- Melted battery post or cable insulation in severe cases
Modern cars use many sensitive parts. That makes correct polarity critical. AAA also explains that poor connections and wrong jump-start steps are top reasons for roadside calls.
Immediate Steps If You Connected It Wrong
Do this fast to limit damage.
- Disconnect the cables right away. Pull back safely.
- Check the main fuse and fusible links. Replace as needed.
- Inspect battery cables for heat damage.
- Test the battery voltage with a DMM. If it is under 12.0V, charge before more tests.
- Start the car if fuses and voltage are okay. Watch the dash for warning lights.
- Test the alternator. With the engine running, check 13.8–14.7V at the battery. Lower or higher may signal damage.
- If you see smoke, smell burning, or get many warnings, stop and call a pro.
Battery Voltage Chart: Good Vs. Bad
Use this chart to read battery health at rest. Turn off the car and lights. Wait 5–10 minutes before testing.
| Battery State | 12V Reading (Engine Off) | What It Means | Action |
|---|---|---|---|
| Fully charged | 12.6–12.8V | Healthy battery | Ready to start |
| Good | 12.4–12.6V | Usable, not 100% | Drive or top off with charger |
| Low | 12.2–12.4V | Partial charge | Charge soon |
| Very low | 12.0–12.2V | May not start | Charge now |
| Discharged | 11.8–12.0V | Likely no-start | Jump or charge, test battery |
| Dead/Fail | < 11.8V | Severely discharged or bad cell | Charge and test; likely replace |
Symptoms, Causes, And Quick Fixes
Match what you see with likely issues and easy solutions.
| Symptom | Likely Cause | Quick Fix |
|---|---|---|
| Single click, no start | Weak battery, corroded terminals | Clean connections, jump-start, charge and test |
| Rapid clicks | Very low voltage | Jump or slow charge, check alternator after start |
| Crank slow in cold | Low charge, old battery | Warm battery, jump, test CCA, consider replacement |
| No lights at all | Loose cable, blown main fuse | Tighten terminals, inspect and replace fuse |
| Sparks on hookup | Wrong polarity, or short | Stop, recheck +/–, inspect for damaged wiring |
| Battery dies overnight | Parasitic drain, dome light on | Find drain with meter, pull fuses to isolate |
| White/green crust on posts | Acid corrosion | Clean with baking soda mix, apply dielectric grease |
Polarity Quick Reference Table
Keep this in mind before any connection.
| What is battery terminal polarity? | Clue To Identify + / – | Do This | Never Do This |
|---|---|---|---|
| It’s the direction of current, marked by + and – on battery posts | + symbol, red cover, larger post, fuse box nearby | Match red to +, black to –; confirm with a meter | Guess based on post location alone |
| Negative is ground on most U.S. vehicles | – symbol, black cable to chassis | Clamp black to clean bare metal when jump-starting | Clamp black to painted or oily surfaces |
| Smart chargers need correct polarity | Charger lights or screen indicate hookup | Connect clips with charger unplugged, then power on | Reverse clips and “hope the charger saves it” |
| Reversed polarity causes damage | Sparks, smoke, sudden shutdown | Disconnect fast, check fuses and alternator | Keep cranking or trying to “force it” |
Troubleshooting A No-Start: Fast Checks
Use this quick path to a fix. You’ll save time and avoid towing if the cause is simple.
- Check the dome light. Is it bright? If not, battery may be low.
- Look at the terminals. Are they clean and tight?
- Test battery voltage. 12.4–12.6V is good. Lower? Charge or jump.
- Try to start. Hear clicks? Likely low battery or bad connection.
- If it starts but dies, test the alternator charge at 13.8–14.7V.
- If you see many warning lights or odd behavior, scan for codes.
- No power at all? Check the main fuse and grounds.
Consumer Reports often notes that age and heat kill batteries. If yours is older than 3–5 years, test it under load even if it reads 12.6V at rest.
Cold Weather Tips
Cold robs your battery’s punch. Try these steps in winter.
- Turn off all accessories before starting
- Press the clutch (manual) to ease starter load
- Warm the battery with a blanket or safe heat pad if it is very cold
- Use a battery maintainer if you park outside
- Replace a weak battery before the first freeze
Aftermarket Add-Ons And Polarity Issues
Extra gear can cause draw and confusion.
- Dash cams and GPS: Hardwire kits must match +/– and use a fuse tap
- Amplifiers: Use correct gauge wire and inline fuses near the battery
- LED light bars: Confirm ground and switch wiring, avoid scotch-lock taps
- Portable fridges: Use dedicated fused outlets
Wrong polarity on any add-on can blow a module or drain the battery. Many tow calls come from a simple miswire. When in doubt, check with a meter first.
Safety Rules Every Driver Should Know
These habits keep you safe and protect your car.
- Always identify + and – before any connection
- Wear eye protection around batteries
- Keep flames and sparks away from the battery
- Secure the battery hold-down to prevent vibration damage
- Connect charger clamps to the battery with charger unplugged, then turn it on
- Use short cranking bursts (10 seconds max). Rest between tries.
- Stop if you see smoke, swelling, or smell sulfur
As explained by AAA, regular battery checks and clean connections reduce most starting issues. Build a simple habit: a quick look at your terminals every oil change.
Prevent Corrosion And Keep Terminals Healthy
Clean, tight terminals give you strong starts. Here’s an easy care plan.
- Inspect monthly for white or green crust
- Mix a tablespoon of baking soda in a cup of water
- Disconnect the negative (–) cable first, then positive (+)
- Scrub posts and clamps with the solution and a brush
- Rinse with clean water and dry
- Lightly coat with dielectric grease
- Reconnect positive (+) first, then negative (–)
- Make the clamps snug. Do not overtighten.
Loose terminals cause voltage drop and heat. That heat speeds corrosion. A few minutes of care prevents a lot of trouble later.
When To Replace Cables, Terminals, Or The Battery
Look for these signs.
- Battery: Older than 3–5 years, slow cranks, fails a load test
- Terminals: Thin, cracked, or stripped clamps
- Cables: Stiff, swollen, or corroded under the insulation
Replace worn parts as a set when possible. A new battery with bad cables is like new shoes with broken laces.
Series Vs. Parallel: Trucks, RVs, And Boats
Many vehicles use more than one battery. Get the layout right to avoid expensive damage.
- Series (adds voltage): Positive of Battery A connects to negative of Battery B. The system uses the free negative from A and the free positive from B. Two 12V in series make 24V. Do not use this for a 12V car.
- Parallel (adds capacity): Positives tied together. Negatives tied together. Voltage stays 12V, but you get more amp-hours. Match battery type, age, and size for best results.
- Diesel trucks: Often use two 12V batteries in parallel for strong cranking.
- RVs/boats: May mix a starter battery and deep-cycle house batteries. Keep circuits separate and fused.
Label each cable before removal. Take a picture. It can save you hours.
Positive-Ground Cars And Other Exceptions
Most U.S. cars use negative ground. Some vintage British cars were positive ground. If you work on classics, confirm ground type first. Test with a meter and look for historical documentation. Reversed assumptions can damage a rare part fast. If you ever feel unsure, stop and ask a classic specialist.
FAQ
Which battery terminal do I disconnect first?
Always disconnect the negative (–) first. Reconnect it last. This reduces the risk of a short if your tool touches metal.
How do I tell positive from negative if the colors are faded?
Look for the + or – symbols on the case near the posts. Use a multimeter. A positive reading with the red probe on one post means that post is +.
Is it safe to touch both terminals at once?
Do not do it. A 12V car battery won’t usually shock you, but tools or jewelry can short the posts and cause burns or fire.
Can I jump-start a hybrid or EV?
Most hybrids have a 12V battery you can jump. Follow the owner’s manual. Do not try to jump the high-voltage system. Many EVs have 12V posts for jump support only.
Why did my car start after a jump but die at lights?
The alternator may be weak. Test charging voltage. You want about 13.8–14.7V with the engine running. If it is low, inspect the belt and alternator.
Can I use a bigger battery?
You can use a battery with higher cold cranking amps if it fits the tray and the terminals match. Stick to the correct group size and terminal layout.
What if I saw a big spark when connecting the last clamp?
Recheck polarity. Make sure accessories are off. Use a clean, solid ground point for the black clamp on the dead car, away from the battery.
Conclusion
Battery terminal polarity is simple but vital. Positive is + and often red. Negative is – and often black. Confirm with symbols and a meter. Match red to + and black to – for every connection. Use safe steps to jump-start, test, and charge. Keep terminals clean and tight. If you slip up, disconnect fast and check fuses and charging voltage. With these tips, you will avoid damage, fix no-starts fast, and drive with confidence. Go pop the hood, check your terminals, and test your battery today.

