How to Hook Car Seat Cover in 5 Easy Steps
Installing a car seat cover doesn’t have to be frustrating. This guide walks you through the process of how to hook car seat cover securely and neatly in just five simple steps. Whether you’re a first-timer or upgrading your old covers, you’ll get a perfect fit with minimal effort.
Key Takeaways
- Choose the right cover: Make sure your car seat cover matches your vehicle’s make, model, and seat type for a proper fit.
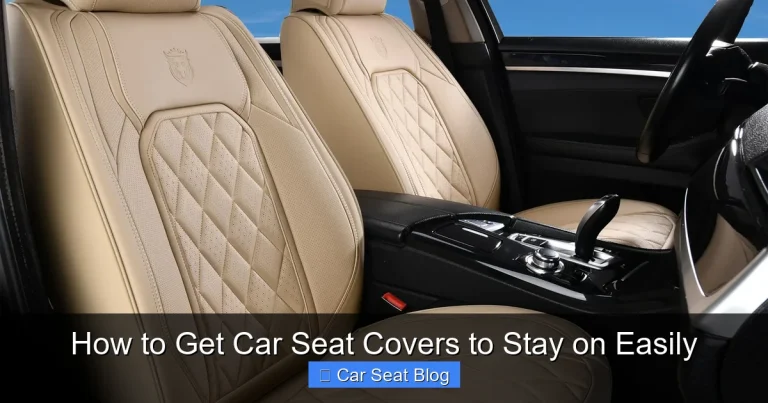
- Clean your seats first: Remove dirt and debris to prevent damage and ensure the cover stays in place.
- Start from the top: Begin installation at the headrest and work your way down for better alignment and tension control.
- Use all attachment points: Secure every hook, strap, or buckle to prevent slipping or bunching while driving.
- Adjust and smooth out wrinkles: Take time to tuck and smooth fabric for a clean, professional look.
- Check for obstructions: Ensure seat belts, airbags, and adjustment levers remain fully functional after installation.
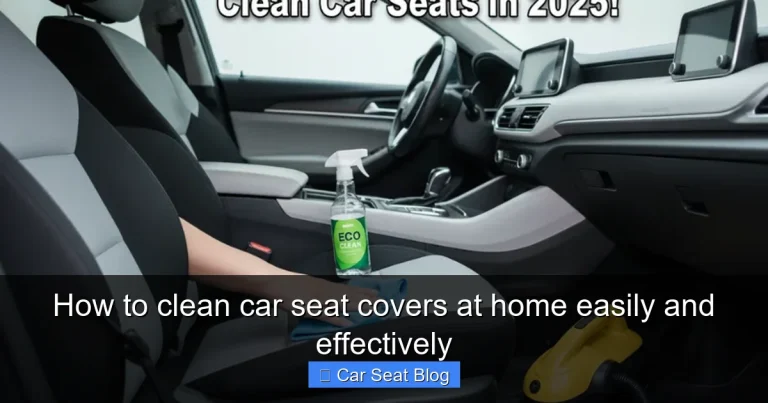
- Maintain regularly: Clean your covers periodically to extend their lifespan and keep them looking fresh.
How to Hook Car Seat Cover in 5 Easy Steps
Upgrading your car’s interior with new seat covers can transform the look and feel of your vehicle. Not only do they protect your original upholstery from spills, stains, and wear, but they also add a personal touch to your ride. However, many people hesitate to install them because they’re unsure how to hook car seat cover properly. The good news? It’s easier than you think—especially when you follow a clear, step-by-step process.
In this guide, you’ll learn exactly how to hook car seat cover in five simple steps. Whether you’re working with universal-fit covers or custom-designed ones, these instructions will help you achieve a snug, secure, and professional-looking installation. We’ll also share practical tips, troubleshooting advice, and safety reminders to ensure your new covers stay in place and function perfectly.
Let’s get started!
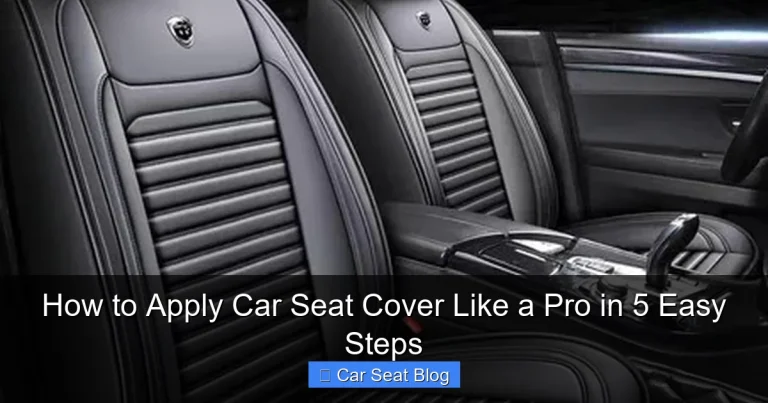
Step 1: Prepare Your Seat and Cover

Visual guide about How to Hook Car Seat Cover in 5 Easy Steps
Image source: ydtradinghouse.com
Before you begin hooking your car seat cover, proper preparation is key. Skipping this step can lead to frustration, misalignment, or even damage to your seats or covers.
Clean the Seat Thoroughly
Start by vacuuming your car seat to remove loose dirt, crumbs, and pet hair. Use a damp cloth to wipe down the surface, especially if there are sticky residues or spills. Let the seat dry completely before installing the cover. Moisture trapped under the fabric can lead to mold or unpleasant odors over time.
Inspect the Seat Cover
Unpack your new seat cover and lay it out flat. Check for any defects, missing parts, or instructions from the manufacturer. Most covers come with hooks, straps, or elastic bands—make sure everything is included. If you’re using universal covers, compare the design to your seat to identify which parts correspond (e.g., headrest area, backrest, seat base).
Remove Obstacles
Take out any items that might interfere with installation, such as seat belt buckles, child seat anchors, or adjustable headrests. If your headrest is removable, take it off now—it’ll make the process much easier. Just remember to reinstall it after the cover is on.
Read the Instructions
Even if you’ve installed seat covers before, always check the manufacturer’s guide. Some covers have unique hooking systems or require specific steps for your vehicle type. A quick read can save you time and prevent mistakes.
Step 2: Position the Cover on the Seat
Now that your seat is clean and your cover is ready, it’s time to position it correctly. This step ensures that the cover aligns with your seat’s contours and that all attachment points line up.
Start at the Headrest
Begin by draping the cover over the top of the seat, aligning the headrest opening with your seat’s headrest. If your cover has a separate headrest piece, attach it first. Slide it over the headrest and secure any straps or hooks at the base.
Center the Cover
Gently pull the cover down over the backrest, making sure it’s centered from left to right. The seams should run vertically along the sides of the seat. If the cover looks crooked, adjust it now before securing anything.
Tuck the Sides
Push the excess fabric on the sides of the seat into the crevices between the backrest and the seat base. This creates a snug fit and prevents the cover from shifting. Use your hands or a soft tool (like a plastic trim tool) to tuck the fabric deep into the gaps.
Smooth Out Wrinkles
Run your hands over the surface to remove any large wrinkles or bunches. Smooth fabric not only looks better but also reduces stress on the hooks and straps.
Step 3: Secure the Hooks and Straps
This is where the magic happens—hooking the cover into place. Most seat covers use a combination of hooks, elastic straps, and buckles to stay secure. Let’s break it down.
Attach the Top Hooks
Look for hooks or clips at the top of the cover, usually near the headrest area. These often hook onto the metal frame of the seat or around the headrest posts. Gently pull the cover taut and snap the hooks into place. Don’t force them—if they don’t fit easily, double-check the alignment.
Secure the Side Straps
Many covers have elastic straps that run along the sides of the seat. These typically attach to hooks or D-rings located underneath the seat or along the frame. Reach under the seat and connect the straps, pulling them tight to eliminate slack. Some straps may have buckles—clip them together and adjust the length for a snug fit.
Fasten the Bottom Straps
The seat base usually has straps that go underneath and hook to the opposite side. These prevent the cover from riding up when you sit down. Crawl under the seat if needed and connect the straps securely. Again, avoid over-tightening, which can tear the fabric or damage the seat frame.
Use Additional Fasteners
Some covers include Velcro strips, zip ties, or snap buttons for extra security. Follow the manufacturer’s instructions to apply these. For example, Velcro might be used along the seat edges to keep fabric from lifting.
Step 4: Adjust and Fine-Tune the Fit
Once all hooks and straps are in place, your cover should feel secure—but there’s still work to do. This step ensures a polished, professional look and maximum comfort.
Tuck Excess Fabric
Go around the seat and tuck any loose fabric into the crevices. Pay special attention to the sides and corners. A well-tucked cover won’t shift or bunch up during use.
Smooth the Surface
Run your hands over the entire cover to smooth out wrinkles. Start from the center and work outward. If you notice any puckering, gently pull the fabric to redistribute the tension.
Check for Gaps
Look for areas where the cover doesn’t lie flat, especially around the seat edges or armrests. If there are gaps, loosen the nearby straps slightly, adjust the fabric, and re-tighten.
Test the Fit
Sit in the seat and move around. Does the cover feel snug? Does it shift when you lean back or adjust the seat? If it moves, double-check your hooks and straps. You may need to re-secure a few points.
Step 5: Final Safety and Functionality Check
Before you call it a day, it’s crucial to ensure your seat cover doesn’t interfere with your car’s safety features or functionality.
Test Seat Belts
Pull the seat belt across your lap and shoulder. It should move freely and retract properly. If the cover is blocking the belt or making it hard to buckle, adjust the fabric around the belt opening.
Verify Airbag Compatibility
If your seat has side airbags (usually marked with “SRS Airbag” labels), make sure the cover doesn’t obstruct the deployment path. Most modern covers are designed with airbag-compatible seams that tear open safely—but always confirm this with the product description. Never use a cover that blocks airbag vents.
Check Seat Adjustments
Move the seat forward, backward, up, and down. Ensure all levers and buttons work smoothly. If the cover is too tight, it might restrict movement. Loosen straps slightly if needed.
Inspect Headrest and Armrests
Reinstall the headrest and test its adjustment. Make sure armrests (if present) can fold up and down without resistance.
Troubleshooting Common Issues
Even with careful installation, you might run into a few hiccups. Here’s how to fix the most common problems:
Cover Keeps Slipping
If your cover shifts while driving, it’s likely not tight enough. Re-check all straps and hooks, especially the bottom ones. Consider using non-slip seat cover pads underneath for extra grip.
Wrinkles or Bunching
This usually means the cover is too big or not tucked properly. Remove the cover, re-tuck the sides, and re-secure with more tension. For persistent wrinkles, try steaming the fabric (if safe for the material) to relax it.
Hooks Won’t Stay Attached
Some hooks may not fit your seat’s frame. Try repositioning them or using zip ties as a backup. Avoid forcing hooks—this can break them or damage your seat.
Cover Blocks Seat Belt
Adjust the fabric around the belt opening. If the cover has a pre-cut slot, make sure it’s aligned correctly. Never fold or cover the belt itself.
Headrest Won’t Fit
If the headrest doesn’t go back in, the cover may be too tight. Loosen the top straps slightly or check if the headrest opening is the right size. Some covers come with expandable headrest sections.
Conclusion
Learning how to hook car seat cover doesn’t have to be a headache. With the right preparation, a little patience, and these five easy steps, you can install your new covers like a pro. Not only will your car look fresh and stylish, but you’ll also protect your investment and enjoy a more comfortable ride.
Remember: take your time, follow the instructions, and always prioritize safety. A well-installed seat cover stays in place, looks great, and lasts for years. Now that you know the secrets to a perfect fit, go ahead and give your car interior the upgrade it deserves!