How to Insert Car Seat Cover in 5 Easy Steps
Installing a car seat cover doesn’t have to be complicated. This guide walks you through a simple 5-step process to securely fit your seat covers, whether you’re using universal or custom-fit options. With the right tools and a little patience, you’ll have a fresh, protected interior in no time.
Key Takeaways
- Choose the right cover: Match your seat cover to your car’s make, model, and seat type (bucket, bench, etc.) for the best fit.
- Clean your seats first: Remove dirt, crumbs, and debris to ensure a smooth installation and prevent damage.
- Use the correct tools: A seat cover installation kit with hooks, straps, and clips makes the process faster and more secure.
- Start with the backrest: Always begin by covering the seat back before moving to the bottom cushion for easier alignment.
- Secure all straps and clips: Tighten and fasten every attachment point to prevent slipping or bunching while driving.
- Check for airbag compatibility: Ensure your cover doesn’t block side airbags—look for cutouts or airbag-safe designs.
- Maintain regularly: Vacuum and spot-clean your covers monthly to keep them looking fresh and extend their lifespan.
How to Insert Car Seat Cover in 5 Easy Steps
Whether you’re protecting your car from spills, refreshing a worn-out interior, or simply upgrading your style, installing a car seat cover is a smart and affordable move. But if you’ve never done it before, the process might seem a bit intimidating. Don’t worry—this step-by-step guide will show you exactly how to insert car seat cover like a pro, even if you’re a complete beginner.
In just five simple steps, you’ll learn how to properly fit your seat covers, avoid common mistakes, and ensure a snug, professional-looking result. We’ll cover everything from preparation to final adjustments, so you can enjoy a clean, protected, and stylish car interior in under an hour. Let’s get started!
Step 1: Choose the Right Seat Cover for Your Vehicle
Before you even think about installation, the most important step is selecting the correct seat cover. Not all covers are created equal, and using the wrong one can lead to poor fit, discomfort, or even safety issues.

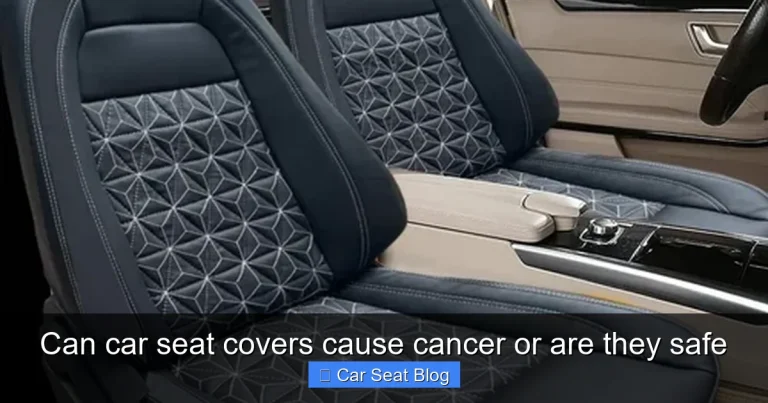
Visual guide about How to Insert Car Seat Cover in 5 Easy Steps
Image source: goodwool.com.au
Know Your Seat Type
Car seats come in different styles: bucket seats (common in front), bench seats (often in the back), and split seats. Some vehicles have integrated headrests, while others have removable ones. Make sure your seat cover is designed for your specific seat configuration. Universal-fit covers are affordable and widely available, but custom-fit covers offer a tighter, more tailored look.
Check Compatibility with Airbags
Safety should always come first. If your car has side airbags (which most modern vehicles do), your seat cover must have designated airbag flaps or cutouts. These allow the airbag to deploy properly in an emergency. Never use a cover that blocks or restricts airbag function—this could be dangerous in a crash.
Consider Material and Use
Seat covers come in various materials: neoprene (great for water resistance), leather (luxurious but can get hot), polyester (durable and affordable), and canvas (tough for pets and kids). Think about your lifestyle. If you have pets or kids, a waterproof, easy-to-clean material like neoprene might be best. For a sleek, upscale look, leather or leatherette could be the way to go.
Tip: Measure Your Seats
If you’re unsure about fit, measure your seat’s width, depth, and height. Compare these dimensions to the product description. Many manufacturers provide sizing charts—use them!
Step 2: Prepare Your Car Seats and Workspace
A clean, organized workspace makes installation much easier. Rushing this step can lead to frustration and a poorly fitted cover.
Remove Loose Items
Start by clearing out your car. Take out floor mats, toys, trash, and any personal items from the seats and footwells. You’ll need plenty of room to move around.
Vacuum and Clean the Seats
Use a vacuum cleaner with an upholstery attachment to remove dust, crumbs, and pet hair. If your seats are fabric, consider using a fabric cleaner to spot-treat stains. For leather seats, wipe them down with a damp cloth and let them dry completely. A clean surface ensures the cover lies flat and doesn’t trap dirt underneath.
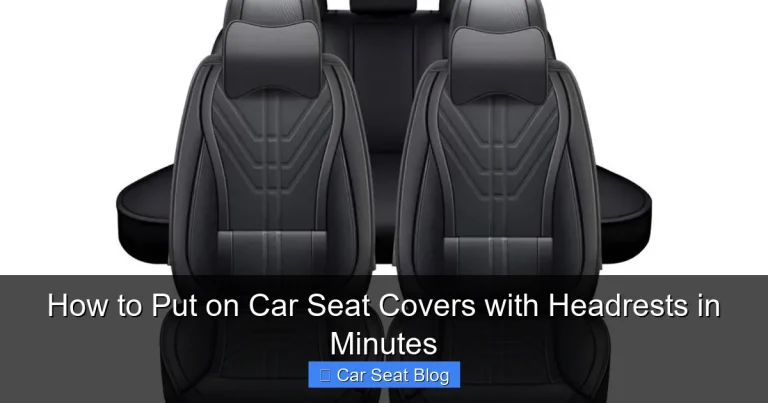
Remove Headrests (If Necessary)
Many seat covers require you to remove the headrests for installation. Check your cover’s instructions—most have headrest-specific openings or zippers. To remove a headrest, look for a release button or lever on the side or base of the headrest post. Press it and gently pull the headrest upward. Keep the headrests and any small parts (like clips) in a safe place so you don’t lose them.
Gather Your Tools
Most seat cover kits come with installation tools like S-hooks, straps, and clips. Have these ready. You might also want a pair of scissors (for trimming excess material, if allowed), a flathead screwdriver (to help tuck fabric), and a friend to help hold things in place.
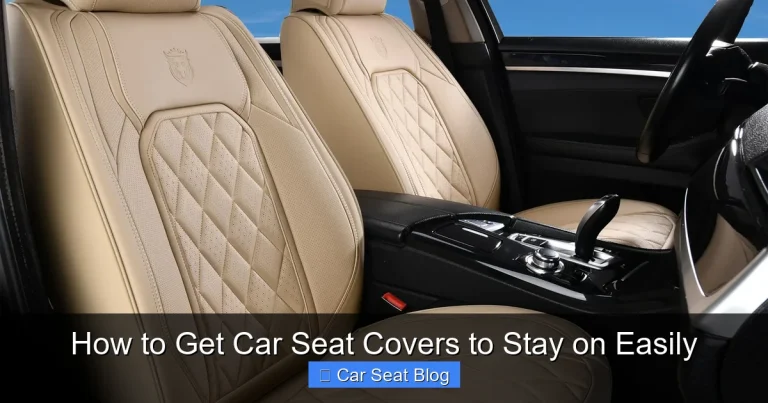
Step 3: Install the Seat Back Cover
Now it’s time to start putting the cover on. We’ll begin with the backrest—the largest and most visible part of the seat.
Slide the Cover Over the Backrest
Take the seat back portion of the cover and slide it over the top of the seat. Make sure the front side (the side with the design or label) is facing outward. If your cover has a zipper or Velcro seam, align it with the center of the seat back.
Adjust for a Snug Fit
Gently pull the cover down, smoothing out wrinkles as you go. Don’t force it—tugging too hard can tear the fabric. Work from the top down, ensuring the cover fits evenly on both sides. If your cover has elastic edges or drawstrings, use them to tighten the fit around the sides and bottom of the backrest.
Secure with Straps or Hooks
Most covers include straps that go underneath the seat or around the frame. Feed these straps through the designated loops or hooks and pull them tight. Use the provided S-hooks or clips to fasten them securely. This prevents the cover from shifting when you sit down.
Reattach the Headrest
If you removed the headrest, now is the time to put it back. Slide the posts through the openings in the cover and reinsert them into the seat. Make sure they click into place and are firmly secured.
Tip: Use a Flathead Screwdriver for Tight Spots
If the cover is tight around the headrest posts or seat edges, use the flat end of a screwdriver (wrapped in a cloth to avoid scratches) to gently tuck the fabric into gaps. This helps achieve a clean, professional look.
Step 4: Cover the Seat Bottom
With the backrest done, move on to the seat cushion. This part is usually easier, but still requires attention to detail.
Position the Bottom Cover
Place the seat bottom cover over the cushion, aligning it with the front edge. Make sure it’s centered and the design faces the right way. If your cover has a split design (for seats with center consoles or armrests), ensure the openings line up correctly.
Pull and Smooth the Fabric
Pull the cover taut from front to back and side to side. Smooth out any wrinkles or bunching. A well-fitted cover should lie flat without loose fabric.
Attach Straps Underneath
Flip up the front edge of the seat (if possible) to access the underside. Most covers have straps or elastic bands that hook onto the seat frame. Connect these securely, pulling them tight to eliminate slack. Some covers use J-hooks that clip onto metal bars—make sure they’re firmly attached.
Secure the Front and Sides
If your cover has Velcro strips or additional clips along the front and sides, fasten them now. This extra security keeps the cover from riding up when you get in and out of the car.
Tip: Don’t Over-Tighten
While you want a snug fit, avoid pulling the straps so tight that they strain the fabric or distort the seat shape. A little flexibility is normal and helps with comfort.
Step 5: Final Adjustments and Quality Check
You’re almost done! This final step ensures everything looks great and functions properly.
Inspect the Fit
Sit in the seat and check for comfort and movement. The cover should feel secure and not shift around. Look for loose areas, wrinkles, or gaps—especially around the sides and under the seat.
Tighten Loose Straps
If you notice any slack, go back and tighten the straps or clips. It’s better to do this now than to deal with a slipping cover later.
Check Airbag Flaps
Double-check that any airbag cutouts are properly aligned and not blocked. The flaps should open freely if needed. If your cover doesn’t have airbag compatibility, consider returning it for a safer option.
Test the Seat Functions
Move the seat forward and backward, adjust the recline, and test any heating or ventilation features. Make sure the cover doesn’t interfere with these functions. If it does, you may need to reposition or trim excess material (only if the manufacturer allows it).
Repeat for Other Seats
If you’re covering multiple seats, repeat the process for each one. Take your time—rushing can lead to mistakes. For rear seats, the process is similar, but you may need to remove the entire seat cushion in some vehicles (check your owner’s manual).
Troubleshooting Common Installation Issues
Even with careful installation, you might run into a few hiccups. Here’s how to fix the most common problems:
Problem: Cover Keeps Slipping
Solution: This usually means the straps aren’t tight enough or the hooks aren’t secured properly. Reattach all straps and pull them tighter. If the cover still moves, consider using additional adhesive Velcro strips (non-permanent) under high-friction areas.
Problem: Wrinkles or Bunching
Solution: Wrinkles often happen if the cover is too big or not pulled evenly. Remove the cover and reinstall it, smoothing the fabric as you go. For persistent bunching, check if the cover is designed for your exact seat model.
Problem: Headrest Won’t Fit
Solution: Make sure you’ve removed the headrest before installing the back cover. If the opening is too small, gently stretch the fabric or use a seam ripper to widen it slightly (only if the manufacturer permits modifications).
Problem: Straps Won’t Reach
Solution: Some seats have limited access underneath. Try using a coat hanger or zip tie to guide the strap through tight spaces. Alternatively, look for covers with longer straps or extension kits.
Maintaining Your Car Seat Covers
Once your covers are installed, a little maintenance goes a long way. Vacuum them monthly to remove dust and debris. For spills, blot (don’t rub) with a damp cloth and mild soap. Avoid harsh chemicals that can damage the material. If your covers are machine-washable, follow the care label instructions.
Regular cleaning not only keeps your car looking great but also extends the life of your seat covers. Plus, it helps maintain resale value if you ever decide to sell your vehicle.
Conclusion
Installing a car seat cover might seem like a small task, but it can make a big difference in your car’s appearance, comfort, and protection. By following these five easy steps—choosing the right cover, preparing your seats, installing the backrest and bottom, and making final adjustments—you’ll achieve a clean, secure fit every time.
Remember, the key to success is patience and attention to detail. Don’t rush, double-check airbag safety, and use the tools provided. With a little effort, you’ll enjoy a refreshed interior that stands up to daily wear and tear. So go ahead—give your car the upgrade it deserves!