How to Apply Car Seat Cover Like a Pro in 5 Easy Steps
This guide shows you how to apply car seat cover neatly and securely in just five simple steps. Whether you’re using universal or custom-fit covers, you’ll get a professional-looking result that lasts.
Key Takeaways
- Clean your seats first: Always vacuum and wipe down your car seats before installing a cover to ensure a smooth, dirt-free surface.
- Choose the right cover: Universal covers work for most cars, but custom-fit covers offer a snugger, more tailored look.
- Start with the backrest: Begin installation from the top of the seat back and work your way down to avoid wrinkles and misalignment.
- Use straps and hooks properly: Secure all attachment points—especially under the seat and around headrests—to prevent shifting.
- Tuck and smooth as you go: Eliminate air pockets and creases by smoothing the fabric from center to edges during installation.
- Check for safety compliance: Ensure side airbag compatibility and that seat belts remain fully accessible after installation.
- Maintain regularly: Wash your seat covers every few months to keep them looking fresh and extend their lifespan.
How to Apply Car Seat Cover Like a Pro in 5 Easy Steps
So, you’ve bought a brand-new car seat cover—maybe it’s sleek neoprene, durable polyester, or luxurious leather-look vinyl. You’re excited to protect your seats from spills, pet hair, and daily wear. But now comes the tricky part: actually putting it on.
Don’t worry. Applying a car seat cover doesn’t have to be frustrating or messy. With the right approach, you can get a clean, professional-looking fit that stays in place and enhances your car’s interior.
In this guide, we’ll walk you through how to apply car seat cover like a pro—step by step. Whether you’re working with a universal fit or a custom-designed cover, these tips will help you avoid common mistakes and achieve a smooth, secure installation every time.
Let’s get started!
Step 1: Prepare Your Car Seat
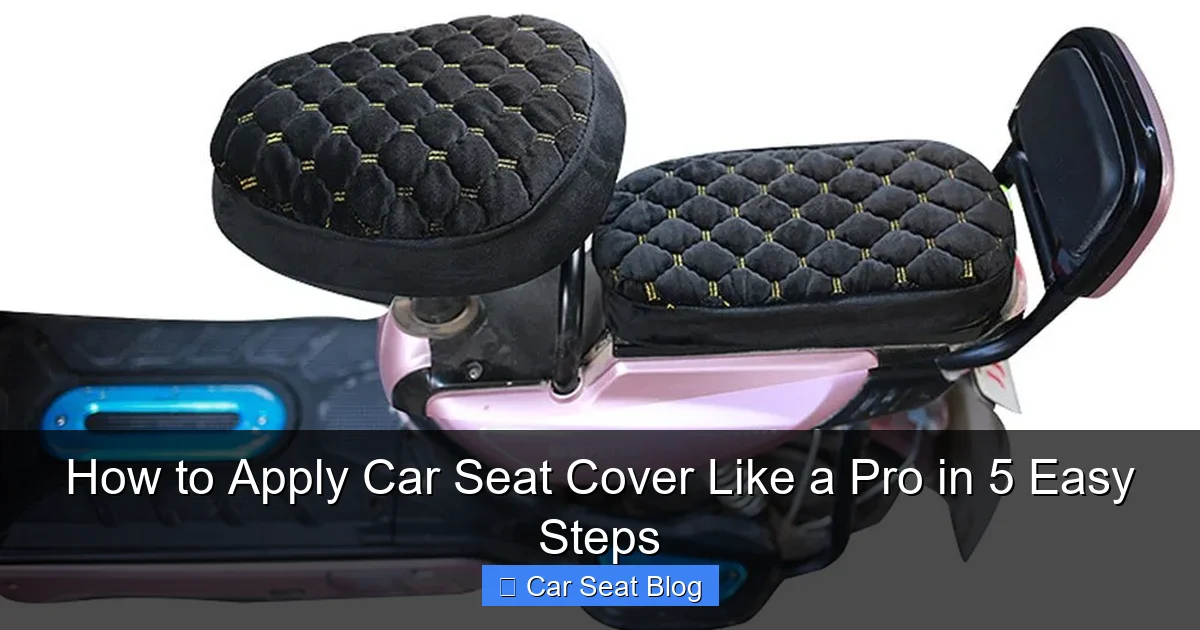
Visual guide about How to Apply Car Seat Cover Like a Pro in 5 Easy Steps
Image source: images.nexusapp.co
Before you even touch the seat cover, you need to prep your car seat. A clean, dry surface is essential for a smooth installation. Skipping this step can lead to wrinkles, slipping, or even damage to your original upholstery.
Remove Loose Items
Start by clearing out anything stuck in the seat crevices—crumbs, coins, pens, or pet toys. Use a handheld vacuum or a crevice tool to get into tight spaces. If you have leather seats, wipe them down with a damp cloth and let them dry completely.
Detach Removable Parts
Many car seats have removable headrests. Take them off before installing the cover—it makes the process much easier. Just press the release button (usually on the side or top of the headrest post) and lift it straight up.
Check for Airbag Labels
Look for stickers or tags on the side of your seat that say “SRS Airbag” or “Side Airbag.” These indicate where airbags are located. Never install a seat cover that blocks or interferes with these areas. Most quality covers are designed with airbag-compatible seams that split open safely during deployment.
Let Seats Cool Down
If your car has been sitting in the sun, let the seats cool for 10–15 minutes. Hot seats can cause fabric to stretch unevenly, making it harder to get a tight fit.
Step 2: Unpack and Inspect the Seat Cover
Now that your seat is ready, it’s time to examine your new cover.
Unfold Carefully
Remove the cover from its packaging and lay it out flat. Avoid pulling or stretching it right away. Let it relax for a few minutes—especially if it’s been folded tightly during shipping.
Identify Key Features
Look for labels, tags, or stitching that indicate the front, back, left, and right sides. Some covers have Velcro straps, elastic edges, or hook-and-loop fasteners. Familiarize yourself with these parts—they’re crucial for a secure fit.
Check for Compatibility
Make sure the cover matches your seat type (bucket seat, bench, etc.) and size. If you bought a universal cover, it should fit most standard seats. But if your car has unique features—like built-in seat heaters, armrests, or side bolsters—double-check that the cover accommodates them.
Test the Material
Gently stretch the fabric to see how flexible it is. Neoprene and spandex blends are very stretchy and easier to install. Thick canvas or leather alternatives may require more effort. Knowing your material helps you adjust your technique.
Step 3: Install the Backrest Cover
This is where the real work begins. The backrest is the largest part of the seat, so getting it right sets the tone for the rest of the installation.
Start at the Top
Begin by draping the cover over the top of the seat back. Make sure the front side (the side that will face you) is correctly oriented. Most covers have a tag or label on the backside to help you identify the right way.
Pull Down Evenly
Gently pull the cover down over the backrest, starting from the center. Use both hands to distribute tension evenly. Don’t yank or force it—this can cause tearing or misalignment.
Smooth Out Wrinkles
As you go, use your palms to smooth the fabric from the center outward. Work your way down, eliminating air pockets and creases. Pay extra attention to the sides and shoulders of the seat, where fabric tends to bunch up.
Secure the Headrest Area
Once the backrest is covered, reinsert the headrest. Most covers have a flap or opening designed to go around the headrest posts. Slide the cover over the posts and push the headrest back into place. Make sure the cover isn’t twisted or bunched.
Attach Straps and Hooks
Look for straps, elastic bands, or hooks under the seat or along the sides. These are meant to anchor the cover and prevent shifting. Fasten them securely—but don’t overtighten, as this can warp the fabric.
Step 4: Cover the Seat Bottom
Now it’s time to tackle the seat cushion—the part that takes the most abuse from daily use.
Position the Cover
Place the bottom portion of the cover over the seat cushion. Align it so the front edge matches the front of the seat. Again, check that the right side is facing out.
Tuck into Crevices
Use a plastic trim tool, butter knife, or even a credit card to tuck the excess fabric into the gaps between the seat bottom and backrest. This creates a clean, tailored look and prevents the cover from riding up.
Smooth and Adjust
Press down firmly across the entire surface to remove wrinkles. Pay attention to the sides and corners—these areas often pucker if not properly secured.
Fasten Underneath
Flip up the seat (if possible) or reach underneath to attach any straps, hooks, or Velcro strips. These hidden fasteners are key to keeping the cover in place, especially during long drives or sharp turns.
Test the Fit
Sit in the seat and move around a bit. Does the cover feel snug? Does it shift when you lean back? If it moves, go back and tighten the straps or re-tuck the fabric.
Step 5: Final Adjustments and Safety Check
You’re almost done! But before you hit the road, take a few minutes to fine-tune your installation.
Recheck All Attachment Points
Go over every strap, hook, and fastener. Make sure nothing is loose or twisted. A well-secured cover stays put, even on bumpy roads.
Ensure Seat Belts Are Accessible
Pull out the seat belt and make sure it retracts smoothly. The cover shouldn’t block the belt buckle or interfere with the retractor. If it does, adjust the fabric or reposition the cover.
Verify Airbag Compatibility
Double-check that side airbag seams are not obstructed. If your cover has pre-cut seams or labeled airbag zones, make sure they align correctly with your seat.
Trim Excess Material (If Needed)
Some universal covers come with extra fabric. If there’s a lot of loose material under the seat, you can trim it—but only if the manufacturer allows it. Never cut into structural seams or straps.
Do a Final Smooth
Run your hands over the entire cover one last time. Smooth out any remaining wrinkles or bumps. A little effort here makes a big difference in appearance.
Troubleshooting Common Issues
Even with careful installation, problems can pop up. Here’s how to fix the most common ones.
Cover Keeps Slipping
If your seat cover won’t stay in place, it’s likely not secured underneath. Check for missing straps or loose hooks. You can also use non-slip seat cover pads or double-sided tape (designed for fabric) to add grip.
Wrinkles or Bunching
This usually happens when the fabric isn’t stretched evenly. Remove the cover and reinstall it, smoothing as you go. For stubborn wrinkles, try lightly misting the fabric with water (if safe for the material) and letting it dry taut.
Headrest Won’t Fit
Some covers are too tight around the headrest posts. Try rotating the cover or using a headrest extender. If the cover is clearly the wrong size, contact the seller for an exchange.
Seat Belt Gets Stuck
If the belt won’t retract, the cover may be pinching it. Loosen the fabric around the belt opening and ensure there’s no bunching near the retractor.
Cover Feels Too Tight or Too Loose
Universal covers often require compromise. If it’s too tight, you may need a larger size. If it’s too loose, look for adjustable straps or consider upgrading to a custom-fit model.
Maintenance Tips to Keep Your Cover Looking Great
Installing your seat cover is just the beginning. To keep it looking like new, follow these care tips:
- Vacuum weekly: Remove dust, crumbs, and pet hair to prevent buildup.
- Spot clean spills immediately: Use a damp cloth and mild detergent. Avoid harsh chemicals that can fade or damage fabric.
- Wash every 2–3 months: Follow the manufacturer’s instructions—some covers are machine washable, others need hand washing.
- Air dry only: Never put seat covers in the dryer. Hang them up or lay them flat to dry.
- Store properly when not in use: If you remove the cover, fold it neatly and keep it in a breathable bag.
Conclusion
Applying a car seat cover might seem daunting at first, but it doesn’t have to be. By following these five simple steps—preparing your seat, inspecting the cover, installing the backrest and seat bottom, and making final adjustments—you can achieve a clean, secure, and professional-looking fit.
Remember, the key to success is patience and attention to detail. Take your time, smooth as you go, and double-check all straps and safety features. With practice, you’ll be able to install a seat cover in under 15 minutes.
Whether you’re protecting your car from kids, pets, or daily wear, a well-installed seat cover adds comfort, style, and value. So grab your cover, follow this guide, and enjoy a refreshed interior that looks like it came straight from the showroom.
Now that you know how to apply car seat cover like a pro, you’re ready to hit the road with confidence!
🎥 Related Video: How to install car seat covers
📺 Muchkey Car Accessories
Hello,This video shows how to install how to install car seat covers . This Car Seat Covers offers dependable protection against …