Putting on a car seat cover doesn’t have to be frustrating. This guide walks you through a simple, fast process to install your seat cover securely and neatly—no tools or experience needed. Get professional-looking results in under 10 minutes!
Key Takeaways
- Preparation is key: Always clean your seats and read the instructions before starting.
- Match the cover to your seat type: Bucket, bench, or split seats require different installation approaches.
- Use built-in straps and hooks: Most covers come with attachment points—use them for a snug fit.
- Work from top to bottom: Start at the headrest and move down to avoid wrinkles and gaps.
- Tuck and secure edges: Neatly tuck fabric into crevices for a clean, factory-like look.
- Double-check after driving: Re-tighten straps if the cover shifts during use.
- Choose quality materials: Breathable, durable fabrics last longer and stay in place better.
How to Put Car Seat Cover on Easily in Minutes
So you’ve bought a brand-new car seat cover—maybe to protect your seats from spills, pets, or wear and tear. Or perhaps you’re upgrading to something more stylish. Either way, the next step is installing it. And let’s be honest: the thought of wrestling with fabric, straps, and clips can feel overwhelming.
But here’s the good news: putting on a car seat cover is easier than you think. With the right approach, you can have your seats looking fresh and protected in under 10 minutes. No special tools, no frustration—just a clean, snug fit that looks like it came straight from the factory.
In this guide, we’ll walk you through a simple, step-by-step process to install your car seat cover quickly and correctly. Whether you’re dealing with front bucket seats, rear bench seats, or even split-folding seats, we’ve got you covered. We’ll also share pro tips to avoid common mistakes and keep your cover looking great for years.
Let’s get started!
Step 1: Gather Your Tools and Prepare the Seat
Before you even touch the seat cover, take a moment to prepare. A little prep goes a long way in ensuring a smooth installation.
What You’ll Need
Most car seat covers come with everything you need, but it’s smart to have a few basics on hand:
- The seat cover (obviously!)
- Any included straps, hooks, or clips
- A clean cloth or vacuum (to clean the seat)
- Scissors (only if trimming is needed—most covers are pre-cut)
- A flat surface to work on (like the car floor or a towel)
Clean the Seat First
Dirt, crumbs, and pet hair can get trapped under the cover, causing bumps or discomfort. Use a vacuum to remove debris, then wipe the seat with a damp cloth. Let it dry completely—moisture can lead to mildew or unpleasant odors over time.
Read the Instructions
Every seat cover is a little different. Some have special features like airbag compatibility, heating element cutouts, or extra padding. Take 2 minutes to read the manufacturer’s guide. It might save you from a frustrating mistake later.
Step 2: Identify Your Seat Type
Not all car seats are the same. The installation method depends on your seat style. Here’s how to tell what you’re working with:
Bucket Seats (Most Common)
These are the individual front seats found in most cars. They’re usually contoured and may have armrests, side bolsters, or adjustable headrests. Bucket seats are the easiest to cover because they’re self-contained.
Bench Seats (Rear Seats)
Found in the back of many sedans and SUVs, bench seats span the width of the car. They’re often flat and may fold down. Some covers are designed as one piece, while others come in sections.
Split-Folding Seats
These are common in SUVs and trucks. The seat back splits (e.g., 60/40 or 40/20/40) and folds down independently. Your cover should match this configuration—look for separate pieces or flexible connectors.
Headrest Types Matter Too
Some headrests are removable, while others are fixed. Removable headrests make installation easier—you can slide the cover over the post. Fixed headrests require a cover with a slit or zipper.
Step 3: Install the Seat Cover (Step-by-Step)
Now for the main event: putting the cover on. Follow these steps for a professional-looking fit.
Start with the Headrest
If your headrest is removable, take it off first. Slide the cover’s headrest portion over the post, then reinsert the headrest. This creates a clean, tight fit at the top.
If the headrest is fixed, look for a zipper or Velcro opening in the cover. Unzip it, drape the cover over the seat, and zip it back up. Make sure the opening aligns perfectly with the headrest post.
Drape the Cover Over the Seat
Lay the cover over the seat, starting from the top. Align the seams with the seat’s natural contours. The front edge should hang down over the seat cushion, and the back should cover the seat back fully.
For bucket seats, make sure the side bolsters (the raised edges on the sides) are covered evenly. For bench seats, center the cover so it doesn’t bunch up on one side.
Secure the Straps and Hooks
Most covers come with elastic straps, hooks, or clips. These are your best friends for keeping the cover in place.
Start at the bottom: attach the straps under the seat. Pull them tight—but not so tight that they warp the fabric. Clip them to the seat frame or existing anchors.
Then move to the sides and back. Tuck any loose fabric into the crevices between the seat back and cushion. Use the provided hooks to secure the cover to the seat’s underside or frame.
Tuck and Smooth the Fabric
This is where the magic happens. Use your hands to smooth out wrinkles and tuck excess fabric into tight spaces.
For example:
- Push fabric into the gap between the seat back and bottom cushion.
- Tuck sides into the door panel area (if applicable).
- Smooth the front edge so it lies flat against the seat.
A well-tucked cover looks neat and prevents shifting.
Repeat for Other Seats
If you’re covering multiple seats, work one at a time. Front seats first, then rear. This keeps things organized and reduces confusion.
Step 4: Final Adjustments and Checks
Once the cover is on, don’t just close the door and drive off. Take a moment to fine-tune the fit.
Check for Wrinkles and Loose Spots
Run your hands over the cover. Are there bumps or sagging areas? Gently pull and re-tuck the fabric. Sometimes a little adjustment makes a big difference.
Test the Seat Functionality
Make sure the seat still moves, reclines, and adjusts properly. If the cover is too tight, it might restrict movement. Loosen straps slightly if needed.
Also, check that seat belts and airbags aren’t blocked. Safety first!
Secure Loose Straps
Any dangling straps should be tucked under the seat or tied off. Loose straps can get caught in seat mechanisms or become a tripping hazard.
Troubleshooting Common Problems
Even with careful installation, issues can pop up. Here’s how to fix the most common ones:
Problem: The Cover Keeps Slipping
Solution: Your straps may not be tight enough. Reattach them under the seat and pull firmly. If the cover still moves, consider using non-slip seat cover pads or adhesive Velcro strips for extra grip.
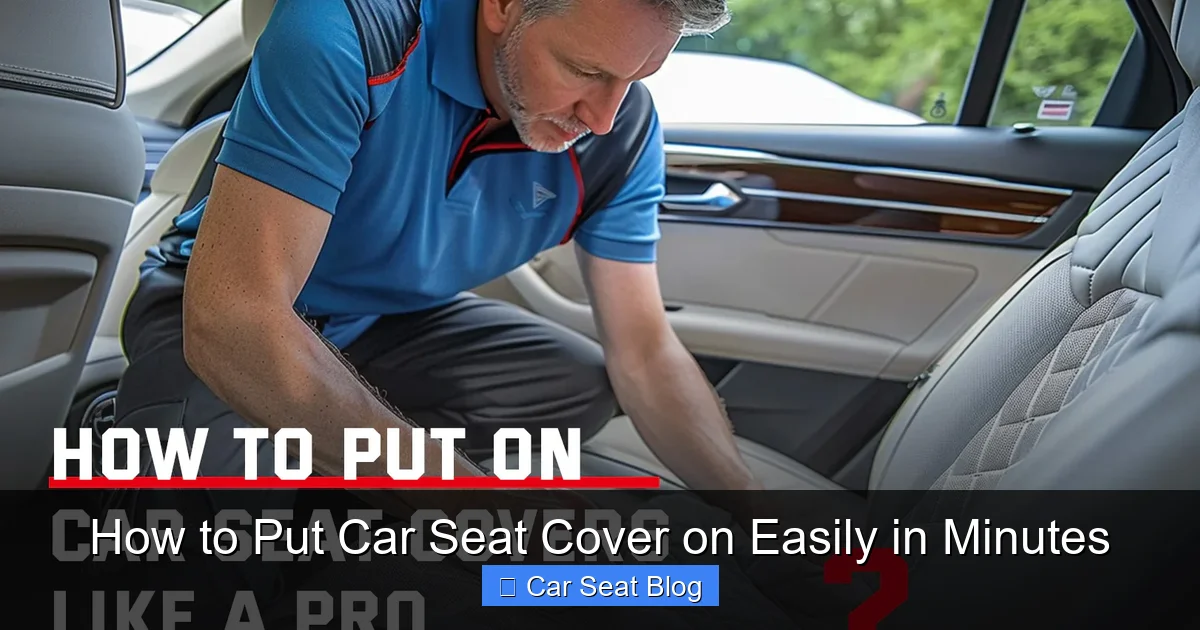
Visual guide about How to Put Car Seat Cover on Easily in Minutes
Image source: freesoo-auto.com
Problem: Wrinkles or Bunching
Solution: This usually happens when the cover is too big or not tucked properly. Remove the cover, re-drape it, and tuck more fabric into the crevices. Smooth as you go.
Problem: Headrest Doesn’t Fit
Solution: Double-check that you’re using the right cover for your headrest type. If it’s fixed and the cover has a slit, make sure the slit is aligned. If all else fails, contact the manufacturer—some covers are returnable.
Problem: Cover Blocks Airbags
Solution: Never install a cover that obstructs side airbags. Look for covers labeled “airbag-safe” with built-in tear seams. If in doubt, remove the cover and choose a compatible model.
Tips for Long-Lasting Results
A well-installed seat cover can last for years—if you take care of it. Here are some tips to keep it looking great:
- Clean regularly: Vacuum weekly and spot-clean spills immediately. Most fabric covers are machine-washable (check the label).
- Avoid sharp objects: Pet claws, keys, and tools can tear the fabric. Use seat protectors for pets or kids.
- Don’t over-tighten straps: This can stretch the fabric or damage the seat frame.
- Re-check after long drives: Vibration can loosen straps. Give them a quick tug every few weeks.
- Store properly if removed: Fold neatly and keep in a dry place to prevent mold or creasing.
Conclusion
Putting on a car seat cover doesn’t have to be a chore. With the right preparation and technique, you can install it in minutes—and enjoy a cleaner, more comfortable ride.
Remember: start clean, follow the steps, and secure everything tightly. Whether you’re protecting your seats from kids, pets, or daily wear, a well-fitted cover makes all the difference.
Now that you know how to put a car seat cover on easily, you can upgrade your interior with confidence. Your car will look better, feel better, and last longer.
So grab that cover, roll up your sleeves, and get started. Your seats will thank you!

