Putting a car seat cover back on doesn’t have to be frustrating. This guide walks you through the process clearly and simply, so you can reinstall your seat cover quickly and correctly—whether it’s fabric, leather, or custom-fit.
Key Takeaways
- Preparation is key: Gather tools and clean the seat before reinstalling the cover to ensure a smooth fit.
- Follow the original removal steps in reverse: Most covers are designed to go back on the same way they came off.
- Use clips, hooks, and straps correctly: These fasteners secure the cover and prevent slipping or bunching.
- Work from the top down: Start at the headrest and move toward the seat base for even tension.
- Check for wrinkles and gaps: Smooth out fabric to maintain comfort and appearance.
- Test functionality: Ensure seat belts, airbags, and adjusters work properly after installation.
- Maintain regularly: Clean and inspect your cover periodically to extend its life.
How to Put Car Seat Cover Back on Easily
If you’ve recently removed your car seat cover for cleaning, repair, or replacement, you might be wondering how to put it back on without a struggle. Whether you’re dealing with a factory-installed fabric cover, a leather upgrade, or a custom-fit aftermarket design, reinstalling it correctly ensures comfort, safety, and a professional look.
Don’t worry—you don’t need to be a mechanic or a DIY expert. With the right approach, putting a car seat cover back on is totally doable in under 30 minutes. This guide will walk you through every step, from preparation to final checks, so you can get back on the road with confidence.
Why Reinstalling Your Car Seat Cover Matters
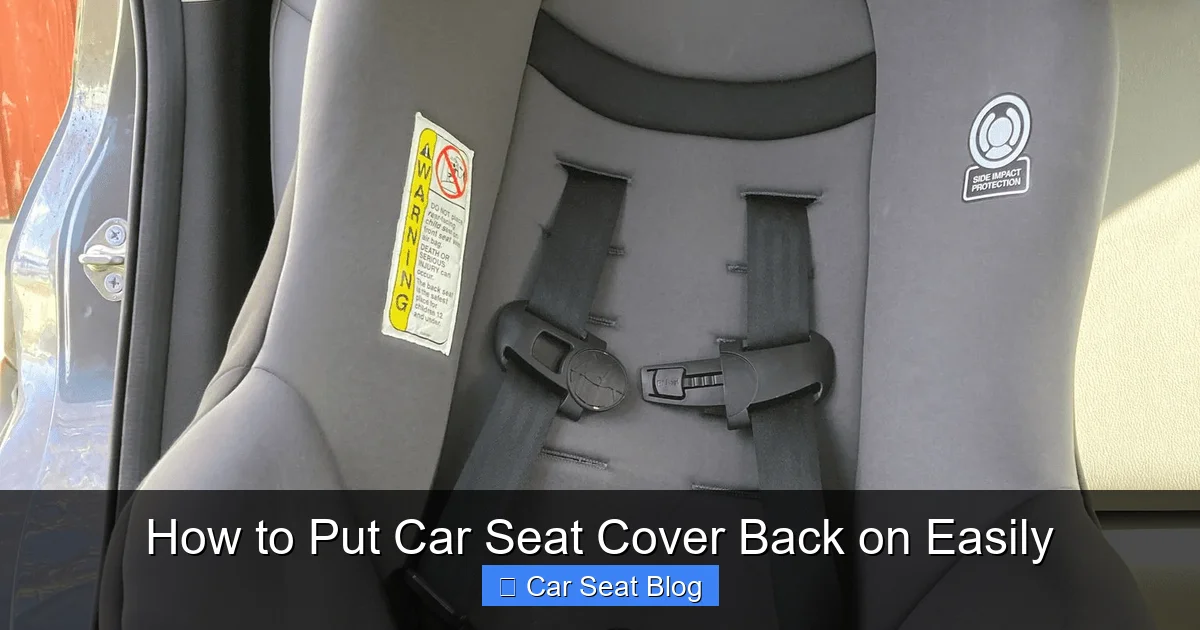
Visual guide about How to Put Car Seat Cover Back on Easily
Image source: csftl.org
A properly installed seat cover does more than just look good. It protects your original upholstery from stains, wear, and UV damage. It also maintains seat integrity—loose or wrinkled covers can interfere with seat belts, airbag deployment, and seat adjustments. Plus, a snug fit enhances comfort and prevents slipping during drives.
Whether you’re refreshing old covers or installing new ones, taking the time to reinstall them correctly pays off in the long run. Let’s get started.
Tools and Materials You’ll Need
Before you begin, gather these essentials to make the process smooth and efficient:
- Clean microfiber cloths
- Mild soap and water (for cleaning the seat base)
- Vacuum cleaner (to remove dust and debris)
- Plastic trim removal tools (to avoid scratching)
- Zip ties or upholstery clips (if original fasteners are missing)
- Needle-nose pliers (for hard-to-reach clips)
- Owner’s manual (for seat-specific instructions)
Having everything ready saves time and reduces frustration. If your cover came with installation instructions, keep them handy—they often include model-specific tips.
Step 1: Clean the Seat and Cover
Clean the Seat Base
Start by thoroughly cleaning the seat itself. Use a vacuum to remove dirt, crumbs, and pet hair from crevices. Wipe down the seat frame and foam with a damp cloth and mild soap. Let it dry completely—moisture trapped under the cover can lead to mold or odors.
Wash or Refresh the Cover
If you removed the cover for cleaning, make sure it’s completely dry before reinstalling. Machine-washable covers should be air-dried to prevent shrinkage. For leather or synthetic covers, use a gentle cleaner and conditioner to restore softness and shine.
A clean seat and cover ensure a fresh, professional finish and help the cover slide on more easily.
Step 2: Inspect the Cover and Seat
Before reinstalling, do a quick inspection:
- Check for tears, stretched fabric, or broken zippers.
- Ensure all straps, hooks, and elastic bands are intact.
- Look for manufacturer tags or labels that indicate top/bottom or front/back orientation.
If you find damage, consider repairing or replacing the cover before reinstalling. A damaged cover won’t fit properly and may fail over time.
Also, inspect the seat itself. Make sure no clips, springs, or wires are bent or missing. If something’s broken, fix it first—otherwise, the cover won’t stay in place.
Step 3: Reattach the Headrest (If Removed)
Many seat covers require the headrest to be removed during installation. If you took it off, now’s the time to put it back—but only after the cover is partially on.
Slide the Cover Over the Headrest Area
Gently pull the cover up over the headrest posts. Most covers have elastic edges or zippers designed to stretch over these parts. Work slowly to avoid tearing.
Reinsert the Headrest
Once the cover is in place, reinsert the headrest posts into the seat. You may need to wiggle them slightly. Make sure they click securely into position.
Don’t force it—if it doesn’t go in easily, double-check that the cover isn’t blocking the holes.
Step 4: Align the Cover Properly
Proper alignment is crucial for a neat appearance and secure fit.
Match the Cover to the Seat Shape
Lay the cover over the seat and align it with the contours. The seams should match the seat’s natural folds. For bucket seats, ensure the cover fits snugly around the sides and bolsters.
Start from the Top
Begin at the top of the seat back and work your way down. This helps distribute fabric evenly and prevents bunching at the bottom.
If your cover has a zipper or Velcro closure at the back, fasten it now to hold the cover in place while you work.
Step 5: Secure the Cover with Fasteners
Most seat covers use a combination of hooks, straps, and clips to stay in place. Here’s how to use them:
Attach J-Hooks and Clips
Look for J-shaped hooks along the edges of the cover. These hook under the seat frame or into designated slots. Use needle-nose pliers if they’re hard to reach.
Tighten Elastic Straps
Many covers have elastic straps with buckles or hooks at the bottom. Pull them tight and secure them under the seat. This prevents the cover from shifting when you sit.
Use Zip Ties for Extra Security
If original fasteners are missing, use plastic zip ties to anchor the cover to the seat frame. Trim the excess ends to avoid sharp edges.
Avoid over-tightening, which can stretch or tear the fabric. The goal is a snug, wrinkle-free fit.
Step 6: Tuck and Smooth the Fabric
A professional look comes down to the details.
Tuck Excess Fabric
Push extra material into the gaps between the seat back and base. Use a plastic trim tool to gently tuck fabric into tight spaces without damaging it.
Smooth Out Wrinkles
Run your hands over the cover to remove wrinkles and bumps. Pay special attention to the sides and corners. A smooth surface looks better and feels more comfortable.
If the cover bunches up, loosen the fasteners slightly, adjust the fabric, and retighten.
Step 7: Reconnect Seat Belts and Adjusters
Safety first! Make sure all seat functions work properly after installation.
Check Seat Belt Access
Ensure the seat belt buckle and retractor are fully accessible. The cover shouldn’t block or interfere with the belt’s movement.
Test Seat Adjustments
Move the seat forward, backward, up, and down. Recline the backrest if applicable. The cover should move with the seat without binding or tearing.
Verify Airbag Compatibility
If your seat has side airbags, confirm the cover has a designated tear seam or is labeled “airbag compatible.” Never install a cover that blocks airbag deployment.
Step 8: Final Inspection and Adjustments
Take a step back and inspect your work.
- Does the cover look even and wrinkle-free?
- Are all fasteners secure?
- Can you sit comfortably without the cover slipping?
- Do all seat functions work normally?
Make small adjustments as needed. It’s normal to need a few tweaks the first time you reinstall a cover.
Troubleshooting Common Issues
Even with careful installation, you might run into problems. Here’s how to fix them:
Cover Won’t Stay in Place
This usually means the fasteners aren’t secure. Double-check hooks, straps, and clips. Add extra zip ties if necessary.
Wrinkles or Bunching
Loosen the cover, smooth it out, and retighten. Sometimes fabric shifts during installation—just redistribute it evenly.
Headrest Doesn’t Fit
Ensure the cover is stretched fully over the posts. If it’s still tight, check for manufacturer instructions—some covers require specific headrest removal techniques.
Seat Belt Is Hard to Use
Reposition the cover so it doesn’t pinch the belt. Avoid tucking fabric too tightly around the buckle area.
Tips for Long-Term Maintenance
To keep your seat cover looking great:
- Vacuum weekly to remove dust and debris.
- Spot-clean spills immediately with a damp cloth.
- Use fabric or leather protectors to repel stains.
- Remove and clean the cover every 3–6 months.
- Store spare covers in a cool, dry place to prevent mildew.
Regular care extends the life of your cover and keeps your car’s interior fresh.
Conclusion
Putting a car seat cover back on doesn’t have to be a headache. With the right tools, a little patience, and this step-by-step guide, you can reinstall your cover quickly and correctly. Whether you’re refreshing old upholstery or upgrading to a new style, a properly fitted cover enhances comfort, protects your seat, and boosts your car’s interior appeal.
Remember: take your time, follow the steps in order, and always prioritize safety. Your seat should look great, feel comfortable, and function perfectly. Now that you know how to put car seat cover back on easily, you can tackle this task with confidence—anytime.

