How to Keep Car Seat Covers in Place for Good
Car seat covers that slip, bunch, or slide can be annoying and unsafe. This guide shows you simple, effective ways to keep them firmly in place using straps, non-slip materials, and smart installation techniques—so they stay put mile after mile.
Key Takeaways
- Choose the right seat cover material: Opt for non-slip fabrics like neoprene or rubber-backed polyester to reduce movement.
- Use built-in straps and hooks: Most quality covers come with attachment points—always use them to anchor the cover securely.
- Install anti-slip pads or mats: Place silicone or rubberized pads between the seat and cover to add grip.
- Ensure proper fit: Custom-fit covers stay in place better than universal ones—measure your seats before buying.
- Tighten and adjust regularly: Re-tighten straps and reposition covers after a few days of use to maintain a snug fit.
- Avoid loose or oversized covers: Excess fabric leads to bunching—trim or tuck it carefully during installation.
- Clean and maintain covers: Dirt and moisture reduce grip—keep both seat and cover clean for maximum hold.
How to Keep Car Seat Covers in Place for Good
If you’ve ever driven just a few miles only to find your car seat cover bunched up, sliding sideways, or riding up the backrest, you’re not alone. Loose or shifting seat covers aren’t just annoying—they can be a distraction and even a safety hazard. The good news? With the right tools and techniques, you can keep your car seat covers in place for good.
In this complete guide, we’ll walk you through practical, step-by-step solutions to ensure your seat covers stay snug, secure, and wrinkle-free. Whether you’re using fabric, leather, neoprene, or universal-fit covers, these tips will help you achieve a professional-looking, long-lasting installation.
Why Do Car Seat Covers Slip?
Before we dive into fixes, it’s important to understand why seat covers move in the first place. Common causes include:
- Poor fit: Universal covers often don’t match your seat’s exact shape, leaving gaps and loose fabric.
- Smooth surfaces: Slippery materials like leather or vinyl reduce friction between the seat and cover.
- Lack of attachment points: Some covers come without straps, hooks, or clips to secure them.
- Frequent use: Getting in and out of the car, adjusting positions, and temperature changes can loosen covers over time.
- Improper installation: Rushing through setup or skipping key steps leads to shifting later.
Now that you know the root causes, let’s fix them—starting with choosing the right cover.
Step 1: Choose the Right Seat Cover for a Secure Fit
Not all seat covers are created equal. The first step to keeping them in place is selecting one designed for stability.
Opt for Custom-Fit Covers
Custom-fit seat covers are tailored to your vehicle’s make, model, and year. They hug the seat contours perfectly, minimizing excess fabric that can shift. While they cost more than universal options, the improved fit is worth it for long-term use.
Look for Non-Slip Materials
Materials like neoprene, rubber-backed polyester, or silicone-coated fabric naturally resist sliding. Neoprene, for example, is thick, grippy, and water-resistant—ideal for active drivers or families with kids.
Check for Built-In Attachment Features
High-quality covers include straps, elastic bands, J-hooks, or Velcro fasteners. These let you anchor the cover to seat frames, headrest posts, or under-seat hooks. Always prioritize covers with these features.
Step 2: Prepare Your Seats Before Installation
A clean, dry seat surface ensures better adhesion and reduces slippage.
Clean the Seat Thoroughly
Use a vacuum to remove crumbs, dirt, and pet hair. Wipe down the seat with a mild cleaner and let it dry completely. Grease or moisture can make covers slide more easily.
Remove Headrests (If Needed)
Many covers require you to remove headrests during installation. Check your cover’s instructions—some slide over the posts, while others need the headrest off entirely.
Inspect Seat Hooks and Anchors
Look under your seat for built-in hooks, clips, or metal bars. These are anchor points you’ll use to secure the cover. Clean them if they’re dusty or rusty.
Step 3: Install the Seat Cover Correctly
Proper installation is key to long-term stability. Follow these steps carefully.
Start with the Bottom Seat Cover
Slide the cover over the seat cushion, aligning it with the edges. Pull it taut—don’t let it sag or wrinkle.
Secure with Straps and Hooks
Attach any included straps to the seat frame or under-seat hooks. Tighten them evenly to avoid twisting. For covers with J-hooks, tuck them under the seat and hook them to the metal frame.
Install the Backrest Cover
Drape the backrest cover over the seatback. Use elastic bands or Velcro to secure the top and sides. If your cover has a zipper or snap system, fasten it snugly.
Tuck Excess Fabric
Fold and tuck any loose material under the seat or into crevices. Avoid leaving flaps that can catch on clothing or shift during use.
Reinstall Headrests
Once the cover is secure, reattach the headrest. Make sure it fits snugly and doesn’t pull the cover out of place.
Step 4: Use Anti-Slip Pads or Mats
Even with a good fit, some covers still shift—especially on leather or smooth fabric seats. Anti-slip pads solve this.
Choose the Right Pad Material
Silicone or rubberized non-slip mats work best. They’re thin, durable, and provide excellent grip. Avoid thick pads that raise the seat too high.
Cut to Size
Trim the pad to match your seat’s shape. Place one under the bottom cushion and another behind the backrest.
Secure with Adhesive (Optional)
For extra hold, use double-sided automotive tape to stick the pad to the seat. This prevents the pad itself from moving.
Step 5: Add Extra Fasteners for Stability
Sometimes, factory straps aren’t enough. Here’s how to reinforce your setup.
Use Seat Cover Straps
Purchase universal seat cover straps with hooks or clips. Attach one end to the cover and the other to the seat frame. Cross them underneath for a crisscross hold.
Try Velcro Strips
Apply heavy-duty Velcro strips to the underside of the cover and the seat. Press firmly to bond. This works well for side panels or headrest areas.
Install Seat Cover Clips
Spring-loaded clips can grip the seat edge and hold the cover in place. They’re especially useful for universal covers that don’t have built-in fasteners.
Step 6: Maintain and Adjust Regularly
Even the best-installed covers can loosen over time. Regular maintenance keeps them secure.
Check After the First Week
Drive for a few days, then inspect the cover. Re-tighten straps, re-tuck fabric, and adjust as needed.
Clean Covers Monthly
Wash fabric covers according to the manufacturer’s instructions. Dirt and oils reduce grip. For leather or vinyl, use a conditioner to prevent cracking and slipping.
Reapply Anti-Slip Pads if Needed
Over time, silicone pads can lose stickiness. Replace them every 6–12 months or when you notice slipping.
Troubleshooting Common Problems
Problem: Cover Bunches Up in the Middle
This usually means the cover is too large or not pulled tight enough. Remove it, re-stretch it over the seat, and secure all straps. Trim excess fabric if necessary.
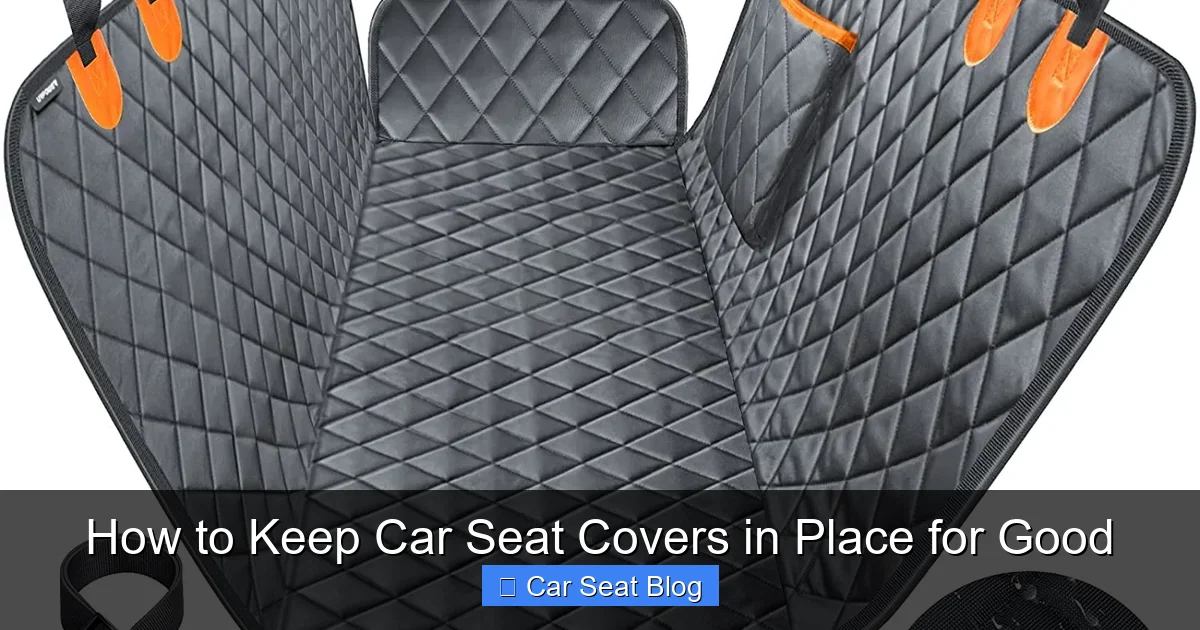
Visual guide about How to Keep Car Seat Covers in Place for Good
Image source: i2.wp.com
Problem: Cover Slides Forward When Braking
The bottom cushion isn’t anchored. Add a non-slip pad and use longer straps that hook under the seat frame. Ensure the cover extends far enough under the seat.
Problem: Headrest Area Wrinkles or Lifts
The cover may not be designed for your headrest style. Use a headrest-specific cover or add Velcro to the back to hold it down.
Problem: Straps Break or Come Loose
Replace weak straps with heavy-duty ones. Avoid over-tightening, which can stress the material. Check clips for wear and replace as needed.
Final Tips for Long-Lasting Hold
- Don’t rush installation: Take your time to align, tighten, and tuck every part.
- Use seat protectors for kids: If you have children, add a separate seat protector over the cover to reduce wear and shifting.
- Avoid extreme temperatures: Heat can soften adhesives and cause covers to slide. Park in the shade or use a sunshade.
- Store covers properly: When not in use, fold them neatly and keep them in a dry place to prevent stretching or damage.
Conclusion
Keeping your car seat covers in place doesn’t have to be a constant battle. By choosing the right cover, installing it correctly, and using anti-slip aids, you can enjoy a clean, secure, and professional-looking interior. Remember: a little effort during setup pays off in long-term comfort and safety.
Whether you’re protecting your seats from pets, kids, or daily wear, these proven methods will help your covers stay put—mile after mile. So grab your tools, follow these steps, and say goodbye to slipping, bunching, and readjusting. Your car seats will thank you.