How to Keep Car Seat Cover from Sliding Easily
Car seat covers that slide can be annoying and unsafe. This guide shows you simple, proven methods to keep them in place—using non-slip mats, straps, clips, and more—so you can drive with confidence and comfort.
Key Takeaways
- Use non-slip seat cover liners: Place a rubber or silicone mat underneath the cover to create friction and prevent movement.
- Install anti-slip straps or clips: Secure the cover to the seat frame using adjustable straps or J-hooks for a snug, stable fit.
- Choose high-quality, custom-fit covers: Well-designed covers made for your specific car model are less likely to shift.
- Tuck and anchor the cover properly: Use built-in hooks, elastic bands, or tuck excess fabric into seat seams to lock it in place.
- Clean and maintain the seat surface: Dirt and moisture reduce grip—regular cleaning improves adhesion between the seat and cover.
- Consider DIY solutions like double-sided tape or Velcro: These quick fixes can add extra hold in problem areas.
- Re-tighten periodically: Over time, covers may loosen—check and adjust them every few weeks.
How to Keep Car Seat Cover from Sliding Easily
We’ve all been there—you slide into your car, buckle up, and within minutes, your seat cover has shifted, bunched up, or slid forward. Not only is this annoying, but it can also be a safety hazard. A loose seat cover might interfere with airbag deployment or reduce your control while driving. The good news? Keeping your car seat cover from sliding is easier than you think.
In this guide, we’ll walk you through practical, step-by-step solutions to stop seat covers from moving. Whether you’re using universal-fit covers or custom ones, these tips will help you achieve a secure, comfortable, and long-lasting fit. From simple household items to specialized tools, you’ll learn how to keep your seat cover in place—no matter how much you drive.
Why Do Car Seat Covers Slide?
Before we dive into fixes, it’s helpful to understand why seat covers slip in the first place. Most sliding happens due to a lack of friction between the cover and the original seat. Smooth materials like leather, vinyl, or even some fabrics create a slippery surface. Add movement from getting in and out of the car, sudden stops, or long drives, and the cover gradually shifts.
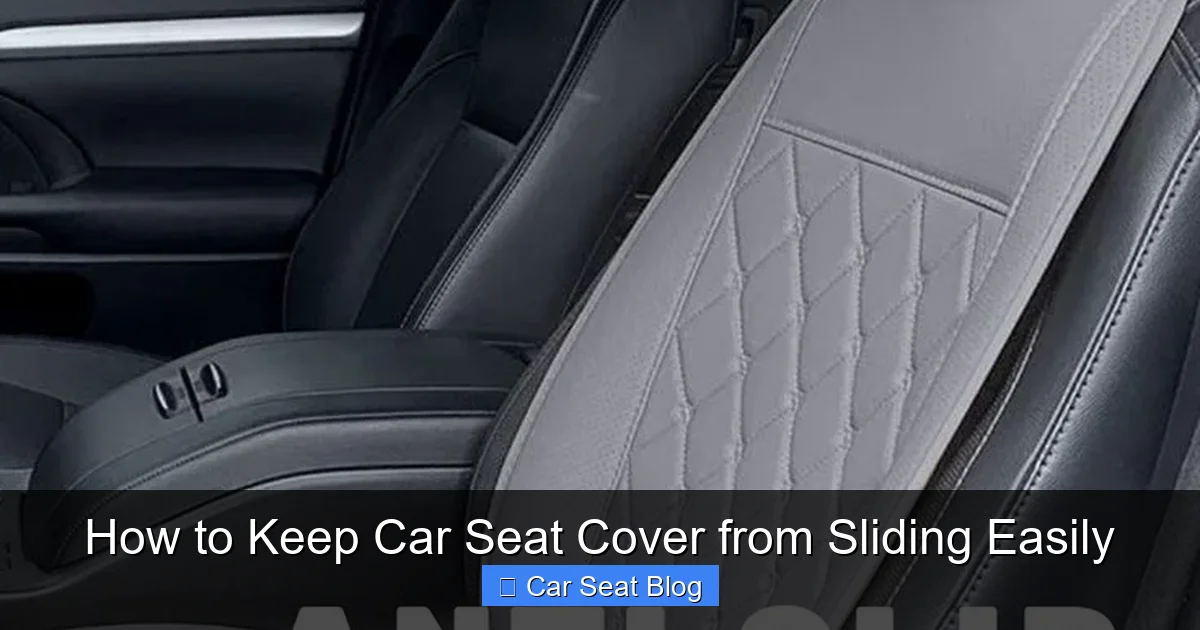
Visual guide about How to Keep Car Seat Cover from Sliding Easily
Image source: i.pinimg.com
Other common causes include:
- Poorly designed or ill-fitting covers
- Loose installation without proper anchoring
- Worn-out or missing attachment points
- Moisture or dirt buildup on the seat
- Heavy use over time
Understanding these factors helps you choose the right solution. Now, let’s get into the best ways to stop the slipping for good.
Step 1: Use a Non-Slip Seat Liner or Mat
One of the easiest and most effective ways to prevent sliding is by adding a non-slip layer between your seat and the cover. Think of it like placing a rug pad under a rug—it grips both surfaces and stops movement.
What to Use
Look for rubber, silicone, or textured fabric mats designed for car seats. You can find pre-cut non-slip liners online or at auto stores. Alternatively, cut a piece of yoga mat, shelf liner, or even a silicone baking mat to size.
How to Install
- Remove the seat cover (if possible) or lift it slightly.
- Place the non-slip mat directly on the seat, covering the entire seating area.
- Reinstall the cover, pressing it firmly over the mat.
- Smooth out any wrinkles and tuck edges as needed.
Pro Tip: Choose a mat with a grippy texture on both sides. This ensures it sticks to both the seat and the cover, doubling the hold.
Step 2: Secure with Anti-Slip Straps or Clips
If your seat cover came with straps or hooks, use them! Many covers include J-hooks, elastic bands, or adjustable straps designed to attach to the seat frame. If not, you can buy universal anti-slip straps online.
How to Attach Straps
- Locate the attachment points on your seat cover (usually at the back or sides).
- Find secure anchor points on your car seat—like the metal frame, under-seat rails, or existing hooks.
- Connect the straps and tighten them until the cover is snug but not stretched.
- Test by sitting and moving around—adjust if needed.
Example: If your cover has loops at the bottom, thread a strap through them and hook it under the seat. This pulls the cover down and prevents it from riding up.
DIY Strap Hack
No straps? Use zip ties, bungee cords, or even strong rubber bands. Just make sure they’re tight enough to hold but not so tight they damage the cover or seat.
Step 3: Tuck and Anchor the Cover Properly
Even the best covers can slide if they’re not tucked in correctly. Most seat covers are designed to be tucked into the crevices between the seat cushions and the backrest. This creates a natural anchor point.
How to Tuck Like a Pro
- Start at the front of the seat. Push the cover fabric into the gap between the seat bottom and backrest.
- Use a plastic trim tool, butter knife, or even a credit card to push the fabric deep into the seam.
- Work your way across the seat, tucking evenly to avoid bunching.
- For bucket seats, tuck the sides into the gaps near the door and center console.
Bonus Tip: If your cover has elastic skirts or side flaps, make sure they’re tucked under the seat. These are designed to grip the underside and prevent shifting.
Step 4: Choose the Right Seat Cover
Not all seat covers are created equal. A major reason covers slide is because they’re the wrong size or style for your car. Universal covers often don’t fit snugly, while custom-fit ones are tailored to your exact seat shape.
What to Look For
- Custom-fit designs: These match your car’s make, model, and year for a precise fit.
- Non-slip backing: Some premium covers have silicone or rubberized undersides that grip the seat.
- Built-in anchors: Look for covers with hooks, straps, or elastic bands included.
- Breathable, textured fabric: Materials like neoprene or canvas provide better grip than smooth polyester.
Example: A neoprene seat cover for a Honda Civic will stay in place better than a generic polyester cover because it’s stretchy, grippy, and molded to fit.
If you’re buying new, check reviews for comments about slipping. Many users mention whether a cover stays put or not—this is a great way to avoid disappointment.
Step 5: Use Double-Sided Tape or Velcro Strips
For a quick, temporary fix, double-sided tape or Velcro can work wonders. These adhesives add grip without permanent damage—especially if you use removable options.
How to Apply
- Clean both the seat and the underside of the cover with rubbing alcohol to remove oils and dirt.
- Cut small pieces of double-sided tape or Velcro (use the hook-and-loop kind).
- Attach one side to the seat and the other to the cover, focusing on high-movement areas like the seat bottom and backrest.
- Press firmly and let it set for a few minutes before use.
Safety Note: Avoid using strong adhesives on leather seats—they can leave residue or damage the surface. Test a small area first.
Pro Tip: Use Velcro strips instead of tape if you plan to remove the cover often. They’re reusable and easier to clean.
Step 6: Clean and Maintain the Seat Surface
Dirt, dust, and moisture reduce friction. A clean seat grips better, so regular maintenance is key to preventing slippage.
Cleaning Tips
- Vacuum the seat weekly to remove crumbs and debris.
- Wipe down with a damp cloth and mild cleaner (avoid harsh chemicals on leather).
- Let the seat dry completely before reinstalling the cover.
- For leather seats, use a conditioner to keep the surface supple—but don’t overdo it, as oily residues can make things slick.
Example: If you spill coffee or soda, clean it immediately. Sticky residues attract dirt and make the seat slippery.
Step 7: Re-Tighten and Adjust Regularly
Even the best-installed cover can loosen over time. Make it a habit to check and re-tighten your seat cover every few weeks—especially after long trips or heavy use.
Quick Check Routine
- Sit in the seat and shift around to test for movement.
- Look for wrinkles, bunching, or gaps.
- Re-tuck any loose fabric into the seat seams.
- Re-secure straps or clips if they’ve come loose.
Pro Tip: Set a phone reminder every month to inspect your seat covers. It only takes a minute but saves you from future frustration.
Troubleshooting Common Problems
Even with the best methods, you might run into issues. Here’s how to fix the most common problems:
Problem: Cover Still Slides After Installation
Solution: Combine methods. Use a non-slip mat and straps. Sometimes one fix isn’t enough—layering solutions gives maximum hold.
Problem: Straps Won’t Stay Attached
Solution: Look for stronger anchor points. Some seats have hidden hooks or metal bars underneath. Use a flashlight to inspect. If nothing’s available, consider installing small eye bolts (if safe and legal in your area).
Problem: Cover Bunches Up in the Middle
Solution: This usually means the cover is too big or not tucked properly. Remove it, re-tuck all edges, and pull the fabric taut before reattaching.
Problem: Adhesive Leaves Residue
Solution: Use a citrus-based cleaner or rubbing alcohol to remove sticky residue. Test on a small area first to avoid discoloration.
Final Thoughts
Keeping your car seat cover from sliding doesn’t have to be a constant battle. With the right tools and techniques, you can enjoy a secure, comfortable seat every time you drive. Whether you’re using a non-slip mat, straps, or a custom-fit cover, the key is consistency and proper installation.
Remember: a well-fitted seat cover isn’t just about looks—it’s about safety and comfort. Take the time to set it up right, and it will serve you well for miles to come.