Disconnecting a car stereo doesn’t have to be intimidating. This guide walks you through the entire process—from safety prep to reassembly—so you can remove your head unit confidently and without damage.
How to Disconnect Car Stereo Safely and Easily
Whether you’re upgrading to a modern touchscreen stereo, replacing a faulty unit, or installing a new sound system, knowing how to disconnect your car stereo properly is essential. Doing it the wrong way can lead to damaged dashboards, broken clips, electrical issues, or even safety hazards. The good news? With the right tools, a little patience, and this step-by-step guide, you can disconnect your car stereo safely and easily—no mechanic required.
In this comprehensive guide, we’ll walk you through every stage of the process: from preparing your vehicle and gathering tools, to safely removing the stereo and handling the wiring. We’ll also share practical tips, troubleshooting advice, and what to do if things don’t go as planned. By the end, you’ll feel confident tackling this common car DIY project.
Why Disconnecting Your Car Stereo Safely Matters
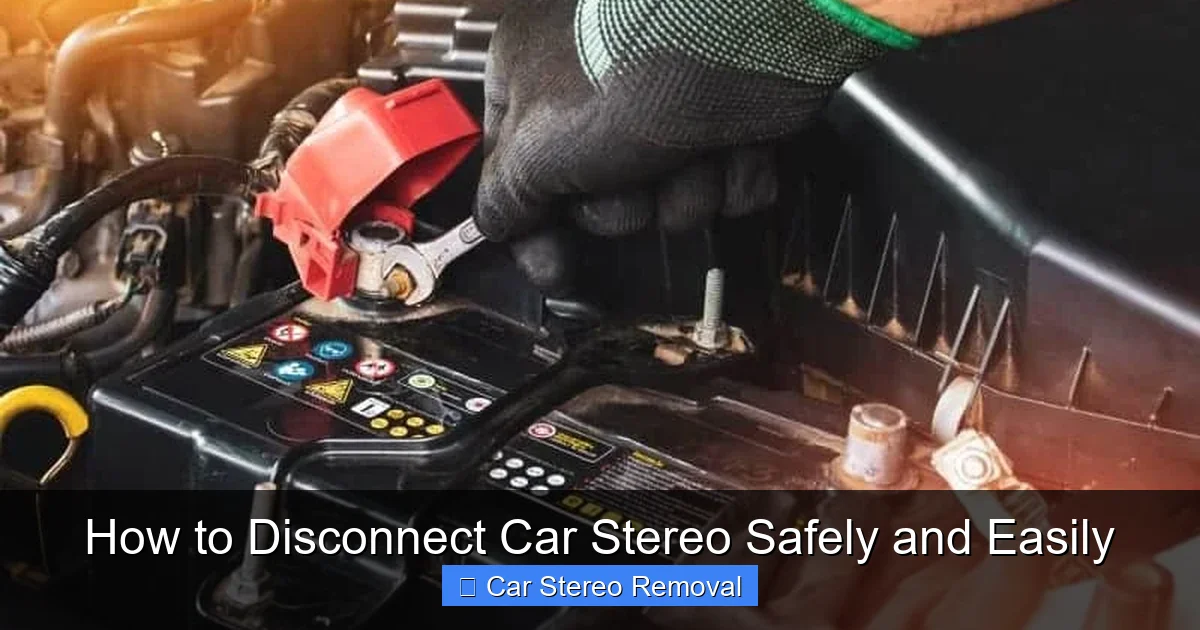
Visual guide about How to Disconnect Car Stereo Safely and Easily
Image source: rxmechanic.com
Before diving into the steps, it’s important to understand why safety and care are crucial. Car stereos are connected to your vehicle’s electrical system, which includes the battery, fuse box, and sometimes even the airbag system. A sudden power surge or short circuit can damage electronics, blow fuses, or—in rare cases—trigger airbag sensors.
Additionally, modern dashboards are made of plastic and held together with delicate clips and screws. Forcing panels off can crack trim pieces or break mounting brackets, leading to costly repairs. Taking the time to disconnect your stereo the right way protects both your car and your wallet.
Tools and Materials You’ll Need
Having the right tools on hand makes the job smoother and reduces frustration. Here’s what you’ll need:
- Trim removal tool (or plastic pry tool): Prevents scratches when removing dashboard panels.
- DIN tools (or stereo removal keys): These U-shaped metal tools slide into the stereo’s side slots to release the unit.
- Socket wrench or screwdriver set: For removing screws holding the stereo or trim in place.
- Wire strippers and electrical tape: Useful if you’re modifying or labeling wires.
- Camera or smartphone: To take photos of wiring and connections.
- Gloves and safety glasses: Optional but recommended for protection.
- Zip ties or wire labels: Helps keep wires organized.
Most of these tools are inexpensive and available at auto parts stores or online. If you plan to work on your car regularly, investing in a basic trim removal kit is worth it.
Step 1: Disconnect the Car Battery
This is the most important step—don’t skip it!
Why It’s Critical
Your car’s stereo is powered by the vehicle’s electrical system. Even when the ignition is off, there can still be residual power flowing through the wires. Disconnecting the battery eliminates the risk of short circuits, electrical shocks, or accidental activation of safety systems.
How to Do It
- Open the hood and locate the battery.
- Use a wrench to loosen the nut on the negative terminal (marked with a “-” or black cover).
- Carefully remove the negative cable and tuck it away from the battery terminal so it doesn’t accidentally reconnect.
- Wait at least 5–10 minutes to allow any stored power in the system to dissipate.
Pro Tip: Some vehicles have a backup power source for the stereo (like a capacitor) that retains settings. If you want to preserve your radio presets, consider using a memory saver device that plugs into the OBD-II port.
Step 2: Remove the Dashboard Trim
Most car stereos are housed behind a plastic trim panel that covers the radio and climate controls.
Locate the Trim Panel
The trim usually surrounds the stereo and may extend to the sides or below. Look for seams or gaps between the panel and the dashboard.
Gently Pry Off the Panel
- Start at one corner and insert your trim removal tool into the seam.
- Work your way around the panel, releasing clips one by one.
- Do not force it—if it’s not coming off, there may be hidden screws.
Common Mistake: Using a flathead screwdriver can scratch or crack the plastic. Always use a plastic pry tool.
Check for Hidden Screws
Some vehicles have screws under small covers or behind climate control knobs. Use a flashlight to inspect the area. If you find screws, remove them with the appropriate screwdriver before prying.
Step 3: Remove the Stereo Mounting Hardware
Once the trim is off, you’ll see the stereo unit secured in place.
Identify the Mounting System
There are two common types:
- ISO/DIN Mount: Standard in most cars. The stereo slides into a metal sleeve and is held by spring clips.
- Bolt-On Mount: The stereo is secured with screws on the sides or bottom.
Remove Screws (If Applicable)
If your stereo is bolted in, use a socket wrench or screwdriver to remove the screws. Keep them in a small container so you don’t lose them.
Use DIN Tools for Standard Mounts
For ISO/DIN mounts:
- Insert the DIN tools into the small slots on the left and right sides of the stereo.
- Push the tools inward until you feel them catch the release clips.
- Gently pull the tools outward—the stereo should slide out smoothly.
Tip: If the stereo doesn’t come out, wiggle the tools slightly or check for additional clips. Never yank it out.
Step 4: Disconnect the Wiring Harness and Antenna
Now that the stereo is free, it’s time to disconnect the wires.
Unplug the Wiring Harness
Locate the main wiring harness at the back of the stereo. It’s usually a large plug with multiple colored wires.
- Press the release tab (if present) and gently pull the plug straight out.
- Do not pull on the wires themselves—this can damage the connectors.
Remove the Antenna Cable
The antenna cable is typically a thin, coaxial cable with a round plug.
- Gently pull it straight out. It may have a slight twist-lock mechanism—turn it slightly before pulling.
- Avoid bending or kinking the cable.
Label and Organize Wires (Optional but Recommended)
If you plan to reinstall the same stereo or upgrade later, label the wires using tape and a marker. Take a photo of the back of the stereo with all connections visible. This makes reinstallation much easier.
Step 5: Remove the Stereo Completely
With all connections detached, carefully slide the stereo out of the dashboard.
Handle with Care
Stereo units contain sensitive electronics. Avoid dropping or exposing them to moisture.
Store Safely
Place the stereo in a clean, dry area—preferably in its original box or a padded container.
Troubleshooting Common Issues
Even with careful planning, you might run into problems. Here’s how to handle them:
The Stereo Won’t Come Out
- Double-check for hidden screws or clips.
- Ensure the DIN tools are fully inserted and engaged.
- Some stereos have a locking mechanism—refer to your owner’s manual.
Wires Are Stuck or Hard to Reach
- Use a flashlight and mirror to see behind the stereo.
- A long, flexible grabber tool can help pull plugs loose.
- If a wire is damaged, note it for repair or replacement.
Trim Panel Won’t Snap Back In
- Check that all clips are intact and aligned.
- Some clips may have broken during removal—replace them with universal trim clips.
- Apply gentle, even pressure when reattaching.
Battery Reconnection Issues
After reconnecting the battery, if the stereo doesn’t power on:
- Check that the wiring harness is fully plugged in.
- Verify the fuse for the radio (usually in the fuse box under the dash or hood).
- Ensure the battery terminals are tight and corrosion-free.
Reinstalling or Replacing the Stereo
If you’re installing a new stereo, follow the manufacturer’s instructions. Most aftermarket stereos come with a wiring harness adapter that plugs into your car’s original harness—no cutting wires required.
Test Before Final Assembly
Before putting the trim back on:
- Reconnect the battery.
- Turn on the ignition and test the stereo’s power, sound, and features.
- Check Bluetooth, USB, and steering wheel controls (if applicable).
This step ensures everything works before you spend time reassembling the dashboard.
When to Call a Professional
While disconnecting a car stereo is a manageable DIY task, some situations call for expert help:
- Your car has a factory-installed navigation or premium audio system.
- You’re unsure about wiring or encounter complex harnesses.
- The stereo is integrated with the car’s computer or security system.
- You’ve tried multiple times and can’t remove the unit without force.
A professional installer can save you time, prevent damage, and ensure compatibility—especially if you’re upgrading to a high-end system.
🎥 Related Video: How to safely remove a car stereo without din tool
📺 Tech MC
Final Thoughts
Disconnecting a car stereo safely and easily is all about preparation, patience, and the right tools. By following this guide, you’ve learned how to protect your vehicle’s electrical system, avoid common pitfalls, and handle the stereo with care. Whether you’re swapping out an old unit or installing a sleek new touchscreen, doing it yourself can be rewarding and cost-effective.
Remember: always disconnect the battery first, document your wiring, and test before reassembly. With these habits, you’ll not only remove your stereo safely—you’ll set yourself up for a smooth reinstallation or upgrade down the road.
Now that you’re equipped with the knowledge and confidence, go ahead and give it a try. Your car’s sound system will thank you.

