This guide walks you through how to pull out car stereo safely and efficiently, even if you’re a beginner. With the right tools and clear instructions, you can remove your head unit without damaging your dashboard or wiring.
Introduction: Why You Might Need to Remove Your Car Stereo
Whether you’re upgrading to a new touchscreen head unit, troubleshooting a malfunctioning radio, or installing a backup camera, knowing how to pull out car stereo is a valuable skill. Many car owners assume this job requires professional help, but with the right tools and a bit of patience, it’s entirely doable at home.
Removing your car stereo isn’t just for tech-savvy gearheads. If you’ve ever wanted to improve your sound system, add Bluetooth connectivity, or simply replace a broken unit, this guide will walk you through the entire process—step by step. We’ll cover everything from safety precautions to reassembly tips, so you can complete the job confidently and without damaging your vehicle.
By the end of this guide, you’ll know exactly how to safely extract your stereo, handle the wiring, and prepare for a new installation. Let’s get started!
Step 1: Prepare Your Vehicle and Gather Tools
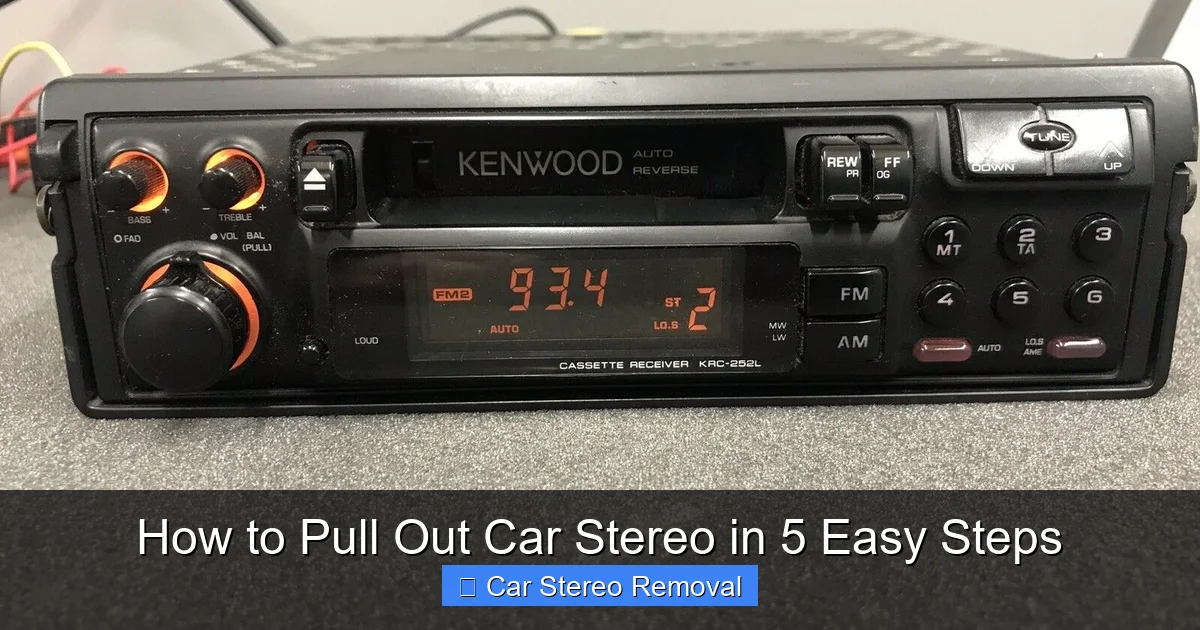
Visual guide about How to Pull Out Car Stereo in 5 Easy Steps
Image source: jtaudio.net
Before you touch a single screw or panel, preparation is key. Rushing into the job without the right tools or safety steps can lead to broken clips, damaged wiring, or even electrical issues.
Turn Off the Engine and Disconnect the Battery
Start by turning off your car and removing the key from the ignition. Then, locate the car battery—usually under the hood—and disconnect the negative terminal using a wrench. This prevents accidental short circuits or power surges while you’re working on the stereo wiring.
Pro Tip: Wait about 10–15 minutes after disconnecting the battery to ensure all residual power drains from the system.
Gather the Right Tools
You don’t need a full mechanic’s toolkit, but having the essentials makes the job much easier. Here’s what you’ll need:
- Stereo removal keys (also called DIN tools): These are U-shaped metal tools that fit into the small holes on either side of the stereo. They’re inexpensive and available at auto parts stores.
- Flathead screwdriver: Useful for prying off trim panels or gently releasing clips.
- Phillips and flathead screwdrivers: For removing screws that may be hidden behind knobs or panels.
- Needle-nose pliers: Helpful for gripping small connectors or wires.
- Electrical tape and zip ties: For securing loose wires after removal.
- Flashlight: Dashboard areas can be dark—good lighting helps you see what you’re doing.
- Camera or smartphone: Take photos of the wiring and setup before disconnecting anything.
Having these tools ready saves time and frustration. If you don’t have stereo removal keys, you can sometimes use a large paperclip or bent coat hanger in a pinch—but metal keys work best.
Step 2: Remove the Dashboard Trim or Faceplate
Most car stereos are hidden behind plastic trim panels or a removable faceplate. These protect the stereo and give your dashboard a clean look, but they must be removed first.
Locate the Trim Panel
Look around the stereo for a plastic bezel or panel that surrounds the head unit. This piece usually snaps into place and may cover screws or access points. Common locations include:
- Directly above or below the stereo
- On either side of the unit
- Integrated into the center console
Some vehicles have a single large panel covering the entire center stack, while others have smaller pieces.
Gently Pry Off the Trim
Use a flathead screwdriver wrapped in a soft cloth (to prevent scratches) or a plastic trim removal tool to carefully pry the panel loose. Start at one corner and work your way around.
Important: Don’t force it. If a panel won’t budge, there may be hidden screws. Check under climate control knobs, cup holders, or storage compartments.
Once the trim is off, set it aside in a safe place. Avoid placing it on the dashboard where it could scratch the surface.
Check for Hidden Screws
With the trim removed, inspect the area around the stereo. Some manufacturers secure the head unit with screws that are only visible after the panel is off. Use a Phillips or flathead screwdriver to remove any screws holding the stereo in place.
Example: In many Honda and Toyota models, two screws are located at the top of the stereo, hidden behind the trim.
Step 3: Insert Stereo Removal Keys and Release the Unit
Now that the trim is off and any screws are removed, it’s time to unlock the stereo from its housing.
Insert the Removal Keys
Stereo removal keys are designed to fit into small slots on the sides of the head unit. Insert one key into each side, pushing them in until you feel them click or engage with internal clips.
Tip: If you don’t have keys, you can sometimes use a large paperclip bent into a “U” shape. However, metal keys provide better grip and control.
Pull the Keys Outward to Release Clips
Once the keys are fully inserted, gently pull them outward (away from the stereo). This action releases the internal spring clips that hold the unit in place.
You’ll feel the stereo begin to loosen. Continue pulling evenly on both sides until the head unit slides out of the dashboard.
Caution: Don’t yank the stereo out. If it doesn’t come free easily, double-check that all screws and clips are disengaged.
Support the Stereo as It Comes Out
As the unit begins to emerge, support it with your free hand. Car stereos can be heavier than they look, especially double DIN units with built-in screens.
Slowly pull the stereo forward until the wiring harness and antenna cable are exposed.
Step 4: Disconnect the Wiring and Antenna
With the stereo partially out, you’ll see a bundle of wires and possibly an antenna cable connected to the back. This is the most delicate part of the process.
Take a Photo of the Wiring
Before disconnecting anything, take a clear photo of the back of the stereo. This serves as a reference when you reinstall the unit or connect a new one.
Disconnect the Antenna Cable
Locate the thick, single cable—usually black or blue—that connects to the back of the stereo. This is the antenna cable.
Gently wiggle it side to side while pulling it straight out. Do not pull on the wire itself; grip the connector.
Unplug the Wiring Harness
Next, find the main wiring harness—a large plug with multiple colored wires. Most harnesses have a release tab or clip.
Press the tab and pull the connector straight out. If it’s stuck, use needle-nose pliers to gently squeeze the sides of the clip.
Pro Tip: If your car has a factory amplifier or steering wheel controls, there may be additional connectors. Label each one with tape or a marker to avoid confusion later.
Remove Any Additional Cables
Some stereos have extra connections for USB ports, backup cameras, or satellite radio. Disconnect these carefully, using the same method.
Once all cables are disconnected, you can fully remove the stereo from the dashboard.
Step 5: Store or Replace the Stereo Safely
Now that the stereo is out, decide what to do next.
If You’re Replacing the Stereo
If you’re installing a new head unit, this is the perfect time to connect it to a wiring harness adapter. These adapters plug into your car’s factory harness and match the colors of the new stereo’s wires, making installation plug-and-play.
Tip: Use crimp connectors or solder the wires for a secure connection, then wrap each joint with electrical tape.
If You’re Storing the Old Stereo
Place the removed stereo in a safe, dry location. Wrap it in a soft cloth or place it in an anti-static bag to protect the electronics.
Keep all screws, clips, and tools in a labeled container so you don’t lose anything.
Reinstall the Trim Panel
If you’re not immediately installing a new stereo, snap the trim panel back into place to protect the opening and maintain your car’s appearance.
Troubleshooting Common Issues
Even with careful steps, you might run into problems. Here’s how to handle the most common issues:
Stereo Won’t Come Out After Inserting Keys
If the unit doesn’t release, double-check that the keys are fully inserted and that you’re pulling outward evenly. Some stereos require a firm, steady pull. If it still won’t budge, there may be a hidden screw you missed.
Broken Trim Clips
Plastic clips can break when prying off trim panels. If this happens, you can usually still reattach the panel, but it may feel loose. Replacement clips are available at auto parts stores or online.
Wiring Harness Won’t Disconnect
If the main harness won’t release, make sure the clip is fully depressed. Sometimes the tab is stiff from age. Use a small flathead screwdriver to gently lift the clip while pulling the connector.
No Power After Reinstallation
If you reinstall the stereo and it doesn’t turn on, check that the battery is reconnected and the fuse for the radio isn’t blown. Also, verify that all wiring connections are secure.
Conclusion: You’ve Successfully Removed Your Car Stereo
Congratulations! You’ve just learned how to pull out car stereo like a pro. Whether you’re upgrading your sound system, fixing a glitch, or simply curious, this skill saves time and money.
Remember: safety first, tools matter, and patience pays off. By following these five easy steps—preparing your vehicle, removing trim, using removal keys, disconnecting wires, and storing the unit—you can complete the job without damage or frustration.
Now that your stereo is out, you’re ready for the next step: installing a new one, repairing the old unit, or enjoying the satisfaction of a DIY job well done. Happy tinkering!
🎥 Related Video: How to safely remove a car stereo without din tool
📺 Tech MC

