Removing a car stereo doesn’t have to be intimidating. This guide walks you through the process safely, whether you’re upgrading your system or troubleshooting. With the right tools and steps, you’ll have your old stereo out in no time.
How to Remove Car Stereo Safely and Easily
Upgrading your car stereo, fixing a malfunctioning unit, or preparing for a new audio system? Removing your car stereo might seem tricky, but with the right approach, it’s a straightforward DIY job. Whether you’re a beginner or a seasoned car tinkerer, this guide will walk you through the process step by step—ensuring safety, preventing damage, and saving you a trip to the mechanic.
In this guide, you’ll learn how to remove your car stereo safely and easily, from disconnecting the battery to pulling out the unit and handling the wiring. We’ll cover tools, tips, and troubleshooting to help you get the job done right the first time.
Why Remove Your Car Stereo?
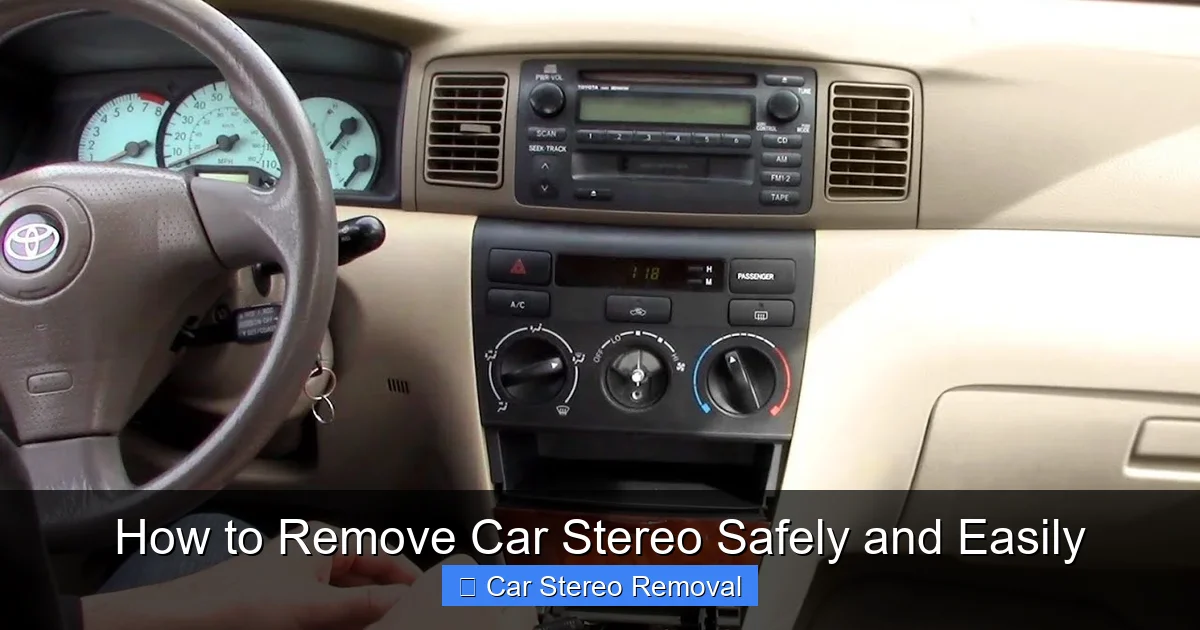
Visual guide about How to Remove Car Stereo Safely and Easily
Image source: i.ytimg.com
There are several reasons you might need to remove your car stereo:
- Upgrading to a modern touchscreen or Bluetooth-enabled unit
- Replacing a broken or outdated factory radio
- Installing a new amplifier or speakers
- Repairing wiring or diagnosing electrical issues
- Selling your car and wanting to keep your premium stereo
No matter your reason, knowing how to remove the stereo properly ensures you don’t damage your dashboard, wiring, or the stereo itself.
Tools You’ll Need
Before you begin, gather these essential tools:
- DIN tools (also called radio removal keys) – these U-shaped metal tools are designed for most factory stereos
- Trim removal tools (plastic pry tools) – to safely remove dashboard panels without scratching
- Flathead screwdriver (optional, use with caution)
- Needle-nose pliers
- Electrical tape or zip ties
- Camera or smartphone (to take photos)
- Gloves (optional, for protection)
Most aftermarket stereos come with removal tools, but if you’re working on a factory unit, DIN tools are widely available online or at auto parts stores for under $10.
Step 1: Disconnect the Car Battery
Safety first! Before touching any electrical components, you must disconnect the car battery to prevent short circuits, blown fuses, or damage to the stereo.
Turn Off the Ignition
Make sure the car is completely off—remove the key from the ignition and wait a few minutes for any residual power to drain.
Locate the Battery
Open the hood and find the battery. The negative terminal is usually marked with a minus (–) sign and has a black cable.
Disconnect the Negative Terminal
Use a wrench to loosen the nut on the negative terminal. Carefully remove the cable and tuck it away from the battery so it doesn’t accidentally touch the terminal.
Tip: Wrap the cable end with electrical tape for extra safety.
Step 2: Remove the Trim Panels
Most car stereos are housed behind plastic trim panels. These panels are held in place by clips, screws, or both.
Identify the Trim Pieces
Look around the stereo for plastic bezels or panels. These may cover the stereo, climate controls, or storage compartments.
Use a Trim Removal Tool
Insert the plastic pry tool between the trim and the dashboard. Gently wiggle it to release the clips. Work your way around the panel—don’t force it.
Example: In a Honda Civic, the stereo trim often snaps off with four clips—two on top and two on the sides.
Remove Screws (If Present)
Some vehicles have screws hidden under caps or labels. Use a small screwdriver to remove them before prying.
Tip: Place screws in a small container so you don’t lose them.
Step 3: Access the Stereo Unit
Once the trim is off, you should see the stereo mounted in the dashboard. Now it’s time to remove it.
Locate the Mounting Mechanism
Most factory stereos are held in place by a metal sleeve with spring clips. Aftermarket stereos may use a different bracket system.
Insert DIN Tools
Take your DIN tools (radio removal keys) and insert them into the small slots on either side of the stereo. Push them in until you feel them click into the release mechanism.
Pull the Stereo Out
Once the tools are engaged, gently pull them outward. The stereo should slide out of the dashboard. If it doesn’t move, wiggle the tools slightly or check for hidden screws.
Tip: If you don’t have DIN tools, a pair of straightened paperclips can work in a pinch—but be very careful not to scratch the stereo or dashboard.
Step 4: Disconnect the Wiring
With the stereo partially out, you’ll see a bundle of wires connected to the back. This is where careful handling is crucial.
Take Photos
Before disconnecting anything, take clear photos of the wiring harness and antenna connection. This will help you reconnect everything correctly later.
Unplug the Wiring Harness
Locate the main wiring connector (usually a large plug with multiple colored wires). Press the release tab and gently pull it out.
Remove the Antenna Cable
The antenna cable is typically a thick, single wire with a rubber or plastic connector. Gently pull it straight out—don’t yank it.
Tip: If the connector is stuck, wiggle it slightly while pulling. Never force it.
Label the Connections (Optional but Recommended)
If you’re replacing the stereo, label the harness and antenna with tape so you know where they go.
Step 5: Remove the Stereo Completely
Now that the wires are disconnected, you can fully remove the stereo from the dashboard.
Slide the Unit Out
Carefully pull the stereo the rest of the way out. Be mindful of any sharp edges or protruding components.
Inspect the Mounting Bracket
Check if the stereo is held by a metal bracket. If so, you may need to unscrew it from the back of the unit using a screwdriver.
Example: Many Ford and Toyota models use a bracket that must be removed before the stereo can be taken out.
Troubleshooting Common Issues
Even with careful steps, you might run into problems. Here’s how to handle them:
Stereo Won’t Come Out
- Double-check for hidden screws behind trim panels.
- Ensure DIN tools are fully inserted and engaged.
- Some stereos have a locking mechanism—refer to your vehicle’s manual.
Wires Are Stuck or Hard to Reach
- Use needle-nose pliers to gently grip and pull connectors.
- Work in good lighting—use a flashlight if needed.
- If a connector is damaged, consider replacing the harness.
Trim Panels Won’t Snap Back In
- Check for broken clips—replace them if necessary.
- Align the panel carefully before pressing it into place.
- Use a soft mallet or your hand to gently tap it in.
Tips for a Smooth Removal
- Work in a clean, well-lit area: Good lighting helps you see small screws and connectors.
- Keep parts organized: Use a tray or magnetic mat to hold screws and tools.
- Don’t rush: Take your time to avoid breaking clips or damaging wires.
- Watch online videos: Search for your car’s make and model + “remove stereo” for visual guidance.
- Ask for help if needed: Some stereos are tight or awkward to reach—having a second person can help.
What to Do After Removal
Once the stereo is out, you have a few options:
Install a New Stereo
If you’re upgrading, now is the time to connect your new unit. Use a wiring harness adapter to make installation easier and avoid cutting factory wires.
Store the Old Stereo Safely
If you’re keeping the old unit, wrap it in bubble wrap and store it in a dry place. Label it clearly.
Inspect the Dashboard Opening
Check for dust, debris, or damage. Clean the area before installing a new stereo.
Reassembly Tips
When putting everything back:
- Reconnect the wiring harness and antenna first.
- Slide the stereo in gently—don’t force it.
- Snap the trim panels back in place, starting from the bottom.
- Reconnect the battery and test the stereo before finalizing.
Conclusion
Removing a car stereo safely and easily is totally doable with the right tools and a bit of patience. By following this guide—disconnecting the battery, using proper tools, taking photos, and working carefully—you’ll avoid common pitfalls and protect your vehicle’s interior.
Whether you’re upgrading to a sleek new touchscreen or just troubleshooting an issue, knowing how to remove your car stereo gives you more control over your car’s audio system. And the best part? You’ll save money and gain valuable DIY skills in the process.
So grab your tools, take your time, and enjoy the satisfaction of a job well done. Your car—and your ears—will thank you.
🎥 Related Video: How to safely remove a car stereo without din tool
📺 Tech MC

