Connecting a subwoofer to your car stereo can dramatically improve your audio experience. This guide walks you through the entire process—from choosing the right setup to wiring and testing—so you can enjoy deep, powerful bass safely and correctly.
Key Takeaways
- Choose the right subwoofer and amplifier: Match your sub’s power handling (RMS) with an amp that delivers compatible wattage for optimal performance and safety.
- Use a proper wiring kit: A 4-gauge or 8-gauge power cable, fuse holder, ground wire, and RCA cables ensure clean power and signal transmission.
- Connect via RCA or speaker-level inputs: Most modern stereos support RCA outputs, but if not, use high-level inputs or a line output converter.
- Ground the amplifier securely: Attach the ground wire to bare metal on the car’s chassis, away from paint or rust, for stable operation.
- Set gain and crossover correctly: Adjust the amp’s gain to match your stereo’s output and set the low-pass filter to blend bass smoothly with your speakers.
- Test and troubleshoot: Power on slowly, check for sound, and fix common issues like no signal or distortion.
- Safety first: Always disconnect the battery before wiring and use insulated tools to prevent shorts or damage.
How to Connect Subwoofer to Car Stereo Easily
If you love music in your car, you know that factory speakers often fall short when it comes to deep, punchy bass. Adding a subwoofer can transform your audio experience, making your favorite tracks feel alive with rich, room-filling low end. But if you’re new to car audio upgrades, the idea of wiring a subwoofer might seem intimidating. Don’t worry—this guide will show you how to connect a subwoofer to your car stereo easily, step by step, even if you’re a beginner.
In this comprehensive guide, you’ll learn everything from choosing the right components to safely wiring your subwoofer and amplifier. We’ll cover both powered (active) and passive subwoofers, explain the tools you’ll need, and walk you through common setups. By the end, you’ll be able to install your subwoofer confidently and enjoy powerful, distortion-free bass on every drive.
What You’ll Need
Before you start, gather all the necessary tools and components. Having everything ready will make the installation smoother and safer.
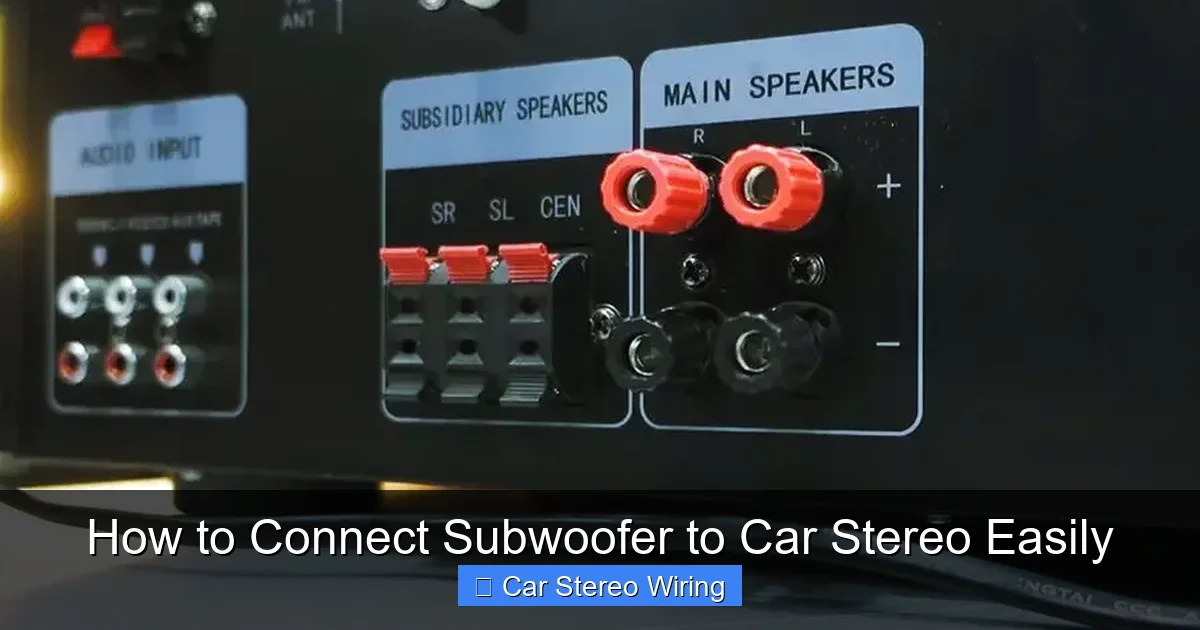
Visual guide about How to Connect Subwoofer to Car Stereo Easily
Image source: autostereoguide.com
Essential Components
- Subwoofer: Choose between a passive sub (requires an external amp) or a powered sub (built-in amp).
- Amplifier (if using a passive sub): Match the amp’s RMS power to your sub’s rated power handling.
- Wiring kit: Includes power cable (4 or 8 gauge), ground wire, remote turn-on wire, RCA cables, and fuse holder.
- RCA cables: For connecting the stereo to the amplifier (if your head unit has RCA outputs).
- Line output converter (LOC): Needed if your stereo lacks RCA outputs and you’re using speaker-level signals.
- Wire strippers and crimping tool: For clean, secure connections.
- Electrical tape and heat shrink tubing: To insulate and protect connections.
- Socket wrench or screwdriver: For grounding and mounting.
Optional but Helpful Tools
- Multimeter (to test voltage and continuity)
- Zip ties (for cable management)
- Drill and drill bits (if mounting the sub in a custom enclosure)
Step 1: Choose the Right Subwoofer and Amplifier
The first step in connecting a subwoofer is selecting the right gear. A mismatch between your sub and amp can lead to poor sound quality or even damage.
Match Power Ratings
Look at your subwoofer’s RMS (root mean square) power rating—this tells you how much continuous power it can handle. Your amplifier should deliver power within 75% to 150% of the sub’s RMS rating. For example, if your sub is rated for 300 watts RMS, choose an amp that outputs between 225 and 450 watts RMS.
Decide Between Passive and Powered Subs
- Passive subwoofers: Require an external amplifier. More flexible and customizable, but need more wiring.
- Powered subwoofers: Have a built-in amplifier. Easier to install and ideal for beginners.
If you’re new to car audio, a powered sub is often the best choice. It simplifies the process and reduces the risk of wiring mistakes.
Step 2: Plan Your Installation
Before you start drilling or running wires, plan where everything will go.
Choose Subwoofer Location
Common locations include the trunk, under a seat, or in a custom enclosure. Make sure there’s enough space and ventilation. Avoid placing the sub near heat sources or moving parts.
Route Wires Safely
Plan a path for the power cable from the battery to the amplifier. Run it through the firewall using an existing grommet or a new hole with a rubber grommet to prevent chafing. Keep power wires away from RCA and speaker wires to avoid interference.
Step 3: Disconnect the Battery
Safety is critical when working with car electronics. Always disconnect the negative terminal of your car battery before starting. This prevents accidental shorts, sparks, or damage to your stereo or amplifier.
Use a wrench to loosen the nut on the negative battery cable and carefully remove it. Tuck it away so it doesn’t touch the terminal.
Step 4: Install the Amplifier (If Using a Passive Sub)
If you’re using a passive subwoofer, you’ll need to mount and wire an external amplifier.
Mount the Amplifier
Secure the amp to a flat, stable surface in the trunk or under a seat. Use screws or mounting brackets. Make sure it’s well-ventilated—amplifiers generate heat and need airflow to stay cool.
Run the Power Cable
Start at the battery. Connect the positive terminal to one end of the power cable using a ring terminal. Install an in-line fuse holder within 18 inches of the battery. Run the cable through the firewall and along the car’s frame to the amplifier location. Avoid sharp edges and moving parts.
Ground the Amplifier
Find a solid grounding point—bare metal on the car’s chassis. Sand away any paint or rust to ensure a clean connection. Attach the ground wire (same gauge as power cable) to the amp and the chassis using a ring terminal and bolt. Keep the ground wire as short as possible.
Connect the Remote Turn-On Wire
This thin wire tells the amp when to turn on. Connect it from the amp’s “remote” terminal to the stereo’s remote output (usually a blue wire). If your stereo doesn’t have one, you can connect it to a switched 12V source that turns on with the ignition.
Step 5: Connect the Subwoofer to the Amplifier
Now it’s time to link your subwoofer to the amplifier.
Wire the Subwoofer
Most subwoofers use spring terminals or binding posts. Strip the ends of the speaker wire and connect positive to positive and negative to negative. If your sub is dual voice coil (DVC), you may need to wire it in series or parallel to match the amp’s impedance requirements.
Secure the Connections
Use crimp connectors or solder the wires for a stronger bond. Cover with heat shrink tubing or electrical tape to prevent shorts.
Step 6: Connect the Stereo to the Amplifier
This is where the audio signal travels from your head unit to the amp.
Using RCA Cables (Preferred Method)
If your car stereo has RCA outputs (usually labeled “sub out” or “preamp out”), use high-quality RCA cables to connect them to the amplifier’s input. This provides a clean, low-noise signal.
Using a Line Output Converter (LOC)
If your stereo lacks RCA outputs, use a line output converter. Connect the LOC to the rear speaker wires, then run RCA cables from the LOC to the amp. The LOC converts high-level speaker signals to low-level RCA signals the amp can use.
Speaker-Level Inputs (Alternative)
Some amplifiers have high-level inputs that connect directly to the stereo’s speaker wires. This eliminates the need for an LOC but may introduce more noise.
Step 7: Power On and Test
Once everything is connected, it’s time to test your setup.
Reconnect the Battery
Reattach the negative battery terminal and tighten it securely.
Turn On the Stereo
Power on your head unit. The amplifier should turn on automatically via the remote wire. If not, check the remote connection.
Play Music and Adjust Settings
Play a track with strong bass. Start with the volume low and gradually increase it. Listen for distortion, humming, or no sound.
Step 8: Fine-Tune the Sound
Proper tuning ensures your sub blends seamlessly with your speakers.
Set the Gain
The gain controls how much signal the amp receives. Set it so the sub doesn’t distort at high volumes. Use a test tone or music you know well. Turn the gain up until distortion appears, then back it off slightly.
Adjust the Crossover
The low-pass filter (LPF) controls which frequencies go to the sub. Set it between 80Hz and 120Hz. This prevents the sub from playing mid-bass sounds that should come from your speakers.
Phase Adjustment
If your sub sounds “weak” or “out of sync,” try flipping the phase switch (0° or 180°). This aligns the sub’s movement with your speakers.
Troubleshooting Common Issues
Even with careful installation, problems can arise. Here’s how to fix the most common ones.
No Sound from the Subwoofer
- Check all connections—power, ground, remote, RCA, and speaker wires.
- Ensure the amp is receiving power (check the fuse).
- Verify the stereo is sending a signal (test with another speaker).
Humming or Buzzing Noise
- This is often a ground loop. Re-check the ground connection—make sure it’s clean and tight.
- Keep RCA cables away from power wires.
- Use a ground loop isolator if the problem persists.
Distortion or Clipping
- Lower the gain on the amplifier.
- Ensure the sub isn’t being overdriven—match amp power to sub rating.
- Check for loose or damaged speaker wires.
Amplifier Overheating
- Ensure proper ventilation around the amp.
- Don’t exceed the amp’s power limits.
- Check for short circuits or incorrect impedance.
Final Tips for a Clean Installation
- Use zip ties to bundle and secure wires neatly.
- Label wires for easy identification later.
- Test the system at different volume levels and with various music genres.
- Consider adding a bass knob for quick adjustments on the go.
Conclusion
Connecting a subwoofer to your car stereo doesn’t have to be complicated. With the right tools, a clear plan, and attention to detail, you can enjoy deep, powerful bass that enhances every drive. Whether you’re using a powered sub for simplicity or building a custom setup with an external amp, following these steps will help you get professional-quality sound safely and effectively.
Remember: take your time, double-check connections, and always prioritize safety. Once your subwoofer is installed and tuned, you’ll wonder how you ever drove without it. Happy listening!
🎥 Related Video: With Amplifier Subwoofer 8 inch #viralreels #viral #shorts #viralshorts #ytshorts #viralreels #vicky
📺 Innocent car 7
With Amplifier Subwoofer 8 inch #viralreels #viral #shorts #viralshorts #ytshorts #viralreels #vicky.

