Attaching car seat cover hooks properly ensures a snug, wrinkle-free fit and protects your vehicle’s upholstery. This guide walks you through the process with simple steps, helpful tips, and troubleshooting advice to get professional results at home.
Key Takeaways
- Choose the right hooks: Match hook type (J-hook, S-hook, or strap-style) to your seat cover and seat design for a secure fit.
- Clean the seat area first: Remove dirt and debris so hooks grip properly and don’t scratch the seat.
- Start from the bottom and work upward: This prevents wrinkles and ensures even tension across the cover.
- Use a hook tool or flathead screwdriver: Makes it easier to slide hooks into tight spaces under the seat.
- Check for loose areas after driving: Re-tighten hooks if needed to maintain a smooth, secure fit.
- Avoid over-tightening: This can tear the cover or damage seat components.
- Test fit before final attachment: Ensures proper alignment and prevents frustration during installation.
How to Attach Car Seat Cover Hooks Easily
Upgrading your car’s interior with custom seat covers is a great way to protect your upholstery, refresh your cabin’s look, and even increase resale value. But the real challenge? Getting those covers to stay in place. That’s where car seat cover hooks come in. These small but mighty accessories are the secret to a snug, professional-looking fit. Whether you’re installing neoprene, leather, or fabric seat covers, knowing how to attach car seat cover hooks properly makes all the difference.
In this guide, we’ll walk you through the entire process—from choosing the right hooks to securing them without damaging your seats. You’ll learn step-by-step techniques, get practical tips, and discover how to troubleshoot common issues. By the end, you’ll have seat covers that look like they came straight from the factory.
Why Proper Hook Attachment Matters
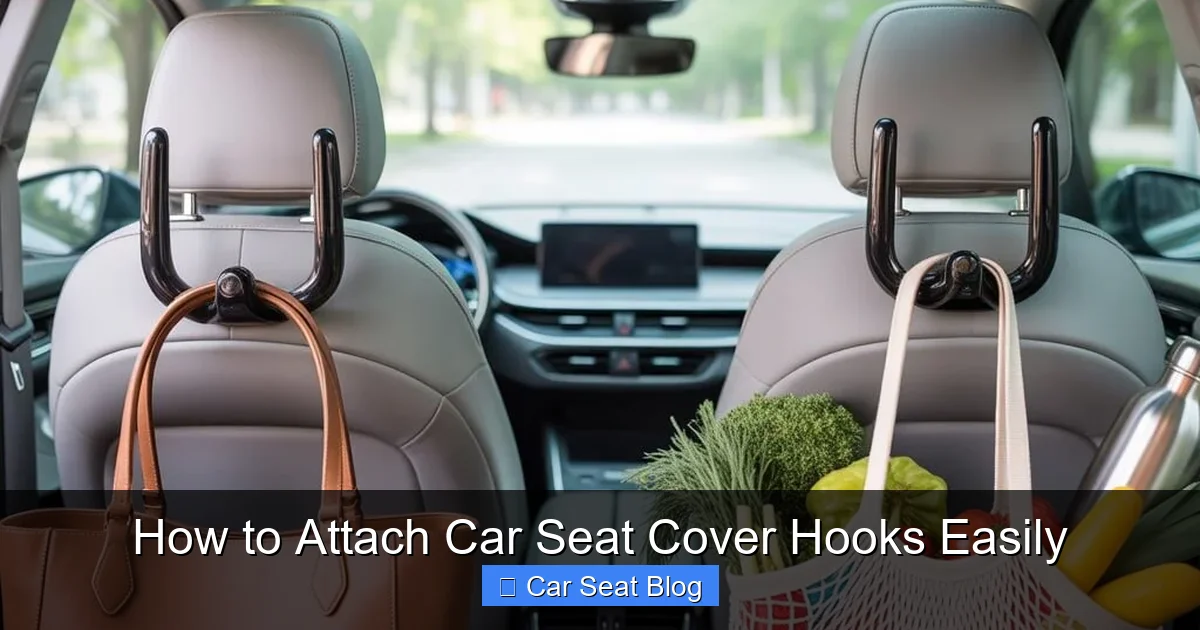
Visual guide about How to Attach Car Seat Cover Hooks Easily
Image source: carseatpanel.com
Before diving into the how-to, let’s talk about why this step is so important. Car seat covers aren’t just decorative—they’re functional. They shield your seats from spills, pet hair, UV damage, and everyday wear. But if they’re loose or wrinkled, they can actually cause more problems than they solve. Loose covers can bunch up, create uncomfortable lumps, or even interfere with airbag deployment in some vehicles.
Properly attached hooks keep your seat covers taut and secure. They prevent shifting during drives, reduce noise from flapping fabric, and ensure a clean, tailored appearance. Plus, when hooks are installed correctly, you’re less likely to need constant readjustments—saving you time and frustration.
Tools and Materials You’ll Need
Before you begin, gather these essentials to make the process smooth and efficient:
- Car seat covers (with pre-installed hooks or attachment points)
- Hook tool or flathead screwdriver (optional but helpful)
- Cleaning cloth or vacuum
- Owner’s manual (to locate seat components and airbag zones)
- Gloves (optional, to protect your hands)
Most seat covers come with the necessary hooks, but if yours don’t, you can purchase universal seat cover hooks online or at auto parts stores. Look for J-hooks, S-hooks, or strap-style fasteners depending on your seat design.
Step 1: Prepare Your Seat and Cover
Clean the Seat Area
Start by thoroughly cleaning the seat. Use a vacuum to remove crumbs, dirt, and pet hair from the seat base, backrest, and crevices. Wipe down the surface with a damp cloth and let it dry completely. This ensures hooks can grip properly and prevents scratches from debris.
Remove Headrests (If Necessary)
Many seat covers require you to remove the headrest for easier installation. Check your cover’s instructions—most have a slot or opening designed to slide over the headrest posts. Use the release button (usually on the side or back of the headrest) to pop it out. Set it aside in a safe place so you don’t lose it.
Unpack and Inspect the Seat Cover
Lay out your seat cover and identify all attachment points. Look for elastic straps, Velcro, or built-in hooks. Make sure all parts are present and undamaged. If your cover uses separate hooks, organize them by type so you know which ones go where.
Step 2: Position the Seat Cover
Test Fit the Cover
Before attaching any hooks, drape the cover over the seat to check the fit. Make sure it aligns with the seat contours and that openings for seat belts, armrests, and controls are in the right place. Adjust as needed.
Start from the Bottom
Begin at the seat base (the part you sit on). Pull the cover down over the front edge and tuck any excess fabric into the gap between the seat base and backrest. This creates a clean, tucked-in look and prevents fabric from bunching up.
Work Your Way Up
Next, pull the cover over the backrest. Smooth out any wrinkles as you go. Don’t worry about perfection yet—just get the general shape right. The hooks will help tighten everything later.
Step 3: Attach the Hooks
Locate Attachment Points
Most seat covers have labeled or pre-attached straps with hooks. These typically connect to the underside of the seat, around the seat frame, or through gaps in the seat structure. Refer to your cover’s manual for specific guidance.
Use a Hook Tool for Tight Spaces
If you’re struggling to reach under the seat, a hook tool or flathead screwdriver can help. Gently slide the tool under the seat frame to guide the hook into place. Be careful not to scratch the seat or damage wiring.
Secure the Bottom Hooks First
Start with the hooks at the front and sides of the seat base. These anchor the cover and prevent it from sliding forward. Hook them to the seat frame or any sturdy metal bar underneath. Pull gently to remove slack, but don’t over-tighten.
Move to the Backrest Hooks
Next, attach the hooks on the backrest. These often connect to the seat’s rear frame or through the gap between the backrest and seat base. Again, pull evenly to avoid twisting or bunching.
Attach Side and Top Hooks
If your cover has side straps or top hooks (common in bucket seats), secure them now. These help keep the cover snug around the shoulders and headrest area. For headrest covers, loop the strap around the headrest post and fasten the hook.
Step 4: Adjust and Tighten
Smooth Out Wrinkles
Once all hooks are attached, go over the entire cover and smooth out any wrinkles or loose areas. Use your hands to tug gently on the fabric, working from the center outward.
Check for Even Tension
Make sure the cover is tight but not stretched. Over-tightening can tear the material or put stress on the hooks. If a section feels too loose, double-check that the hook is securely fastened.
Reinstall the Headrest
If you removed the headrest, now’s the time to put it back. Slide the posts into the seat and press down until they click into place. Make sure the cover’s headrest opening aligns properly.
Step 5: Final Checks and Test Drive
Inspect All Hooks
Give each hook a gentle tug to ensure it’s secure. Look for any that may have come loose during adjustment.
Test Seat Functionality
Move the seat forward and backward (if adjustable) to make sure the cover doesn’t restrict movement. Check that seat belts retract properly and that airbag indicators (if visible) are not obstructed.
Take a Short Drive
Go for a quick test drive to see how the cover holds up. Listen for flapping or shifting. If you notice any movement, park and re-tighten the hooks as needed.
Troubleshooting Common Issues
Hooks Won’t Stay Attached
If hooks keep popping off, the attachment point may be too smooth or the hook too small. Try using a larger hook or wrapping a small piece of electrical tape around the seat frame for better grip.
Cover Bunches Up in the Middle
This usually means the bottom hooks aren’t tight enough. Reattach them and pull firmly to eliminate slack. Also, make sure you tucked the fabric properly into the seat crevice.
Hooks Are Hard to Reach
Use a hook tool, coat hanger (bent into a hook), or even a zip tie to guide the hook into place. Patience is key—rushing can lead to mistakes.
Cover Blocks Airbag Deployment
Never install seat covers that obstruct side airbags. Check your vehicle manual for airbag locations. If your cover has a seam on the side, make sure it’s designed to tear open safely. When in doubt, choose airbag-compatible covers.
Fabric Tears Near Hooks
This happens when hooks are too tight or the fabric is low quality. Use padded hooks or add a small piece of fabric tape behind the attachment point for reinforcement.
Tips for Long-Lasting Results
- Clean your seat covers regularly: Dirt and moisture can weaken fabric and hooks over time.
- Inspect hooks every few months: Vibration from driving can loosen them.
- Use seat protectors for pets or kids: Adds an extra layer of defense and reduces wear on the cover.
- Store spare hooks: Keep a few extras in your glove box in case one breaks.
- Follow manufacturer care instructions: Some covers are machine washable; others need spot cleaning.
Conclusion
Attaching car seat cover hooks may seem like a small detail, but it’s one of the most important steps in achieving a professional, long-lasting installation. With the right tools, a little patience, and the steps outlined in this guide, you can transform your car’s interior with confidence. No more slipping, wrinkling, or constant readjustments—just a clean, custom look that protects your investment.
Remember, the key is to work methodically: clean first, test fit, attach hooks from bottom to top, and always double-check your work. Whether you’re a DIY beginner or a seasoned car enthusiast, mastering how to attach car seat cover hooks easily will save you time, money, and frustration in the long run.
So grab your seat covers, gather your tools, and get started. Your car—and your passengers—will thank you.
🎥 Related Video: How to put on Yiertai seat covers
📺 Mr.Tennessee
Seat Covers https://amzn.to/33Kplcb As an Amazon Associate I earn a small commission from qualifying purchases.

