How to Cut and Sew Car Seat Covers Like a Pro
Discover how to cut and sew custom car seat covers that fit perfectly and look professional. This guide walks you through measuring, pattern-making, cutting fabric, and stitching durable, stylish covers—no experience needed.
Key Takeaways
- Accurate measuring is essential: Take precise measurements of your car seats to ensure a snug, wrinkle-free fit.
- Use the right fabric: Choose durable, stretchable materials like neoprene, canvas, or upholstery-grade polyester for longevity and comfort.
- Create a paper pattern first: Drafting a template helps avoid costly mistakes and ensures symmetry.
- Sew with a heavy-duty machine: A standard home sewing machine may struggle—opt for one with a walking foot and strong motor.
- Reinforce stress points: Double-stitch seams and add extra fabric at high-wear areas like headrests and seat edges.
- Test fit before final stitching: Pin or baste pieces together and test on the seat to catch fit issues early.
- Finish edges neatly: Use binding tape or serging to prevent fraying and give a clean, professional look.
Introduction: Why Make Your Own Car Seat Covers?
Whether you’re restoring a classic car, protecting your seats from pets and kids, or just want a custom look, sewing your own car seat covers is a rewarding DIY project. Store-bought covers often don’t fit perfectly, and high-quality custom ones can be expensive. By learning how to cut and sew car seat covers like a pro, you gain full control over fabric, fit, and style—all while saving money.
This guide will walk you through the entire process, from measuring your seats to the final stitch. You don’t need to be a sewing expert—just patience, the right tools, and attention to detail. By the end, you’ll have durable, tailored seat covers that look like they came straight from a professional upholstery shop.
Step 1: Gather Your Tools and Materials
Before you start, make sure you have everything you need. Rushing out mid-project for supplies can break your momentum.
Essential Tools
- Measuring tape (flexible, at least 6 feet long)
- Fabric scissors or rotary cutter
- Pins or fabric clips
- Chalk or washable fabric marker
- Pattern paper (large sheets or taped-together printer paper)
- Iron and ironing board
- Heavy-duty sewing machine (with walking foot recommended)
- Strong thread (polyester or upholstery thread)
- Seam ripper (for corrections)
Recommended Fabrics
Choose a fabric that’s durable, stretchable, and easy to clean. Popular options include:
- Neoprene: Water-resistant, stretchy, and great for sporty looks. Ideal for performance vehicles.
- Canvas: Tough and breathable, perfect for trucks or off-road vehicles.
- Upholstery fabric: Heavy-duty and stylish, available in many colors and textures.
- Polyester blend: Affordable, fade-resistant, and machine washable.
Avoid thin cotton or delicate fabrics—they’ll wear out quickly under daily use.
Step 2: Measure Your Car Seats Accurately
Precision is key. Even small measurement errors can lead to ill-fitting covers.
Break Down the Seat into Sections
Most car seats have three main parts:
- Seat base: The bottom cushion you sit on.
- Seat back: The upright part behind you.
- Headrest: The detachable or fixed top cushion.
Take Detailed Measurements
Use your measuring tape to record:
- Length and width of the seat base and back (from edge to edge).
- Depth of curves and contours (use the tape to follow the shape).
- Distance between attachment points (like headrest poles or seat hooks).
- Thickness of padding (important for seam allowances).
Tip: Take photos of your seat from multiple angles. These will help when drafting your pattern.
Step 3: Create a Paper Pattern
A paper pattern acts as your sewing blueprint. It saves fabric and reduces errors.
Draft the Pattern
- Lay your pattern paper on a flat surface.
- Use your measurements to sketch the basic shape of each seat section.
- Add 1 inch (2.5 cm) seam allowance around all edges.
- Include darts or pleats where the fabric needs to curve (like around armrests or seat corners).
Test the Pattern
- Cut out the paper pieces.
- Drape them over the seat and pin in place.
- Check for gaps, wrinkles, or tight spots.
- Adjust the pattern as needed—trim or add paper to refine the fit.
Repeat until the paper pattern fits snugly. This step is worth the time—it prevents costly fabric mistakes later.
Step 4: Cut the Fabric
Now it’s time to transfer your pattern to fabric.
Prepare the Fabric
- Wash and dry the fabric before cutting to prevent shrinkage later.
- Iron out any wrinkles—smooth fabric cuts cleaner.
- Lay the fabric flat on a large surface, right side down.
Transfer and Cut
- Place your paper pattern on the fabric and pin it in place.
- Trace around the pattern with chalk or a fabric marker.
- Cut carefully along the lines, using sharp scissors or a rotary cutter.
- Label each piece (e.g., “Seat Base – Left,” “Headrest – Front”) to avoid confusion.
Tip: Cut two identical pieces for symmetrical parts (like left and right seat bases).
Step 5: Sew the Seat Covers
This is where your covers take shape. Take your time—rushing leads to mistakes.
Pin and Baste First
- Place fabric pieces right sides together.
- Pin along the edges, especially around curves.
- Use a basting stitch (long, temporary stitch) to hold pieces together.
- Test fit the basted cover on the seat. Adjust if needed.
Sew the Main Seams
- Switch to a regular stitch (2.5 mm length).
- Sew along the pinned edges, removing pins as you go.
- Backstitch at the beginning and end of each seam for strength.
- Press seams open with an iron to reduce bulk.
Reinforce High-Stress Areas
- Double-stitch around headrest openings, seat edges, and attachment points.
- Add a strip of extra fabric (a “wear patch”) to areas that rub against the seat frame.
Finish the Edges
To prevent fraying and give a clean look:
- Use bias binding or fold-and-stitch hems.
- Alternatively, serge the edges if you have a serger machine.
- For stretch fabrics, use a zigzag stitch or stretch thread.
Step 6: Install and Adjust
Once sewn, it’s time to put your covers to the test.
Fit the Covers
- Start with the seat base, then the back, then the headrest.
- Stretch the fabric gently to conform to the seat shape.
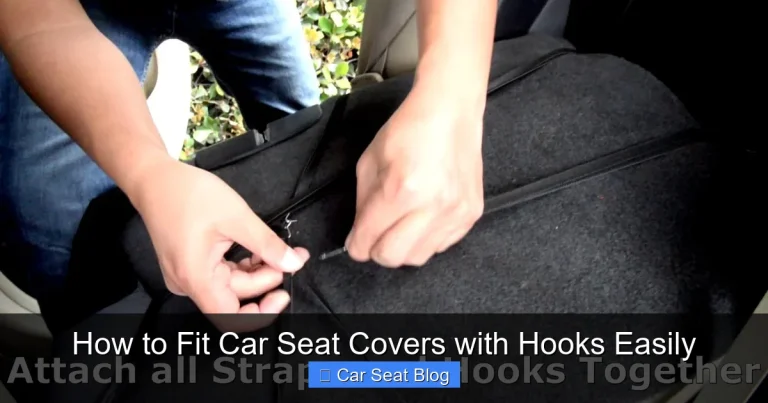
- Use the original seat hooks, straps, or Velcro to secure the cover.
Make Final Adjustments
- If the cover is too loose, remove it and take in the seams slightly.
- If it’s too tight, consider adding gussets (extra fabric panels) to high-tension areas.
- Trim any excess thread or fabric for a clean finish.
Troubleshooting Common Issues
Even pros run into problems. Here’s how to fix the most common ones:
Cover Puckers or Wrinkles
This usually means the fabric isn’t stretched evenly. Remove the cover, re-baste, and sew with gentle tension. Use a walking foot to help feed thick fabric smoothly.
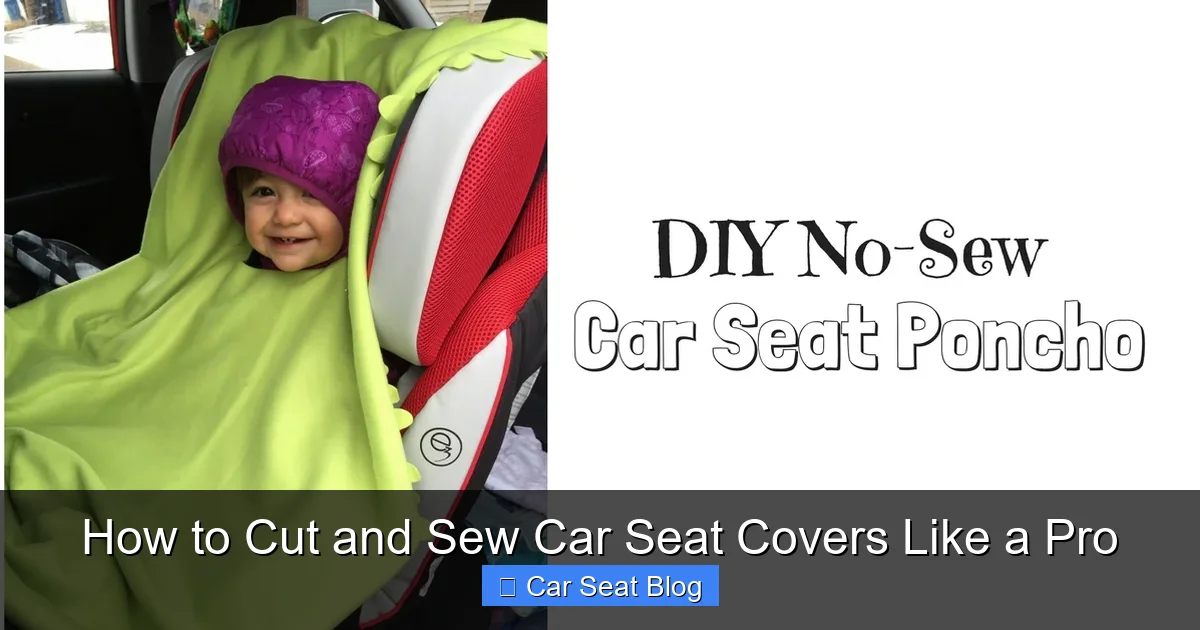
Visual guide about How to Cut and Sew Car Seat Covers Like a Pro
Image source: mamanloupsden.com
Seams Pop Under Pressure
Reinforce with a second row of stitching. Use heavier thread or add interfacing behind the seam for extra strength.
Fabric Fades or Wears Quickly
You may have chosen the wrong fabric. Next time, opt for UV-resistant, high-denier materials designed for automotive use.
Headrest Won’t Stay in Place
Add elastic loops or Velcro straps to secure the headrest cover. Make sure the opening is the right size—too loose and it slips; too tight and it won’t fit.
Conclusion: Enjoy Your Custom Car Seat Covers
Congratulations! You’ve just learned how to cut and sew car seat covers like a pro. Not only have you saved money, but you’ve also created a custom solution that fits your vehicle perfectly and reflects your personal style.
With practice, you’ll get faster and more confident. Soon, you might be making covers for friends or even starting a small side business. Remember: patience, precision, and the right materials are your best tools.
So grab your fabric, fire up your sewing machine, and give your car’s interior a fresh, professional look—all by hand.