How to Install Car Seat Covers in Simple Steps
Installing car seat covers is easier than you think! This guide walks you through each step—from prep to final adjustments—so your seats stay protected and stylish. Perfect for beginners and pros alike.
Key Takeaways
- Choose the right cover: Match the material and fit to your car model for best results.
- Clean seats first: Remove dirt and debris so covers sit flat and last longer.
- Follow instructions: Always read the manufacturer’s guide before starting.
- Secure all straps and hooks: Loose covers can shift while driving—safety first!
- Trim excess if needed: Some covers may require minor adjustments for a snug fit.
- Check airbag compatibility: Never block side airbags—safety is non-negotiable.
- Maintain regularly: Wipe down covers monthly to keep them looking new.
How to Install Car Seat Covers in Simple Steps
So, you’ve bought a set of car seat covers—congrats! Whether you’re protecting your seats from spills, pets, or daily wear and tear, or just giving your car’s interior a fresh new look, installing seat covers is a smart move. The good news? It’s not as hard as it seems.
In this guide, we’ll walk you through how to install car seat covers step by step—no tools required (unless specified), and no prior experience needed. By the end, your seats will look sharp, feel comfy, and stay protected for miles to come.
We’ll cover everything from choosing the right covers to troubleshooting common issues. Let’s get started!
Step 1: Choose the Right Car Seat Covers
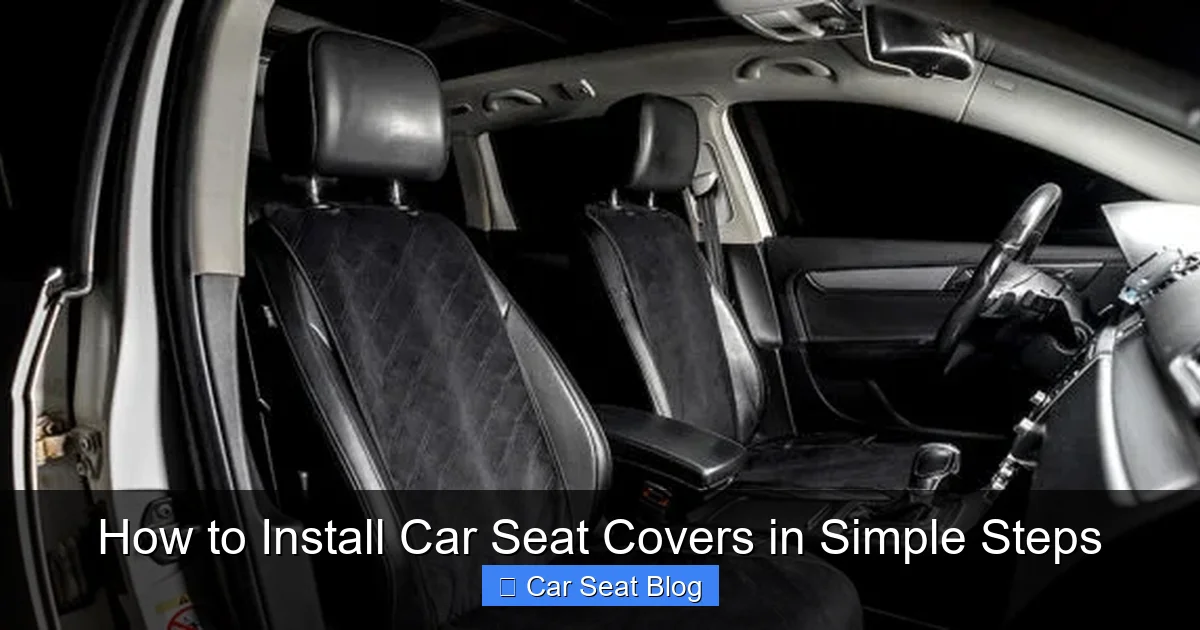
Visual guide about How to Install Car Seat Covers in Simple Steps
Image source: caltrend.com
Before you even think about installation, make sure you’ve picked the right covers for your vehicle. Not all seat covers are created equal.
Check Your Car Model and Seat Type
Most quality seat covers are designed for specific car makes and models. Whether you drive a Honda Civic, a Ford F-150, or a Toyota RAV4, look for covers labeled “custom-fit” or “semi-custom” for your exact year and trim. This ensures a snug fit without awkward gaps or bunching.
Pick the Right Material
Seat covers come in a variety of materials, each with its own pros and cons:
- Neoprene: Water-resistant, great for families and pet owners. Feels like wetsuit material—durable and easy to clean.
- Leather or Faux Leather: Sleek and luxurious, but can get hot in summer. Best for style-focused drivers.
- Polyester or Mesh: Breathable and affordable. Good for everyday use but less durable.
- Velvet or Suede: Soft and stylish, but harder to clean. Best for low-traffic vehicles.
Consider Features
Look for features like:
- Side airbag compatibility (must have!)
- Headrest removal options
- Built-in pockets for storage
- Non-slip backing to prevent sliding
Pro tip: If you have heated or cooled seats, make sure the covers are compatible—some materials can interfere with temperature control.
Step 2: Prepare Your Car Seats
A clean surface is key to a smooth installation. You don’t want dirt or crumbs getting trapped under your new covers.
Remove Loose Items
Start by taking out anything from the seats:
- Child car seats
- Seat cushions or pads
- Trinkets, toys, or snacks (we’ve all been there!)
Vacuum the Seats
Use a vacuum with an upholstery attachment to remove dust, crumbs, and pet hair. Pay extra attention to crevices and under the seat edges.
Wipe Down the Surface
Use a damp cloth or a mild upholstery cleaner to wipe the seats. Let them dry completely before installing the covers. Moisture can cause mold or mildew over time.
Remove Headrests (If Needed)
Some seat covers require you to remove the headrests for installation. Check your cover’s instructions. Most headrests pop out with a button or lever at the base. Keep the pins or clips in a safe place—you’ll need them later!
Step 3: Unpack and Inspect the Seat Covers
Now that your seats are clean, it’s time to get familiar with your new covers.
Check All Pieces
Most sets include:
- Front seat covers (left and right)
- Back seat cover (one piece or split)
- Headrest covers (if applicable)
- Straps, hooks, or elastic bands
- Installation instructions
Make sure nothing is missing or damaged. If something’s off, contact the seller before installing.
Read the Instructions
Every brand is a little different. Some covers use Velcro, others use hooks or drawstrings. Take 2 minutes to read the manual—it’ll save you time and frustration later.
Step 4: Install the Front Seat Covers
Let’s start with the driver and passenger seats. These are usually the easiest to install.
Slide the Cover Over the Seat
Begin by placing the cover over the seat, aligning it with the seat’s shape. Make sure the front of the cover matches the front of the seat.
Secure the Bottom
Most covers have elastic straps or hooks that attach underneath the seat. Reach under and fasten them to the seat frame. Pull tight to eliminate wrinkles.
Tuck in the Sides
Gently tuck the sides of the cover into the gaps between the seat and the center console or door panel. Use your hands or a soft tool (like a plastic spatula) to avoid scratching.
Attach the Back Straps
Many covers have straps that go around the back of the seat. Fasten these tightly to keep the cover from shifting.
Reattach the Headrest
If you removed the headrest, slide it back into place. Some covers have a separate headrest cover—slip it on and secure with Velcro or elastic.
Adjust and Smooth
Sit in the seat and adjust the cover. Smooth out any wrinkles or bulges. The cover should feel snug, not loose.
Step 5: Install the Back Seat Cover
The back seat can be trickier, especially if it’s a bench or split design.
Remove the Bottom Cushion (If Possible)
In many cars, the back seat cushion lifts out. Check your owner’s manual. If it does, remove it to make installation easier.
Slide the Cover Over the Seat
Drape the cover over the backrest and bottom cushion. Align it carefully—especially if it’s a split seat (60/40 or 40/60).
Secure with Straps or Hooks
Attach any straps under the seat or around the frame. Some covers use hooks that clip onto the seat rails.
Tuck and Tighten
Tuck the edges into the seat gaps. Use your hands to push fabric into tight spaces. Pull straps tight to remove slack.
Reinstall the Cushion
If you removed the bottom cushion, snap it back into place. Make sure the cover isn’t bunched underneath.
Step 6: Final Adjustments and Safety Check
You’re almost done! Now it’s time to make sure everything is secure and safe.
Check for Loose Areas
Walk around the car and inspect each seat. Look for:
- Loose straps
- Bunched fabric
- Gaps around the edges
Adjust as needed. A well-fitted cover should move with the seat—not shift independently.
Test the Seat Functions
Move the seats forward and back, recline them, and adjust the headrests. Make sure the covers don’t interfere with movement.
Verify Airbag Compatibility
This is critical. If your car has side airbags (most modern cars do), ensure the covers have designated openings or are labeled “airbag-safe.” Never install a cover that blocks or restricts airbag deployment.
Sit and Test
Take a test drive—or at least sit in each seat for a few minutes. Make sure the covers feel comfortable and stay in place.
Troubleshooting Common Issues
Even with careful installation, you might run into a few hiccups. Here’s how to fix them:
Cover Keeps Slipping
If the cover shifts when you sit, the straps may not be tight enough. Re-secure all hooks and elastic bands. Consider using non-slip seat cover pads underneath for extra grip.
Wrinkles or Bunching
This usually means the cover is too big or not tucked properly. Remove it, re-tuck the sides, and pull tighter. For persistent wrinkles, try steaming the fabric (if material allows).
Headrest Won’t Fit
Some headrests are oddly shaped. Check if the cover has adjustable straps or Velcro. If not, contact the manufacturer—you may need a different model.
Straps Are Too Short
Not all cars have the same seat frame design. If straps won’t reach, look for extension hooks or universal adapters online.
Cover Blocks Seat Controls
If you can’t access seat heaters, massage functions, or adjustment levers, the cover may be too tight. Loosen slightly or choose a more flexible material next time.
Maintenance Tips to Keep Covers Looking Great
Installing seat covers is just the beginning. To keep them in top shape:
- Vacuum weekly: Remove crumbs and dirt before they settle.
- Spot clean spills immediately: Use a damp cloth and mild soap. Avoid harsh chemicals.
- Deep clean every 3–6 months: Follow the manufacturer’s cleaning instructions.
- Air out in sunlight: Helps prevent odors and mildew.
- Rotate or flip if possible: Some covers are reversible—use both sides to extend life.
Conclusion
And that’s it! You’ve successfully installed your car seat covers. It might take 15–30 minutes the first time, but once you get the hang of it, you’ll be a pro.
Remember, the key to a great installation is preparation, patience, and attention to detail. Choose the right covers, clean your seats, follow the steps, and double-check for safety.
With your new seat covers in place, you’ll enjoy a cleaner, more comfortable ride—and your car’s resale value will thank you too.
So go ahead, hit the road with confidence. Your seats are protected, and your car looks better than ever.