Drying a car seat cover properly is essential to prevent mold, odors, and material damage. This guide covers fast, safe drying techniques for fabric, leather, and synthetic covers, including air drying, towel drying, and using fans or dehumidifiers.
Key Takeaways
- Act quickly after cleaning: The sooner you start drying, the less chance moisture has to cause mold or mildew.
- Use absorbent towels: Blot—don’t rub—wet areas to lift moisture without damaging fabric fibers.
- Air dry in sunlight when possible: UV rays naturally disinfect and speed up evaporation, but avoid direct sun on leather.
- Never use high heat: Hair dryers, heaters, or direct sunlight on leather can crack or warp the material.
- Ensure full dryness before reinstalling: Even slight dampness can lead to musty smells or bacterial growth over time.
- Check manufacturer guidelines: Some seat covers have specific care instructions that affect drying methods.
- Use fans or dehumidifiers for faster results: Circulating air indoors helps speed up drying without risking heat damage.
How to Dry Car Seat Cover Fast and Safely
So you’ve just cleaned your car seat cover—great job! But now you’re staring at a damp seat wondering, “How do I dry this without ruining it or waiting three days?” You’re not alone. Whether you spilled coffee, got caught in the rain, or gave your seats a deep clean, knowing how to dry car seat cover fast and safely is crucial. Doing it wrong can lead to mold, unpleasant odors, or even permanent damage to your seat material.
In this complete guide, we’ll walk you through step-by-step methods to dry your car seat cover quickly and safely—whether it’s made of fabric, leather, or a synthetic blend. We’ll cover everything from immediate post-cleaning steps to advanced drying techniques using household tools. By the end, you’ll know exactly how to restore your seat covers to dry, fresh, and ready-to-use condition—without the wait or the worry.
Step 1: Remove the Seat Cover (If Possible)
The first step in drying your car seat cover efficiently is to remove it from the seat—if your vehicle allows it. Many modern cars have removable seat covers, especially on bucket seats or aftermarket upholstery. Removing the cover gives you full access to both sides, ensuring even drying and preventing moisture from getting trapped between the cover and the seat cushion.
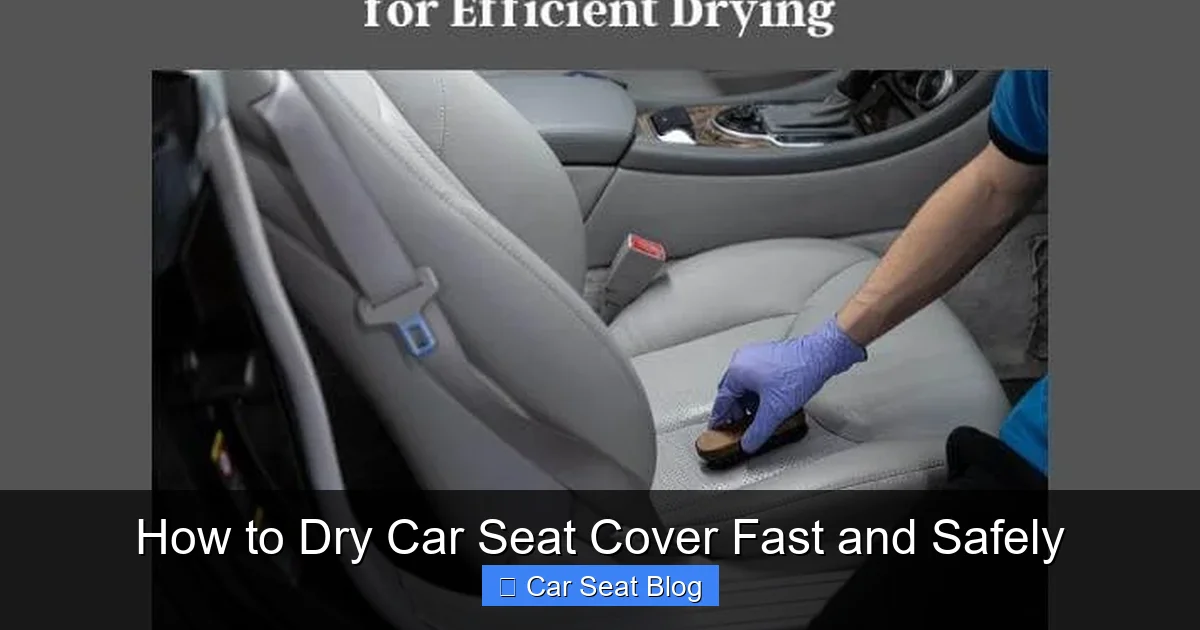
Visual guide about How to Dry Car Seat Cover Fast and Safely
Image source: seatplenary.com
How to Safely Remove a Seat Cover
- Check your vehicle’s manual or look for clips, zippers, or Velcro straps along the edges.
- Gently unclip or unzip the cover, starting from the bottom and working your way up.
- Avoid pulling too hard—some covers are tightly fitted and may tear if forced.
- If the cover is sewn-in or integrated (common in factory leather seats), skip to Step 2.
Pro Tip: Take a photo of how the cover is attached before removing it. This makes reinstallation much easier and prevents misalignment.
Step 2: Blot Excess Moisture Immediately
Once the cover is off (or if it stays in place), your next priority is to remove as much surface moisture as possible. The faster you blot, the less water will seep into the padding or backing.
Use Clean, Absorbent Towels
- Grab 2–3 clean, dry microfiber or cotton towels.
- Press the towel firmly onto wet areas—don’t rub, as this can push water deeper or damage fabric.
- Replace the towel once it’s soaked, and continue blotting until no more water transfers.
Example: If you spilled a large drink, you might need to blot for 5–10 minutes. For a lightly damp cover after spot cleaning, 2–3 minutes may suffice.
For Leather or Vinyl Covers
Leather and vinyl are less absorbent than fabric, but they can still trap moisture underneath. Use a soft, lint-free cloth to wipe the surface, then flip the cover (if removed) to blot the inner side. Never soak leather—excess water can weaken the material and cause cracking.
Step 3: Choose the Right Drying Method Based on Material
Not all seat covers dry the same way. The material determines the safest and fastest drying technique. Let’s break it down by type.
Fabric Seat Covers
Fabric is the most common seat cover material and generally the easiest to dry—if done correctly.
- Air drying: Hang the cover over a clothesline, shower rod, or lay it flat on a clean, dry towel in a well-ventilated area.
- Sunlight: Place it in indirect sunlight. UV rays help kill bacteria and speed evaporation, but avoid prolonged direct sun, which can fade colors.
- Fan assistance: Position a box fan nearby to circulate air. This can cut drying time by 30–50%.
Tip: Flip the cover every 30 minutes to ensure even drying on both sides.
Leather Seat Covers
Leather requires extra care. It’s prone to drying out, cracking, or warping if exposed to heat or excessive moisture.
- Never use a hair dryer or heater: High heat can cause leather to shrink or crack.
- Wipe with a dry cloth: After blotting, use a soft cloth to gently wipe the surface.
- Air dry in shade: Place the cover in a cool, dry, shaded area with good airflow.
- Condition after drying: Once fully dry, apply a leather conditioner to restore moisture and prevent brittleness.
Warning: Do not hang leather covers, as they may stretch or lose shape.
Synthetic or Vinyl Covers
These materials dry faster than fabric but can trap moisture underneath, leading to mildew.
- Blot thoroughly: Use towels to remove surface moisture.
- Air dry upside down: If removed, place the cover face-down on a towel so the inner layer dries first.
- Use a fan: Circulating air prevents condensation buildup.
Note: Vinyl can become sticky if not fully dried, so patience is key.
Step 4: Speed Up Drying with Household Tools
If you’re in a hurry or drying indoors, these tools can significantly reduce drying time—safely.
Use a Fan
A simple box fan or oscillating fan is one of the best tools for drying car seat covers. Position it to blow air directly over the cover, especially on the inner side if possible.
- Set the fan on medium speed to avoid blowing dust onto the wet fabric.
- Combine with open windows for cross-ventilation.
- Drying time can drop from 24 hours to 6–8 hours with consistent airflow.
Dehumidifier for Indoor Drying
If you’re drying the cover indoors—especially in humid climates—a dehumidifier pulls moisture from the air, accelerating evaporation.
- Place the cover in a small room (like a bathroom or closet) with the dehumidifier running.
- Close the door to create a controlled environment.
- This method is ideal for rainy days or winter months when outdoor drying isn’t practical.
Hair Dryer (Use with Caution)
Only use a hair dryer on the cool or low heat setting—and only for fabric or synthetic covers. Never use heat on leather.
- Hold the dryer at least 12 inches away from the cover.
- Move it constantly to avoid concentrating heat in one spot.
- Use only for spot drying or final touch-ups—not for entire covers.
Important: High heat can melt synthetic fibers or scorch fabric. When in doubt, skip the dryer.
Step 5: Check for Complete Dryness Before Reinstalling
Reinstalling a damp seat cover is a common mistake—and a recipe for mold, mildew, and bad odors. Even if the surface feels dry, moisture may linger underneath.
How to Test for Dryness
- Touch test: Press your hand firmly on the cover, especially in seams and folds. If it feels cool or damp, it’s not ready.
- Smell test: A musty or earthy odor indicates trapped moisture.
- Weight test: A dry cover will feel lighter than a wet one.
Pro Tip: If you’re unsure, wait an extra hour. It’s better to be safe than sorry.
Step 6: Reinstall the Seat Cover Properly
Once the cover is completely dry, it’s time to put it back. Proper reinstallation ensures a snug fit and prevents future sagging or shifting.
Steps for Reinstallation
- Align the cover correctly—refer to your photo if you took one.
- Start from the top and work your way down, smoothing out wrinkles as you go.
- Secure all clips, zippers, or straps firmly but gently.
- Sit in the seat and adjust for comfort and fit.
Bonus: Vacuum the seat base before reinstalling to remove dust or debris that may have accumulated.
Troubleshooting Common Drying Problems
Even with the best methods, issues can arise. Here’s how to handle them.
Problem: Cover Still Smells Musty After Drying
This usually means moisture was trapped during drying, allowing mold or bacteria to grow.
- Solution: Re-clean the cover with a mild disinfectant (like diluted white vinegar), then dry again using a fan and dehumidifier.
- Prevention: Always ensure full dryness before reinstalling.
Problem: Leather Cover Feels Stiff or Cracked
This happens when leather dries too quickly or lacks conditioning.
- Solution: Apply a high-quality leather conditioner and let it absorb for 15–20 minutes. Buff with a soft cloth.
- Prevention: Never expose leather to direct heat or sunlight during drying.
Problem: Fabric Cover Faded or Discolored
Prolonged exposure to direct sunlight can bleach fabric.
- Solution: Use fabric dye or a color-restoring spray (test on a small area first).
- Prevention: Dry fabric covers in shaded, ventilated areas—not in direct sun.
Final Tips for Long-Term Seat Cover Care
Now that your seat cover is dry and reinstalled, keep it in great shape with these maintenance tips:
- Clean spills immediately: The faster you act, the less moisture soaks in.
- Use seat protectors: Waterproof covers or mats can prevent future soaking.
- Vacuum regularly: Dirt and debris trap moisture and cause odors.
- Condition leather every 3–6 months: This keeps it supple and prevents cracking.
- Store spare covers properly: If you have seasonal covers, store them in a dry, breathable bag—not plastic.
Conclusion
Knowing how to dry car seat cover fast and safely isn’t just about convenience—it’s about protecting your investment and maintaining a clean, healthy car interior. Whether you’re dealing with fabric, leather, or synthetic material, the right drying method can prevent mold, odors, and damage. By following these steps—removing the cover when possible, blotting thoroughly, choosing the right drying technique, and ensuring complete dryness—you’ll keep your seats looking and smelling fresh for years to come.
Remember: patience and care go a long way. Rushing the process with heat or skipping steps might seem faster, but it can lead to bigger problems down the road. Take the time to dry your seat cover properly, and your car—and your passengers—will thank you.

