Clay barring a car removes bonded contaminants from the paint surface and leaves it noticeably smoother. The process is simple: wash the car, lubricate the panel, glide the clay bar gently, and wipe clean. It works best before waxing, polishing, or applying paint protection.
Clay barring is one of the most effective ways to restore a smooth paint surface. If your car feels rough after washing, or if wax no longer seems to bond evenly, the problem is often bonded contamination sitting on top of the clear coat.
Knowing how to clay bar a car step by step can help you improve the finish without expensive equipment. The process is straightforward, but it works best when done carefully, with the right lubricant and a clean surface. For a broader approach to keeping the exterior in good shape, see how to wash safely on a budget without wasting money.
This guide explains what clay barring does, what you need, how to do it safely, and when it makes sense to get professional help. It is written for everyday car owners who want a better finish without guesswork.
- Start with a clean car: Washing first removes loose dirt so the clay bar can focus on bonded contaminants.
- Use plenty of lubricant: Clay should glide easily; if it drags, add more spray to reduce the risk of marring.
- Work in small sections: A panel-at-a-time approach helps you control the process and spot rough areas more easily.
- Fold the clay often: Exposed dirt can scratch paint, so knead the clay to reveal a clean surface as you work.
- Clay is not a replacement for polishing: It removes surface contamination, but it does not correct swirl marks or scratches.
- Finish with protection: Wax, sealant, or ceramic protection helps preserve the smooth surface after claying.
- Use extra care on delicate finishes: Fresh paint, matte finishes, and heavily damaged surfaces may need professional advice first.
This AAutomotives guide is written to help readers understand How to Clay Bar a Car Step by Step with clear, practical advice. Before publishing, review model-specific facts, dates, prices, safety points, and source links so the final article stays accurate and trustworthy.
- What Clay Barring Does and Why It Matters
- What You Need Before You Start
- Step 1: Wash and Dry the Car First
- Step 2: Inspect the Paint and Test a Small Area
- Step 3: Lubricate the Panel Generously
- Step 4: Glide the Clay Bar Gently Across the Surface
- Step 5: Fold, Knead, and Check the Clay Often
- Step 6: Wipe, Recheck, and Move Around the Car
- Step 7: Protect the Paint After Claying
- Common Mistakes to Avoid
- When to Get Expert Help
- Conclusion
What Clay Barring Does and Why It Matters
A clay bar removes contaminants that washing alone cannot lift. These usually include brake dust, rail dust, tree sap residue, industrial fallout, overspray, and other tiny particles that bond to paint over time.
Those contaminants create a rough feel when you run your hand lightly over the paint. They can also reduce shine and make wax or sealant less effective. Clay barring smooths the surface so protection products can bond more evenly.
It is important to understand the limit of clay. It does not fix scratches, oxidation, or deep water spots. It prepares the surface, but it is not a paint correction tool by itself.
If the paint already has heavy swirls, etched spots, or oxidation, claying may improve smoothness but will not fully restore gloss. Polishing may be needed afterward.
What You Need Before You Start
You do not need a complicated detailing setup to clay a car properly. A basic kit is enough in most cases, but the quality of the lubricant and your technique matter more than having a lot of tools.
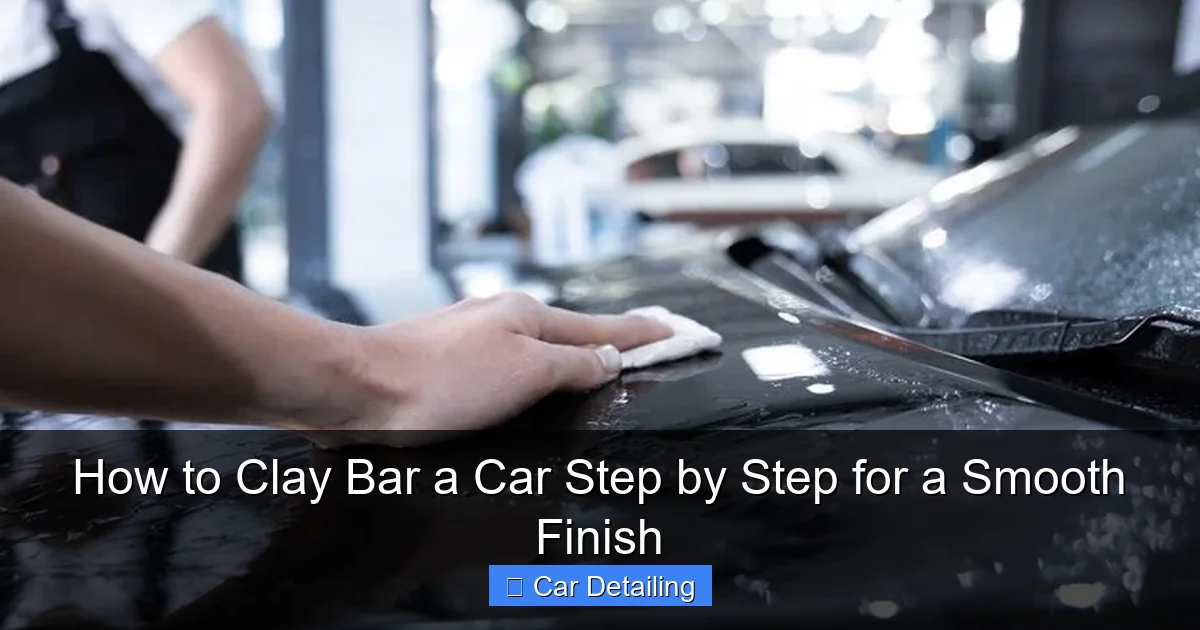
Visual guide about How to Clay Bar a Car Step by Step for a Smooth Finish
Image source: cleanimage101.com
- Clay bar or clay mitt
- Clay lubricant or quick detail spray
- Two buckets or car wash supplies
- Microfiber towels
- Clean water
- Optional: wax, sealant, or ceramic spray for aftercare
Many drivers choose a traditional clay bar because it is affordable and effective. A clay mitt or clay towel can be faster on larger vehicles, though the feel and control may differ by product.
If your car is already in a full cleaning routine, you may also want to clean the interior at the same time. For example, a clean cabin often starts with the basics, such as cleaning car floor mats with a vacuum or vacuuming tight spaces inside a car.
- Glossy painted panels
- Cars with rough paint after washing
- Pre-wax or pre-sealant prep
- Routine exterior maintenance
- Fresh paint that has not fully cured
- Matte or satin finishes unless the product is approved
- Heavily damaged paint needing correction
- Dry claying without lubricant
Step 1: Wash and Dry the Car First
Always start with a proper wash. Clay bars are meant for bonded contamination, not loose dirt. If grit remains on the surface, claying can drag it across the paint and cause marring.
Use a safe wash method with car shampoo and clean wash mitts. Rinse thoroughly and dry the vehicle with a microfiber towel or blower. Pay extra attention to lower panels, rear bumpers, and behind wheel arches, since those areas usually collect more contamination.
Never clay a dirty or dusty car. Even tiny particles trapped on the surface can scratch the clear coat when the clay moves across the panel.
If you are trying to keep the whole vehicle in better condition, good prep habits matter. A clean exterior works better with detailing steps, and a clean interior often benefits from regular upkeep like cleaning car air vents using a vacuum.
Step 2: Inspect the Paint and Test a Small Area
Before claying the whole car, inspect the paint in good light. Run your hand inside a thin plastic sandwich bag over the surface. The bag amplifies roughness and helps you feel bonded contaminants more clearly.
Test a small area first, such as part of the hood or door. This lets you confirm that the clay and lubricant combination is working well and that the paint responds normally.
Use the bag test after washing and drying. If the panel still feels gritty, clay barring is likely worth doing before waxing or sealing.
Different vehicles may behave differently. Newer clear coats, repainted panels, and older finishes can all react a little differently, so a test spot is a smart habit.
Step 3: Lubricate the Panel Generously
Lubrication is what makes the clay glide. Spray the panel with clay lubricant or a product approved by the clay maker. Work one small section at a time, usually about 2 feet by 2 feet.
The panel should stay wet enough for the clay to move smoothly. If the surface starts to feel grabby, stop and add more lubricant. Do not force the clay across dry paint.
Some detailers use a dedicated clay lube, while others use a diluted quick detailer or wash solution depending on the product instructions. Follow the label, because formulas vary and not every lubricant is safe for every clay tool.
Step 4: Glide the Clay Bar Gently Across the Surface
Flatten the clay into a small patty and place it on the lubricated section. Move it back and forth with very light pressure. You are not scrubbing; you are letting the clay pick up contamination as it passes over the paint.
At first, you may hear or feel a slight roughness. As the contaminants are removed, the clay should glide more smoothly. That change in feel is often the clearest sign that the section is becoming clean.
Keep your strokes straight and controlled. Circular motion is not necessary. If the clay sticks, do not push harder. Add more lubricant and continue gently.
Clay bars can pick up debris quickly. If you drop the clay on the ground, discard it. Using dropped clay can scratch the paint.
How to know when a section is done
The panel should feel noticeably smoother after several passes. When the clay moves freely and the rough texture is gone, wipe the area with a microfiber towel and move to the next section.
If the surface still feels gritty, repeat the process with more lubricant. Some cars, especially those parked outdoors or driven frequently near industrial areas, may need more than one pass.
Step 5: Fold, Knead, and Check the Clay Often
As the clay collects contamination, fold it over to expose a clean side. Kneading the clay regularly helps protect the paint and keeps the bar effective.
Inspect the clay before each new section. If you see visible dirt, embedded particles, or a heavily contaminated area, fold it again. A clean clay surface is one of the simplest ways to reduce the chance of scratches.
If the clay becomes too dirty to safely continue, replace it. A small extra cost is better than risking damage to the clear coat.
Step 6: Wipe, Recheck, and Move Around the Car
After each section, wipe away residue with a clean microfiber towel. Then feel the panel again with the bag test or your clean hand. The surface should feel smoother than before.
Work panel by panel around the car. A typical full-size sedan may take about one to two hours depending on contamination, paint condition, and your pace. Larger vehicles or heavily contaminated surfaces can take longer.
| Vehicle Condition | Typical Claying Time |
|---|---|
| Light contamination | 45 to 90 minutes |
| Moderate contamination | 1 to 2 hours |
| Heavy contamination | 2 hours or more |
For owners who already spend time on exterior care, claying can fit into a larger maintenance routine. It pairs well with seasonal washing, trim cleaning, and even interior upkeep such as removing pet hair from car seats with a vacuum when the goal is a full refresh.
Step 7: Protect the Paint After Claying
Clay barring leaves the paint clean and smooth, but it also removes surface contamination that may have been helping old wax cling in place. That means the paint is ready for protection.
Apply wax, paint sealant, or a ceramic spray product soon after claying. This helps preserve the smooth finish and gives the paint a more uniform look. If you skip this step, the paint may feel clean for a while, but it will be more exposed to new contamination.
If you plan to polish the car, clay first, then polish, then protect. That order usually gives the cleanest and most efficient result.
The right protection depends on your budget, climate, and how often you wash the car. A wax may be enough for casual upkeep, while a longer-lasting sealant can make maintenance easier for daily drivers.
Common Mistakes to Avoid
Most clay-bar problems come from rushing the process. The biggest mistake is using too little lubricant, because dry friction increases the chance of marring.
Another common issue is using too much pressure. The clay should move lightly over the surface. If you have to press hard, something is wrong with the lubrication or the panel prep.
People also forget to replace dirty clay or try to save a dropped piece. That is not worth the risk. Contamination trapped in the clay can act like sandpaper on the next panel.
Finally, some drivers clay too often. You do not need to do it every wash. For many cars, a few times per year is enough, though frequency depends on where the car is parked and driven.
When to Get Expert Help
Professional detailing can be a better choice if the paint is delicate, freshly repainted, or already damaged. A detailer can inspect the finish and decide whether claying, polishing, or another treatment is appropriate.
Expert help is also worth considering if the car has heavy overspray, severe contamination, or a finish you are unsure about, such as matte paint. In those cases, the wrong product or technique can create expensive problems.
If you are preparing a vehicle for sale, lease return, or show presentation, professional help may also save time and deliver a more even result.
Conclusion
Learning how to clay bar a car step by step is one of the easiest ways to improve paint smoothness and prepare the surface for protection. The process is simple: wash first, lubricate well, work in small sections, handle the clay carefully, and finish with wax or sealant.
Used correctly, clay barring can make a car feel cleaner and look better without major expense. The key is patience and proper prep. If the paint is heavily damaged, freshly painted, or a special finish, it is smarter to ask a professional before proceeding.
For most everyday vehicles, clay barring is a practical detailing step that fits well into a regular maintenance routine. Done carefully, it can make the next wash, wax, or protection step noticeably more effective.
🎥 Related Video: How To Clay Bar Your Car – Chemical Guys Auto Detailing
📺 Chemical Guys
NEW UPDATED VIDEO: https://www.youtube.com/watch?v=T8LyHX0eHl8 Auto detailing clay is the detailer’s secret for …
Frequently Asked Questions
Most cars only need clay barring a few times a year. If the paint feels rough sooner because of outdoor parking, road fallout, or heavy contamination, you may need it more often.
It is not recommended to clay without proper lubrication. The clay needs a slick surface to glide safely, and dry claying can scratch the paint.
No, clay barring removes bonded contaminants, not scratches. It may make the paint look cleaner, but swirl marks and deeper defects usually require polishing.
Neither is universally better. A clay bar may offer more precise control, while a clay mitt can be faster on larger surfaces. The right choice depends on your comfort level and the condition of the paint.
Yes, many people use clay on glass and clear plastic if the product instructions allow it. Always test a small area first and avoid aggressive pressure on delicate surfaces.
After claying, wipe the panels clean and apply wax, sealant, or another paint protectant. This helps preserve the smooth finish and keeps the surface easier to maintain.

