How to Make Car Seat Covers Stay in Place Easily
Struggling with sliding or bunching car seat covers? This guide reveals proven methods to keep your seat covers secure, including proper installation, anti-slip solutions, and smart accessories. Say goodbye to constant readjustments and enjoy a clean, professional look every time you drive.
Key Takeaways
- Choose the right fit: Custom-fit covers are less likely to shift than universal ones.
- Use anti-slip liners: Rubberized mats or shelf liners underneath reduce movement.
- Secure with straps and hooks: Most quality covers come with built-in fasteners—use them!
- Tuck and anchor properly: Tucking fabric into seat crevices and using headrest anchors prevents slippage.
- Wash and re-stretch when needed: Over time, covers loosen—re-tighten after washing.
- Avoid cheap materials: Thin or slippery fabrics are more prone to shifting.
- Regular maintenance helps: Check and adjust covers monthly for long-term stability.
How to Make Car Seat Covers Stay in Place Easily
If you’ve ever driven just a few miles only to find your car seat covers wrinkled, shifted, or bunched up, you’re not alone. Loose or sliding seat covers are frustrating, unsafe, and can ruin the look of your car’s interior. The good news? Keeping your car seat covers in place is easier than you think—with the right tools, techniques, and a little know-how.
In this guide, we’ll walk you through step-by-step methods to ensure your seat covers stay snug, secure, and wrinkle-free. Whether you’re using universal-fit covers or custom-made ones, these tips will help you achieve a professional, factory-like finish. From choosing the right materials to using clever anchoring tricks, you’ll learn how to make car seat covers stay in place easily—and for good.
Why Do Car Seat Covers Shift?
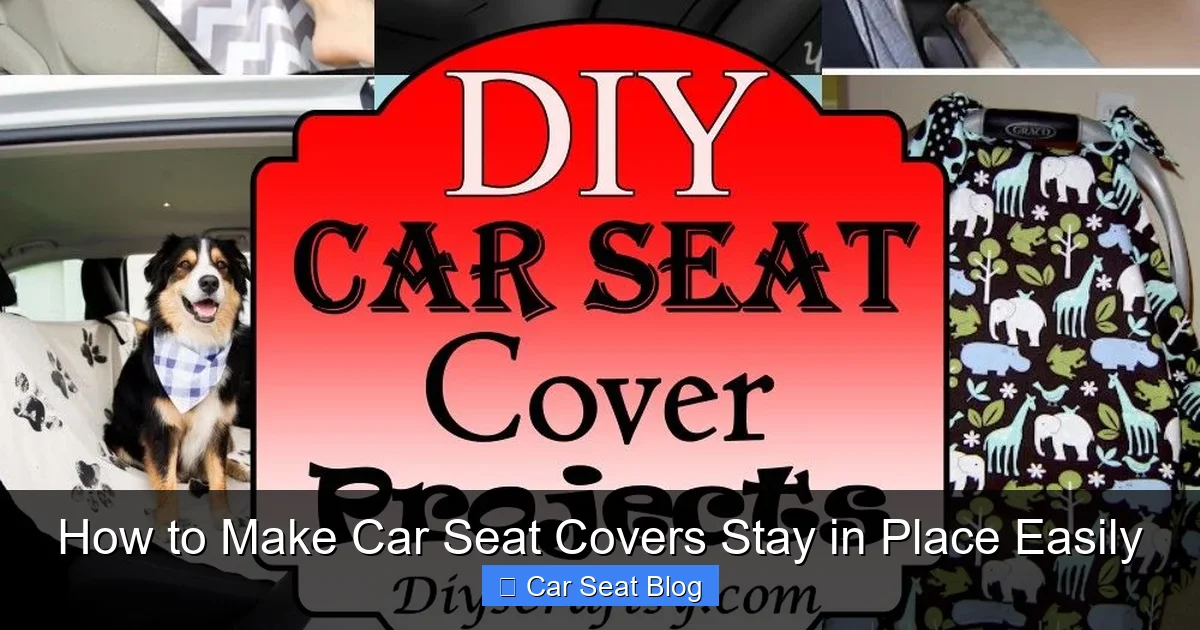
Visual guide about How to Make Car Seat Covers Stay in Place Easily
Image source: i.pinimg.com
Before we dive into solutions, it’s important to understand why seat covers move in the first place. Several factors contribute to slippage:
- Poor fit: Universal covers are designed to fit a range of seat sizes, which often means they’re slightly too big or too small for your specific seat.
- Smooth fabrics: Covers made from slick materials like polyester or nylon can slide easily, especially on leather or vinyl seats.
- Missing fasteners: Many covers come with straps, hooks, or elastic bands—but if you don’t use them, the cover won’t stay put.
- Improper installation: Rushing through setup or skipping key steps (like tucking fabric) leads to movement over time.
- Heat and friction: Sun exposure softens materials, and repeated sitting creates friction that gradually shifts the cover.
Understanding these causes helps you target the right fixes. Now, let’s get into the solutions.
Step 1: Choose the Right Seat Covers
The foundation of a secure fit starts with selecting the right product. Not all seat covers are created equal.
Opt for Custom-Fit Covers
Custom-fit seat covers are tailored to your car’s make, model, and year. They’re designed to match the exact contours of your seats, including bolsters, armrests, and seatbelt openings. Because they’re made to measure, they’re far less likely to shift or wrinkle.
For example, if you drive a Honda Civic, look for covers specifically labeled “Honda Civic 2020–2024.” These will hug your seats like a second skin.
Avoid Thin or Slippery Materials
Cheap seat covers often use lightweight, smooth fabrics that slide easily. Instead, choose covers made from textured materials like neoprene, canvas, or microfiber. These provide better grip and resist movement.
Neoprene, in particular, is a popular choice because it’s durable, water-resistant, and has a slightly rubbery texture that grips the seat.
Check for Built-In Fasteners
High-quality covers come with straps, hooks, or elastic loops. These are essential for anchoring the cover to the seat frame. Before buying, check the product description or packaging to ensure it includes these features.
Step 2: Prepare Your Seats
A clean, dry seat surface is crucial for a secure fit. Dirt, grease, or moisture can reduce friction and cause covers to slide.
Clean the Seats Thoroughly
Use a vacuum to remove crumbs, dust, and debris. Then wipe down the seats with a mild cleaner and a microfiber cloth. For leather seats, use a leather cleaner; for fabric, a gentle upholstery spray works well.
Let the seats dry completely before installing the covers. Any moisture left behind can create a slippery layer.
Remove Headrests (If Needed)
Many seat covers require you to remove the headrests for installation. Check your cover’s instructions—most will have a zipper or opening that only fits when the headrest is off.
Use a screwdriver or follow your car’s manual to safely remove the headrest. Keep the pins or clips in a safe place so you don’t lose them.
Step 3: Install the Covers Correctly
Proper installation is the most important step in keeping seat covers in place. Rushing this process leads to problems down the road.
Start with the Backrest
Begin by slipping the cover over the backrest. Make sure it’s centered and aligned with the seat edges. Pull it down evenly to avoid twisting or bunching.
If your cover has a zipper at the bottom, zip it up snugly. This helps anchor the fabric.
Tuck Fabric into Seat Crevices
Use a plastic trim tool or a butter knife (gently!) to tuck excess fabric into the gaps between the seat back and cushion. This “tuck and anchor” method prevents the cover from riding up.
For bucket seats, focus on the sides and bottom. For bench seats, work from the center outward.
Secure with Straps and Hooks
Most covers include straps that loop under the seat or around the frame. Attach these tightly—but not so tight that they warp the seat shape.
Some models have J-hooks that clip onto the seat frame. Make sure each hook is firmly in place. If a strap feels loose, double-check the connection point.
Reinstall the Headrest
Once the cover is secure, reinsert the headrest through the designated opening. Push it all the way down until it clicks into place.
If the cover has a headrest flap or zipper, fasten it to keep the fabric taut.
Step 4: Use Anti-Slip Solutions
Even with perfect installation, some covers may still shift—especially on smooth surfaces. That’s where anti-slip aids come in.
Apply a Rubberized Shelf Liner
Cut a piece of non-adhesive rubber shelf liner to fit the seat base. Place it between the seat and the cover. The textured surface grips both materials, reducing movement.
You can find these liners at hardware or home goods stores. Look for ones labeled “non-slip” or “grip pad.”
Try a Seat Cover Grip Mat
These are pre-cut mats designed specifically for car seats. They’re made from high-friction silicone or rubber and stick lightly to the seat without adhesives.
Simply place the mat on the seat before installing the cover. It adds a layer of traction that keeps everything in place.
Use Double-Sided Carpet Tape (Sparingly)
For stubborn areas, apply small pieces of double-sided carpet tape to the underside of the cover. Avoid large sections—too much tape can damage the seat or make removal difficult.
Only use this method on fabric seats, and test a small area first to ensure it doesn’t leave residue.
Step 5: Maintain and Adjust Regularly
Seat covers loosen over time due to use, washing, and temperature changes. Regular maintenance keeps them secure.
Check Fasteners Monthly
Every few weeks, inspect the straps, hooks, and zippers. Re-tighten any that feel loose. If a strap breaks, replace it with a sturdy replacement or use a zip tie as a temporary fix.
Wash and Re-Stretch After Cleaning
If you wash your seat covers (which you should, especially if you have kids or pets), allow them to air dry completely. Once dry, reinstall them using the same steps above.
Washing can cause fabric to shrink or stretch, so re-tucking and re-securing is essential.
Avoid Overloading the Seat
Placing heavy items on the seat—like grocery bags or toolboxes—can distort the cover and weaken the fasteners. Use the seat for seating only when possible.
Troubleshooting Common Problems
Even with the best setup, issues can arise. Here’s how to fix the most common ones.
Problem: Cover Keeps Sliding Forward
This usually happens on the seat base. Solution: Add a rubber grip mat or shelf liner to the bottom. Also, double-check that the rear straps are anchored tightly under the seat.
Problem: Wrinkles or Bunching on the Sides
This indicates poor tucking. Remove the cover and re-tuck the fabric into the side crevices. Use a flat tool to push the fabric deep into the gaps.
Problem: Headrest Area Loose
Ensure the headrest is fully inserted and the cover’s headrest flap is zipped or snapped shut. If the opening is too big, use a small piece of Velcro to close the gap.
Problem: Straps Won’t Stay Attached
If hooks keep popping off, inspect the seat frame for damage. You can also use heavy-duty zip ties to secure straps directly to sturdy parts of the frame.
Bonus Tips for Long-Lasting Results
- Rotate covers occasionally: If you have multiple sets, switch them every few months to reduce wear.
- Park in the shade: UV rays weaken fabric and elastic over time. Use a sunshade to protect your seats.
- Choose breathable fabrics: Materials like neoprene or mesh allow airflow, reducing sweat and slippage in hot weather.
- Invest in quality: Spending a little more on durable, well-designed covers saves money and frustration in the long run.
Conclusion
Keeping your car seat covers in place doesn’t have to be a constant battle. With the right preparation, installation, and maintenance, you can enjoy a clean, secure, and professional-looking interior every time you get behind the wheel.
Remember: start with a well-fitting cover, use anti-slip aids when needed, and always secure every strap and hook. A little effort upfront prevents hours of readjusting later.
By following these steps, you’ll not only protect your seats but also enhance your driving experience. So go ahead—install those covers with confidence, and drive knowing they’ll stay put, mile after mile.