Making custom car seat covers at home is a fun, affordable way to refresh your vehicle’s interior. With basic sewing skills and the right materials, you can create durable, stylish covers that fit perfectly and protect your seats from wear and tear.
Key Takeaways
- Custom fit ensures better protection: Tailored covers stay in place and offer full coverage, unlike generic options.
- Choose the right fabric for durability: Opt for heavy-duty materials like canvas, neoprene, or polyester blends that resist stains and fading.
- Accurate measurements are crucial: Take precise dimensions of each seat part to avoid gaps or bunching.
- Sewing skills can be learned quickly: Even beginners can master basic stitching with practice and simple patterns.
- Personalize with colors and designs: Add piping, embroidery, or unique patterns to match your style.
- Save money compared to store-bought covers: DIY covers cost 50–70% less than premium custom options.
- Easy maintenance extends cover life: Removable, washable covers keep your car looking fresh longer.
How to Make Custom Car Seat Covers Easily at Home
Is your car’s interior looking a little tired? Maybe the seats are stained, faded, or just not your style anymore. Instead of spending hundreds on professional upholstery or buying ill-fitting seat covers, why not make your own? Learning how to make custom car seat covers at home is easier than you think—and it’s a rewarding DIY project that saves money and adds a personal touch to your ride.
In this guide, we’ll walk you through the entire process, from measuring your seats to stitching the final seam. Whether you’re a seasoned sewer or a complete beginner, you’ll find clear, step-by-step instructions, helpful tips, and practical advice to create seat covers that look professional and last for years. Let’s get started!
Why Make Your Own Car Seat Covers?
Before diving into the how-to, let’s talk about the why. Custom seat covers offer several advantages over off-the-shelf options:
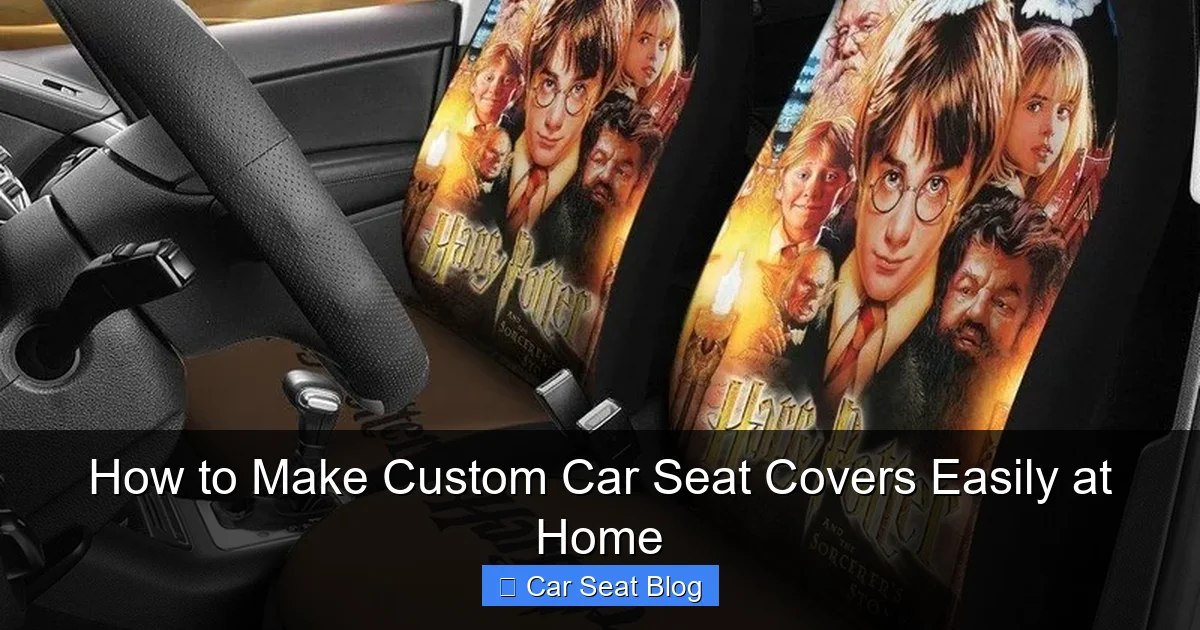
Visual guide about How to Make Custom Car Seat Covers Easily at Home
Image source: hearthtops.com
- Perfect fit: Store-bought covers often sag or slip because they’re made for average seat sizes. Custom covers hug every contour of your seat.
- Material control: You choose fabrics that match your lifestyle—waterproof neoprene for pet owners, breathable mesh for hot climates, or luxurious velvet for style.
- Cost-effective: High-quality custom covers from retailers can cost $200–$500. DIY versions typically cost under $100.
- Creative freedom: Add contrast stitching, monograms, or fun patterns that reflect your personality.
- Eco-friendly upgrade: Reuse old fabric or buy sustainable materials to reduce waste.
Plus, making your own covers gives you a sense of accomplishment. There’s something satisfying about driving in a car that looks exactly how you envisioned it—because you built it.
What You’ll Need
Gather these supplies before starting. Most can be found at fabric stores, auto shops, or online:
- Measuring tape – For accurate seat dimensions
- Fabric scissors – Sharp ones for clean cuts
- Pins or fabric clips – To hold pieces together
- Sewing machine – A basic model works fine; heavy-duty is better for thick fabrics
- Thread – Choose polyester or upholstery thread for strength
- Fabric marker or chalk – For tracing patterns
- Iron and ironing board – To press seams and reduce bulk
- Elastic or Velcro strips – For securing covers underneath seats
- Fabric of your choice – See next section for recommendations
Optional but helpful: a rotary cutter, cutting mat, and pattern paper (or large sheets of newspaper).
Choosing the Right Fabric
Not all fabrics are created equal when it comes to car seat covers. You need something durable, easy to clean, and comfortable. Here are the best options:
Canvas
A heavyweight cotton or cotton-blend fabric that’s tough and breathable. Great for daily use and resists fading. Look for water-resistant finishes if you live in a rainy area.
Neoprene
Originally used for wetsuits, neoprene is waterproof, stretchy, and excellent for protecting seats from spills, pet hair, and sweat. It’s a top choice for SUVs, trucks, and family cars.
Polyester Blend
Affordable and widely available, polyester blends resist wrinkles and stains. Choose one with a tight weave and UV protection to prevent sun damage.
Leatherette (Faux Leather)
Gives a sleek, modern look without the high cost of real leather. Easy to wipe clean and resists cracking. Ideal for a luxury upgrade.
Outdoor/Marine Vinyl
Perfect for trucks, convertibles, or cars used in harsh conditions. Waterproof, mildew-resistant, and highly durable.
Tip: Always pre-wash your fabric before cutting to prevent shrinkage after sewing. Test a small piece for colorfastness too—some dyes bleed when washed.
Step 1: Remove the Seat (If Possible)
For the most accurate fit, remove the seat from the car. This isn’t always necessary, but it makes measuring and fitting much easier—especially for front bucket seats.
How to Remove a Car Seat
- Check your vehicle’s manual for specific instructions.
- Disconnect the battery to avoid triggering airbag sensors.
- Locate the bolts at the base of the seat (usually four).
- Use a socket wrench to loosen and remove them.
- Gently lift the seat out, watching for wiring harnesses (some seats have power adjustments or heaters).
If you can’t remove the seat, work around it carefully. Just be extra cautious when measuring and pinning fabric.
Step 2: Measure Your Seat
Precision is key. Measure each section of the seat separately:
- Seat bottom: Width, depth, and height from front to back
- Seat back: Height, width, and curvature
- Headrest: Circumference and height (if removable)
- Side bolsters: The raised edges on the sides of the seat
- Seatbelt openings and adjustment points: Note their locations
Use a flexible measuring tape and record all dimensions on paper. Add 1–2 inches (2.5–5 cm) to each measurement for seam allowance and ease of movement.
Pro Tip: Take photos of your seat from multiple angles. These will help you visualize how pieces should fit together later.
Step 3: Create a Pattern
Now it’s time to turn measurements into a sewing pattern. You can do this two ways:
Method 1: Use Newspaper or Pattern Paper
Lay out large sheets on the floor. Use your measurements to draw each piece (seat bottom, back, sides, etc.). Cut them out and test-fit on the seat. Adjust as needed.
Method 2: Use the Existing Seat Cover (If Removable)
If your current cover comes off easily, use it as a template. Lay it flat, trace around it on fabric, and add seam allowances.
Label each pattern piece clearly (e.g., “Front Seat Bottom – Driver Side”) to avoid confusion later.
Step 4: Cut the Fabric
Place your pattern pieces on the fabric, following the grainline (usually marked on the fabric). Pin them in place and cut carefully with sharp scissors.
Important: Cut two identical pieces for each section (front and back of the cover), unless you’re using a single-layer design.
If your seat has complex curves (like bolsters or recessed areas), consider cutting extra pieces and sewing them together like a puzzle. This creates a smoother, more tailored fit.
Step 5: Sew the Pieces Together
Now comes the fun part—stitching! Follow these steps:
Pin and Baste First
Pin the fabric pieces right sides together. Use a basting stitch (long, temporary stitches) to hold them in place before final sewing. This lets you test the fit and make adjustments.
Sew with the Right Stitch
Use a straight stitch for most seams. For stretchy fabrics like neoprene, use a zigzag stitch to allow flexibility. Set your machine to a medium stitch length (2.5–3 mm).
Press Seams Open
After sewing each seam, press it open with an iron. This reduces bulk and gives a cleaner finish.
Add Reinforcements
Reinforce high-stress areas (like seat corners and belt openings) with double stitching or extra fabric patches.
Tip: Sew slowly and guide the fabric gently—don’t pull or stretch it, or the cover may warp.
Step 6: Add Openings and Fastenings
Your cover needs openings for seatbelts, headrests, and adjustment levers. Here’s how to handle them:
Seatbelt Openings
Cut small slits in the fabric where the seatbelt emerges. Finish the edges with bias tape or a zigzag stitch to prevent fraying.
Headrest Posts
Create buttonholes or elastic loops to secure the headrest. Alternatively, make a detachable headrest cover that slips over the post.
Securing the Cover
Attach elastic straps or Velcro strips to the underside of the cover. Hook them under the seat frame to keep the cover snug and prevent slipping.
For bucket seats, consider adding a drawstring or elastic hem at the bottom for a tighter fit.
Step 7: Test Fit and Adjust
Put the cover on the seat (still in or out of the car). Check for:
- Gaps or loose areas
- Tight spots that restrict movement
- Misaligned openings
- Excess fabric bunching up
Make adjustments as needed. It’s normal to need a few tweaks—don’t worry! Trim excess fabric or add darts to improve the fit.
Troubleshooting Common Issues
Even with careful planning, problems can arise. Here’s how to fix them:
Cover Is Too Loose
Add elastic to the edges or sew in adjustable straps. You can also insert foam padding in strategic areas for a fuller look.
Fabric Pills or Wears Quickly
Switch to a heavier-duty fabric next time. Reinforce high-wear zones with extra layers or use a fabric protector spray.
Seams Pop Under Pressure
Use stronger thread (like upholstery thread) and double-stitch critical seams. Avoid pulling fabric too tight while sewing.
Cover Slips Off While Driving
Install more secure fasteners—like hooks, clips, or non-slip grippy fabric underneath. Some DIYers even use safety pins (hidden) for extra hold.
Finishing Touches
Once your cover fits perfectly, add personal flair:
- Contrast piping: Sew colored trim along seams for a professional look.
- Embroidery or appliqué: Add your initials, a logo, or a fun design.
- Matching accessories: Make coordinating armrest or console covers.
- Fabric protector spray: Apply to repel stains and extend lifespan.
Let the spray dry completely before installing the covers.
Conclusion
Making custom car seat covers at home is a practical, creative, and budget-friendly project that anyone can tackle. With the right fabric, accurate measurements, and a bit of patience, you’ll end up with seat covers that look like they came from a professional upholsterer—but cost a fraction of the price.
Not only will your car look fresh and stylish, but you’ll also protect your original seats from spills, pets, and daily wear. Plus, you’ll gain valuable sewing skills and the satisfaction of a job well done.
So grab your measuring tape, pick out a fabric you love, and start stitching. Your dream car interior is just a few seams away!

