How to Make Baby Car Seat Cover Safely and Easily
Discover how to make a baby car seat cover that’s safe, stylish, and tailored to your little one’s needs. This guide walks you through selecting the right materials, measuring accurately, and sewing a secure cover—without compromising safety.
Key Takeaways
- Safety First: Always ensure your DIY car seat cover doesn’t interfere with harness straps, buckles, or the seat’s structural integrity.
- Choose Breathable Fabrics: Opt for soft, breathable, and machine-washable materials like cotton or bamboo blends to keep your baby comfortable.
- Accurate Measurements Are Crucial: Measure your car seat carefully before cutting fabric to ensure a snug, secure fit.
- Use Simple Sewing Techniques: Even beginners can follow this guide with basic stitching and minimal tools.
- Test Before Use: Always test the cover with your baby in a safe environment before regular use.
- Customize with Confidence: Add personal touches like embroidery or fun patterns—just avoid bulky embellishments near straps.
- Wash Regularly: Keep your handmade cover clean by washing it frequently to maintain hygiene and freshness.
How to Make Baby Car Seat Cover Safely and Easily
Welcoming a new baby is an exciting time—and preparing for those first car rides is both thrilling and nerve-wracking. One way to make your baby’s travel experience cozier and more personalized is by making your own car seat cover. Not only does it add a touch of warmth and style, but it can also protect your car seat from spills, stains, and wear. However, safety must always come first. In this guide, we’ll show you how to make a baby car seat cover that’s not only adorable but also safe, functional, and easy to sew—even if you’re a beginner.
Whether you’re crafting a gift for a baby shower or simply want to customize your own seat, this step-by-step tutorial will walk you through everything from choosing the right fabric to finishing touches. By the end, you’ll have a handmade cover that fits snugly, feels soft, and gives you peace of mind.
Why Make Your Own Baby Car Seat Cover?
There are plenty of reasons to sew your own car seat cover instead of buying one off the shelf. First, you can choose fabrics that match your nursery theme or your personal style. Second, handmade covers are often more breathable and gentle on your baby’s sensitive skin. Third, you can tailor the fit to your specific car seat model—no more struggling with ill-fitting covers that bunch up or slip off.
But the biggest advantage? You control the quality and safety. Store-bought covers sometimes use questionable materials or designs that interfere with harness systems. When you make it yourself, you know exactly what’s going into it—and how it’s constructed.
Materials and Tools You’ll Need
Before you start, gather all your supplies. Having everything ready will make the process smoother and more enjoyable.
Fabric Choices
Choose soft, breathable, and durable fabrics. Here are some great options:
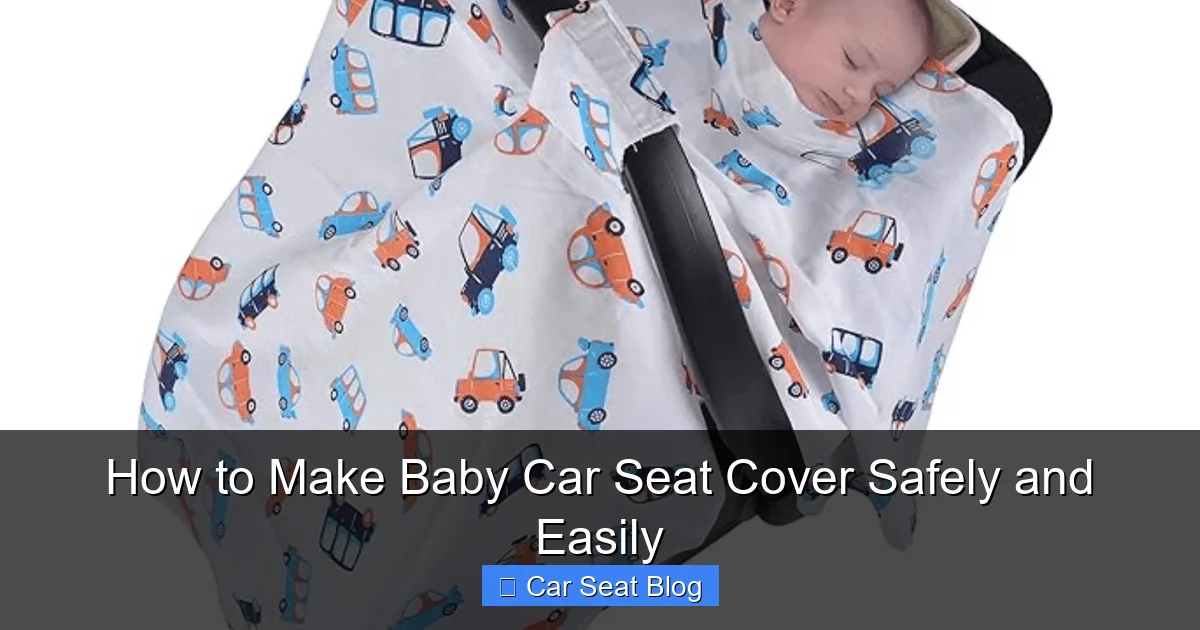
Visual guide about How to Make Baby Car Seat Cover Safely and Easily
Image source: babycareinsider.com
- Cotton: Lightweight, easy to sew, and machine-washable. Look for 100% cotton or cotton blends with a tight weave.
- Bamboo Fabric: Naturally hypoallergenic, moisture-wicking, and incredibly soft—perfect for babies.
- Flannel: Great for colder months, but make sure it’s not too thick, as it can trap heat.
- Jersey Knit: Stretchy and cozy, but avoid overly stretchy versions that might sag or shift.
Avoid synthetic fabrics like polyester unless they’re specifically designed for baby use. They can trap heat and may irritate sensitive skin.
Other Supplies
- Measuring tape
- Fabric scissors
- Pins or fabric clips
- Sewing machine (or needle and thread if hand-sewing)
- Thread that matches your fabric
- Safety pins (optional, for securing during fitting)
- Iron and ironing board
- Pattern paper or large scrap paper
- Chalk or fabric marker
Step 1: Measure Your Car Seat
Accuracy is key. A poorly fitted cover can slip, bunch, or interfere with the harness system—so take your time with this step.
How to Measure
- Lay your car seat on a flat surface, preferably with the harness unbuckled.
- Use a flexible measuring tape to measure the following areas:
- Width of the seat back (top to bottom)
- Width of the seat base (front to back)
- Depth of the seat back (from front to back at the thickest part)
- Length around the sides where the cover will wrap
- Distance from the top of the seat to where the harness straps emerge
- Add 1 inch (2.5 cm) to each measurement for seam allowances and ease of movement.
Create a Simple Pattern
Trace the shape of your car seat onto pattern paper. Include the back, base, and side flaps. Label each piece clearly (e.g., “Back Panel,” “Base Panel,” “Side Flap”). This will serve as your cutting guide.
Step 2: Cut the Fabric
Now it’s time to bring your pattern to life.
Prepare the Fabric
- Wash and dry your fabric before cutting to prevent shrinkage later.
- Iron out any wrinkles so your cuts are precise.
- Fold the fabric with the right sides together if you’re cutting mirrored pieces (like side flaps).
Cut According to Your Pattern
Pin your paper pattern to the fabric and trace around it with chalk or a fabric marker. Cut carefully along the lines, leaving a ½-inch (1.3 cm) seam allowance around all edges.
Tip: Label each fabric piece with a sticky note so you don’t mix them up later.
Step 3: Sew the Main Panels Together
This is where your cover starts to take shape.
Attach the Back and Base
- Place the back panel and base panel right sides together along the curved edge where they meet.
- Pin in place, then sew with a straight stitch using a ½-inch seam allowance.
- Press the seam open with an iron to reduce bulk.
Add the Side Flaps
- Pin one side flap to the side of the back panel, right sides together.
- Sew along the edge, then repeat for the other side.
- Repeat the same process to attach the side flaps to the base panel.
At this point, your cover should look like a three-dimensional “pocket” that loosely fits over the seat.
Step 4: Create Openings for Harness Straps
This is the most critical safety step. The harness system must remain unobstructed at all times.
Locate Harness Points
Check your car seat manual to identify where the harness straps come through the seat. Most seats have:
- Two shoulder strap slots (one on each side of the back)
- A buckle opening at the base
- Optional: a top tether strap hole (if applicable)
Cut and Reinforce Openings
- Use chalk to mark the exact location of each harness slot on the fabric.
- Cut small slits (about 1 inch long) at each marked spot.
- Fold the raw edges under and sew around each opening with a zigzag stitch to prevent fraying.
- For extra durability, add a small piece of interfacing or extra fabric behind each opening as reinforcement.
Never cover or sew over harness slots. The straps must move freely and securely buckle every time.
Step 5: Finish the Edges and Add Closures
Now that the main structure is done, it’s time to tidy up and make the cover easy to put on and take off.
Hem the Raw Edges
Fold the outer edges of the cover under by ¼ inch, then again by ¼ inch to create a clean hem. Pin and sew around the entire perimeter. This prevents fraying and gives a professional finish.
Add Fasteners (Optional)
To keep the cover secure, consider adding:
- Velcro strips: Attach to the underside of side flaps that wrap around the seat.
- Snaps: Great for a clean look, but make sure they’re baby-safe and don’t interfere with the seat.
- Safety pins: A temporary option for testing fit—never leave them on during use.
Avoid elastic bands or drawstrings that could loosen or pose a strangulation risk.
Step 6: Test the Fit and Safety
Before using the cover with your baby, do a thorough safety check.
Fit Test
- Slip the cover over the car seat.
- Ensure it fits snugly without pulling or bunching.
- Check that all harness slots are fully accessible and unobstructed.
- Buckle the harness to confirm it clicks securely and lies flat.
Safety Check
- No loose fabric near the baby’s face or neck.
- No thick padding under the baby—this can compress in a crash and reduce protection.
- No decorative elements (like buttons or beads) that could come loose.
- The cover doesn’t interfere with the car seat’s recline or installation.
If anything feels off, adjust or re-sew before use.
Troubleshooting Common Issues
Even with careful planning, you might run into a few hiccups. Here’s how to fix them:
Cover Is Too Tight or Too Loose
If it’s too tight, you may need to add gussets (extra fabric panels) to the sides. If it’s too loose, consider adding adjustable straps or elastic at the bottom edge for a snugger fit.
Harness Slots Don’t Line Up
Double-check your measurements and compare them to the car seat manual. You may need to reposition the slits slightly—just avoid cutting too close to the edge.
Fabric Pills or Wears Quickly
Choose higher-thread-count fabrics or add a layer of interfacing for durability. Always pre-wash to avoid shrinkage after sewing.
Cover Slips Off During Use
Add non-slip fabric (like silicone dots or grippy lining) to the underside, or use safety pins temporarily until you can sew in better fasteners.
Tips for Customization and Care
Once your cover is complete, you can personalize it to your heart’s content—just keep safety in mind.
Safe Customization Ideas
- Add embroidered initials or a cute animal motif on the back panel (away from harness areas).
- Use contrasting thread for a pop of color.
- Line the cover with soft fleece for extra warmth in winter (but only if it doesn’t add bulk under the baby).
Washing and Maintenance
Wash your cover regularly—babies are messy! Use mild detergent and avoid fabric softeners, which can reduce breathability. Air dry or tumble dry on low to preserve fabric integrity.
Conclusion
Making your own baby car seat cover is a rewarding project that combines creativity with practicality. With the right materials, careful measurements, and a focus on safety, you can craft a cover that’s not only beautiful but also gives you confidence every time you buckle your little one in.
Remember: Never compromise on safety for style. Always prioritize a secure fit, unobstructed harnesses, and breathable fabrics. When in doubt, consult your car seat manual or a certified Child Passenger Safety Technician.
So grab your fabric, fire up your sewing machine, and get ready to create something special—your baby deserves the best, and now you can give it to them, one stitch at a time.