Using a car stereo at home is easier than you think—with the right power supply and simple wiring. This guide walks you through safe setup, power options, and troubleshooting to enjoy your car audio system indoors.
How to Use Car Stereo at Home Easily and Safely
Have you ever wanted to enjoy your car stereo’s crisp sound at home? Maybe you’ve upgraded your car audio and don’t know what to do with the old head unit. Or perhaps you love the look and features of a modern car stereo and want to use it in your garage, workshop, or man cave. The good news? You can absolutely use a car stereo at home—safely and easily—with just a few simple steps.
In this guide, we’ll walk you through everything you need to know: from powering your car stereo correctly to wiring it up and connecting speakers. Whether you’re a DIY enthusiast or a beginner, this step-by-step tutorial will help you turn your car stereo into a powerful home audio system without frying it or risking a fire.
Why Use a Car Stereo at Home?
Car stereos aren’t just for cars. Many people use them at home because they offer great sound quality, Bluetooth connectivity, USB ports, and even touchscreen controls—often at a lower cost than home stereos. Plus, if you’ve already invested in a high-end car audio system, repurposing it at home saves money and reduces waste.
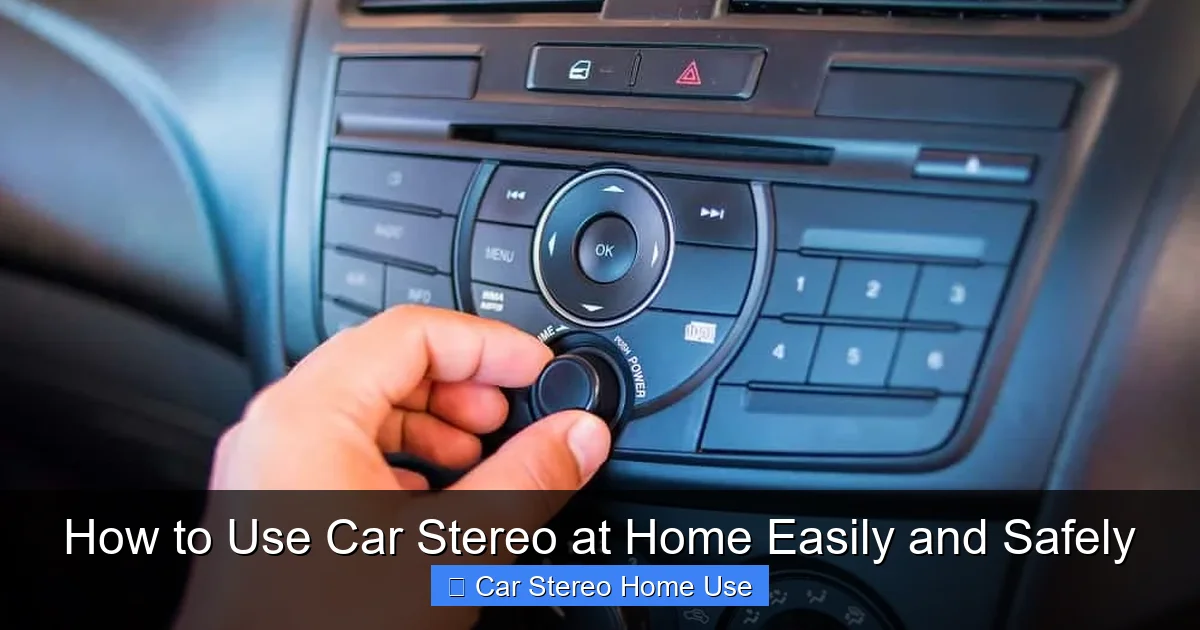
Visual guide about How to Use Car Stereo at Home Easily and Safely
Image source: howstereo.com
Common uses include:
- Garage or workshop music system
- Outdoor patio or backyard setup
- Man cave or home theater audio
- Portable sound system for parties
The key is knowing how to power and connect it properly. Let’s get started.
What You’ll Need
Before you begin, gather these essential tools and components:
- A car stereo (head unit)
- A 12V DC power supply (10–15 amps recommended)
- Speaker wire
- 4-ohm speakers (or compatible impedance)
- Wire strippers and crimping tool
- Electrical tape or heat shrink tubing
- Optional: fuse holder and inline fuse (for safety)
- Optional: mounting bracket or dash kit
Pro Tip: If you don’t have a 12V power supply, you can use an old car battery, but a regulated power supply is safer and more convenient for indoor use.
Step 1: Understand Car Stereo Power Requirements
Car stereos are designed to run on 12-volt direct current (DC), just like in your vehicle. Household outlets provide 120V alternating current (AC), so you can’t plug a car stereo directly into the wall. That’s why you need a 12V DC power supply.
Choosing the Right Power Supply
Look for a power supply that outputs 12V DC and can deliver at least 10 amps. Most car stereos draw between 5–10 amps under normal use, but peak power (like during loud bass notes) can spike higher. A 15-amp supply gives you a safe buffer.
You can find these at electronics stores, online retailers, or even repurpose an old laptop power supply—just make sure it’s rated for 12V DC and sufficient amperage.
Alternative: Using a Car Battery
If you have an old car battery, you can use it to power your stereo. Just connect the stereo’s power wires directly to the battery terminals. However, this isn’t ideal for long-term indoor use due to fumes, weight, and the need to recharge. A power supply is cleaner and safer.
Step 2: Identify the Stereo’s Wiring Harness
Every car stereo has a wiring harness with color-coded wires. The most important ones for home use are:
- Yellow: Constant 12V power (remembers settings like radio presets)
- Red: Switched 12V power (turns the stereo on/off with the ignition)
- Black: Ground (connects to negative terminal)
- Orange/White: Illumination or dimmer (optional)
- Speaker wires: Usually paired (e.g., white/white-black for front left)
Most aftermarket stereos come with a harness adapter. If yours doesn’t, you may need to cut the factory plug and identify wires using a multimeter or wiring diagram.
Testing Wire Polarity
If you’re unsure which wire is which, use a multimeter set to DC voltage. Touch the black probe to a known ground and the red probe to each wire while the stereo is powered (temporarily). The yellow and red wires should show +12V.
Step 3: Connect the Power Supply
Now it’s time to wire your power supply to the stereo. Follow these steps carefully:
Prepare the Power Supply
Cut the output cable of your 12V power supply (if it has a plug) and strip the ends to expose the positive (usually red) and negative (black) wires.
Connect the Wires
Match the power supply wires to the stereo harness:
- Connect the power supply’s positive (red) wire to both the yellow (constant) and red (switched) wires on the stereo harness. You can twist them together or use a connector.
- Connect the power supply’s negative (black) wire to the black (ground) wire on the harness.
Important: Never connect the yellow and red wires to different power sources. They both need 12V, but connecting them together simulates the car’s ignition system.
Add a Fuse (Recommended)
For safety, install an inline fuse (10–15 amp) on the positive wire between the power supply and the stereo. This protects against short circuits and overheating.
Step 4: Connect the Speakers
Car stereos are designed to drive 4-ohm speakers. Most home speakers are 8-ohm, which will work but may result in lower volume. For best results, use 4-ohm car speakers or check your stereo’s manual for compatible impedance.
Wiring the Speakers
Match the speaker wires from the stereo harness to your speakers:
- Front Left: White (+) and White-Black (-)
- Front Right: Gray (+) and Gray-Black (-)
- Rear Left: Green (+) and Green-Black (-)
- Rear Right: Purple (+) and Purple-Black (-)
Strip the ends of the speaker wires and connect them to the speaker terminals. Observe polarity—positive to positive, negative to negative—for proper sound quality.
Tip: Use banana plugs or spade connectors for a cleaner, more secure connection.
Step 5: Mount the Stereo (Optional but Recommended)
Car stereos aren’t meant to sit loose on a table. Mounting them prevents damage and improves airflow.
Use a Dash Kit or DIY Bracket
You can buy a universal dash kit online or build a simple wooden or plastic bracket. Secure the stereo using the mounting sleeves that came with it.
Ensure Proper Ventilation
Car stereos generate heat. Don’t enclose them in a tight box without ventilation. Leave space around the unit, especially near the heat sinks.
Step 6: Power On and Test
Before finalizing your setup, do a quick test:
- Double-check all connections.
- Plug in the power supply.
- Turn on the stereo.
If it powers on and plays sound, great! If not, check:
- Is the power supply working? (Test with a multimeter)
- Are the yellow and red wires connected to power?
- Is the ground secure?
- Are the speakers wired correctly?
Warning: If you smell burning or see smoke, unplug immediately. Recheck wiring for shorts.
Troubleshooting Common Issues
No Power
If the stereo doesn’t turn on, verify that both the yellow and red wires are receiving 12V. Some stereos won’t power up if the constant (yellow) wire isn’t connected.
No Sound
Check speaker connections and polarity. Also, ensure the stereo isn’t in mute mode or set to a non-audio source (like Bluetooth without a paired device).
Distorted Sound
This could be due to incorrect speaker impedance, loose connections, or a failing power supply. Try different speakers or a higher-quality power source.
Overheating
If the stereo gets hot, ensure it’s well-ventilated. Avoid running it at maximum volume for long periods.
Safety Tips
Using a car stereo at home is generally safe if you follow basic precautions:
- Always disconnect power before working on wiring.
- Use insulated tools to prevent short circuits.
- Never leave the system unattended during initial testing.
- Keep the power supply away from water and heat sources.
- Use a surge protector if plugging into a wall outlet.
Conclusion
Using a car stereo at home is a smart, cost-effective way to enjoy high-quality audio indoors. With a 12V power supply, proper wiring, and compatible speakers, you can turn your old head unit into a powerful sound system for your garage, workshop, or entertainment space.
Remember: safety and correct wiring are key. Take your time, double-check connections, and test before finalizing your setup. Once it’s running, you’ll enjoy crisp sound, modern features, and the satisfaction of a DIY project well done.
So go ahead—plug in, power up, and turn up the volume. Your car stereo is ready to rock at home.

