This guide walks you through how to connect speakers to car stereo safely and correctly. You’ll learn the tools needed, wiring basics, and common pitfalls to avoid for great sound.
Key Takeaways
- Check compatibility first: Ensure your speakers match your car stereo’s power output and impedance to avoid damage.
- Use the right tools: A wire stripper, crimping tool, and electrical tape are essential for clean, secure connections.
- Follow polarity carefully: Connect positive to positive and negative to negative to maintain proper sound quality and phase.
- Secure all connections: Loose wires cause poor sound or no sound at all—always double-check your work.
- Test before finalizing: Power on the stereo and test each speaker before reassembling panels.
- Upgrade wisely: Factory speakers are often low quality—replacing them can dramatically improve audio clarity.
- When in doubt, consult a pro: If wiring feels overwhelming, a professional installer ensures safety and performance.
Introduction: Why Connecting Speakers to Your Car Stereo Matters
Upgrading or replacing your car’s speakers can transform your driving experience. Whether you’re tired of muffled sound, blown factory speakers, or just want richer bass and clearer highs, knowing how to connect speakers to car stereo is a valuable skill. This guide will walk you through the entire process—from planning and preparation to final testing—so you can enjoy high-quality audio without hiring a professional.
You don’t need to be an audio expert to do this. With basic tools, a little patience, and the right instructions, you can safely install new speakers and get the most out of your car stereo system. We’ll cover everything: checking compatibility, gathering tools, removing old speakers, wiring new ones, and troubleshooting common issues.
Step 1: Gather the Right Tools and Materials
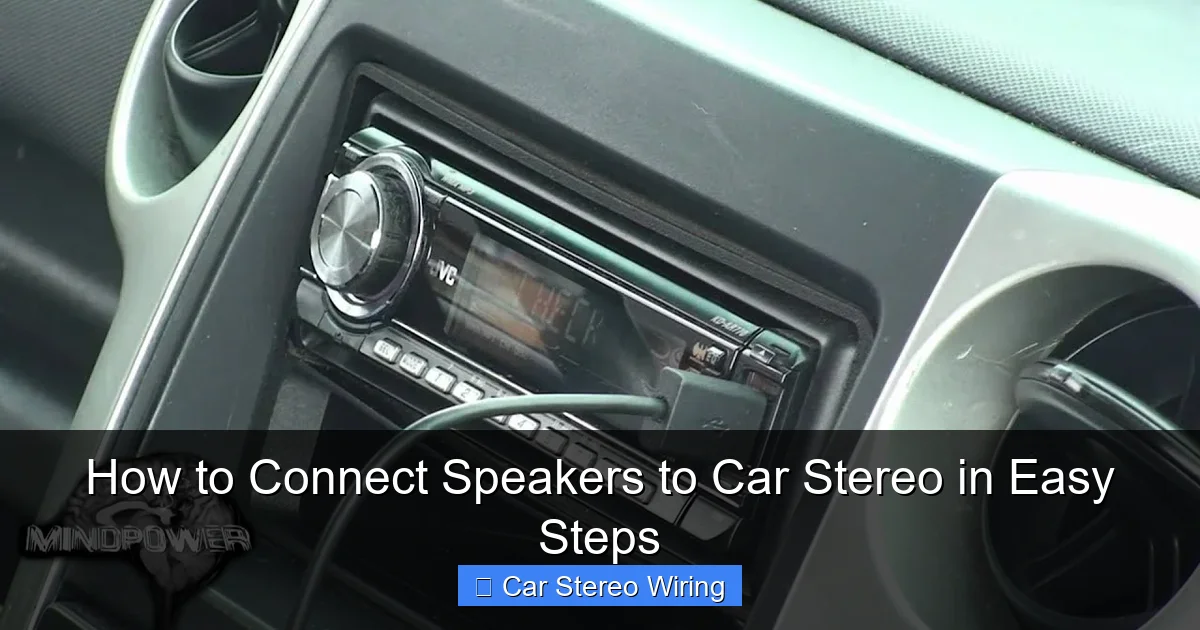
Visual guide about How to Connect Speakers to Car Stereo in Easy Steps
Image source: i.ytimg.com
Before you start, make sure you have everything you need. Rushing out mid-project to buy tools is frustrating and slows progress.
Essential Tools
- Wire stripper: Removes insulation from speaker wires without damaging the copper inside.
- Crimping tool: Secures connectors to wires for a solid, long-lasting connection.
- Electrical tape: Insulates exposed wires and prevents short circuits.
- Screwdrivers (Phillips and flathead): For removing door panels and mounting screws.
- Panel removal tool: A plastic pry tool helps avoid scratching or breaking clips.
- Multimeter (optional but helpful): Tests continuity and checks for proper voltage.
Materials You’ll Need
- New car speakers (compatible with your vehicle and stereo)
- Speaker wire (16–18 gauge is standard)
- Wire connectors (butt connectors, spade connectors, or crimp rings)
- Heat shrink tubing (optional, for extra protection)
- Zip ties (to secure loose wires)
Pro Tip
Buy a little extra wire and tape. It’s better to have more than you need than to run short during installation.
Step 2: Check Speaker and Stereo Compatibility
Not all speakers work with every car stereo. Mismatched components can lead to poor sound or even damage.
Match Impedance
Impedance is measured in ohms (Ω). Most car speakers are 4 ohms, but some are 2 or 8 ohms. Your stereo’s manual will list the supported range. Using a speaker with too low impedance can overheat your stereo.
Check Power Handling
Look at two numbers:
- RMS (continuous power): The steady power a speaker can handle.
- Peak power: The maximum burst it can take briefly.
Your stereo’s RMS output should be within 75–150% of the speaker’s RMS rating. For example, if your stereo puts out 50 watts RMS, a speaker rated for 40–75 watts RMS is ideal.
Size Matters
Measure your existing speaker openings. Common sizes are 6.5″, 6×9″, and 5.25″. Some cars need custom brackets or adapters for larger speakers.
Step 3: Disconnect the Car Battery
Safety first! Always disconnect the negative terminal of your car battery before working on electrical systems. This prevents accidental shorts, shocks, or damage to your stereo.
How to Disconnect
- Open the hood and locate the battery.
- Use a wrench to loosen the nut on the negative (black) terminal.
- Lift the cable off and tuck it away so it doesn’t touch the terminal.
Why This Step Is Important
Even with the stereo off, power can still flow through the system. Disconnecting the battery ensures you won’t fry your stereo or speakers during installation.
Step 4: Remove the Old Speakers
Now it’s time to take out the old speakers. The process varies slightly by car model, but the basics are the same.
Access the Speakers
Most car speakers are behind door panels or in the rear deck.
- Front doors: Remove the door panel by unscrewing screws and gently prying it off with a panel tool.
- Rear deck: Some cars have speakers under the rear shelf—remove trim pieces to access them.
- Trunk or rear pillars: Check your owner’s manual for speaker locations.
Disconnect the Wires
Once you see the speaker, note how the wires are connected. Most use quick-connect plugs, but older cars may have soldered or bare wire connections.
- If there’s a plug, gently pull it off.
- If wires are soldered, cut them close to the speaker, leaving enough length to work with.
- Label the wires if you’re replacing multiple speakers to avoid confusion.
Remove the Speaker
Unscrew the mounting screws or bolts holding the speaker in place. Carefully lift it out. Some speakers are held in with clips—press them to release.
Step 5: Prepare the New Speakers
Before installing, make sure your new speakers are ready to go.
Check Mounting Fit
Place the new speaker in the opening. Does it fit snugly? If not, you may need an adapter ring. These are inexpensive and widely available online or at auto stores.
Prepare the Wires
If your new speakers don’t have matching connectors, you’ll need to attach new ones.
- Strip about 1/2 inch of insulation from the wire ends.
- Twist the copper strands tightly to prevent fraying.
- Attach the appropriate connector (spade, butt, or ring) using a crimping tool.
- Cover the connection with electrical tape or heat shrink tubing.
Match Polarity
Speakers have positive (+) and negative (-) terminals. Match them correctly:
- Red wire = positive
- Black wire = negative
If your wires aren’t color-coded, check the speaker or stereo manual. Reversing polarity causes sound cancellation and weak bass.
Step 6: Connect the New Speakers
Now for the main event: wiring your new speakers to the car stereo.
Connect to the Stereo or Harness
Most modern cars use a wiring harness that plugs into the back of the stereo. If you’re keeping the factory stereo, you can either:
- Plug the new speaker wires into the harness adapter.
- Solder or crimp directly to the harness wires.
If you’ve installed an aftermarket stereo, follow its wiring diagram. Match colors: usually red to red (positive), black to black (negative).
Secure the Connections
- Use crimp connectors for a tight, vibration-resistant bond.
- Wrap each connection with electrical tape.
- Use zip ties to bundle wires and keep them away from moving parts.
Mount the Speaker
Place the speaker into the opening and secure it with screws or clips. Don’t overtighten—this can crack the speaker frame or damage the mounting surface.
Step 7: Test the System
Before putting everything back together, test your work.
Reconnect the Battery
Reattach the negative battery terminal and tighten it securely.
Turn On the Stereo
Power on your car stereo and play music at a low volume. Listen for:
- Sound from all speakers
- Clear, distortion-free audio
- Proper balance between left and right channels
Check for Issues
If a speaker isn’t working:
- Double-check wiring connections.
- Test with a multimeter for continuity.
- Ensure polarity is correct.
If sound is distorted:
- Make sure speakers aren’t loose.
- Check that wires aren’t pinched or shorting.
- Verify impedance compatibility.
Troubleshooting Common Problems
Even with careful installation, issues can arise. Here’s how to fix the most common ones.
No Sound from One Speaker
- Check if the wire is connected.
- Test the speaker with another audio source.
- Inspect for broken wires or loose crimp connections.
Distorted or Muffled Sound
- Ensure polarity is correct.
- Check if the speaker is mounted securely.
- Verify the stereo isn’t overdriving the speaker.
Bass Sounds Weak
- Reversed polarity can cancel bass frequencies.
- Make sure all speakers are in phase.
- Consider adding a subwoofer for deeper bass.
Blowing Fuses
- This usually means a short circuit.
- Inspect all connections for exposed wires touching metal.
- Recheck polarity and wiring diagrams.
Conclusion: Enjoy Your Upgraded Sound
Congratulations! You’ve successfully learned how to connect speakers to car stereo and completed the installation. With the right tools, careful planning, and attention to detail, you’ve upgraded your car’s audio system for better clarity, volume, and overall enjoyment.
Remember, good sound starts with quality components and proper installation. Take your time, double-check connections, and don’t skip safety steps like disconnecting the battery. Whether you’re cruising down the highway or stuck in traffic, your new speakers will make every drive more enjoyable.
If you run into problems, don’t hesitate to consult your stereo’s manual or seek help from a professional. But with this guide, you’re well-equipped to handle the job yourself—and save money in the process.
🎥 Related Video: car sterio wiring diagram #sony #music#xplod #youtube #android #speaker #cars #Dolby #wiring
📺 Kunal Auto

