How to Measure Car Stereo Size for Perfect Fit
Measuring your car stereo size correctly ensures a seamless upgrade without costly mistakes. This guide walks you through every step—from identifying your dash type to using the right tools—so you can confidently choose a head unit that fits perfectly.
Key Takeaways
- Know your DIN size: Most cars use single (1 DIN) or double (2 DIN) stereo sizes—measure height to confirm.
- Check depth and clearance: Measure behind the dash to ensure the new unit fits without hitting wires or the firewall.
- Use a trim removal tool: Safely remove the factory stereo without damaging the dashboard or clips.
- Account for mounting brackets: Some stereos need specific brackets—verify compatibility before buying.
- Take photos during removal: Document wire connections and layout to simplify reinstallation.
- Test fit before final install: Slide the new stereo in partially to check alignment and space.
- Consult your vehicle manual: Manufacturer specs often list exact stereo dimensions and compatibility notes.
Why Measuring Car Stereo Size Matters
Upgrading your car stereo can transform your driving experience—better sound, smartphone integration, navigation, and more. But if you don’t measure your car stereo size correctly, you could end up with a unit that doesn’t fit, looks awkward, or worse, damages your dashboard. A mismatched stereo might not only be visually unappealing but could also cause electrical issues or interfere with airbags and other components.
Whether you’re swapping out an old factory unit for a modern touchscreen or just replacing a broken one, accurate measurements are the foundation of a successful install. This guide will walk you through everything you need to know—step by step—so you can measure your car stereo size like a pro and choose the perfect replacement.
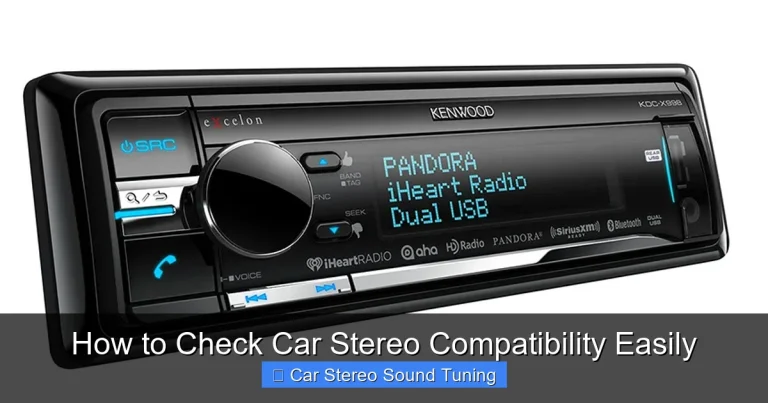
Understanding Car Stereo Sizes: DIN Standards

Visual guide about How to Measure Car Stereo Size for Perfect Fit
Image source: caraudiohunt.com
Before you grab a tape measure, it’s important to understand the standard sizing system used for car stereos: DIN (Deutsches Institut für Normung), a German standardization body.
Most car stereos fall into one of two main categories:
Single DIN (1 DIN)
This is the most common size, measuring approximately 7 inches (178 mm) wide by 2 inches (50 mm) tall. It’s the standard size for older vehicles and many compact cars. If your current stereo is about the size of a standard smartphone laid flat, it’s likely a single DIN unit.
Double DIN (2 DIN)
Double DIN units are twice the height of single DIN—about 7 inches wide by 4 inches (100 mm) tall. These are popular in newer vehicles and are ideal for larger touchscreens, Apple CarPlay, Android Auto, and advanced audio systems. If your factory stereo has a large display that takes up most of the center console, it’s probably a double DIN.
Some vehicles use non-standard or custom sizes, especially luxury or imported models. In these cases, you’ll need to measure manually and check compatibility with aftermarket kits.
Tools You’ll Need
Before you start, gather these essential tools:
- Measuring tape or digital caliper
- Trim removal tools (plastic pry tools)
- Screwdrivers (Phillips and flathead)
- Flashlight
- Notepad and pen (or phone for photos)
- Owner’s manual (if available)
Using the right tools prevents damage to your dashboard and makes the process smoother. Plastic pry tools are especially important—metal tools can scratch or crack trim pieces.
Step 1: Remove the Factory Stereo
You can’t measure accurately until the stereo is out. Here’s how to do it safely:
Turn Off the Ignition
Always start by turning off the car and removing the keys. This prevents accidental electrical shorts or airbag deployment.
Remove the Trim Panel
Most stereos are hidden behind a plastic trim panel. Use a trim removal tool to gently pry it off. Start at the edges and work your way around. Be patient—rushing can break clips.
Unscrew the Stereo
Once the trim is off, you’ll see screws or bolts holding the stereo in place. Remove them carefully. Some stereos use hidden clips or release mechanisms—check your manual or look for small buttons on the faceplate.
Disconnect the Wiring
Pull the stereo out slightly and disconnect the wiring harness and antenna cable. Take a photo of the connections before unplugging anything. This will help you reconnect everything correctly later.
Step 2: Measure the Stereo Opening
Now that the stereo is out, it’s time to measure the dash opening—not the stereo itself.
Measure the Width
Use your measuring tape to measure the width of the opening from left to right. Most openings are designed to fit standard DIN sizes, but slight variations exist. Record the measurement in both inches and millimeters.
Measure the Height
Measure the height from the top to the bottom of the opening. This tells you whether you have a single DIN (about 2 inches) or double DIN (about 4 inches) space.
Check for Obstructions
Look inside the opening. Are there brackets, vents, or wiring harnesses blocking the space? Note any obstacles that could interfere with a new stereo.
Step 3: Measure the Depth and Clearance
Depth is just as important as width and height. A stereo that’s too deep can hit the firewall, wiring, or HVAC components behind the dash.
Measure from the Dash Surface
Use a flexible tape measure or a ruler to measure how far back the opening goes. Start from the front face of the dash and go straight back until you hit resistance.
Account for Wiring and Brackets
Leave at least 1–2 inches of clearance behind the stereo for wiring, connectors, and ventilation. Some stereos generate heat and need airflow to prevent overheating.
Check the Stereo’s Specifications
When shopping for a new unit, compare your depth measurement to the manufacturer’s specs. Most stereos list “installation depth” in the product details.
Step 4: Consider Mounting and Brackets
Even if your opening fits a standard DIN size, you may need special mounting brackets.
Factory vs. Aftermarket Brackets
Factory stereos often use proprietary brackets. Aftermarket stereos usually come with universal mounting kits, but you may need a vehicle-specific adapter.
Check Compatibility
Search for “stereo mounting bracket for [your car make, model, year]” online. Many retailers sell kits that include brackets, wiring harnesses, and dash bezels.
Test Fit the New Stereo
Before securing everything, slide the new stereo into the opening to test the fit. Make sure it sits flush and doesn’t wobble. If it’s too tight or too loose, you may need a different bracket or spacer.
Step 5: Document and Double-Check
Before buying a new stereo, double-check all your measurements.
Create a Measurement Summary
Write down:
- Width: ___ inches (___ mm)
- Height: ___ inches (___ mm)
- Depth: ___ inches (___ mm)
- Mounting type: Single DIN, Double DIN, or Custom
- Obstructions: Yes/No (describe)
Compare with Product Listings
When shopping, look for stereos that match your measurements. Pay attention to “cutout dimensions” and “mounting depth.”
Read Reviews and Forums
Other drivers with the same car model may have already done the work. Check forums like Reddit’s r/CarAV or Crutchfield’s compatibility tool for real-world feedback.
Troubleshooting Common Issues
Even with careful measuring, problems can arise. Here’s how to handle them:
Stereo Doesn’t Fit Flush
If the new stereo sticks out or sits too deep, you may need a dash kit or bezel. These fill gaps and create a clean, factory-like appearance.
Wiring Doesn’t Match
Use a wiring harness adapter to connect the new stereo to your car’s factory wires. This avoids cutting and splicing, making future upgrades easier.
No Sound After Installation
Double-check wire connections and ensure the antenna is plugged in. Some stereos require a separate amplifier or steering wheel control interface.
Touchscreen Not Responsive
Make sure the stereo is properly grounded and the firmware is up to date. Also, check if a firmware update is available from the manufacturer.
Final Tips for a Perfect Fit
- Take your time: Rushing leads to mistakes. Set aside 30–60 minutes for removal and measuring.
- Use a digital caliper for precision: These tools give accurate readings down to 0.1mm—perfect for tight spaces.
- Buy from retailers with good return policies: If the stereo doesn’t fit, you’ll want to exchange it hassle-free.
- Consider professional installation: If you’re unsure, a car audio shop can measure and install for you.
- Upgrade wisely: A properly sized stereo not only fits but enhances your car’s value and functionality.
Conclusion
Measuring your car stereo size doesn’t have to be complicated. By understanding DIN standards, using the right tools, and following a systematic approach, you can ensure a perfect fit every time. Whether you’re upgrading to a sleek double DIN touchscreen or replacing a worn-out single DIN unit, accurate measurements are the key to a smooth, professional-looking installation. Take the time to measure carefully, document your findings, and choose a stereo that matches your car’s specs. With this guide, you’re ready to hit the road with better sound and confidence.
🎥 Related Video: Car Subwoofer Size Buying Guide | What Size of Sub Should I Get?
📺 Sonic Electronix
Learn about different car subwoofer sizes and the types of music that each are best suited for. In this video we talk about each of …