Installing custom car seat covers is easier than you think—and it can dramatically improve your car’s look and longevity. This step-by-step guide walks you through the entire process, from prep to final adjustments, so you can enjoy a professional-looking fit without the professional price tag.
Key Takeaways
- Choose the right material: Neoprene, leather, and polyester each offer different benefits—pick one that matches your lifestyle and climate.
- Prep your seats thoroughly: Clean and dry your seats before installation to ensure a snug, wrinkle-free fit.
- Follow the manufacturer’s instructions: Custom covers are designed for your specific make and model—don’t skip the included guide.
- Use patience and precision: Take your time aligning straps, hooks, and zippers for a seamless look.
- Secure all attachment points: Missing a strap or clip can lead to shifting or bunching while driving.
- Test fit before final tightening: Adjust and reposition as needed before fully securing everything.
- Maintain your covers regularly: Vacuum and spot-clean to keep them looking fresh and extend their lifespan.
How to Install Custom Car Seat Covers in 5 Easy Steps
Upgrading your car’s interior doesn’t have to mean a full upholstery overhaul. One of the simplest and most cost-effective ways to refresh your ride is by installing custom car seat covers. Whether you’re protecting new seats from wear and tear or giving older ones a stylish makeover, custom-fit covers offer a tailored look that generic options just can’t match.
In this guide, we’ll walk you through the entire process of installing custom car seat covers—step by step. You’ll learn how to prepare your seats, align the covers correctly, secure all attachment points, and troubleshoot common issues. By the end, you’ll have a sleek, professional-looking interior that feels like it came straight from the factory.
No special tools or mechanical skills are required—just a little time, patience, and attention to detail. Let’s get started!
Step 1: Prepare Your Seats and Workspace
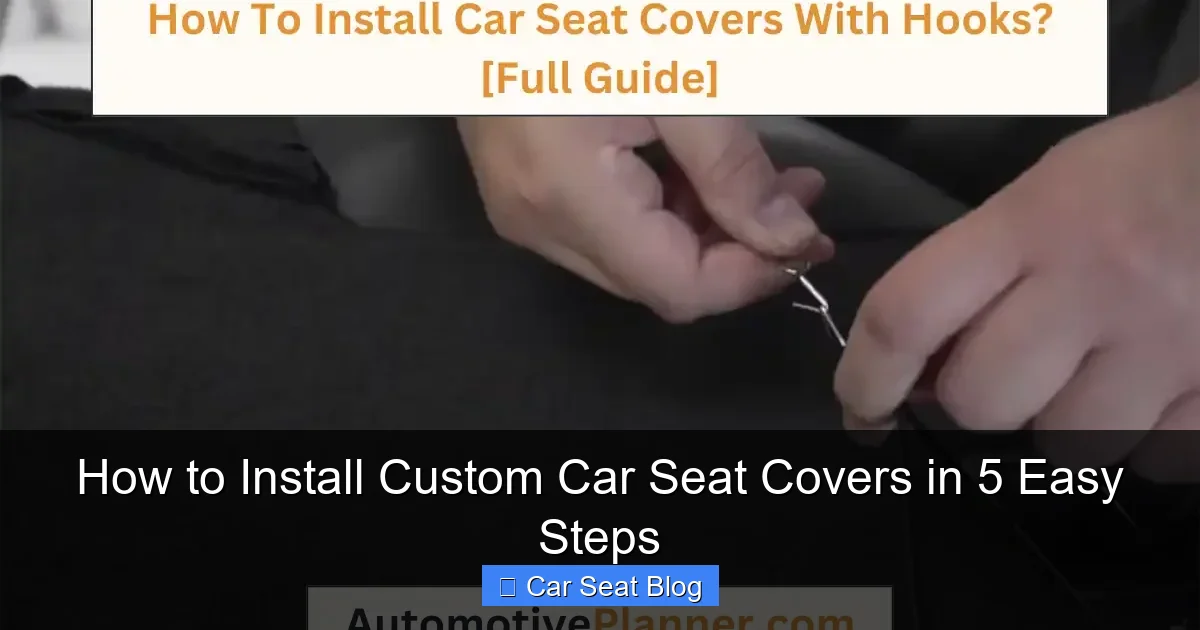
Visual guide about How to Install Custom Car Seat Covers in 5 Easy Steps
Image source: automotiveplanner.com
Before you even unbox your new seat covers, it’s essential to set the stage for a smooth installation. A clean, organized workspace and properly prepped seats make all the difference in achieving a flawless fit.
Clear the Area
Start by removing any items from your car seats—bags, blankets, child seats, or loose clutter. If you have adjustable headrests, remove them now (most custom covers require this). This gives you full access to the seat frame and makes it easier to slide the covers on.
Clean the Seats Thoroughly
Dirt, crumbs, and moisture can interfere with how the covers sit on your seats. Use a vacuum to remove debris from crevices, then wipe down the seats with a damp microfiber cloth. For fabric seats, consider using a mild upholstery cleaner to remove stains or odors. Let the seats dry completely—installing covers on damp seats can lead to mold or unpleasant smells over time.
Gather Your Tools
Most custom seat covers come with everything you need, but it’s smart to have a few extras on hand:
- A flathead screwdriver (for prying off stubborn headrests)
- Scissors (only if trimming is required—check instructions first)
- A clean towel (to protect the seat during installation)
- The instruction manual that came with your covers
Pro tip: Work in a well-lit area, preferably indoors or in the shade. Direct sunlight can make materials stiff and harder to manipulate.
Step 2: Unpack and Inspect Your Custom Seat Covers
Now that your seats are ready, it’s time to meet your new covers. Take them out of the packaging and lay them out on a clean surface.
Check for Completeness
Custom seat covers typically include separate pieces for the seat bottom, backrest, headrest, and sometimes armrests or side bolsters. Match each piece to the corresponding part of your seat. Most kits are labeled (e.g., “Driver Front Bottom” or “Passenger Rear Backrest”), but if not, compare the shape and size to your seats.
Inspect for Damage
Look for tears, loose stitching, or missing hardware like hooks, straps, or zippers. If anything looks off, contact the seller immediately—don’t install damaged covers, as they may not fit properly or could worsen over time.
Familiarize Yourself with the Design
Take a moment to study how the cover is constructed. Note where zippers, Velcro, elastic bands, or hook-and-loop fasteners are located. This will help you understand how it attaches to your seat and prevent confusion during installation.
Test Fit (Optional but Recommended)
Before securing anything, drape the cover over the seat to see how it aligns. This dry run helps you spot potential issues—like a strap that’s too short or a zipper that doesn’t line up—before you commit.
Step 3: Install the Seat Bottom Cover
The seat bottom is usually the easiest part to cover, but it’s also the most used—so getting it right is crucial.
Position the Cover
Start by placing the cover over the seat bottom, aligning it with the front edge. Make sure the seams and patterns (if any) match the contour of your seat. Custom covers are pre-shaped, so they should hug the seat naturally—no forcing required.
Secure the Front
Most covers have elastic straps or hooks that attach under the front of the seat. Reach under the seat and fasten these to the frame or existing hooks. Pull gently to remove slack, but don’t overtighten—this can cause wrinkling.
Attach Side Straps
If your cover includes side straps, feed them through the gap between the seat bottom and backrest. Connect them to the corresponding hooks or loops on the opposite side. These help keep the cover centered and prevent shifting.
Tuck and Smooth
Tuck any excess material into the crevices around the seat edges. Use your hands to smooth out wrinkles, working from the center outward. A well-fitted cover should lie flat with minimal bunching.
Pro tip: If your seat has a built-in seatbelt, make sure the cover doesn’t obstruct it. Most custom covers have pre-cut openings—just align them carefully.
Step 4: Install the Backrest Cover
The backrest is trickier due to its shape and the presence of headrests, but with patience, you’ll get a perfect fit.
Slide the Cover Over the Backrest
Start at the top and work your way down. Custom covers often have a zipper or Velcro closure at the bottom to secure the fit. If there’s a zipper, align it with the seam of your seat and zip it up slowly.
Secure the Bottom
Once the cover is in place, look for straps or hooks at the base of the backrest. These usually attach under the seat or to the seat frame. Fasten them securely to prevent the cover from riding up.
Attach Headrest Covers (If Applicable)
If your cover includes a separate headrest piece, slide it over the headrest poles. Some models use elastic bands, while others have snaps or Velcro. Make sure it’s snug but not stretched too tight.
Reinstall the Headrest
Once the headrest cover is on, carefully reinsert the headrest into the seat. Push it down until it clicks into place. Double-check that the cover isn’t pinched or twisted.
Adjust and Smooth
Run your hands over the backrest to eliminate wrinkles. Pay special attention to the sides and corners—these areas are prone to bunching. If needed, gently tug the cover from the bottom to redistribute tension.
Step 5: Final Adjustments and Quality Check
You’re almost done! This final step ensures your covers look sharp and stay in place.
Check All Attachment Points
Go through every strap, hook, zipper, and Velcro closure. Make sure nothing is loose or undone. A single missed strap can cause the entire cover to shift while driving.
Test the Seat Functionality
Move the seat forward and backward (if power-adjustable, test all positions). Ensure the covers don’t restrict movement or get caught in the mechanism. Also, test seatbelt access—you should be able to buckle up easily.
Look for Wrinkles or Gaps
Stand back and inspect the seat from different angles. Wrinkles are normal at first, but large gaps or loose areas may need re-tightening. Use a soft-bristle brush or your hands to smooth out minor imperfections.
Let It Settle
New covers may feel a bit stiff at first. Drive around for a few days and let the material relax into the seat’s shape. You can make minor adjustments as needed.
Troubleshooting Common Installation Issues
Even with careful installation, you might run into a few hiccups. Here’s how to fix the most common problems:
Cover Won’t Stay in Place
If your cover shifts or rides up, check that all straps are securely fastened. Some seats have hidden hooks or clips—refer to your car’s manual if needed. You can also use non-slip seat cover pads underneath for extra grip.
Wrinkles or Bunching
This usually happens if the cover is too loose. Re-secure the straps and tuck excess material into the seat crevices. For persistent wrinkles, try steaming the cover (if the material allows) to relax the fibers.
Zipper Won’t Close
Don’t force it. Make sure the cover is aligned correctly and no fabric is caught in the zipper. Lubricate the zipper with a small amount of silicone spray if it’s sticking.
Headrest Won’t Fit
Some aftermarket headrests are larger than factory ones. If the cover is too tight, contact the manufacturer—they may offer an extended version or a modification guide.
Material Feels Stiff
New neoprene or leather covers can be stiff at first. This will improve with use. Avoid using harsh chemicals or excessive heat, which can damage the material.
Maintaining Your Custom Seat Covers
Once installed, a little care goes a long way in keeping your covers looking great.
- Vacuum regularly: Remove dust and debris weekly to prevent buildup.
- Spot-clean spills immediately: Use a damp cloth and mild soap for fabric covers; wipe leather with a specialized cleaner.
- Avoid direct sunlight: Prolonged exposure can fade colors and crack materials.
- Follow care instructions: Different materials require different treatments—check the label.
With proper maintenance, your custom seat covers can last for years, protecting your investment and keeping your car looking sharp.
Conclusion
Installing custom car seat covers is a simple, rewarding DIY project that can transform your vehicle’s interior. By following these five easy steps—preparing your seats, unpacking and inspecting the covers, installing the bottom and backrest, and making final adjustments—you’ll achieve a clean, professional fit that looks like it came from the factory.
Not only do custom covers protect your seats from spills, pet hair, and everyday wear, but they also let you personalize your ride with colors, textures, and materials that reflect your style. And the best part? You did it all yourself—no mechanic required.
So go ahead, give your car the upgrade it deserves. With a little time and attention to detail, you’ll enjoy a comfortable, stylish interior for miles to come.

