How to Install Car Seat Covers Without Hooks Easily
Installing car seat covers without hooks is easier than you think. This guide walks you through every step using common household items and clever tricks to secure your covers tightly and neatly. No special tools or experience required!
Key Takeaways
- Use non-slip materials: Rubber shelf liners or yoga mats prevent covers from sliding around.
- Leverage tension and friction: Tuck fabric tightly under seat cushions and between seams for a secure hold.
- Try DIY fasteners: Safety pins, zip ties, or adhesive Velcro strips work great as hook alternatives.
- Choose the right cover material: Stretchy neoprene or spandex blends conform better without needing hooks.
- Take your time: Rushing leads to wrinkles and loose spots—patience ensures a clean, professional look.
- Test before driving: Sit in the seat and adjust the cover to ensure comfort and stability.
- Maintain regularly: Re-tuck and smooth out covers every few weeks to keep them looking fresh.
How to Install Car Seat Covers Without Hooks Easily
If you’ve ever struggled with flimsy hooks, broken clips, or seat covers that won’t stay in place, you’re not alone. Many modern car seat covers are designed without traditional hooks—especially universal-fit or stretchable models—and that’s actually a good thing! While hooks can snap or scratch your seats, hook-free installation offers a cleaner, safer, and often more secure fit when done right.
In this guide, we’ll show you exactly how to install car seat covers without hooks using simple, affordable methods that anyone can follow. Whether you’re protecting your seats from pets, spills, or daily wear, these step-by-step techniques will help you achieve a snug, wrinkle-free finish—no special tools or mechanical skills required.
By the end of this article, you’ll know how to use household items like rubber mats, zip ties, and Velcro to keep your seat covers firmly in place. You’ll also learn which materials work best, how to avoid common mistakes, and how to maintain your covers for long-lasting results.
Let’s get started!
Why Go Hook-Free?
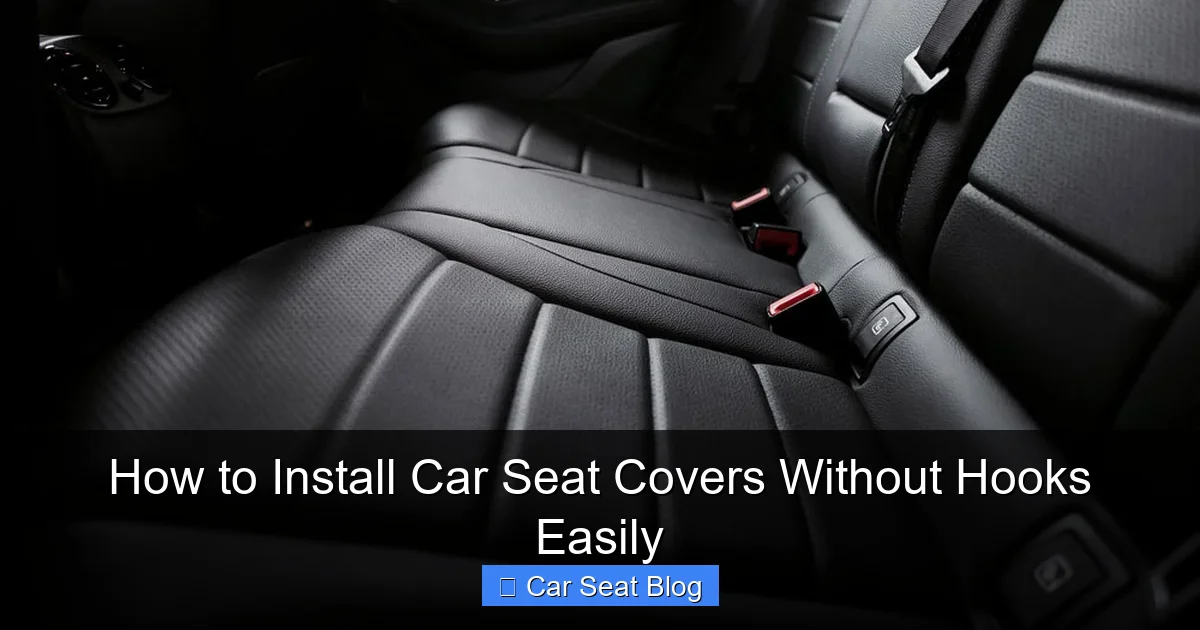
Visual guide about How to Install Car Seat Covers Without Hooks Easily
Image source: caltrend.com
Before diving into the installation process, it’s worth understanding why many seat covers now skip the hooks. Traditional hook-and-loop systems can be frustrating—hooks often break during installation, scratch seat frames, or fail to grip tightly over time. Plus, they don’t work well with certain seat designs, like bucket seats with integrated headrests or heated cushions.
Hook-free seat covers rely on tension, friction, and smart tucking to stay put. They’re typically made from stretchable fabrics like neoprene, spandex, or polyester blends that conform to your seat’s shape. This not only gives a more tailored look but also reduces the risk of damage to your original upholstery.
Another benefit? Hook-free covers are usually easier to remove and clean. Without bulky attachment points, you can toss them in the washing machine or wipe them down quickly—perfect for families, pet owners, or commuters who want low-maintenance protection.
What You’ll Need
You don’t need a toolkit or a trip to the auto shop. Most of these items are already in your home:
- Your new seat covers (preferably stretchable material)
- Rubber shelf liner, non-slip yoga mat, or drawer liner
- Safety pins or heavy-duty zip ties
- Adhesive Velcro strips (optional)
- Scissors
- A flathead screwdriver or plastic trim tool (for tucking fabric)
- A clean cloth or vacuum (to prep the seat)
Pro tip: If your seat covers came with instructions, read them first—some brands include specific tips for hook-free installation.
Step 1: Prepare Your Seats
A clean, dry seat is essential for a smooth installation. Dirt, crumbs, or moisture can prevent the cover from gripping properly and may cause slipping over time.
Vacuum and Wipe Down
Start by vacuuming the seat thoroughly—especially the crevices between cushions and under the seat base. Use a brush attachment to lift embedded debris. Then, wipe the entire surface with a damp cloth and let it dry completely. Avoid using oily cleaners, as they can reduce friction.
Remove Headrests (If Possible)
Many seat covers are easier to install with the headrest removed. Check if your headrest pops out by pressing a release button or lever (usually on the side or base). If it does, take it off now—you’ll reinstall it after the cover is on.
Inspect the Seat Design
Look for gaps between the seat back and bottom cushion, side bolsters, and under the seat. These are key areas where you’ll tuck the cover for a secure fit. Note any built-in features like seat belts, airbags, or heating elements—avoid covering airbag seams or blocking controls.
Step 2: Choose the Right Installation Method
There are several ways to secure seat covers without hooks. The best method depends on your seat type, cover material, and personal preference. Here are the top three approaches:
Method A: Tuck-and-Friction (Best for Stretchy Covers)
This is the simplest and most common technique. It works best with elastic or form-fitting covers made of neoprene or spandex.
Method B: Non-Slip Liner + Tucking (Great for Slippery Seats)
If your seats are leather or smooth fabric, add a layer of non-slip material underneath the cover to prevent sliding.
Method C: DIY Fasteners (For Extra Security)
Use safety pins, zip ties, or Velcro to anchor the cover in place—ideal for high-movement areas like the seat base or sides.
We’ll walk through each method in detail below.
Step 3: Install Using the Tuck-and-Friction Method
This is the go-to method for most hook-free seat covers. It’s quick, tool-free, and effective when done correctly.
Step 3.1: Position the Cover
Start by laying the cover over the seat back. Make sure it’s centered and aligned with the headrest posts (if applicable). Pull the material down over the sides and front of the seat.
Step 3.2: Tuck Along the Seams
Use your fingers or a flathead screwdriver (wrapped in a cloth to avoid scratches) to tuck the excess fabric into the gaps between the seat back and bottom cushion. Work from the top down, smoothing out wrinkles as you go.
Step 3.3: Secure the Bottom
Flip up the front edge of the seat cover and tuck it under the seat base. If there’s a gap, push the fabric firmly into it. For bucket seats, you may need to tuck along the sides and under the front lip.
Step 3.4: Smooth and Adjust
Once the cover is in place, sit in the seat and shift around to help the material settle. Smooth out any bumps or loose areas. Re-tuck any fabric that pops out.
Tip: If the cover feels loose, try pulling it tighter from the back or sides before tucking. Stretchable fabrics often need a little tension to stay put.
Step 4: Add a Non-Slip Layer (Optional but Recommended)
If your seats are slippery—common with leather or synthetic upholstery—adding a non-slip barrier can make a huge difference.
Cut the Liner to Size
Measure your seat and cut a piece of rubber shelf liner or yoga mat to fit the seat base and back. You can find these at dollar stores or online.
Place Under the Cover
Lay the non-slip material directly on the seat, then drape the seat cover over it. The rubber creates friction, preventing the cover from shifting during use.
Secure the Edges
Tuck the edges of the liner under the seat or tape them lightly with painter’s tape (avoid permanent adhesives). The seat cover will hold it in place.
This method is especially helpful for pet owners or people who frequently get in and out of the car.
Step 5: Use DIY Fasteners for Extra Hold
For seats that see heavy use—like driver’s seats or family vehicles—DIY fasteners add an extra layer of security.
Safety Pins
Thread a safety pin through the seat cover and into the underside of the seat cushion. Choose coated pins to avoid snagging the fabric. Use 2–4 pins per seat, focusing on the sides and back.
Zip Ties
For a more permanent solution, loop zip ties through the seat cover and around the seat frame (if accessible). Trim the excess ends. This works best on seats with exposed metal bars.
Adhesive Velcro Strips
Stick one side of the Velcro to the seat cover and the other to the seat (on non-visible areas). Press firmly and allow the adhesive to cure for 24 hours before use.
Warning: Avoid attaching fasteners near airbags or seat belt mechanisms. Always test the seat belt after installation.
Step 6: Reinstall Headrests and Test the Fit
Once the cover is secure, reattach the headrest (if removed). Make sure it slides in smoothly and locks into place.
Sit and Adjust
Sit in the seat and move around—lean forward, recline, and shift side to side. Check for slipping, bunching, or discomfort. Re-tuck any loose fabric.
Check Visibility and Controls
Ensure the cover doesn’t block vents, buttons, or seat belt buckles. Adjust if needed.
Final Smoothing
Use your hands to smooth out wrinkles from the center outward. A well-fitted cover should look neat and stay in place during normal use.
Troubleshooting Common Issues
Even with careful installation, you might run into a few hiccups. Here’s how to fix them:
Problem: Cover Keeps Slipping
Solution: Add a non-slip liner or use more tucking. For extra grip, try a few safety pins along the sides.
Problem: Wrinkles or Bunching
Solution: Remove the cover and reapply with more tension. Stretch the fabric evenly before tucking.
Problem: Cover Won’t Stay Under the Seat
Solution: Use a longer piece of fabric or secure it with a zip tie under the seat frame (if accessible).
Problem: Headrest Doesn’t Fit
Solution: Check if the cover has headrest holes. If not, carefully cut small slits (only if the material allows) or choose a cover designed for your seat type.
Problem: Seat Belt Hard to Access
Solution: Ensure the cover isn’t blocking the buckle. Adjust the fabric around the seat belt opening.
Maintenance Tips for Long-Lasting Covers
To keep your seat covers looking great:
- Vacuum weekly to remove dirt and debris.
- Spot-clean spills immediately with a damp cloth.
- Machine-wash removable covers every 4–6 weeks (check care labels).
- Re-tuck fabric monthly to maintain a snug fit.
- Avoid sharp objects (like keys or pet claws) that can tear the material.
Regular maintenance not only extends the life of your covers but also keeps your car interior fresh and clean.
Conclusion
Installing car seat covers without hooks doesn’t have to be a headache. With the right techniques—like tucking, using non-slip liners, and adding DIY fasteners—you can achieve a secure, professional-looking fit that protects your seats and enhances your driving experience.
Remember, the key to success is patience and attention to detail. Take your time, follow the steps, and don’t be afraid to experiment with different methods until you find what works best for your vehicle.
Whether you’re shielding your seats from kids, pets, or daily wear, hook-free seat covers offer a smart, damage-free solution. And now, you know exactly how to install them—easily and effectively.
So go ahead, give your car interior a fresh new look. Your seats (and your passengers) will thank you!