Testing your starter with an OBD2 scanner can save you time and money by pinpointing problems accurately. This guide will walk you through easy, step-by-step instructions to diagnose starter issues using your OBD2 scanner, helping you avoid guesswork and get your vehicle running smoothly again.
Quick Answers to Common Questions
How do I find the OBD2 port on my car?
Look under the dashboard near the steering wheel; it’s a trapezoid-shaped connector. Your owner’s manual also shows its exact location.
Can I use any OBD2 scanner to test the starter?
Most scanners read trouble codes, but for starter testing, one with live data and bi-directional control features is best.
What if no trouble codes appear but my starter still fails?
Check battery health, fuses, and wiring manually, as not all issues trigger error codes.
Is it safe to test the starter while the engine is running?
No. Testing starter functions should be done with the engine off and ignition on, to avoid damage or injury.
How often should I test my starter with an OBD2 scanner?
Only when you notice starting issues or during routine vehicle diagnostics to catch early problems.
How to Test Starter with OBD2 Scanner for Accurate Diagnosis
If your car struggles to start or refuses to crank, the culprit could be the starter. Instead of guessing or rushing to the mechanic, you can use an OBD2 scanner to diagnose starter issues accurately. This guide will teach you how to test a starter with an OBD2 scanner step-by-step, making the process simple, safe, and effective.
What You Will Learn
By the end of this guide, you’ll know how to connect an OBD2 scanner to your vehicle, read starter-related trouble codes, interpret live data, and troubleshoot common problems. No prior experience is needed—just a bit of patience and the right tools.
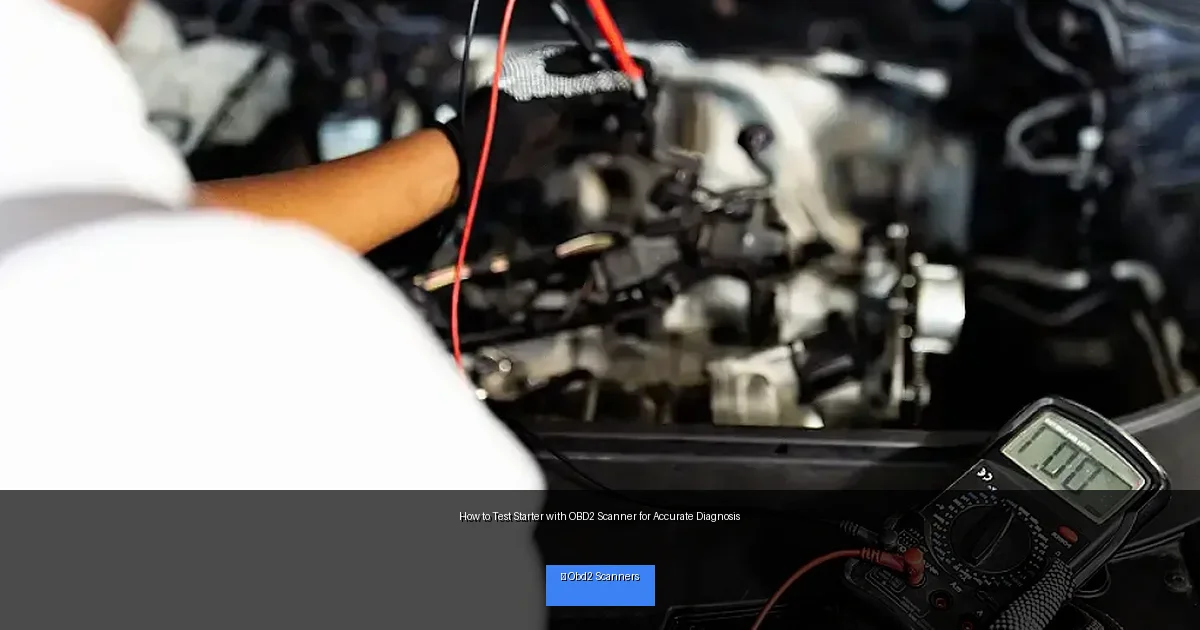
Visual guide about How to Test Starter with OBD2 Scanner for Accurate Diagnosis
Image source: unitechmotor.com
What You Need
- OBD2 scanner (preferably one with live data capabilities)
- Vehicle owner’s manual
- Basic safety gear (gloves, safety glasses)
- Smartphone or tablet if your scanner uses an app
Step 1: Locate the OBD2 Port
Find Your Vehicle’s Diagnostic Connector
The OBD2 port is usually under the dashboard near the steering wheel. Check your owner’s manual if you have trouble finding it. It looks like a trapezoid-shaped connector.
Step 2: Connect Your OBD2 Scanner
Plug in the Scanner
Turn off your vehicle’s ignition before connecting the scanner to the OBD2 port. Once plugged in, turn the ignition to the “ON” position, but don’t start the engine.
Power On and Pair
Power on your scanner. If you’re using a Bluetooth or Wi-Fi scanner, connect your smartphone or tablet to the device via the scanner app.
Step 3: Access Diagnostic Trouble Codes (DTCs)
Scan for Trouble Codes
Using the scanner’s menu, select “Read Codes” or “Scan.” Look specifically for codes starting with “P” (powertrain codes), which often relate to engine and starter issues.
Note Starter-Related Codes
Common starter-related codes might include P0615 (Starter Relay Circuit), P0616 (Starter Relay Circuit High Input), or similar codes indicating starter circuit faults.
Step 4: Check Live Data for Starter Performance
Navigate to Live Data
Many OBD2 scanners offer live data streaming. Access the live data menu and look for parameters like “Crankshaft Position Sensor,” “Battery Voltage,” and “Starter Relay Status.”
Analyze Data During Cranking
Have an assistant turn the key to start while you observe the live data. A healthy starter will show consistent voltage and sensor readings. Fluctuations or no activity may indicate starter problems.
Step 5: Interpret Your Findings
Understand Trouble Codes
Use your scanner’s code definitions or an online database to understand what each code means. Codes related to the starter circuit signal issues with wiring, the starter motor, or the relay.
Assess Live Data
If voltage drops significantly or the starter relay status does not change during cranking, the starter or its control circuit may be faulty.
Step 6: Additional Starter Tests (If Needed)
Perform a Battery Test
Low battery voltage can mimic starter problems. Use your scanner or a multimeter to ensure the battery voltage is above 12.4 volts before testing the starter.
Test Starter Relay Manually
If your scanner supports it, activate the starter relay through the bi-directional control function to check if the relay and starter respond.
Troubleshooting Common Issues
- No codes found but starter won’t crank: Check battery connections and fuses related to the starter circuit.
- Scanner won’t connect: Ensure ignition is on and the OBD2 port is clean and undamaged.
- Live data not available: Some vehicles do not provide live data for starter components; rely on codes and physical testing.
Safety Tips
- Always wear gloves and safety glasses when working near the battery and electrical components.
- Do not crank the starter for more than 10 seconds continuously to avoid damage.
- Disconnect the battery if you plan to touch wiring or replace the starter.
Conclusion
Testing your starter with an OBD2 scanner is a smart and cost-effective way to diagnose starting problems. By following these steps, you can identify faults quickly and decide whether you need a repair or replacement. Using your OBD2 scanner properly helps you avoid unnecessary mechanic visits and keeps your vehicle reliable. Remember to always follow safety precautions and consult your vehicle’s manual when in doubt.
🎥 Related Video: Voltage Drop Testing a Starter Motor (Quick Tips)
📺 ScannerDanner
This starter motor has a voltage drop problem on the main heavy battery cable, that we identify with a test light. I will also show you …

