How to plug in OBD2 scanner is an essential skill for every car owner wanting to diagnose vehicle issues quickly. This guide walks you through easy steps to connect your OBD2 scanner to your car’s port, interpret results, and troubleshoot common problems to keep your vehicle in top shape.
Quick Answers to Common Questions
Where is the OBD2 port located on most vehicles?
It’s usually under the dashboard, near the steering wheel on the driver’s side.
Can I plug in the OBD2 scanner with the engine running?
For most scanners, turning the ignition to “ON” without starting the engine is enough, but check your scanner’s manual.
Why won’t my scanner power on when plugged in?
Make sure the ignition is on and the port is clean. Try a different vehicle if possible to rule out scanner issues.
How do I interpret the error codes from my scanner?
Use the scanner’s code definitions or look up codes online to understand what the numbers mean.
Can I clear error codes myself?
Yes, if the issue is fixed. Use the “Clear” function on your scanner, but be aware some codes will return if the problem persists.
How to Plug in OBD2 Scanner for Easy Vehicle Diagnostics Guide
If you want to quickly diagnose your car’s problems without visiting a mechanic, learning how to plug in OBD2 scanner is a great start. In this guide, you’ll discover where to find the OBD2 port, how to connect your scanner step-by-step, and tips to read and interpret diagnostic codes. Whether you own a basic scan tool or a high-tech Bluetooth scanner, this guide makes the process easy and stress-free.
What Is an OBD2 Scanner and Why Use It?
An OBD2 scanner is a device that connects to your vehicle’s onboard diagnostics system. It reads error codes and data from the car’s computer to tell you what’s wrong. Using an OBD2 scanner helps you spot issues early, understand engine warnings, and save money on costly repairs.
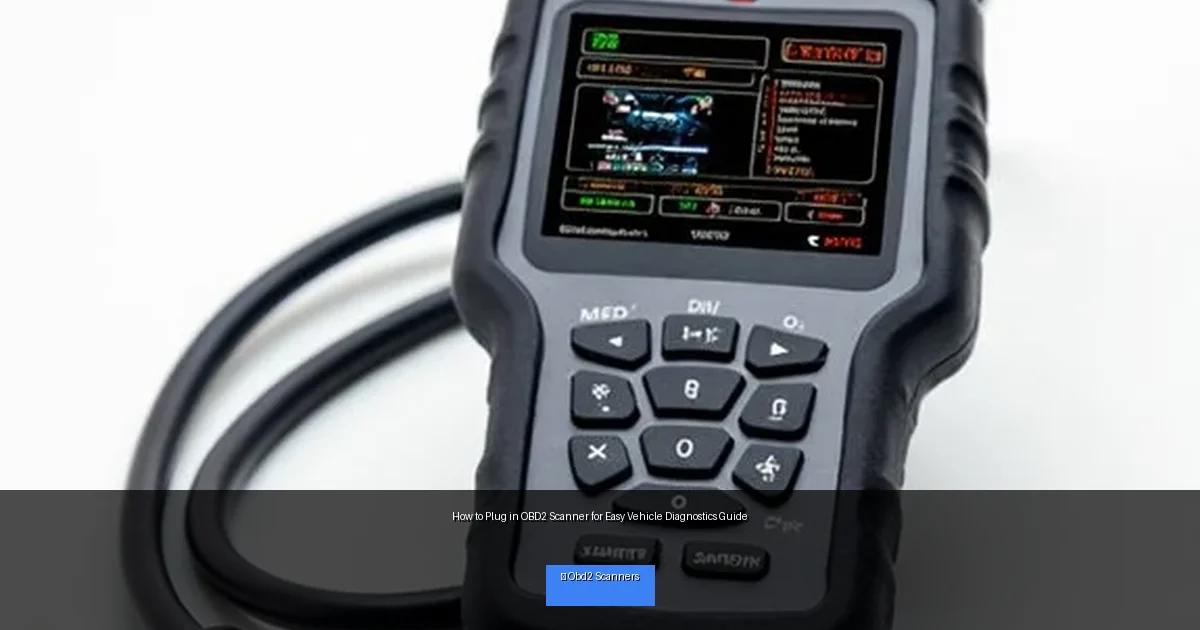
Visual guide about How to Plug in OBD2 Scanner for Easy Vehicle Diagnostics Guide
Image source: harrowdrive.com
Step 1: Locate Your Vehicle’s OBD2 Port
The first step in how to plug in OBD2 scanner is finding the port. Almost all cars manufactured after 1996 have a standard 16-pin OBD2 port.
Where to Look
- Under the dashboard on the driver’s side
- Near the steering column
- Close to the pedals or under the glove box
If you can’t find it, check your vehicle’s owner manual or search online with your car’s make and model.
Identifying the Port
The OBD2 port is trapezoid-shaped with 16 pins inside. It’s usually black or dark gray plastic. Look for a connector that matches your scanner’s plug.
Step 2: Prepare Your Vehicle and Scanner
Turn Off the Engine
Before plugging in, make sure your vehicle’s engine is turned off. Some scanners work with the ignition on but engine off. Check your scanner’s instructions.
Gather Your Scanner
Have your OBD2 scanner ready. If it uses batteries, ensure they are charged. For Bluetooth or WiFi scanners, have your smartphone or tablet nearby.
Step 3: Plug in the OBD2 Scanner
Align the Connector
Hold the scanner’s connector and align it with the port. The trapezoid shape only fits one way, so do not force it.
Insert Firmly
Push the connector into the port until it is snug. A good connection is important for accurate data reading.
Turn On the Vehicle
Depending on your scanner, turn the ignition key to the “ON” position without starting the engine, or start the engine if required.
Step 4: Power Up the Scanner and Start Diagnostics
Powering the Scanner
Most OBD2 scanners get power directly from the port, so they should turn on automatically when plugged in.
Navigate the Scanner Menu
Use the scanner’s buttons or app interface to select “Read Codes” or “Scan.” Wait a few seconds as the scanner communicates with your car.
Review the Diagnostic Codes
The scanner will display error codes (like P0420) or messages. Use the scanner’s built-in descriptions or an online database to understand these codes.
Step 5: Clear Codes or Take Action
Clear Codes if Needed
If you have fixed the problem, you can clear the codes using the scanner’s “Clear” or “Erase” function.
Plan Repairs
If the codes indicate serious problems, schedule repairs with a trusted mechanic. Use the scan results to explain the issue clearly.
Practical Tips for Using Your OBD2 Scanner
- Keep your scanner handy: Store it in your glove box for quick access.
- Regular scans: Scan your vehicle monthly to catch problems early.
- Use the app: Bluetooth scanners often pair with apps offering helpful explanations.
- Don’t ignore warnings: Engine lights mean you should scan soon.
- Be gentle: Don’t force the connector into the port to avoid damage.
Troubleshooting Common Issues
Scanner Won’t Power On
Check if the port is clean and free of debris. Make sure your ignition is in the correct position. Try plugging the scanner into another vehicle to test it.
No Communication with Vehicle
Ensure the connector is fully seated. Some older vehicles may not be OBD2 compliant. Verify your car’s compatibility.
Codes Not Clearing
Some codes require repairs before they can be cleared. If the scanner can’t erase codes, consult a mechanic.
Conclusion
Knowing how to plug in OBD2 scanner empowers you to understand your vehicle’s health easily. Following these simple steps helps you save time and money by diagnosing issues at home. With a little practice, you’ll confidently connect your scanner and take control of your car’s maintenance.
🎥 Related Video: How to Use an OBD-II Scan Tool
📺 Car and Driver
With car computers doing so much heavy lifting these days, knowing how to use a hand-held scanning tool to communicate with it …

