How to Fix Car Seat Cover Quickly and Easily
Is your car seat cover sagging, torn, or slipping off? This guide shows you how to fix car seat cover issues fast—no professional help needed. From reattaching loose fabric to patching small tears, you’ll save money and keep your ride looking fresh.
Key Takeaways
- Identify the problem first: Determine if your seat cover is loose, torn, or misaligned before starting repairs.
- Use the right tools: A staple gun, upholstery adhesive, or heavy-duty thread can make all the difference.
- Reattach with precision: Secure loose covers by tucking and fastening them back into the seat frame or using clips.
- Patch small tears instantly: Fabric glue or iron-on patches work well for minor damage without replacing the whole cover.
- Prevent future issues: Regular cleaning and proper installation reduce wear and extend cover life.
- Know when to replace: Severe damage or worn foam may require a full seat cover replacement.
- DIY saves money: Most fixes cost under $20 and take less than an hour.
How to Fix Car Seat Cover Quickly and Easily
Your car’s interior says a lot about you—and nothing ruins that first impression faster than a saggy, torn, or wrinkled seat cover. Whether it’s from daily wear, kids kicking the back of the seat, or just time taking its toll, a damaged seat cover can make even the cleanest car feel neglected. The good news? You don’t need to be a mechanic or spend hundreds at a shop to fix it. With a few basic tools and some patience, you can restore your seat covers to like-new condition in under an hour.
In this guide, we’ll walk you through the most common car seat cover problems—loose fabric, small tears, slipping covers, and more—and show you exactly how to fix them step by step. Whether you drive a compact sedan or a rugged SUV, these tips work for fabric, leather, and synthetic materials. Best of all, you’ll save money, avoid dealership markups, and feel proud of your ride again.
Step 1: Diagnose the Problem
Before grabbing your toolbox, take a close look at your seat cover. Not all fixes are the same—what works for a loose cover won’t help a ripped one. Start by identifying the issue:
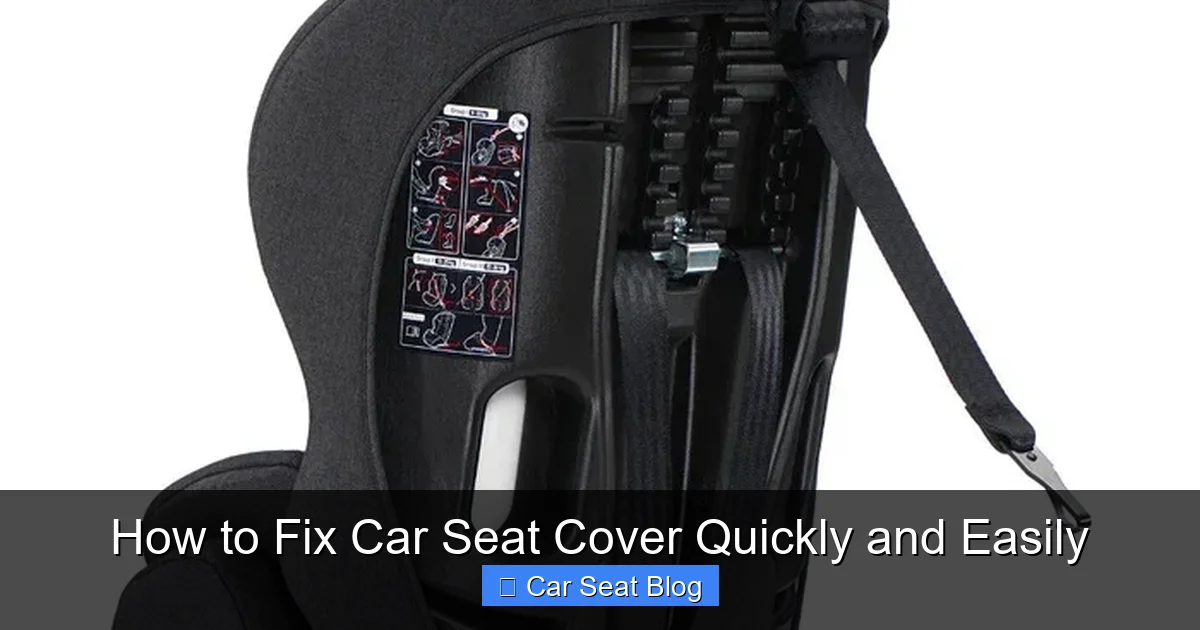
Visual guide about How to Fix Car Seat Cover Quickly and Easily
Image source: toycra.com
- Loose or sagging fabric: Common in older cars or after long drives. The cover has pulled away from the seat frame.
- Tears or holes: Often caused by sharp objects, pets, or friction. Small rips can grow if ignored.
- Slipping or shifting: The cover doesn’t stay in place, especially after cleaning or adjusting the seat.
- Wrinkles or bunching: Usually happens when the cover wasn’t installed tightly or has stretched over time.
Once you know the problem, you can choose the right fix. For example, a loose cover might just need re-tucking and stapling, while a tear may require a patch or adhesive.
Step 2: Gather Your Tools and Materials
You don’t need a full auto upholstery kit to fix most seat cover issues. Here’s what you’ll likely need:
- Staple gun and upholstery staples (1/4″ or 3/8″)
- Heavy-duty fabric glue or upholstery adhesive
- Iron-on fabric patches (for fabric seats)
- Leather repair kit (for leather seats)
- Needle and strong thread (nylon or polyester)
- Seam ripper or small scissors
- Clothespins or binder clips
- Clean cloth and mild cleaner
- Rubber mallet (optional, for re-tucking fabric)
Most of these items cost under $20 and are available at hardware stores, auto shops, or online. If you’re fixing multiple seats, consider buying a small staple gun—it’s a lifesaver for reattaching fabric.
Step 3: Fixing a Loose or Sagging Seat Cover
Loose seat covers are the most common issue. Over time, the fabric stretches or pulls away from the seat frame, especially around the sides and bottom. Here’s how to fix it:
Remove the Seat Cover (If Possible)
Some seat covers are removable—check if yours unzips or has clips. If so, take it off carefully. This gives you better access to the seat frame and makes reattachment easier. If it’s sewn in or glued, skip to the next step.
Re-Tuck the Fabric
For non-removable covers, use your fingers or a flat tool (like a butter knife) to gently pull the fabric back toward the seat frame. Look for hidden channels or grooves where the fabric should tuck in. Push the excess material back into place, smoothing out wrinkles as you go.
Secure with Staples or Clips
Once the fabric is tucked, use a staple gun to fasten it to the seat frame. Aim for the underside or back edge where staples won’t be visible. Space staples about 2–3 inches apart. If you don’t have a staple gun, heavy-duty upholstery clips can hold the fabric in place temporarily.
Use Adhesive for Extra Hold
For extra security, apply a thin line of upholstery adhesive along the edge before stapling. This prevents future shifting. Let it dry completely before using the seat.
Pro Tip: If the seat has foam underneath, avoid stapling too deep—you don’t want to damage the cushioning.
Step 4: Repairing Small Tears and Holes
Small tears happen—keys, belt buckles, even pet claws can rip fabric or leather. But don’t panic. Most tears can be fixed without replacing the whole cover.
For Fabric Seats
Start by cleaning the area with a damp cloth and let it dry. If the tear is small (under 1 inch), use fabric glue. Apply a small amount to both sides of the tear, press together, and hold for 30 seconds. Wipe away excess glue.
For larger tears, use an iron-on patch. Cut the patch slightly bigger than the hole, place it underneath the tear, and iron on low heat (follow package instructions). The adhesive will bond the patch to the fabric, creating a strong, nearly invisible repair.
For Leather or Vinyl Seats
Use a leather repair kit, which usually includes filler, color-matched paint, and a sealing coat. Clean the area, apply the filler to level the tear, let it dry, then paint over it. Finish with the sealant to protect the repair.
Pro Tip: Match the patch or paint color as closely as possible. If you can’t find an exact match, choose a slightly darker shade—it’s less noticeable than a lighter one.
Step 5: Reattaching a Slipping Seat Cover
Some seat covers have elastic straps or hooks that keep them in place. Over time, these can break or stretch, causing the cover to slip. Here’s how to fix it:
Check the Attachment Points
Look under the seat or along the sides for hooks, straps, or Velcro. If a strap is broken, replace it with a new one from a hardware store. If the hook is missing, use a small carabiner or zip tie as a temporary fix.
Reinforce with Adhesive
If the cover keeps shifting, apply a small dot of upholstery adhesive to the back of the cover where it contacts the seat. Press firmly and let dry. This creates a gentle bond without damaging the fabric.
Use Clips for Extra Grip
For seat covers that slide during driving, use binder clips or clothespins to secure the edges to the seat frame. Clip them underneath where they won’t be seen. Remove them when cleaning or adjusting the seat.
Step 6: Smoothing Out Wrinkles and Bunching
Wrinkles happen when the cover isn’t pulled tight during installation or has stretched. To fix this:
Re-Tension the Fabric
Pull the cover taut from the center outward. Use your hands or a rubber mallet to gently tap the fabric into place. Work from the top down, smoothing as you go.
Use Heat (Carefully)
For synthetic fabrics, a hairdryer on low heat can help relax wrinkles. Hold it 6–8 inches away and move continuously to avoid burning. Once warm, smooth the fabric with your hands.
Re-Staple if Needed
If the cover has come loose, re-staple it as described in Step 3. Make sure it’s tight but not so tight that it tears.
Troubleshooting Common Issues
Even with careful work, problems can arise. Here’s how to handle them:
- Staples are visible: Use a smaller staple or place them in hidden areas. Cover with a seat protector or cushion if needed.
- Adhesive is messy: Clean excess glue immediately with a damp cloth. Once dried, it’s harder to remove.
- Patch is noticeable: Blend it by gently brushing the surrounding fabric or using a fabric marker to match the color.
- Cover still slips: Combine methods—use both clips and adhesive for maximum hold.
- Foam is damaged: If the seat cushion is crumbling or flattened, consider replacing the foam before reattaching the cover.
When to Replace Instead of Repair
While most issues can be fixed, sometimes replacement is the better choice. Consider a new seat cover if:
- The fabric is heavily stained or smells bad (even after cleaning)
- There are large tears or multiple holes
- The foam underneath is damaged or collapsed
- The cover is over 10 years old and showing widespread wear
- You want to upgrade to a better material (like leather or neoprene)
Replacement covers are affordable—many cost under $100—and can be installed in under an hour. Look for custom-fit options for your car model.
Preventing Future Damage
Once your seat cover is fixed, keep it looking great with these tips:
- Clean regularly: Wipe down fabric seats weekly and leather seats monthly to prevent dirt buildup.
- Use seat protectors: Especially with kids or pets, protectors prevent spills and scratches.
- Avoid sharp objects: Keep keys, tools, and pet claws away from seats.
- Adjust seats carefully: Don’t force the seat forward or backward while someone is sitting—it can strain the cover.
- Park in the shade: UV rays fade and weaken fabric over time. Use a sunshade if needed.
Conclusion
Fixing a car seat cover doesn’t have to be hard or expensive. With the right tools and a little know-how, you can tackle loose fabric, small tears, slipping covers, and wrinkles in under an hour. Not only will your car look better, but you’ll also feel more comfortable and confident behind the wheel.
Remember: start by diagnosing the problem, use the right materials, and take your time. Most fixes are simple and cost less than a tank of gas. And if you run into trouble, don’t hesitate to try a different method or consult a professional.
Your car deserves to look its best—and now, you’ve got the skills to make it happen. So grab your staple gun, patch that tear, and enjoy the ride!