In this guide, you will learn how to check timing with an OBD2 scanner to ensure your engine runs smoothly and efficiently. We cover the essential steps, tips, and troubleshooting advice to help you use your scanner like a pro for accurate engine performance diagnostics.
Quick Answers to Common Questions
How do I find the OBD2 port in my car?
Look under the dashboard on the driver’s side near the steering column. It’s a 16-pin connector often located just above the pedals.
Can all OBD2 scanners read timing data?
No, only advanced scanners or those with manufacturer-specific support can access timing parameters. Basic code readers usually cannot.
Should I check timing with the engine running or off?
Timing data is best checked with the engine running at idle or specified RPM to get accurate real-time readings.
What if I get an error code related to timing sensors?
Check sensor wiring and connectors first. If the fault persists, the sensor or timing components may need replacement.
Can I use a smartphone app instead of a handheld scanner?
Yes, many Bluetooth OBD2 adapters paired with apps provide live data including timing if supported by your vehicle.
How to Check Timing with OBD2 Scanner for Accurate Engine Performance
Engine timing is critical for your vehicle’s smooth operation and fuel efficiency. If your timing is off, it can cause poor performance, increased emissions, and even engine damage. Luckily, modern OBD2 scanners can help you check your engine timing quickly and accurately. In this guide, you’ll learn exactly how to use an OBD2 scanner to check timing, interpret the data, and troubleshoot common issues.
What You Will Learn
This guide will walk you through the entire process of checking engine timing with an OBD2 scanner. You’ll understand the basics of engine timing, how to connect and use your scanner, what data to look for, and how to interpret timing-related information. Plus, you’ll get practical tips and troubleshooting advice to make the process smooth and efficient.
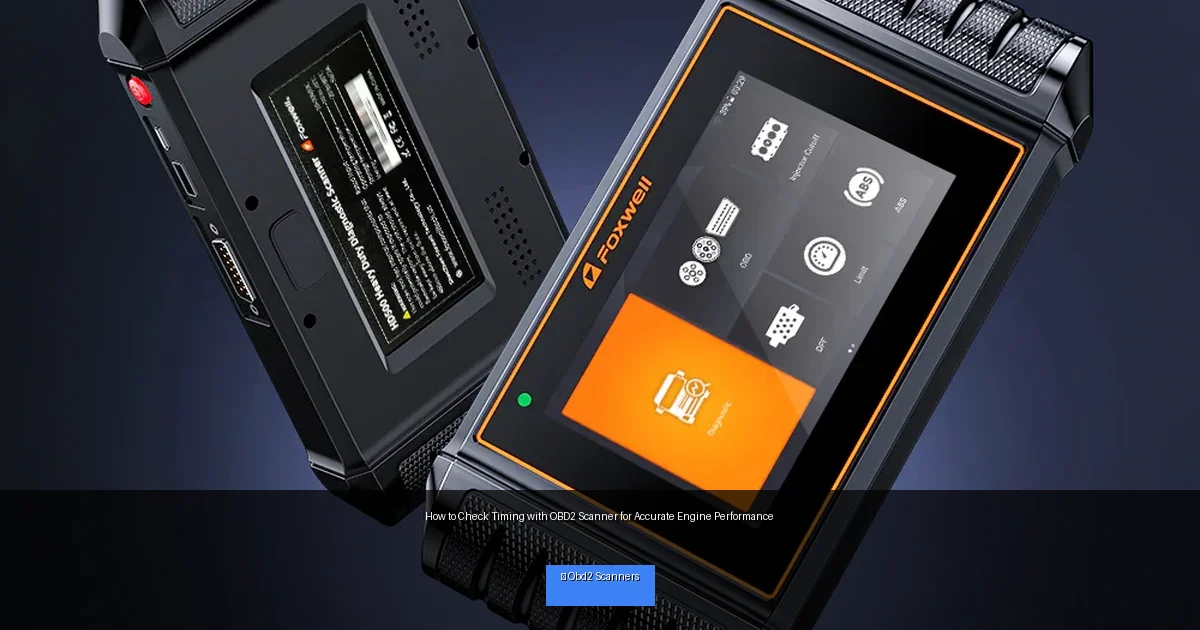
Visual guide about How to Check Timing with OBD2 Scanner for Accurate Engine Performance
Image source: foxwelldiag.com
Step 1: Understand Engine Timing and Why It Matters
Before diving into the scanner, it’s important to grasp what engine timing is. Timing refers to the precise moment when the spark plug ignites the air-fuel mixture in the cylinder. Proper timing ensures maximum power and efficiency. If timing is too advanced or retarded, it can cause knocking, poor fuel economy, and engine damage.
Modern engines rely on sensors like the crankshaft position sensor and Camshaft Sensor Symptoms: Expert Tips & Advice”>camshaft position sensor to control timing electronically. Your OBD2 scanner can read data from these sensors to help diagnose timing issues.
Step 2: Gather Your Tools and Prepare Your Vehicle
What You Need
- An OBD2 scanner capable of reading live data and advanced parameters.
- Your vehicle’s owner manual or OBD2 pinout information (optional but useful).
- A smartphone or tablet if your scanner uses an app.
- A safe, well-ventilated space to perform the check.
Preparing the Vehicle
Make sure your vehicle’s engine is off. Locate the OBD2 port, usually found under the dashboard near the steering column. Have your scanner and any cables or adapters ready.
Step 3: Connect the OBD2 Scanner to Your Vehicle
Plug In the Scanner
Insert the OBD2 scanner’s connector into the vehicle’s OBD2 port firmly. Turn the vehicle’s ignition to the “On” position but do not start the engine yet, unless instructed by your scanner’s manual.
Power On and Pair
Turn on your scanner or launch the app if it’s Bluetooth-enabled. Follow on-screen prompts to pair the device with your vehicle. Wait for the scanner to identify your vehicle’s make, model, and year.
Step 4: Access Engine Timing Data via the Scanner
Navigate to Live Data or Sensor Data
Most scanners have a “Live Data,” “Data Stream,” or “Engine Parameters” section. Select this option to view real-time sensor readings.
Locate Timing-Related Parameters
Look for parameters such as:
- Ignition Timing Advance: Indicates the degree before top dead center (BTDC) that the spark occurs.
- Crankshaft Position: Helps determine timing signals.
- Camshaft Position: Useful for variable valve timing systems.
- Throttle Position, RPM, and MAP sensor data: Helpful for context.
If your scanner does not show “Ignition Timing” explicitly, check if it supports manufacturer-specific parameters or advanced PIDs (Parameter IDs). Some scanners allow you to add custom PIDs.
Step 5: Interpret the Timing Data
Once you have the timing advance data, compare it to your vehicle’s specifications. Typical ignition timing varies by engine load and RPM. For example, timing might be around 10-15 degrees BTDC at idle and advance as RPM increases.
A timing value of zero or negative degrees could indicate a problem. Also, if the timing fluctuates wildly or doesn’t change with RPM, it might suggest sensor or timing chain issues.
Step 6: Check for Timing-Related Trouble Codes
OBD2 scanners can also read Diagnostic Trouble Codes (DTCs). Look for codes related to timing such as:
- P0011 – Camshaft Position Timing Over-Advanced
- P0012 – Camshaft Position Timing Over-Retarded
- P0340 – Camshaft Position Sensor Circuit Malfunction
- P0335 – Crankshaft Position Sensor Circuit Malfunction
These codes often indicate issues with timing sensors or variable valve timing systems.
Step 7: Practical Tips for Accurate Timing Checks
- Warm up the engine: Run the engine until it reaches normal operating temperature before checking timing data.
- Keep RPM steady: Maintain a consistent idle or specified RPM during checks.
- Use vehicle-specific data: Refer to your vehicle’s service manual for timing specs.
- Update scanner firmware: Ensure your scanner has the latest software for accurate readings.
- Cross-check with a timing light: For older vehicles, verify timing with a traditional timing light.
Troubleshooting Common Issues
Scanner Won’t Connect or Recognize Vehicle
- Ensure the ignition is on and the scanner is properly plugged in.
- Check vehicle compatibility with your scanner model.
- Try a different OBD2 port if available.
- Restart the scanner or app.
No Timing Data Available
- Your scanner may not support advanced timing PIDs for your vehicle.
- Try updating scanner firmware or using a more advanced scanner.
- Check if timing data is accessible only when the engine is running.
Inconsistent or Erratic Timing Readings
- Verify sensor connections and wiring for camshaft and crankshaft sensors.
- Inspect for timing belt or chain issues.
- Consult a professional if you suspect mechanical timing problems.
🎥 Related Video: #howto check ignition timing is off or correct using obd2 | obd timing advance check | alza #youtube
📺 Neodiy
neodiy #diy #obd2 #youtube #viral #trending #vlog #video #thursday #car #electronic #ecu #pcm #ecm #motordata #android Is it …
Final Thoughts
Checking engine timing with an OBD2 scanner is a powerful way to monitor your vehicle’s performance and detect issues early. While not all scanners provide detailed timing data, many advanced models do, giving you valuable insight into how your engine is running. By following this guide, you can confidently use your OBD2 scanner to check timing, interpret results, and take steps to maintain accurate engine performance.
Remember, consistent timing checks help optimize fuel economy, reduce emissions, and prevent costly repairs. Happy scanning!

