Yes, you can make your own car seat covers easily—even if you’re new to sewing. With basic tools, fabric, and a little time, you can create custom covers that protect your seats and match your style.
Quick Answers to Common Questions
Tip/Question?
Can I make seat covers without a sewing machine?
Yes! You can hand-sew with a needle and thread, use fabric glue for no-sew options, or repurpose old clothing with stretchy fabric that slips on like a fitted sheet.
Tip/Question?
What’s the best fabric for pet owners?
Neoprene or heavy-duty canvas works best—they resist scratches, hair, and moisture. Look for machine-washable options for easy cleanup.
Tip/Question?
How do I prevent covers from slipping?
Add elastic straps, silicone grip pads underneath, or sew in non-slip lining to keep covers in place.
Tip/Question?
Can I make covers for bucket seats and bench seats?
Absolutely! The process is the same—just adjust your pattern for the seat shape. Bench seats may need a center seam or zipper for removal.
Tip/Question?
How long does it take to make one set?
For beginners, allow 4–6 hours per seat. With practice, you can complete a full set in one weekend.
Can You Make Your Own Car Seat Covers Easily?
Absolutely! Making your own car seat covers is not only possible—it’s easier than you might think. Whether your current covers are worn out, you want to refresh your car’s interior, or you’re looking for a fun DIY project, crafting custom seat covers gives you full control over style, fit, and function. Plus, it’s a great way to save money while adding a personal touch to your vehicle.
In this guide, you’ll learn everything you need to know to make your own car seat covers step by step. From measuring your seats to choosing the best fabric and sewing techniques, we’ll walk you through the process so you can create professional-looking covers at home—no fancy equipment required.
Why Make Your Own Car Seat Covers?
Buying pre-made seat covers can be expensive, especially if you want something unique or tailored to your car model. Store-bought options often come in limited colors and patterns, and they may not fit perfectly. By making your own, you get:
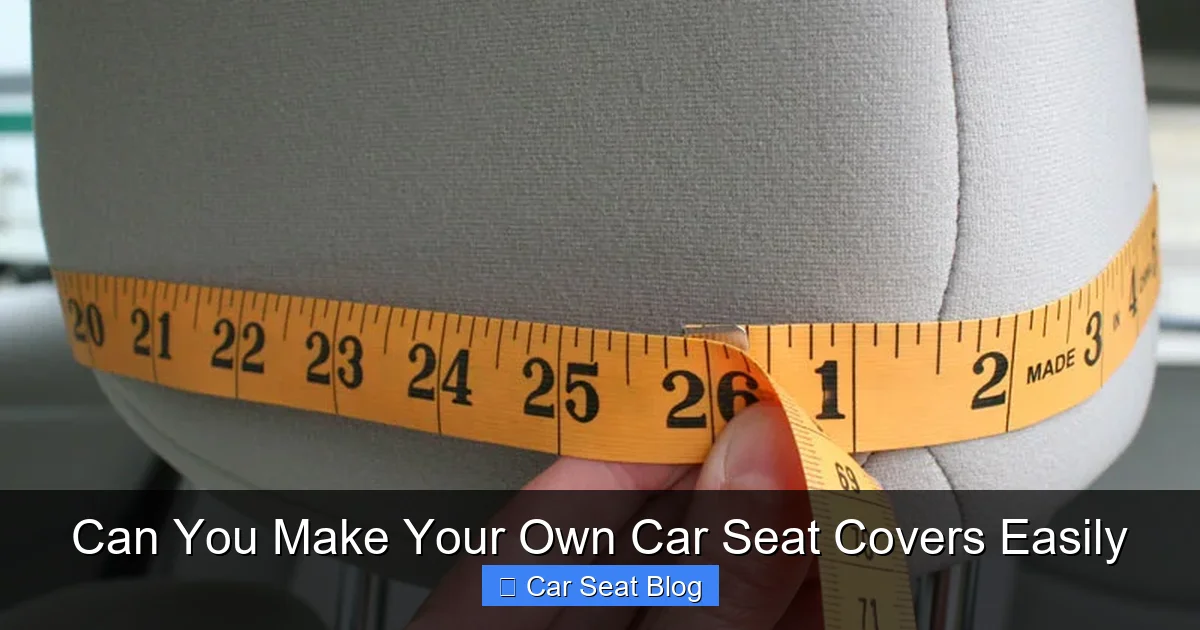
Visual guide about Can You Make Your Own Car Seat Covers Easily
Image source: chicaandjo.com
- Perfect fit: Custom-tailored to your exact seat dimensions.
- Personal style: Choose colors, textures, and designs that reflect your taste.
- Cost savings: Fabric and materials are often cheaper than retail covers.
- Eco-friendly choice: Reuse old fabric or repurpose materials instead of buying new.
- Satisfaction: There’s pride in creating something useful with your own hands.
Even if you’ve never sewn before, this project is beginner-friendly. With patience and the right guidance, you’ll have stylish, functional seat covers in just a weekend.
What You’ll Need
Before you start, gather these essential tools and materials:
- Measuring tape: For accurate seat dimensions.
- Fabric: 2–4 yards depending on seat size (see fabric tips below).
- Scissors or rotary cutter: For clean cuts.
- Sewing machine: A basic machine works fine; no special features needed.
- Thread: Matching or contrasting color, depending on your design.
- Pins or fabric clips: To hold pieces together while sewing.
- Chalk or fabric marker: For marking patterns.
- Old newspaper or cardboard: To create templates.
- Elastic bands or Velcro straps (optional): For securing covers underneath.
Optional but helpful: a serger for finishing edges, iron for pressing seams, and a seam ripper for corrections.
Step 1: Measure Your Car Seats
Accurate measurements are the foundation of a well-fitting cover. Start by removing any existing seat covers if possible. Then, measure each section of the seat:
Seat Bottom
- Width: Measure from left to right edge.
- Depth: From front to back.
- Thickness: Include cushion depth if wrapping sides.
Seat Back
- Height: From top of seat to where it meets the bottom.
- Width: Across the backrest.
- Curvature: Note any contours or bolsters (side supports).
Headrest (if removable)
- Measure height, width, and depth.
- Note attachment style (posts, clips, etc.).
Write down all measurements and add 1–2 inches (2.5–5 cm) to each dimension for seam allowances and ease of fit. Take photos of your seats from multiple angles—this helps when designing your pattern.
Step 2: Create a Pattern
Use your measurements to draft a simple pattern. Here’s how:
Make a Template
- Lay newspaper or cardboard on a flat surface.
- Sketch the seat bottom and back as separate pieces based on your measurements.
- Include extra space for seams and tuck-under areas.
- Cut out the template and test it on the seat. Adjust as needed.
Account for Contours
If your seat has curves or bolsters, you may need to add darts (small folds) or extra panels. For example, a side bolster might require a triangular piece sewn into the main panel. Don’t worry—imperfect patterns can be refined during fitting.
Label Everything
Mark each template piece with its name (e.g., “Front Seat Bottom – Driver Side”) and orientation (e.g., “Top,” “Front Edge”). This prevents confusion later.
Step 3: Choose the Right Fabric
The fabric you choose affects durability, comfort, and ease of cleaning. Here are top options:
- Canvas: Durable, affordable, and easy to sew. Great for everyday use.
- Neoprene: Water-resistant and stretchy. Ideal for cars used in wet climates or with pets.
- Upholstery fabric: Heavy-duty and stylish. Often treated for stain resistance.
- Denim or twill: Casual look, sturdy, and machine-washable.
- Outdoor fabric (e.g., Sunbrella): Fade-resistant and perfect for sunny areas.
Avoid thin fabrics like cotton quilting material—they wear out quickly. Also, check that the fabric is wide enough (usually 54–60 inches) to accommodate your seat pieces without excessive seams.
Pro tip: Buy a little extra fabric (10–15% more) to account for mistakes or pattern adjustments.
Step 4: Cut the Fabric
Once your pattern is ready, it’s time to cut:
Prepare the Fabric
- Wash and dry the fabric before cutting to prevent shrinkage later.
- Iron out wrinkles for accurate cutting.
- Lay the fabric flat on a large surface (floor or table).
Trace and Cut
- Place your paper template on the fabric.
- Use chalk or a fabric marker to trace around it.
- Cut carefully with sharp scissors or a rotary cutter.
- Repeat for all pieces (bottom, back, headrest, etc.).
Label each fabric piece with a pin or stitch a small tag so you don’t mix them up.
Step 5: Sew the Covers
Now for the fun part—sewing! Follow these steps for a clean finish:
Pin and Test Fit
- Pin the fabric pieces together (right sides facing).
- Drape the pinned cover over the seat to check fit.
- Adjust if needed—trim excess or add fabric.
Sew the Seams
- Use a straight stitch on your sewing machine.
- Sew with a ½-inch (1.3 cm) seam allowance.
- Backstitch at the beginning and end to secure stitches.
- Press seams open with an iron for a professional look.
Add Finishing Touches
- Sew elastic loops or Velcro straps to the underside for secure attachment.
- Hem raw edges with a zigzag stitch or serger to prevent fraying.
- Add decorative topstitching for style (optional).
If your seat has a split back (like many rear seats), sew each section separately and add a zipper or snap closure for easy removal.
Step 6: Install and Secure the Covers
Once sewn, it’s time to install:
Slip On the Cover
- Start with the seat bottom, tucking excess fabric underneath.
- Pull the back cover over the headrest (if removable) or stretch it over the top.
- Adjust for a snug, wrinkle-free fit.
Secure in Place
- Use the elastic or Velcro straps to anchor the cover under the seat.
- For extra hold, tuck fabric into crevices between seat cushions.
- Ensure nothing blocks seatbelt buckles or airbag sensors.
Test the seat by sitting in it—covers should stay put without slipping.
Troubleshooting Common Issues
Even with careful planning, you might run into problems. Here’s how to fix them:
- Loose fit: Add more elastic or sew in drawstrings to tighten.
- Tight fit: Let out seams slightly or use stretch fabric next time.
- Fabric wrinkles: Re-pin and re-sew, or use fabric glue for small fixes.
- Seams popping: Use stronger thread or reinforce high-stress areas.
- Headrest won’t fit: Make a separate cover with a zipper or button closure.
Remember: DIY is about learning. Don’t stress over perfection—functionality and comfort matter most.
Safety and Maintenance Tips
Your custom covers should enhance safety, not compromise it:
- Never cover airbag seams: Most seats have side airbags that deploy through the upholstery. Avoid stitching over these areas.
- Keep seatbelts accessible: Ensure buckles and latches aren’t blocked.
- Use flame-retardant fabric if possible: Especially important for families or frequent drivers.
- Wash regularly: Remove and machine-wash covers every few months to prevent odors and bacteria.
Store spare fabric for future repairs—small tears are easy to patch with iron-on mending tape.
Conclusion
Making your own car seat covers is a rewarding, practical project that anyone can tackle. With basic sewing skills, the right materials, and a bit of patience, you can create custom covers that protect your seats, reflect your style, and save you money. Whether you drive a compact car or a large SUV, DIY seat covers offer a perfect fit and endless customization options.
So grab your measuring tape, pick out some fabric, and get started. Your car—and your wallet—will thank you.

