How to Upgrade Car Stereo System for Better Sound Quality
This guide walks you through how to upgrade your car stereo system for clearer, richer sound. From choosing the right components to installing them safely, you’ll get expert tips and practical advice to boost your in-car audio experience.
Introduction: Why Upgrade Your Car Stereo System?
If you’ve ever cranked up your favorite song only to be met with tinny bass, distorted highs, or weak volume, it’s time to upgrade your car stereo system. Factory-installed audio systems are often built for cost, not quality. Upgrading gives you better sound clarity, deeper bass, and a more immersive listening experience—whether you’re commuting, road-tripping, or just enjoying a drive.
In this guide, you’ll learn exactly how to upgrade your car stereo system step by step. We’ll cover everything from choosing the right gear to installing it safely and tuning it for the best sound. No prior experience? No problem. With the right tools and a little patience, anyone can do it.
Step 1: Evaluate Your Current Audio System

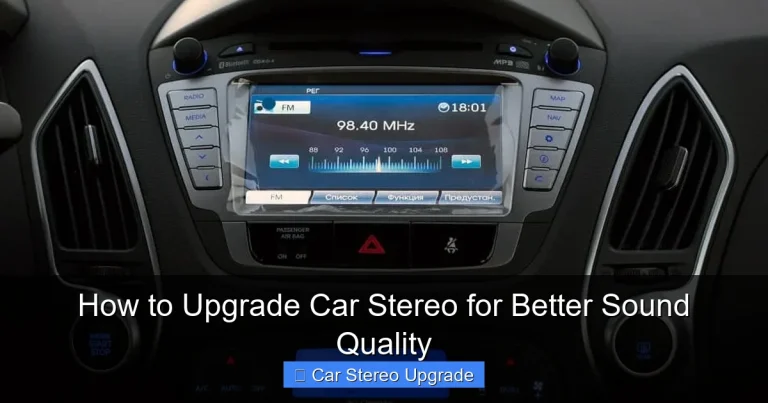
Visual guide about How to Upgrade Car Stereo System for Better Sound Quality
Image source: empire-auto.com
Before buying anything, take a close look at what you already have.
Check Your Head Unit
The head unit (your car’s stereo face) is the brain of your audio system. Older models may lack Bluetooth, USB ports, or support for modern audio formats. If yours is more than 10 years old, it’s likely time for an upgrade.
Test Your Speakers
Play music at different volumes and listen for distortion, rattling, or weak bass. Factory speakers are often small and low-powered. Replacing them can make a huge difference.
Assess Amplification
Most factory systems use built-in amps with low wattage. If your music sounds flat or lacks punch, adding an external amplifier can boost power and clarity.
Look at Wiring and Connections
Frayed wires, loose connections, or outdated harnesses can limit performance. Check under the dashboard and behind panels for damage.
Step 2: Choose the Right Components
Now that you know what needs upgrading, it’s time to shop smart.
Pick a New Head Unit
Look for a double-DIN or single-DIN unit with features like:
– Bluetooth for hands-free calls and streaming
– USB and AUX inputs
– Apple CarPlay and Android Auto
– High-resolution audio support
Popular brands include Pioneer, Sony, Kenwood, and Alpine. Make sure it fits your car’s dashboard—measure the opening or check your vehicle’s manual.
Upgrade Your Speakers
Replace front and rear speakers with higher-quality models. Consider:
– Coaxial speakers: Easy to install, good for beginners
– Component speakers: Separate tweeters and woofers for better sound staging (ideal for audiophiles)
Match speaker size to your car’s existing mounts. Most sedans use 6.5-inch speakers, while trucks and SUVs may need 6x9s.
Add a Subwoofer (Optional but Recommended)
For deep, powerful bass, add a subwoofer. You can choose:
– Powered subwoofers: Built-in amp, easy to install
– Passive subwoofers: Require a separate amplifier
Place it in the trunk for best results. A 10- or 12-inch sub is ideal for most cars.
Install an External Amplifier
An amp boosts signal strength to your speakers and subwoofer. Look for one with enough RMS power to match your speakers’ needs. For example, 50–100 watts per channel is great for most setups.
Step 3: Gather Tools and Materials
Before you start, make sure you have the right gear.
Essential Tools
- Screwdrivers (Phillips and flathead)
- Panel removal tools (plastic pry tools)
- Wire strippers and crimpers
- Electrical tape or heat shrink tubing
- Multimeter (to test connections)
- Socket wrench set (for removing seats or panels)
Materials to Buy
- Wiring harness adapter (matches your car to the new stereo)
- Antenna adapter (if needed)
- Speaker wire (16-gauge is standard)
- Power and ground cables (8- or 4-gauge for amps)
- Fuse holder and fuse (for amp safety)
- Mounting brackets or kits (if required)
Step 4: Remove the Old Stereo System
Safety first—disconnect the car battery to prevent electrical shorts.
Remove the Head Unit
- Use panel tools to gently pry off the trim around the stereo.
- Unscrew and pull out the old head unit.
- Disconnect the wiring harness and antenna cable.
- Label wires if needed for reference.
Remove Old Speakers
- Take off door panels or rear deck covers.
- Unscrew the old speakers.
- Disconnect the speaker wires.
- Note the polarity (positive and negative) for reinstallation.
Remove Old Amplifier (If Present)
If your car has a factory amp, locate it (usually under a seat or in the trunk), disconnect power and signal wires, and remove it.
Step 5: Install the New Stereo System
Now it’s time to put in the new gear.
Install the Head Unit
- Connect the wiring harness adapter to the new stereo.
- Match wire colors (red to red, black to black, etc.).
- Use crimp connectors or solder for secure connections.
- Plug in the antenna adapter.
- Slide the new head unit into the dash and secure it with screws.
- Reattach the trim panel.
Install New Speakers
- Connect the new speaker wires, matching polarity.
- Secure speakers with screws or mounting brackets.
- Reattach door panels or deck covers.
Install the Amplifier
- Mount the amp in a cool, dry spot (under a seat or in the trunk).
- Run a power cable from the battery through the firewall (use a grommet).
- Install an in-line fuse near the battery.
- Connect ground wire to a clean metal point on the chassis.
- Run RCA cables from the head unit to the amp.
- Connect remote turn-on wire (usually blue) from the head unit.
Install the Subwoofer
- Place the subwoofer in the trunk.
- Connect it to the amplifier using speaker wire or RCA cables.
- Secure it with straps or brackets to prevent movement.
Step 6: Test and Tune Your System
Turn the battery back on and test everything.
Check All Connections
Turn on the stereo and test each speaker. Make sure all channels are working and there’s no distortion.
Adjust the Equalizer (EQ)
Use the head unit’s EQ settings to balance bass, midrange, and treble. Start flat, then tweak based on your music taste.
Set Crossover Frequencies
If you have a component system, set the crossover so:
– Tweeters handle high frequencies (above 3,000 Hz)
– Woofers handle mid and low (below 3,000 Hz)
– Subwoofer handles bass (below 80 Hz)
This prevents overlap and protects speakers.
Fine-Tune Volume and Balance
Adjust fader and balance controls so sound is even across all seats.
Troubleshooting Common Issues
Even with careful installation, problems can happen.
No Sound from Speakers
– Check if the head unit is on and volume is up.
– Verify speaker wire connections and polarity.
– Test with a multimeter for continuity.
Distorted or Crackling Sound
– Make sure speakers aren’t overpowered.
– Check for loose wires or poor grounding.
– Adjust gain on the amplifier—don’t max it out.
Bass Is Weak or Missing
– Confirm subwoofer is powered and connected.
– Check phase setting (flip if needed).
– Ensure crossover is set correctly.
Radio Reception Is Poor
– Reconnect or replace the antenna adapter.
– Make sure the antenna cable is fully inserted.
Conclusion: Enjoy Your Upgraded Car Audio
Upgrading your car stereo system might seem daunting at first, but with the right plan, it’s totally doable. You’ve now learned how to assess your current setup, choose quality components, install them safely, and fine-tune for the best sound.
Whether you went all-in with a subwoofer and amp or just swapped out the speakers, you’ll notice a big difference in audio quality. Your drives will be more enjoyable, and your music will finally sound the way it was meant to.
Remember: take your time, double-check connections, and don’t hesitate to consult a professional if you’re unsure. With your new system, every trip can be a concert on wheels.