How to Connect OBD2 Scanner to Car for Easy Diagnostics Guide
Connecting an OBD2 scanner to your car is a simple and effective way to diagnose vehicle issues quickly. This guide walks you through each step, from locating the port to interpreting scanner data, helping you save time and money on repairs.
Quick Answers to Common Questions
How do I find the OBD2 port if I can’t see it?
Check your vehicle’s user manual or search online for your car’s make, model, and year. The port is usually under the dashboard near the steering wheel.
Can I use any OBD2 scanner on my car?
Most scanners work with cars made after 1996, but ensure your scanner supports your car’s communication protocol for compatibility.
Should the engine be running when I connect the scanner?
Usually, the ignition should be ON, but the engine can be off unless your scanner or vehicle requires it to be running.
What if my scanner shows no codes but the check engine light is on?
Try rescanning after a few minutes or restart the car. If codes still don’t appear, there may be a communication issue or a pending code not yet stored.
Is it safe to clear codes myself?
Yes, but only clear codes after you have fixed the underlying problem to avoid erasing important diagnostic information.
How to Connect OBD2 Scanner to Car for Easy Diagnostics Guide
If you want to diagnose your car’s issues without costly trips to the mechanic, connecting an OBD2 scanner is a smart first step. In this guide, you’ll learn exactly how to connect an OBD2 scanner to your car, what to expect during the process, and how to interpret the results. Whether you’re a beginner or just need a refresher, this step-by-step approach will help you get started quickly and confidently.
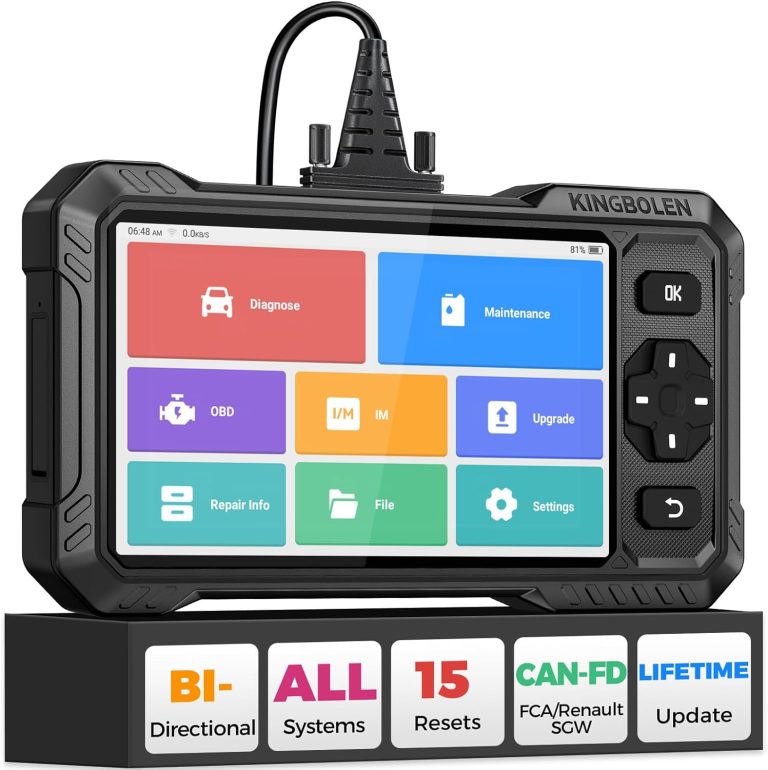
What is an OBD2 Scanner?
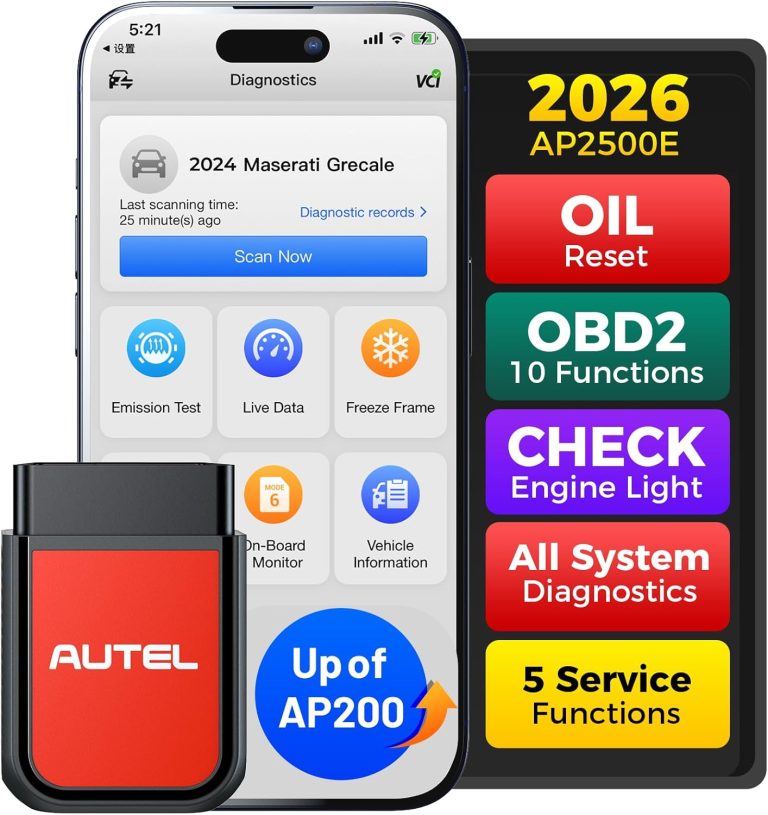
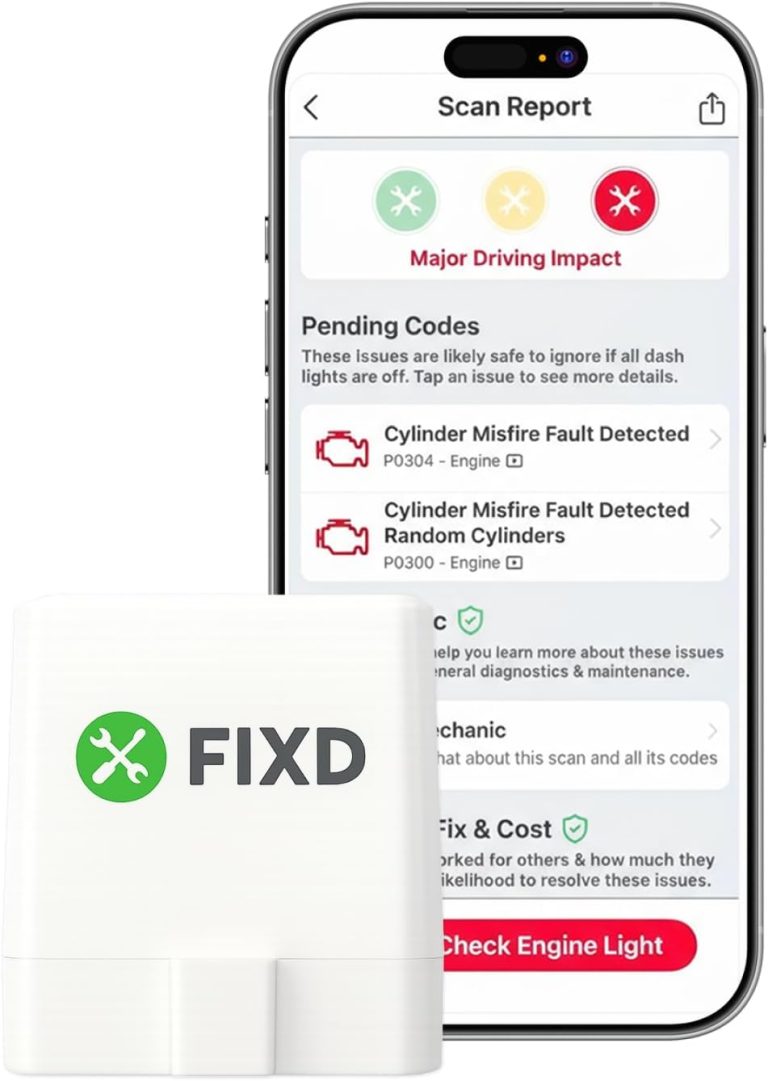
OBD2 (On-Board Diagnostics, second generation) scanners are devices that plug into your car’s diagnostic port to read data from the vehicle’s computer. They help identify issues by providing diagnostic trouble codes (DTCs) and other live data, making it easier to troubleshoot problems early.
Visual guide about How to Connect OBD2 Scanner to Car for Easy Diagnostics Guide
Image source: cdn.shopify.com
Step 1: Locate the OBD2 Port in Your Car
The first step to connecting your OBD2 scanner is finding the port. This port is standardized and should be easily accessible.
Where to Look
- Most cars made after 1996 have a 16-pin OBD2 port.
- Common locations include under the dashboard near the steering wheel, around the driver’s side kick panel, or beneath the center console.
- If you have trouble finding it, check your owner’s manual or search online for your car’s make and model.
Tips for Finding the Port
- Look for a trapezoid-shaped connector.
- The port is generally within two feet of the steering wheel.
- Use a flashlight if needed to see clearly under the dash.
Step 2: Prepare Your Vehicle and Scanner
Turn Off the Car
Before connecting the scanner, ensure your vehicle’s ignition is off for safety.
Connect the Scanner to the OBD2 Port
Plug the scanner’s connector firmly into the OBD2 port. It should fit snugly without forcing.
Power On the Vehicle
Turn the key to the “ON” position or start the engine, depending on your scanner’s requirements. This powers the vehicle’s computer and the scanner.
Step 3: Power On and Use the OBD2 Scanner
Turn On the Scanner
Most scanners power on automatically when connected and the ignition is on. If yours has a power button, press it to start.
Navigate the Scanner Menu
- Select the option to “Read Codes” or “Scan.”
- Wait a few moments for the scanner to communicate with the car’s ECU (Engine Control Unit).
- The scanner will display any stored trouble codes.
Step 4: Read and Interpret Diagnostic Trouble Codes (DTCs)
Understanding the Codes
Codes usually consist of a letter followed by four digits (e.g., P0301). The letter indicates the system (P = powertrain, B = body, C = chassis, U = network).
Use Resources to Decode
- Refer to your scanner’s manual for basic code definitions.
- Use reputable online databases or apps to get detailed explanations and repair suggestions.
- Some scanners provide code descriptions directly on the screen.
Clear Codes (Optional)
If you fix the problem, you can clear the codes to reset the check engine light. Use the “Clear Codes” function on the scanner, but only after repairs are done.
Step 5: Disconnect the Scanner Safely
Turn off your vehicle and remove the scanner from the OBD2 port. Store your scanner in a safe, dry place for future use.
Practical Tips for Using Your OBD2 Scanner
- Keep your scanner updated: Some advanced scanners allow software updates to support newer vehicles.
- Scan regularly: Running scans every few months can catch issues early.
- Use a smartphone app scanner: Bluetooth OBD2 scanners paired with apps offer detailed data and easy code lookup.
- Know your vehicle’s protocols: Some vehicles use different communication protocols; ensure your scanner supports them.
Troubleshooting Common Issues
Scanner Not Powering On
- Ensure the ignition is in the ON position.
- Check if the OBD2 port pins are bent or damaged.
- Try a different scanner to rule out a faulty device.
No Communication with Vehicle
- Verify your scanner supports your car’s make, model, and year.
- Check if the port is clean and free of debris.
- Try turning the ignition off and on again.
Codes Don’t Clear
- Some issues require repairs before codes can be cleared.
- Check if the scanner has sufficient battery or power.
- Consult a mechanic if codes persist despite attempts to clear.
Conclusion
Connecting an OBD2 scanner to your car is a straightforward way to understand what’s going on under the hood. By following this guide, you can easily locate the port, connect your scanner, read fault codes, and take action to maintain your vehicle’s health. This skill saves you time and money, empowering you to handle minor repairs or communicate more effectively with your mechanic. Get started today and enjoy peace of mind knowing you can diagnose car issues with ease.
🎥 Related Video: How to Use an OBD-II Scan Tool
📺 Car and Driver
With car computers doing so much heavy lifting these days, knowing how to use a hand-held scanning tool to communicate with it …