How to Install Car Seat Covers with Hooks Easily
This guide walks you through how to install car seat covers with hooks quickly and correctly. You’ll learn essential tips, avoid common mistakes, and keep your car seats looking new for years.
Key Takeaways
- Choose the right covers: Make sure your seat covers are compatible with your car model and designed for hook installation.
- Clean your seats first: Always remove dirt and debris before installing to ensure a smooth, snug fit.
- Start from the top: Begin attaching hooks at the headrest and work your way down for even tension.
- Use all included hardware: Don’t skip any straps or hooks—they’re essential for a secure fit.
- Adjust and tighten gradually: Pull straps slowly and evenly to avoid wrinkles or damage.
- Check for obstructions: Ensure airbags and seat controls aren’t blocked by the cover.
- Maintain regularly: Clean your covers monthly to preserve their look and function.
How to Install Car Seat Covers with Hooks Easily
Keeping your car’s interior clean and stylish doesn’t have to be hard. One of the best ways to protect your seats from spills, stains, pet hair, and daily wear is by installing car seat covers. If you’ve recently bought seat covers that come with hooks, you’re in luck—these are among the most secure and durable options available. But if you’ve never installed them before, the process might seem a little confusing at first.
Don’t worry! This step-by-step guide will show you how to install car seat covers with hooks easily, so you can get professional-looking results in under 30 minutes. Whether you’re protecting your seats from kids, pets, or just everyday messes, this method ensures a snug, wrinkle-free fit that stays in place.
We’ll walk you through everything from preparation to final adjustments, including tips to avoid common pitfalls. By the end, your car will look refreshed, and your seats will be well-protected for miles to come.
Step 1: Gather Your Tools and Materials
Before you begin, make sure you have everything you need. Most seat cover kits come with the essentials, but it’s good to double-check.
What You’ll Need:
- Car seat covers with hooks and straps
- Hook attachments (usually included)
- Elastic straps or cords
- Scissors (only if trimming is needed)
- Clean cloth or vacuum
- Owner’s manual (to check airbag locations)
Pro tip: Lay out all the pieces on a clean surface. Match them to your seat type (bucket, bench, etc.) and confirm you have enough hooks and straps for each seat.
Step 2: Prepare Your Car Seats
A clean surface ensures the covers fit properly and last longer. Dirt, crumbs, or moisture can cause slipping or mold over time.
Clean the Seats Thoroughly
Use a vacuum to remove loose debris from the seat cushions, backrests, and crevices. For fabric seats, wipe down with a damp cloth and let dry completely. Leather seats can be cleaned with a mild leather cleaner. Never install covers on wet seats—this can trap moisture and lead to odors or mildew.
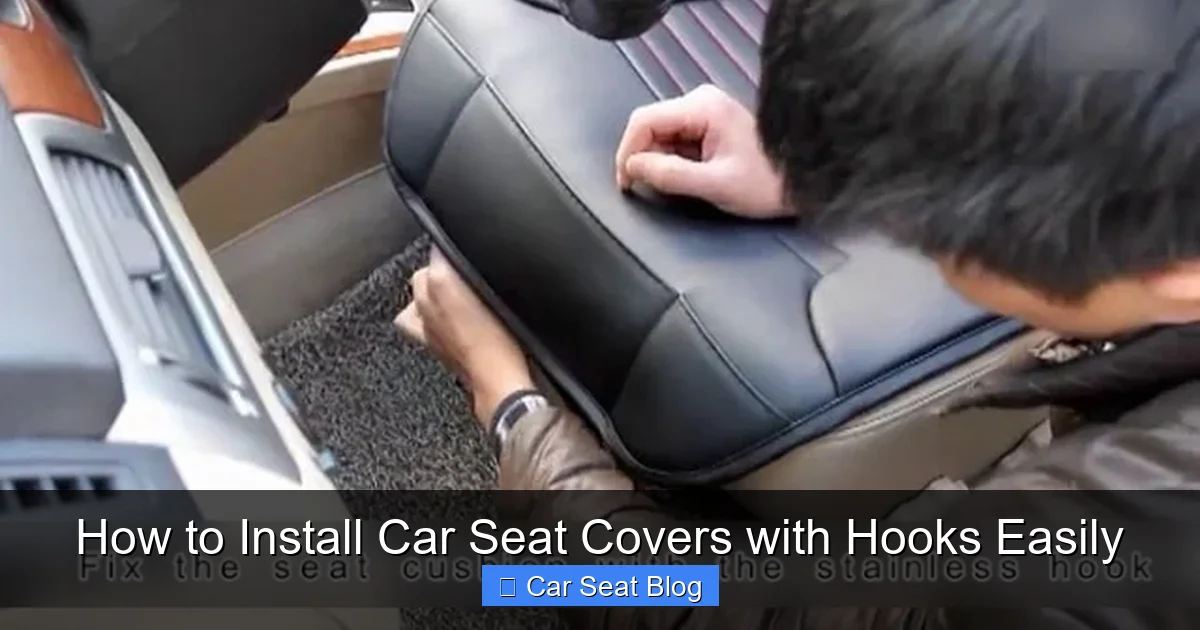
Visual guide about How to Install Car Seat Covers with Hooks Easily
Image source: i.ytimg.com
Remove Headrests (If Needed)
Many seat covers require you to remove the headrest to slide the cover over the top. Check your cover’s instructions. Most modern cars have a release button or lever on the headrest post. Press it and gently pull the headrest out. Set it aside in a safe place so you don’t lose it.
Check for Airbags and Controls
Look for airbag labels on the sides of your seats. Never cover or obstruct side airbags—most quality seat covers have built-in tear seams for this. Also, ensure that seat controls (like recline levers or heating buttons) are accessible and not blocked by the cover.
Step 3: Position the Seat Cover
Now it’s time to put the cover on. Take your time here—proper alignment makes the rest of the process much easier.
Start with the Backrest
Slide the cover over the seat back, starting from the top. If you removed the headrest, feed the cover over the posts first. Make sure the front of the cover faces the right way—most have labels like “front” or “top.”
Align the Cover Evenly
Gently pull the cover down, smoothing out any wrinkles. The sides should hang evenly, and the center should align with the seat’s centerline. Don’t pull too tight yet—just get it in place.
Tuck in Excess Fabric
Use your hands to tuck extra material into the gaps between the seat back and cushion. This helps create a clean, tailored look and prevents bunching.
Step 4: Attach the Hooks
This is where the magic happens. Hooks secure the cover and keep it from shifting.
Locate the Hook Points
Most covers have built-in loops or straps with hooks at key points: under the seat, along the sides, and near the bottom. Look for metal or plastic hooks attached to elastic or webbing straps.
Start at the Top
Begin by attaching the hooks near the headrest area. These help anchor the cover and prevent it from sliding down. Hook them to sturdy metal frames or seat rails—avoid plastic parts that could break.
Work Your Way Down
Move to the sides and bottom of the seat. Pull each strap gently and hook it to the nearest secure point. Don’t yank—apply even tension to avoid tearing the fabric or straps.
Use All Included Hooks
Even if a hook seems unnecessary, use it. Extra hooks improve stability, especially on long drives or with active passengers. If a hook doesn’t reach, check if the strap is adjustable or if you need to reposition the cover slightly.
Step 5: Secure the Bottom and Front
The seat base is just as important as the backrest. A loose bottom can bunch up and be uncomfortable.
Pull the Front Straps
Most covers have straps that go under the seat and hook to the opposite side. Reach under the seat and pull the strap toward the back or side, then attach the hook. This pulls the cover taut and prevents slipping.
Tuck and Smooth
After hooking, run your hands over the seat to smooth out any wrinkles. Tuck loose fabric into the seat crevices for a clean finish.
Adjust for Comfort
Sit in the seat to test the fit. The cover should feel snug but not tight. If it bunches or pulls uncomfortably, loosen a few hooks and reposition.
Step 6: Reattach the Headrest
Once the cover is secure, it’s time to put the headrest back.
Align the Posts
Slide the headrest posts back into the seat. Make sure they go in the same holes they came from—most cars have different-sized holes for left and right posts.
Push Until It Clicks
Press down firmly until you hear a click or feel it lock in place. Give it a gentle tug to confirm it’s secure.
Check the Cover Fit
Ensure the cover isn’t pinched or stretched around the headrest. If it is, loosen nearby hooks slightly and adjust.
Step 7: Final Adjustments and Inspection
Take a step back and inspect your work. A well-installed cover should look neat and stay in place.
Walk Around the Seat
Look at the seat from all angles. Are there wrinkles? Loose straps? Gaps? Make small adjustments as needed.
Test All Functions
Recline the seat, adjust the headrest, and test any controls. Make sure nothing is blocked or restricted.
Repeat for Other Seats
If you’re covering multiple seats, repeat the process. Front passenger and rear seats may have different shapes, so treat each one individually.
Troubleshooting Common Issues
Even with careful installation, you might run into a few hiccups. Here’s how to fix them.
Problem: Cover Keeps Slipping
Solution: You may have missed a hook or strap. Double-check under the seat and along the sides. Add extra hooks if your kit includes spares. Also, ensure the cover is designed for your seat type—universal covers may not fit perfectly.
Problem: Wrinkles or Bunching
Solution: Wrinkles often mean the cover isn’t pulled tight enough. Loosen all hooks, reposition the cover, and reattach with even tension. Use your hands to smooth fabric as you go.
Problem: Hooks Won’t Stay Attached
Solution: The hook may be too small or the anchor point too weak. Try hooking to a different part of the seat frame. Avoid plastic clips or trim pieces—they can break. If needed, use zip ties as a temporary fix (but only if safe and secure).
Problem: Cover Blocks Airbag
Solution: Never ignore airbag safety. If the cover interferes with a side airbag, stop and reposition it. Look for covers labeled “airbag compatible” or with pre-cut seams. When in doubt, consult your car’s manual or a professional.
Tips for Long-Lasting Seat Covers
Installing your covers is just the first step. Proper care keeps them looking great.
- Clean regularly: Vacuum weekly and spot-clean spills immediately. Follow the manufacturer’s cleaning instructions.
- Remove for deep cleaning: Take covers off every few months for a thorough wash (if machine-washable).
- Avoid sharp objects: Keep keys, tools, or pet claws away from the fabric to prevent tears.
- Use seat protectors: For extra protection with kids or pets, add a waterproof liner underneath.
- Store properly: If removing covers, fold them neatly and store in a dry place to avoid mildew.
Conclusion
Installing car seat covers with hooks is a simple, effective way to protect your vehicle’s interior. With the right preparation and a little patience, you can achieve a clean, professional look in under half an hour. By following this guide, you’ve learned how to install car seat covers with hooks easily, from cleaning your seats to making final adjustments.
Not only do seat covers extend the life of your upholstery, but they also make cleaning up spills and messes a breeze. Whether you’re a parent, pet owner, or just someone who loves a tidy car, this upgrade is worth the effort.
So grab your seat covers, follow these steps, and enjoy a refreshed, protected interior every time you drive. Your car—and your passengers—will thank you.