Where to Install Car Seat Covers for a Perfect Fit
Installing car seat covers correctly ensures comfort, safety, and a polished look. This guide walks you through the best spots and methods to install covers on bucket, bench, and custom seats—so they stay put and look great.
Quick Answers to Common Questions
Should I remove my seat to install covers?
Generally no—most modern covers are designed for in-place installation. Removing seats is complex, risky, and usually unnecessary unless you’re doing professional upholstery work.
Can I wash my seat covers after installation?
Yes, but check the care label first. Many neoprene or polyester covers are machine-washable, while leather or suede may need spot cleaning only.
Do seat covers void my car’s warranty?
Rarely. As long as they don’t damage the seat or interfere with safety systems, warranties remain valid. Avoid covers that require cutting or permanent modifications.
Are universal covers worth it?
They’re cheaper but often fit poorly. Custom-fit covers cost more but offer better protection, comfort, and longevity—especially for newer vehicles.
How often should I reinstall or adjust my covers?
Check them every few months. Vibration and use can loosen straps. A quick tug-test and re-tightening keeps everything snug and safe.
Where to Install Car Seat Covers for a Perfect Fit
So you’ve bought a set of car seat covers—great choice! They protect your upholstery from spills, pet hair, UV damage, and everyday wear. But here’s the catch: if you don’t install them in the right spots using the right techniques, they’ll look sloppy, shift around, or even compromise safety features like airbags. That’s why knowing *where* and *how* to install car seat covers is just as important as choosing the right ones.
In this guide, we’ll walk you through exactly where to install seat covers on every type of seat in your vehicle—front bucket seats, rear bench seats, split-folding seats, and even custom or performance seats. You’ll learn step-by-step methods, pro tips for a snug fit, and how to avoid common mistakes that lead to loose fabric or restricted seat functions. Whether you drive a compact sedan, an SUV, or a pickup truck, these instructions will help you achieve a clean, professional-looking installation that lasts.
Step 1: Prepare Your Vehicle and Seat Covers
Before you even think about placing a cover on a seat, preparation is key. Rushing this step is the #1 reason installations fail.
Clean Your Seats Thoroughly
Vacuum all crumbs, pet hair, and debris from your seats. Wipe down surfaces with a damp cloth (for cloth seats) or a leather cleaner (for leather). Let everything dry completely. Any leftover dirt will get trapped under the cover, causing discomfort and potential mold or odor over time.
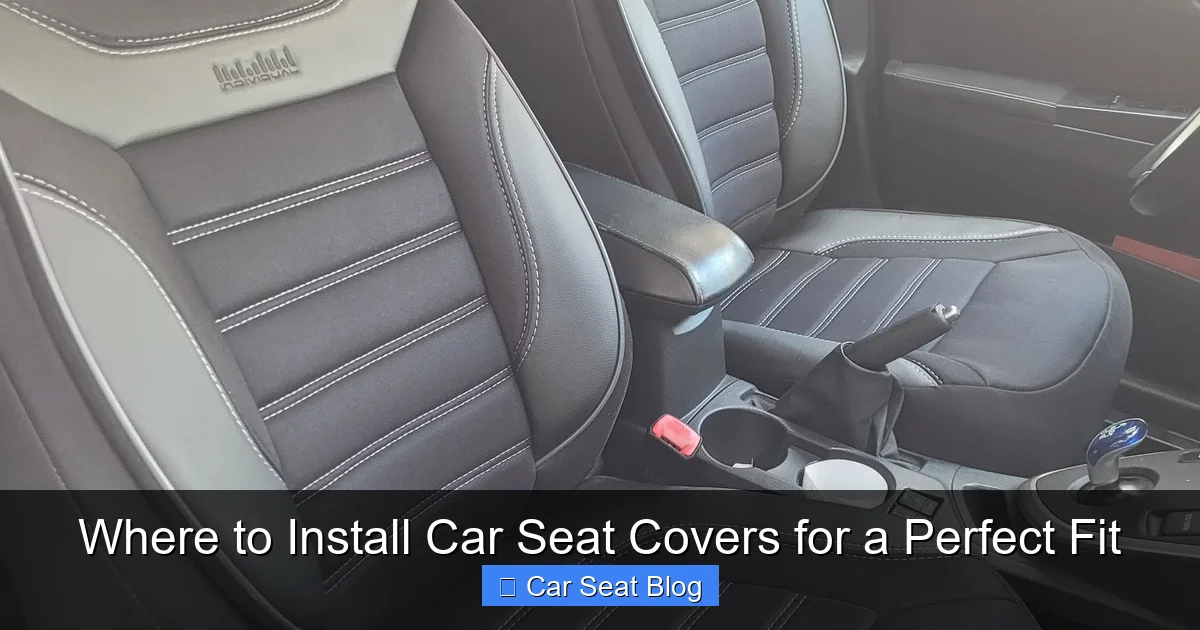
Visual guide about Where to Install Car Seat Covers for a Perfect Fit
Image source: qualitycarcovers.co.uk
Unpack and Inspect Your Covers
Lay out all pieces and match them to your vehicle’s seating layout. Most kits include separate covers for front seats, rear seat backs, cushion bases, and headrests. Check that all straps, hooks, Velcro, or elastic bands are intact. If anything’s missing, contact the manufacturer before installing.
Read the Instructions
Yes, really! Even if you’ve installed covers before, different brands use different attachment systems. Some rely on elastic skirts, others on under-seat hooks or J-hooks. Following the manual prevents frustration later.
Step 2: Install Front Bucket Seats
Front seats are usually the trickiest due to integrated features like airbags, heating elements, and power adjustments. But with care, they can look factory-fitted.
Remove the Headrest (If Needed)
Most covers require you to take off the headrest first. Press the release button (usually on the side or base) and gently pull it upward. Set it aside—you’ll reinstall it through the cover later.
Slide the Cover Over the Seat Back
Start at the top of the seat back. Pull the cover down evenly, making sure it aligns with seams and contours. Avoid stretching too hard—this can warp the fit or tear delicate fabric.
Secure the Bottom and Sides
Tuck the cover’s elastic edges or flaps under the seat cushion. Look for built-in straps that loop around the seat frame or attach to hooks beneath the seat. Pull them tight but not so much that they restrict seat movement. For seats with side airbags, ensure the cover has a designated tear seam or is labeled “airbag-compatible.” Never block or cover airbag deployment zones.
Reinstall the Headrest
Thread the headrest poles through the slits or openings in the cover. Push it back into place until it clicks. Give it a gentle tug to confirm it’s secure.
Test Adjustability
Recline the seat, adjust lumbar support, and move the seat forward/backward. The cover should move with the seat—not bunch up or pull away. If it does, loosen straps slightly or reposition the fabric.
Step 3: Install Rear Bench Seats
Rear seats often get overlooked, but they take just as much abuse—especially if you have kids or pets.
Identify Your Seat Configuration
Is it a solid bench? A 60/40 split? 40/20/40? Each type needs slightly different handling. Measure the width of each section to confirm your covers match.
Start with the Seat Base
Lay the base cover flat over the cushion. Align it so patterns or logos face the correct direction. Tuck excess material under the seat, using any included straps to anchor it to the frame or floor hooks. For split seats, install each section separately.
Cover the Seat Back
Pull the backrest cover over the top and down the front. Again, use straps or elastic bands to secure it underneath. If your rear seats fold down, make sure the cover allows full range of motion—test by folding the seat forward and back.
Handle Headrests and Armrests
Some rear seats have removable headrests—remove and reinstall through the cover as with front seats. Center consoles or armrests may need special covers or cutouts; ensure they open and close smoothly.
Step 4: Tackle Tricky Spots and Custom Seats
Not all seats are created equal. Performance cars, vintage models, or vehicles with unique upholstery may need extra attention.
Sports Seats with High Bolsters
These have deep side supports that can tear thin covers. Choose heavy-duty neoprene or leather-style covers with reinforced stitching. Install slowly, working the fabric around the bolsters without forcing it.
Heated or Ventilated Seats
Use only covers rated for heated seats. Non-compatible materials can overheat or melt. Look for breathable fabrics like mesh or perforated neoprene that allow heat and airflow to pass through.
Convertible or Rear-Facing Child Seat Areas
If you frequently use car seats, avoid bulky covers that interfere with LATCH anchors or seatbelt paths. Opt for slim-fit designs or remove covers temporarily when installing child restraints.
Troubleshooting Common Installation Issues
Even with careful installation, problems can pop up. Here’s how to fix them:
Covers Keep Slipping
This usually means straps aren’t tight enough or aren’t anchored properly. Double-check that all hooks are latched under the seat frame—not just tucked under the cushion. Add non-slip seat pads underneath for extra grip.
Fabric Bunches Up When Seat Moves
You likely pulled the cover too tight in one area. Loosen straps slightly and redistribute the fabric. Ensure there’s enough slack for seat mechanics to operate freely.
Headrest Won’t Stay In
The cover’s headrest opening might be too small or misaligned. Trim excess material carefully (only if the manufacturer allows it) or choose a different cover style with adjustable headrest sleeves.
Airbag Warning Light Comes On
Stop driving immediately. This means the cover is interfering with the seat’s weight sensor or airbag system. Remove the cover and consult your vehicle manual or a professional installer.
Final Checks for a Professional Finish
Once all covers are on, do a final walkthrough:
- Sit in every seat and adjust positions.
- Fold down rear seats and test latch mechanisms.
- Check that seatbelts retract smoothly and aren’t pinched.
- Look for loose edges, wrinkles, or exposed foam.
- Ensure no cables, sensors, or controls are obstructed.
If everything moves freely and looks tidy, you’re done! Your car now has durable, stylish protection that enhances both appearance and resale value.
Conclusion
Installing car seat covers isn’t just about slapping fabric over your seats—it’s about precision, patience, and understanding your vehicle’s unique layout. By focusing on *where* to install each piece—front buckets, rear benches, headrests, and tricky zones—you ensure a secure, comfortable, and safe fit that lasts for years. Remember: clean first, measure twice, attach securely, and always test functionality. With these steps, your car’s interior will look sharp, stay protected, and feel like new—no matter how many road trips, soccer practices, or coffee spills come its way.