How to Install Car Seat Covers in 5 Easy Steps
Installing car seat covers doesn’t have to be complicated. This step-by-step guide walks you through the entire process—from choosing the right covers to securing them properly—so your car seats look great and stay protected for years.
Quick Answers to Common Questions
Should I remove the headrest before installing seat covers?
Yes, in most cases. Removing the headrest makes it easier to slide the cover over the backrest and ensures a tighter, wrinkle-free fit. Just make sure to reinstall it properly after the cover is on.
Can I install seat covers over heated seats?
Yes, but only if the covers are labeled as compatible with heated seats. Look for breathable materials like neoprene or mesh that won’t trap heat or interfere with the heating elements.
How tight should the seat cover be?
The cover should be snug but not stretched to the point of tearing. It should lie flat with minimal wrinkles and stay in place when you sit or adjust the seat.
Do universal seat covers fit all cars?
Universal covers fit many vehicles but may not provide a perfect fit. For the best results, choose custom-fit covers designed for your specific make, model, and year.
Can I wash my car seat covers?
It depends on the material. Check the care label—some are machine washable, while others should only be spot-cleaned. Always air dry to prevent shrinkage or damage.
How to Install Car Seat Covers in 5 Easy Steps
If you’ve ever looked at your car’s worn, stained, or faded seats and thought, “There has to be a better way,” you’re not alone. Car seat covers are a simple, affordable solution to protect your upholstery, refresh your interior, and even boost resale value. But while the idea is appealing, many people hesitate because they’re unsure how to install them properly.
The good news? Installing car seat covers is easier than you think—especially when you follow a clear, step-by-step process. Whether you’re covering cloth seats to prevent future stains or replacing torn leather, this guide will walk you through everything you need to know. In just five straightforward steps, you’ll have your seats looking sharp, feeling comfortable, and staying protected for miles to come.
We’ll cover how to prep your seats, choose the right covers, and secure them without wrinkles or slippage. Plus, we’ll share practical tips and troubleshooting advice to help you avoid common mistakes. By the end, you’ll be confident in your ability to install car seat covers like a pro—no special tools or experience required.
Step 1: Choose the Right Car Seat Covers
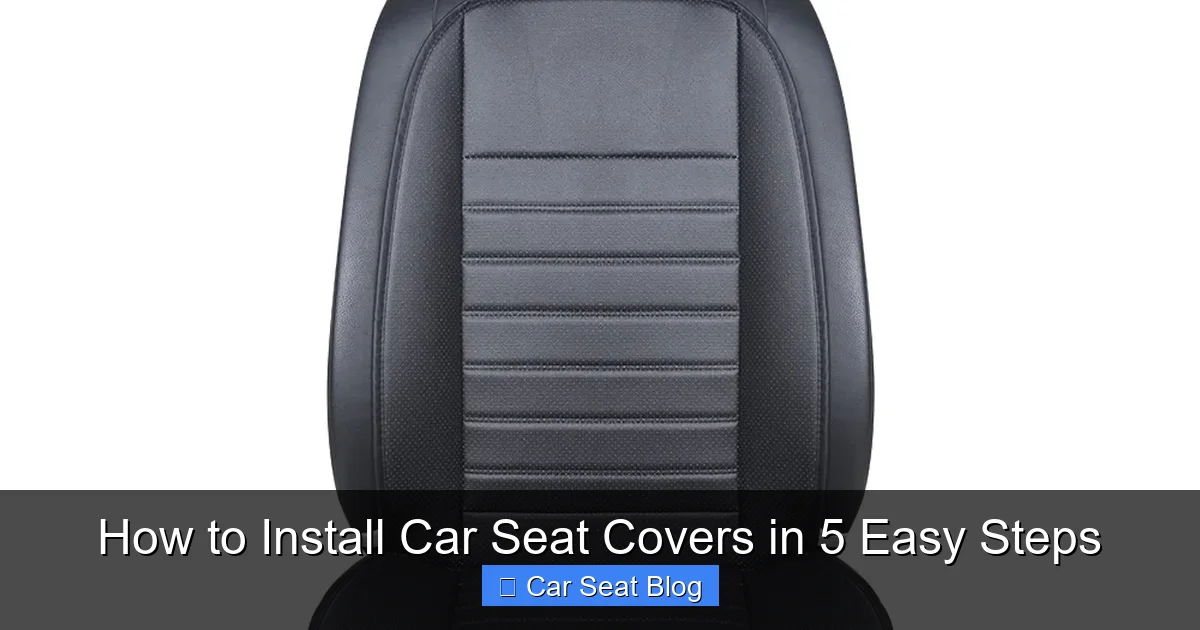
Visual guide about How to Install Car Seat Covers in 5 Easy Steps
Image source: images.nexusapp.co
Before you even think about installation, you need the right product. Not all car seat covers are created equal, and choosing the wrong type can lead to frustration, poor fit, or even safety issues.
Start by identifying your seat type. Are they bucket seats, bench seats, or captain’s chairs? Do they have side airbags, built-in seat heaters, or adjustable headrests? These details matter because they affect which covers will work safely and effectively.
Next, consider material. Popular options include:
– Neoprene: Water-resistant, durable, and great for families or pet owners.
– Leatherette (faux leather): Sleek, easy to clean, and gives a premium look.
– Polyester or mesh: Breathable and budget-friendly, ideal for hot climates.
– Velvet or plush fabrics: Soft and stylish, but harder to clean.
Always check the product description for vehicle compatibility. Many brands offer custom-fit covers designed specifically for your car’s make, model, and year. These tend to fit better and look more professional than universal covers.
Pro tip: Look for covers with airbag-compatible designs. If your car has side airbags (most modern vehicles do), the covers must have designated cutouts or tear seams so the airbag can deploy safely in an accident. Never use covers that block or interfere with airbag operation.
Finally, read reviews. Real customer feedback can reveal whether the covers run small, stretch over time, or come with clear instructions. A little research now saves a lot of hassle later.
Step 2: Prepare Your Seats and Workspace
A clean, organized workspace sets you up for success. Skipping this step might seem harmless, but dirt, crumbs, or loose objects can cause wrinkles, discomfort, or even damage to your new covers.
Start by removing any items from the seats—bags, toys, loose change, or pet accessories. Then, vacuum the seats thoroughly. Use a crevice tool to get into seams and under cushions. If there are sticky spills or stains, wipe them down with a mild cleaner and a microfiber cloth. Let the seats dry completely before proceeding.
Next, remove the headrests if possible. Most car seat covers are designed to go on with the headrest off, making installation easier and ensuring a tighter fit. Check your car’s manual if you’re unsure how to remove them—some twist, others have a release button.
Clear space around the seats so you can move freely. You’ll need room to stretch, tuck, and adjust the covers as you go. If you’re working indoors, lay down a drop cloth or old sheet to protect the floor from dust or cleaning products.
Gather your tools. While most seat covers require no special equipment, it helps to have:
– A soft-bristle brush (for final smoothing)
– A spray bottle with water (to lightly dampen stubborn wrinkles)
– A clean towel
– The instruction manual that came with your covers
Having everything ready means you won’t have to stop mid-installation, which can lead to frustration or mistakes.
Step 3: Install the Backrest Cover
Now comes the fun part—putting on the covers! Start with the backrest, as it’s typically the largest and most visible part of the seat.
Slide the cover over the top
Begin by aligning the top of the cover with the top of the seat back. Most covers have a clear “top” label or a seam that matches the seat’s contour. Gently pull the cover down over the headrest opening (if applicable) and begin sliding it over the backrest.
Don’t force it. If it feels tight, stop and adjust. Neoprene and stretch fabrics will give a little, but rigid materials like leatherette may need careful positioning.
Tuck and smooth as you go
As the cover slides down, use your hands to smooth out wrinkles and tuck excess fabric into the crevices between the seat back and cushion. This is especially important for bucket seats with deep contours.
Look for built-in elastic bands, straps, or hooks along the sides and bottom of the cover. These are designed to anchor the fabric and prevent shifting. Attach them to the seat frame or existing hooks underneath the seat. Some covers use Velcro or snap buttons—follow the manufacturer’s instructions carefully.
Secure the headrest area
Once the backrest is covered, reinstall the headrest (if removed). Push it back into place, making sure the cover isn’t bunched up or twisted. If the cover has a separate headrest piece, slide it on now and secure any straps or clips.
Take a step back and inspect your work. The cover should lie flat, with no large wrinkles or gaps. If you see bunching, gently pull and re-tuck the fabric. A little patience here pays off in a cleaner, more professional look.
Step 4: Install the Seat Bottom Cover
With the backrest done, move on to the seat bottom. This part can be trickier because it’s lower to the ground and often has more obstructions like seat belts or adjustment levers.
Position the cover correctly
Place the bottom cover over the seat, aligning it with the edges. Make sure the front of the cover matches the front of the seat—many have a curved or tapered design that only fits one way.
Tuck under the seat
Lift the front edge of the seat (if possible) and tuck the front flap of the cover underneath. Some cars allow you to tilt the seat forward slightly; others have a gap you can access from the side. Use your fingers or a soft tool to push the fabric in evenly.
Attach straps and hooks
Look for attachment points on the underside of the cover. These usually connect to the seat frame, bolts, or existing hooks. Pull each strap tight and secure it firmly. Avoid over-tightening, which can cause tearing, but make sure there’s no slack that could lead to shifting.
If your cover includes a center console flap (for bench seats), drape it over the console and secure it with the provided straps or clips.
Smooth and adjust
Once everything is attached, sit on the seat and move around a bit. This helps the cover settle into place. Then, stand up and smooth out any remaining wrinkles. Use a spray bottle with a little water on stubborn creases—the moisture helps the fabric relax and conform to the seat shape.
Step 5: Final Adjustments and Maintenance Tips
You’re almost done! The final step is all about fine-tuning and setting yourself up for long-term success.
Check all attachment points
Go back and double-check every strap, hook, and clip. Give each one a gentle tug to ensure it’s secure. Loose covers can shift while driving, creating discomfort or even a safety hazard.
Test seat functions
Make sure all seat adjustments still work—recline, slide, and height controls should move freely. If something feels stuck, check for fabric caught in the mechanism and reposition as needed.
Trim excess material (if applicable)
Some universal covers come with extra fabric that needs to be trimmed. Only do this if the instructions specifically say so, and use sharp scissors. Never cut into areas near airbags or structural components.
Clean up and admire your work
Put away your tools, vacuum up any debris, and take a moment to appreciate your refreshed interior. Your car should look cleaner, feel more comfortable, and be better protected from future wear.
To keep your covers looking great:
– Wipe spills immediately with a damp cloth.
– Vacuum weekly to remove dust and crumbs.
– Avoid harsh chemicals that can fade or damage the material.
– Follow the manufacturer’s washing instructions if the covers are removable.
With proper care, quality seat covers can last for years—making them a smart investment for any car owner.
Troubleshooting Common Installation Issues
Even with careful installation, you might run into a few hiccups. Here’s how to handle the most common problems:
Problem: The cover won’t stay in place.
Solution: Check that all straps and hooks are attached. If the cover is too loose, look for adjustable tension straps or consider a custom-fit model.
Problem: Wrinkles or bunching in the fabric.
Solution: Remove the cover and reinstall it more carefully. Use a spray bottle to lightly dampen the fabric, then smooth it out as it dries.
Problem: Headrest won’t go back in.
Solution: Make sure the cover isn’t twisted or too tight around the headrest post. Loosen the surrounding fabric slightly and try again.
Problem: Seat functions are blocked.
Solution: Reposition the cover so it doesn’t interfere with levers or buttons. Never force a mechanism—adjust the cover instead.
Problem: Cover smells bad after installation.
Solution: New covers sometimes have a chemical odor. Air them out in a well-ventilated area for a few hours before installing. Avoid direct sunlight, which can fade colors.
Remember, most issues are fixable with a little patience. If problems persist, contact the manufacturer—many offer support or replacements for defective products.
Conclusion
Installing car seat covers is a simple, rewarding DIY project that can transform your car’s interior. By choosing the right covers, preparing your seats, and following these five easy steps, you’ll achieve a clean, secure, and stylish fit every time.
Not only do seat covers protect your original upholstery from spills, pet hair, and UV damage, but they also add comfort and personal flair. Whether you drive a compact sedan or a full-size SUV, there’s a cover out there that’s perfect for your needs.
So don’t wait for stains to set in or tears to grow. Take control of your car’s interior today. With this guide in hand, you’re ready to install car seat covers like a pro—no experience required. Your seats (and your passengers) will thank you.