This guide shows you how to add GPS to car stereo systems without breaking the bank. Whether you’re upgrading an older unit or enhancing a basic model, we’ll walk you through affordable, user-friendly options and simple installation steps.
How to Add GPS to Car Stereo Easily and Affordably
If you’re tired of fumbling with your phone for directions or relying on outdated paper maps, it’s time to upgrade your ride with GPS. The good news? You don’t need a luxury car or a professional installer to enjoy turn-by-turn navigation. In this guide, we’ll show you how to add GPS to car stereo systems in a way that’s simple, safe, and budget-friendly.
Whether you drive an older model with a basic radio or a newer car with limited tech, there are several ways to integrate GPS functionality. From all-in-one navigation stereos to smartphone-based solutions, we’ll cover the most practical options and walk you through each step. By the end, you’ll have a reliable GPS system that enhances your driving experience without draining your wallet.
Why Add GPS to Your Car Stereo?
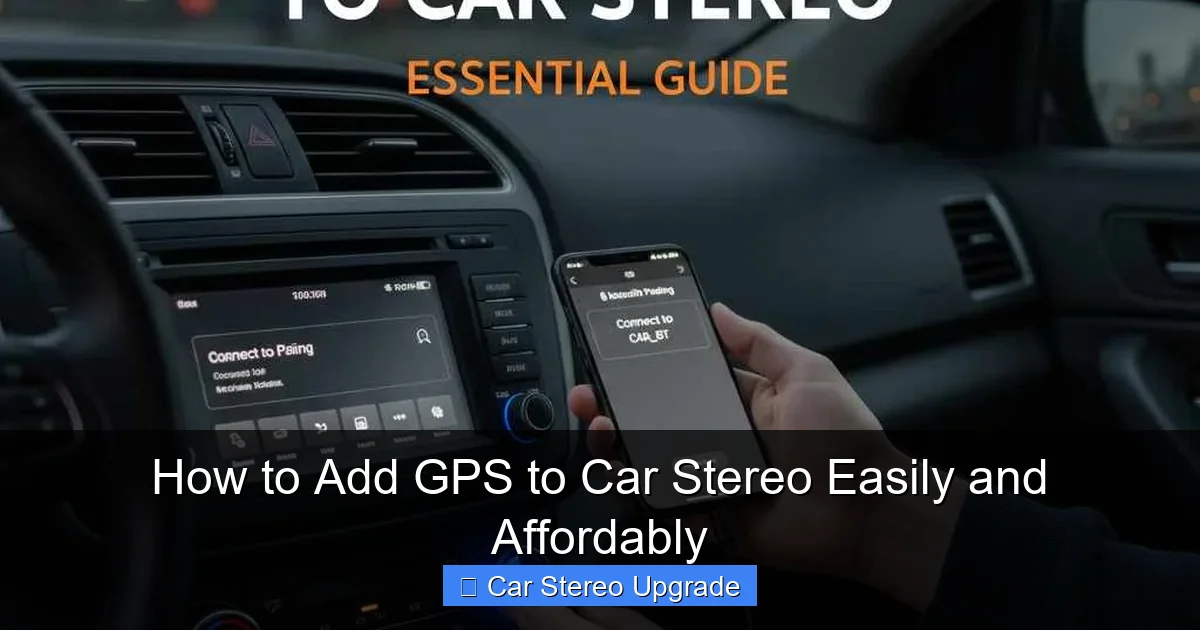
Visual guide about How to Add GPS to Car Stereo Easily and Affordably
Image source: thedailyautomotive.com
Adding GPS to your car stereo isn’t just about convenience—it’s about safety, efficiency, and peace of mind. With real-time traffic updates, voice-guided directions, and points of interest at your fingertips, you’ll spend less time lost and more time enjoying the journey.
Many modern drivers assume GPS requires a brand-new infotainment system, but that’s not true. Even basic car stereos can support GPS through external devices or smartphone integration. This upgrade also increases your car’s resale value and makes long trips or daily commutes much smoother.
Choosing the Right GPS Solution
Before you start installing, you need to pick the best GPS option for your car and lifestyle. Here are the three most popular and affordable methods:
Option 1: All-in-One Navigation Car Stereo
These are replacement head units that include built-in GPS navigation. They offer the most seamless experience, with maps displayed directly on the stereo screen and audio directions played through your car’s speakers.
Pros: Integrated design, no extra devices, professional look
Cons: Higher upfront cost ($150–$400), requires installation
Look for models with features like touchscreen displays, Bluetooth, and smartphone compatibility (Apple CarPlay or Android Auto). Brands like Pioneer, Kenwood, and Sony offer reliable options under $300.
Option 2: Portable GPS Units
Portable GPS devices like the Garmin DriveSmart or TomTom Go are standalone units that mount on your dashboard or windshield. They connect to your car’s power via a 12V adapter and can often sync with your stereo via Bluetooth for voice directions.
Pros: Affordable ($80–$200), easy to install, no wiring needed
Cons: Extra device on the dashboard, may clutter your view
These are ideal if you don’t want to replace your stereo or drive multiple vehicles.
Option 3: Smartphone Integration
If you already use your phone for navigation, you can integrate it with your car stereo. Use apps like Google Maps, Waze, or Apple Maps and connect your phone via Bluetooth, USB, or auxiliary cable.
Pros: Free or low-cost, familiar interface, real-time traffic
Cons: Requires phone use, may drain battery, screen not integrated
This is the most affordable option and works with nearly any stereo that supports audio input.
Step-by-Step Installation Guide
Now that you’ve chosen your GPS solution, let’s get it installed. We’ll cover each method in detail.
Installing an All-in-One Navigation Stereo
Step 1: Gather Your Tools
You’ll need a wiring harness adapter, dash kit, screwdrivers, wire strippers, and electrical tape. Most stereos come with a manual and mounting brackets.
Step 2: Disconnect the Battery
Safety first! Disconnect the negative terminal of your car battery to prevent electrical shorts.
Step 3: Remove the Old Stereo
Use a trim removal tool to carefully pry off the dashboard panel. Unscrew and disconnect the old stereo, then unplug the wiring harness and antenna.
Step 4: Connect the New Stereo
Match the wires from the new stereo to the harness adapter (usually color-coded). Connect power, ground, speakers, and antenna. Plug in the GPS antenna (usually a small black box) and route it to the windshield or dashboard for best signal.
Step 5: Mount and Test
Slide the new stereo into the dash kit and secure it. Reconnect the battery, turn on the stereo, and test the GPS. Make sure maps load and voice directions work.
Setting Up a Portable GPS Unit
Step 1: Choose a Mounting Location
Pick a spot on the dashboard or windshield with a clear view of the sky and minimal glare. Avoid airbags.
Step 2: Attach the Mount
Use the suction cup or adhesive mount that comes with the GPS. Press firmly and ensure it’s secure.
Step 3: Connect Power
Plug the GPS into your car’s 12V outlet (cigarette lighter). Some models include a long cable to hide wires under the dashboard.
Step 4: Pair with Your Stereo (Optional)
If your GPS supports Bluetooth, pair it with your car stereo for voice directions through the speakers. Go to your stereo’s Bluetooth settings and follow the pairing steps.
Step 5: Update and Test
Turn on the GPS, let it acquire satellites, and download any map updates. Test a route to ensure everything works.
Integrating Your Smartphone
Step 1: Download a Navigation App
Install Google Maps, Waze, or Apple Maps on your phone. Make sure it’s updated.
Step 2: Connect to Your Stereo
Use a Bluetooth connection for wireless audio or a USB/aux cable for wired. Go to your stereo’s source menu and select the appropriate input.
Step 3: Enable Voice Guidance
In the app settings, turn on voice directions. Adjust volume so you can hear them over music.
Step 4: Mount Your Phone
Use a phone mount on the dashboard or air vent. Keep it at eye level for safety.
Step 5: Test the Setup
Start a navigation session and confirm audio plays through your car speakers.
Troubleshooting Common Issues
Even with careful installation, you might run into problems. Here’s how to fix the most common ones:
No GPS Signal
– Make sure the GPS antenna has a clear view of the sky.
– Move the antenna away from metal objects or tinted glass.
– Restart the device and allow a few minutes for satellite acquisition.
Audio Not Playing Through Stereo
– Check that the correct audio source is selected (Bluetooth, AUX, USB).
– Ensure the volume is up on both the GPS device and the stereo.
– Re-pair Bluetooth devices if needed.
Device Won’t Power On
– Verify the 12V adapter is plugged in and the fuse isn’t blown.
– Check battery connections if installing a new stereo.
– Try a different power outlet in the car.
Maps Are Outdated
– Connect your GPS or phone to Wi-Fi and download the latest map updates.
– For portable units, use the manufacturer’s software (e.g., Garmin Express).
Tips for a Smooth Experience
– Keep it updated: Regularly update maps and software for accurate directions.
– Use a phone charger: If using your smartphone, plug it in to avoid battery drain.
– Minimize distractions: Set your destination before driving and use voice commands when possible.
– Secure all devices: Loose mounts can become dangerous projectiles in a crash.
Conclusion
Adding GPS to your car stereo doesn’t have to be complicated or expensive. With the right approach, you can enjoy reliable navigation in just a few hours—and for under $200. Whether you choose a built-in navigation system, a portable GPS unit, or smartphone integration, the key is matching the solution to your needs and following the steps carefully.
By upgrading your stereo with GPS, you’re not just improving convenience—you’re making every drive safer and more enjoyable. So grab your tools, pick your preferred method, and hit the road with confidence. Your next adventure is just a turn away.

