How to Put Car Seat Covers on Back Seats Easily
Installing car seat covers on back seats doesn’t have to be frustrating. This guide walks you through a simple, stress-free process to fit your covers perfectly—no tools or experience needed. Keep your car clean, stylish, and protected in minutes.
Key Takeaways
- Choose the right seat covers: Make sure they’re compatible with your car’s make, model, and seat type (e.g., bench, split, or captain’s chairs).
- Clean your seats first: Wipe down the back seats before installing to ensure a smooth, secure fit and prevent dirt from getting trapped.
- Follow the manufacturer’s instructions: Every cover is different—check the included guide for specific steps and tips.
- Use headrest removal when needed: Most covers require you to remove headrests to slide the cover over the top of the seat.
- Secure all straps and hooks: Tighten straps under the seat and attach clips to prevent shifting while driving.
- Adjust and smooth out wrinkles: After installation, tuck in loose fabric and smooth the surface for a neat, professional look.
- Test for safety: Ensure seat belts and airbags aren’t blocked—your safety is more important than a perfect fit.
How to Put Car Seat Covers on Back Seats Easily
So, you’ve bought a set of car seat covers to protect your back seats from spills, pet hair, or everyday wear and tear. Great choice! But now you’re staring at the package, wondering how on earth to get them on without turning it into a wrestling match. Don’t worry—you’re not alone. Many people find installing back seat covers tricky, especially if they’ve never done it before.
The good news? With the right approach, putting car seat covers on back seats can be quick, easy, and even a little satisfying. In this guide, we’ll walk you through every step, from prep work to final adjustments. Whether you have a bench seat, split seats, or captain’s chairs, we’ve got you covered—literally. By the end, your back seats will look fresh, feel protected, and stay in place no matter how much your kids (or dogs) move around.
Step 1: Choose the Right Seat Covers
Before you even think about installation, make sure you’ve got the right seat covers for your vehicle. Not all covers are created equal. Some are universal, while others are custom-fit for specific car models. Here’s what to look for:
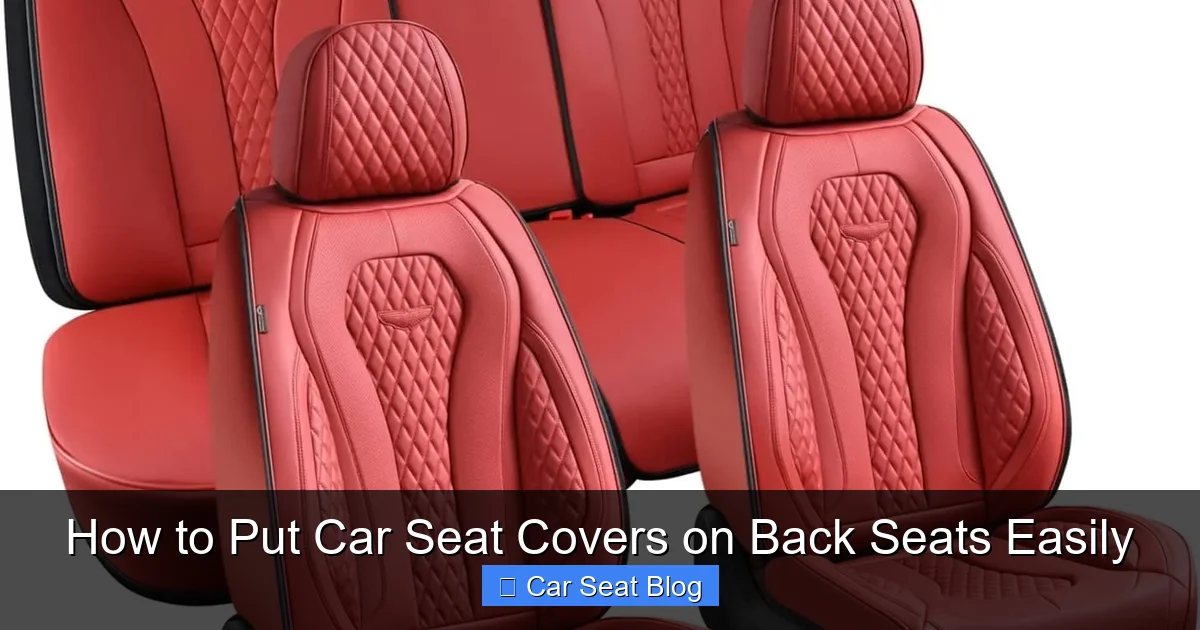
Visual guide about How to Put Car Seat Covers on Back Seats Easily
Image source: m.media-amazon.com
Check Compatibility
Look up your car’s make, model, and year, then match it to the seat cover description. Custom-fit covers will always look and perform better than universal ones. They’re designed to hug your seat’s contours, which means fewer wrinkles and less slipping.
Consider Seat Type
Back seats come in different styles:
- Bench seats: One long seat across the back.
- Split seats: Divided into sections (like 60/40 or 40/20/40).
- Captain’s chairs: Two individual seats with a center console.
Make sure your covers are designed for your seat type. For example, a bench seat cover won’t work on split seats unless it’s specifically made for that configuration.
Material Matters
Seat covers come in various materials—neoprene, leather, polyester, sheepskin, and more. Think about your lifestyle:
- Neoprene: Great for spills and pets—water-resistant and durable.
- Leather or faux leather: Sleek and easy to clean, but can get hot in summer.
- Polyester: Affordable and machine-washable, ideal for families.
- Sheepskin: Soft and cozy, perfect for cold climates.
Pick a material that fits your needs and climate.
Step 2: Prepare Your Back Seats
You wouldn’t paint a wall without cleaning it first, right? The same goes for seat covers. A little prep work makes a big difference in how well your covers fit and last.
Remove Loose Items
Start by clearing out anything from the back seat: toys, blankets, snacks, or that random sock from last week. Also, check under the seats—crumbs and debris can get trapped under the cover.
Vacuum the Seats
Use a vacuum with a crevice tool to get into the seams and corners. Pet hair, dust, and food particles can prevent the cover from lying flat. If you have cloth seats, a lint roller can help remove stubborn hair.
Wipe Down the Surface
Use a damp cloth or upholstery cleaner to wipe down the seats. This removes oils, dirt, and sticky residues. Let the seats dry completely before installing the covers—moisture can cause mildew or make the fabric slippery.
Check for Seat Belt Access
Make sure seat belts can still be accessed easily. Some covers have built-in openings or zippers for seat belts. If yours don’t, you’ll need to cut small slits (only if the manufacturer allows it) or adjust the cover during installation.
Step 3: Remove Headrests (If Needed)
Most back seat covers require you to remove the headrests to slide the cover over the top of the seat. Here’s how to do it safely:
Locate the Release Button or Lever
Look for a small button or lever on the side or back of the headrest post. Press or pull it while gently lifting the headrest upward. Some models may require you to press two buttons at once.
Lift the Headrest Out
Once the lock is released, lift the headrest straight up. Don’t twist or force it—this can damage the posts or seat frame. Set the headrest aside in a safe place so you don’t lose it.
Label the Headrests (Optional)
If your back seats have different-sized headrests (common in split seats), label them with tape or a sticky note so you know which goes where when reassembling.
Step 4: Position the Seat Cover
Now it’s time to put the cover on. Take your time—rushing can lead to wrinkles, misalignment, or torn fabric.
Unpack and Unfold the Cover
Remove the cover from its packaging and lay it out flat. Shake it gently to remove any folds or creases. If it’s been stored in a tight roll, let it sit for 10–15 minutes to relax.
Identify the Top and Bottom
Most covers have labels like “FRONT” or “BACK,” or they’re shaped to fit a specific way. Look for features like cup holder openings, seat belt slots, or extra padding—these help you orient the cover correctly.
Drape the Cover Over the Seat
Start by placing the cover over the seat back, aligning the top edge with the top of the seat. Make sure it’s centered—don’t let one side hang too far over. Let the sides and front flap drape naturally.
Step 5: Secure the Cover
This is where the magic happens. Proper securing keeps your cover from sliding around, especially when passengers get in and out.
Attach Straps and Hooks
Most covers come with elastic straps, hooks, or clips. Here’s how to use them:
- Under-seat straps: Tuck the straps under the seat and connect them to the opposite side. Pull tight to remove slack.
- Hook-and-loop fasteners: These stick to the seat frame or under the cushion. Press firmly to secure.
- J-hooks or plastic clips: Hook these into the seat frame or under the seat rails. Make sure they’re tight but not overstretched.
Tuck in Excess Fabric
Look for loose fabric around the sides and front. Tuck it into the gaps between the seat back and cushion, or between the seat and the door panel. Use your fingers or a flat tool (like a butter knife) to push fabric into tight spaces.
Adjust for a Snug Fit
Once everything is attached, sit on the seat and move around. Does the cover shift? If yes, tighten the straps or reposition the hooks. A snug fit prevents bunching and improves comfort.
Step 6: Reinstall the Headrests
Now that the cover is on, it’s time to put the headrests back.
Slide the Headrest Posts Into the Guide Tubes
Align the posts with the holes in the seat back and gently push them down. You should hear a click when they lock into place.
Test the Lock
Give the headrest a gentle tug to make sure it’s secure. If it wobbles or comes out easily, press the release button and reinsert it.
Adjust the Height
Set the headrest to a comfortable height for passengers. Most covers have a small opening or stretch panel to accommodate different positions.
Step 7: Final Adjustments and Smoothing
You’re almost done! Now it’s time to make your seat covers look professional and stay in place.
Smooth Out Wrinkles
Run your hands over the surface to flatten any creases. Pay extra attention to the seat back and sides—wrinkles can be uncomfortable and look messy.
Check Seat Belt Access
Make sure seat belts can be pulled out and buckled easily. If the cover is blocking the belt, adjust the opening or reposition the fabric.
Test Airbag Compatibility
If your car has side airbags in the back seats, ensure the cover doesn’t block them. Most quality covers have tear seams or labels indicating airbag-safe zones. Never install a cover that obstructs airbag deployment.
Do a Final Walkaround
Step back and look at the seat from different angles. Does it look neat? Are all straps hidden? Make any final tweaks before declaring victory.
Troubleshooting Common Issues
Even with careful installation, you might run into a few hiccups. Here’s how to fix them:
Cover Keeps Slipping
If the cover shifts when someone sits down, your straps may not be tight enough. Reattach them and pull harder. You can also use non-slip shelf liner under the seat cushion for extra grip.
Wrinkles Won’t Smooth Out
Some materials (like neoprene) naturally have a bit of stretch. Try sitting on the seat for a few minutes—body heat can help the fabric relax. For stubborn wrinkles, use a handheld steamer on low heat.
Headrest Won’t Stay In
Check if the cover is too tight around the headrest posts. Loosen the cover slightly or trim excess fabric (only if safe and allowed). Make sure the headrest posts are clean and not bent.
Seat Belt Is Hard to Access
If the cover is blocking the seat belt, adjust the opening or use a seam ripper to carefully enlarge it. Never force the belt—this can damage the mechanism.
Conclusion
Putting car seat covers on back seats might seem daunting at first, but with the right preparation and a little patience, it’s totally doable. By choosing the right covers, cleaning your seats, and following each step carefully, you’ll have a clean, protected, and stylish interior in no time.
Remember: a well-installed seat cover isn’t just about looks—it protects your car’s value, makes cleaning easier, and keeps passengers comfortable. So take your time, follow this guide, and enjoy the results. Your back seats (and your future self) will thank you.