Changing your car seat cover is easier than you think. This step-by-step guide walks you through the entire process, from removing the old cover to installing a new one—no mechanic needed. Save money and refresh your car’s interior in under an hour.
Key Takeaways
- Prepare the right tools: You’ll need basic items like a screwdriver, pliers, and a socket wrench to remove seats and clips safely.
- Remove the seat carefully: Always disconnect the battery and unplug airbag sensors before detaching the seat to avoid damage or injury.
- Label everything: Take photos or use tape to mark wires, clips, and straps so reassembly is smooth and error-free.
- Choose the right cover: Pick a cover that matches your seat type (bucket, bench, heated, etc.) and vehicle model for a snug, professional fit.
- Install with tension: Stretch the new cover evenly and secure all straps and hooks to prevent sagging or wrinkles.
- Test before driving: Reconnect power, test seat functions, and sit in the seat to ensure comfort and safety.
- Maintain regularly: Clean your new cover monthly to extend its life and keep your car looking fresh.
How to Change Car Seat Cover in 5 Easy Steps
If your car seats are stained, torn, or just outdated, replacing the seat cover can make a huge difference. Not only does it improve your car’s appearance, but it also boosts comfort and resale value. The good news? You don’t need to be a mechanic to do it yourself. With the right tools and a little patience, you can change your car seat cover in under an hour.
In this guide, we’ll walk you through the entire process—step by step. Whether you’re upgrading to leather, adding custom fabric, or simply replacing a worn-out cover, this how-to guide will help you get professional results at home. We’ll cover everything from safety tips to troubleshooting common issues, so you can tackle the job with confidence.
Let’s get started!
Step 1: Gather Your Tools and Materials
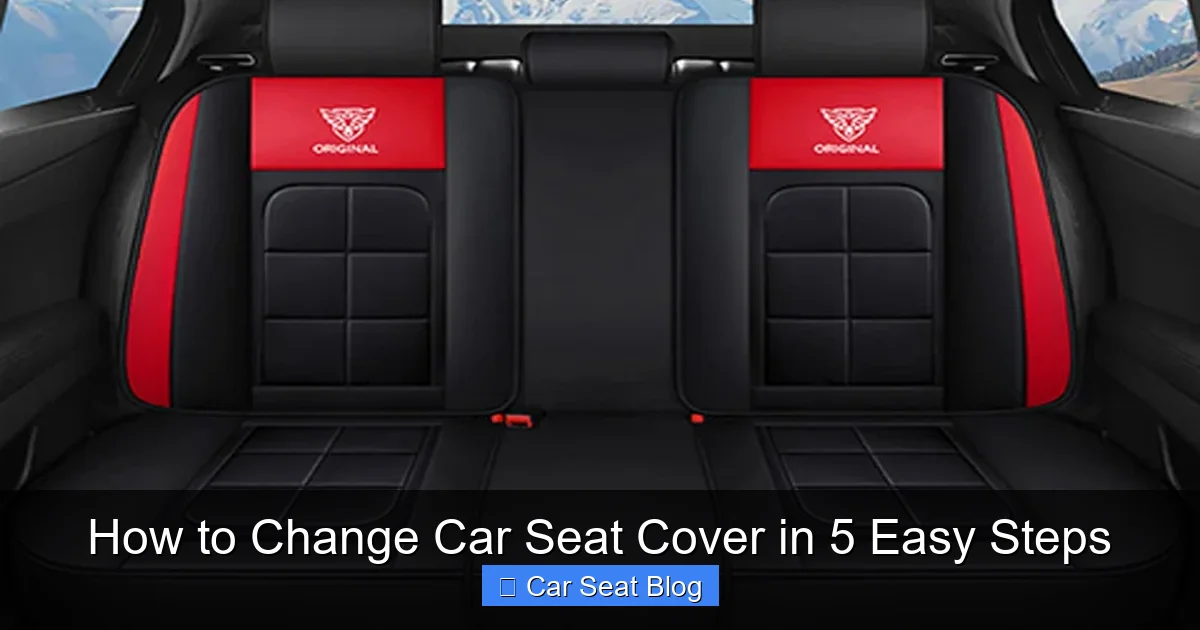
Visual guide about How to Change Car Seat Cover in 5 Easy Steps
Image source: down-my.img.susercontent.com
Before you begin, make sure you have everything you need. Rushing out for tools mid-project can be frustrating and time-consuming.
Essential Tools
- Screwdrivers: Both flathead and Phillips head for removing screws and panels.
- Socket wrench set: For loosening seat bolts (usually 14mm or 17mm).
- Pliers: Needle-nose pliers help with small clips and wires.
- Trim removal tool: A plastic pry tool prevents scratches when removing plastic covers.
- Socket extension: Helps reach bolts under the seat.
Materials You’ll Need
- New car seat cover (make sure it’s compatible with your car model)
- Zip ties or hog rings (if your cover uses them)
- Hog ring pliers (if required)
- Clean cloth or vacuum (to clean the seat foam)
- Electrical tape (for labeling wires)
Safety First
Always disconnect the car battery before starting. This prevents accidental airbag deployment, which can be dangerous. Wait at least 15 minutes after disconnecting the battery to ensure the system is fully powered down.
Pro tip: Take a photo of your seat from multiple angles before you start. This will help you remember how everything fits together during reassembly.
Step 2: Remove the Car Seat
Now it’s time to take the seat out of the car. This gives you better access and makes the job much easier.
Locate the Seat Bolts
Most car seats are held in place by four bolts—two at the front and two at the back. These are usually hidden under plastic caps or trim pieces. Use your trim removal tool to gently pop off any covers.
Loosen and Remove the Bolts
Use your socket wrench to loosen the bolts. Don’t remove them completely just yet—loosen them first to avoid stripping. Once all four are loose, fully unscrew and set them aside in a small container so you don’t lose them.
Disconnect Electrical Connections
Modern seats often have wiring for heated seats, airbags, or seatbelt sensors. Carefully unplug these connectors. Some have locking tabs—press them gently to release.
Label each wire with tape and a marker (e.g., “Airbag Left,” “Heater Right”) to avoid confusion later.
Lift the Seat Out
With the bolts removed and wires disconnected, carefully lift the seat out of the car. It’s heavier than it looks—ask for help if needed. Place it on a clean, flat surface like a workbench or cardboard to protect the upholstery.
Step 3: Remove the Old Seat Cover
Now that the seat is out, you can remove the old cover. This step requires patience, as covers are often tightly secured.
Detach the Headrest
Most headrests have release buttons or pins. Press the button and pull the headrest straight up. If it’s stuck, wiggle it gently while pulling.
Remove Plastic Trim and Panels
Use your trim tool to carefully pry off any plastic covers on the sides or back of the seat. These often hide clips or screws holding the cover in place.
Locate and Release the Cover Fasteners
Seat covers are held on by a combination of:
- Elastic straps: Pulled tight under the seat.
- J-clips or hog rings: Metal fasteners that clip into the seat frame.
- Velcro or adhesive: Common on older models.
Use pliers to release J-clips or cut hog rings if necessary. Be careful not to damage the seat foam underneath.
Peel Back the Cover
Once all fasteners are released, slowly peel the old cover away from the foam. Start at the bottom and work your way up. If it’s stuck, check for hidden clips or adhesive.
Pro tip: Take photos as you remove the cover. This helps you remember how the new one should go on.
Clean the Seat Foam
With the old cover off, vacuum the foam to remove dirt, crumbs, or pet hair. Wipe it down with a damp cloth if needed. Let it dry completely before installing the new cover.
Step 4: Install the New Seat Cover
Now for the fun part—putting on the new cover! This step requires attention to detail to ensure a smooth, wrinkle-free fit.
Position the New Cover
Lay the new cover over the seat foam, aligning it with the headrest holes and side contours. Make sure it’s centered and oriented correctly.
Secure the Bottom First
Start by attaching the cover at the base of the seat. Pull the elastic straps or clips under the seat and fasten them to the frame. Use hog ring pliers if your cover uses metal rings.
Work your way up the sides, stretching the material evenly to avoid wrinkles. Don’t pull too hard—fabric can tear.
Attach the Back and Sides
Once the bottom is secure, move to the back of the seat. Tuck the cover into the crevices between the foam and frame. Use your hands or a flat tool to push it in evenly.
Secure any side straps or clips. If your cover has Velcro, press it firmly into place.
Reattach the Headrest
Slide the headrest back into its posts. Make sure it clicks into place and moves up and down smoothly.
Check for Wrinkles and Loose Spots
Sit in the seat (while it’s still outside the car) to test the fit. Look for sagging, bunching, or loose areas. Adjust straps or clips as needed.
Pro tip: If the cover feels tight, let it sit for a few hours. Fabric often stretches slightly after installation.
Step 5: Reinstall the Seat and Test
You’re almost done! Now it’s time to put the seat back in the car and make sure everything works.
Place the Seat Back in the Car
Carefully lower the seat into position. Align the bolt holes with the floor mounts.
Reconnect Electrical Wires
Plug in all the connectors you labeled earlier. Double-check that each one is fully seated and locked.
Secure the Seat Bolts
Insert and tighten the four bolts with your socket wrench. Don’t overtighten—this can strip the threads. Hand-tight plus a quarter turn is usually enough.
Reattach Plastic Trim
Snap all plastic covers and panels back into place. Make sure they’re flush and secure.
Reconnect the Battery
Reconnect the negative terminal of the battery. Wait a few minutes for the system to reset.
Test All Functions
Turn on the car and test:
- Seat heating and cooling (if applicable)
- Power adjustments (forward, back, tilt, lumbar)
- Airbag warning light (should turn off after a few seconds)
- Seatbelt sensor (buckle and unbuckle to test)
Sit in the seat and adjust it to your preferred position. Make sure the cover doesn’t pinch or restrict movement.
Troubleshooting Common Issues
Even with careful installation, you might run into a few hiccups. Here’s how to fix them:
Cover Is Wrinkled or Loose
This usually means the straps aren’t tight enough. Remove the seat again and re-secure the fasteners with more tension. Use extra zip ties if needed.
Seat Functions Don’t Work
Double-check all electrical connections. A loose plug or incorrect label can cause issues. Refer to your photos or labels.
Airbag Light Stays On
This means the airbag sensor wasn’t reconnected properly. Turn off the car, disconnect the battery, and recheck the airbag connector. Reconnect and reset the system.
Headrest Won’t Lock
Make sure the headrest posts are fully inserted and the release button is working. Sometimes the cover can interfere—adjust the fabric around the posts.
Cover Rides Up When Sitting
The bottom straps may be too loose. Tighten them or add additional clips for extra hold.
Conclusion
Changing your car seat cover is a simple DIY project that can transform your vehicle’s interior. With the right tools, a little patience, and this step-by-step guide, you can achieve professional-looking results without spending hundreds at a shop.
Not only does a new seat cover improve aesthetics, but it also protects your original seats and enhances comfort. Whether you’re covering up stains, upgrading to leather, or just giving your car a fresh look, this is a rewarding upgrade.
Remember: take your time, label everything, and don’t skip safety steps like disconnecting the battery. A little care goes a long way.
Now that your seats look brand new, why not give the rest of your car a refresh? Clean the dashboard, vacuum the carpets, and add some air fresheners. Your car will feel like new again—all thanks to your DIY skills.
Happy driving!
🎥 Related Video: How do I install the universal fit car seat covers? #follow #usa #freesoo #america #carseatcovers
📺 FREESOO
Copy this link and open in your browser to get yours: https://bit.ly/4afQQaI #usa #america #youtubeshorts #youtubemadeforyou …

