Struggling with loose or shifting seat covers? This guide shows you how to attach car seat covers under seats the right way. With simple tools and smart techniques, you’ll get a clean, secure fit that lasts.
Key Takeaways
- Prepare your seat area: Clean and remove debris before installing covers for a smooth, snug fit.
- Use the right tools: Zip ties, hooks, and straps make securing covers under seats much easier.
- Start from the top: Always begin attaching at the headrest and work your way down to avoid wrinkles.
- Secure under the seat: Fasten straps or hooks beneath the seat frame to prevent shifting during use.
- Check for tension: Properly tightened covers stay in place and look more professional.
- Test before driving: Sit in the seat and adjust as needed to ensure comfort and security.
- Maintain regularly: Re-tighten straps every few weeks to keep covers looking fresh.
How to Attach Car Seat Covers Under Seats Easily
If you’ve ever installed car seat covers only to find them sliding around or bunching up after a few drives, you’re not alone. Many people struggle with getting that perfect, factory-like fit—especially when it comes to securing the covers underneath the seat. The good news? With the right approach, you can attach car seat covers under seats easily and keep them looking sharp for years.
In this guide, we’ll walk you through a simple, step-by-step process to install your seat covers the right way. Whether you’re using universal-fit covers or custom-made ones, these tips will help you achieve a secure, wrinkle-free finish. You’ll learn how to use common tools like zip ties and hooks, where to anchor the straps, and how to avoid common mistakes. By the end, your car’s interior will look clean, protected, and professionally done.
Why Proper Installation Matters
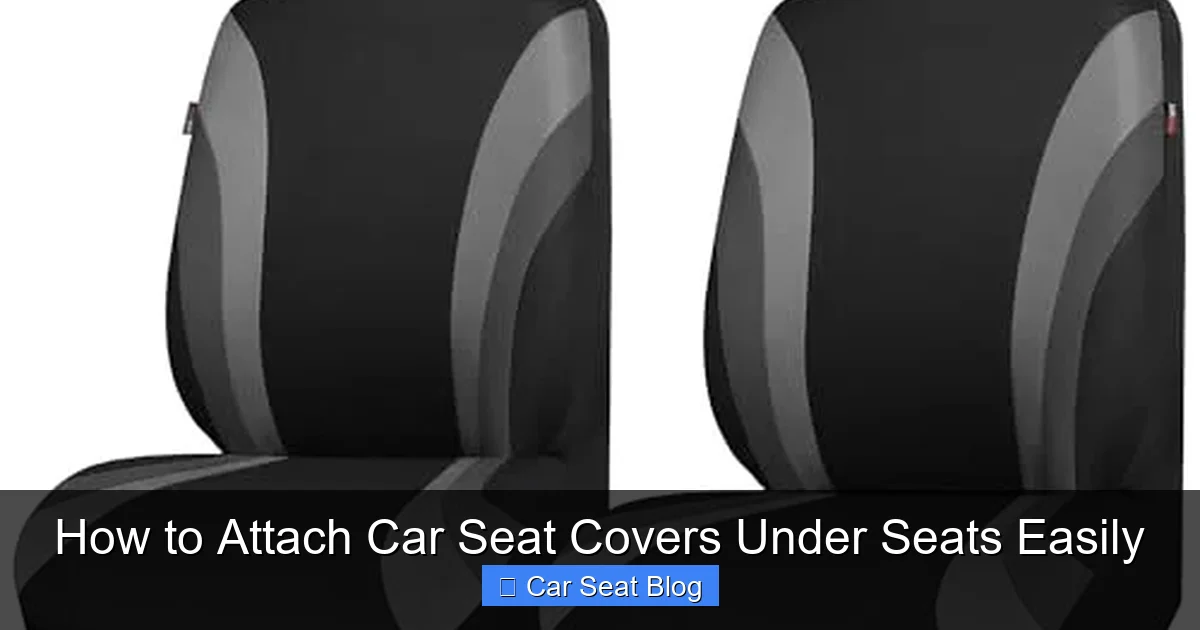
Visual guide about How to Attach Car Seat Covers Under Seats Easily
Image source: m.media-amazon.com
Before diving into the steps, it’s important to understand why attaching seat covers under the seat is crucial. Many people focus only on the visible parts—the back and bottom—but the real magic happens underneath.
When seat covers aren’t secured properly, they can shift during driving, especially on long trips or sharp turns. This not only looks messy but can also reduce comfort and even interfere with airbag deployment in some vehicles. A well-secured cover stays in place, protects your original upholstery from spills and wear, and gives your car a polished, upgraded look.
Plus, seat covers that are anchored under the seat are less likely to wrinkle or sag over time. That means less maintenance and a longer lifespan for your investment.
What You’ll Need
Before you begin, gather these tools and materials. Most are inexpensive and easy to find at auto parts stores or online.
- Car seat covers (universal or custom-fit)
- Zip ties (heavy-duty, 8–10 inches long)
- Seat cover hooks or J-hooks (often included with covers)
- Scissors or wire cutters
- Flashlight (to see under the seat)
- Cleaning cloth and mild cleaner (optional, for pre-installation cleaning)
- Rubber mallet or soft hammer (optional, for stubborn clips)
Having these on hand will make the process smoother and help you avoid mid-installation trips to the store.
Step 1: Prepare the Seat and Area
A clean workspace is the foundation of a successful installation. Start by removing any loose items from the seat and floor—bags, papers, or debris can get in the way.
Clean the Seat
Use a vacuum to remove dust, crumbs, and pet hair from the seat cushions and crevices. If the seat is visibly dirty, wipe it down with a damp cloth and mild cleaner. Let it dry completely before installing the cover. A clean surface helps the cover lie flat and prevents odors from getting trapped.
Remove the Seat (If Necessary)
For some vehicles, especially trucks or SUVs with heavy seats, it’s easier to remove the seat entirely. Check your owner’s manual for instructions. Most front seats unbolt with a socket wrench—usually four bolts holding the seat to the floor.
If you’re not comfortable removing the seat, don’t worry. Many covers can be installed with the seat in place. Just make sure you have enough room to work underneath.
Step 2: Position the Seat Cover
Now it’s time to put the cover on. Start by identifying the front and back of the cover—most have labels or distinct shapes.
Slide the Cover Over the Seat
Begin at the top. Pull the cover over the headrest first. If your cover includes a headrest sleeve, slide it on now. Some covers require you to remove the headrest—check the instructions. If so, use a screwdriver or Allen wrench to detach it, then reattach after the cover is on.
Next, pull the cover down over the backrest. Make sure it’s centered and not twisted. Smooth out any wrinkles as you go.
Tuck the Cover into Crevices
Use your hands or a soft tool (like a plastic trim stick) to tuck the fabric into the seams between the seat back and bottom. This creates a clean, tailored look and prevents gaps.
Don’t worry about perfection yet—this is just the initial fit. We’ll secure everything in the next steps.
Step 3: Secure the Cover Under the Seat
This is where most people go wrong. The key to a stable installation is anchoring the cover underneath the seat frame. Here’s how to do it right.
Locate the Attachment Points
Flip up the seat cover’s bottom flap (if it has one) and look underneath. Most covers come with built-in straps, hooks, or elastic bands designed to fasten under the seat.
Look for metal bars, plastic clips, or existing anchor points on the seat frame. These are your best spots to tie down the cover.
Use Zip Ties for a Strong Hold
Zip ties are cheap, strong, and perfect for this job. Thread a zip tie through the cover’s strap or loop and around a sturdy part of the seat frame. Pull it tight—but not so tight that it cuts into the fabric.
Trim the excess end with scissors or wire cutters. For extra security, use two zip ties per anchor point.
Attach Hooks to Seat Frame
If your cover includes J-hooks or S-hooks, hook one end to the cover’s strap and the other to a secure spot under the seat. Common anchor points include:
- Metal crossbars between seat rails
- Plastic clips on the seat base
- Existing seat belt anchors (if accessible)
Make sure the hooks are tight and won’t slip off during movement.
Step 4: Adjust and Tighten
Once the cover is anchored, it’s time to fine-tune the fit.
Smooth Out Wrinkles
Run your hands over the cover to remove any bunching or loose fabric. Pay special attention to the sides and corners. If you see wrinkles, gently pull the fabric taut and re-secure the straps.
Check Tension on Straps
Give each strap or zip tie a firm tug. If it moves more than a quarter-inch, tighten it. Proper tension keeps the cover from shifting but shouldn’t strain the fabric.
Reattach the Headrest
If you removed the headrest, now’s the time to put it back. Slide it through the cover’s headrest opening and secure it tightly. Make sure it doesn’t pinch the fabric.
Step 5: Test the Fit
Before declaring victory, test the installation.
Sit in the Seat
Get in and out a few times. Do the covers stay in place? Do they feel comfortable? If they slide or bunch, go back and tighten the under-seat anchors.
Check for Obstructions
Make sure the cover doesn’t interfere with seat adjustments, seat belts, or airbags. In some cars, side airbags deploy from the seat bolster—never block these areas.
Drive Around the Block
Take a short drive to see how the covers hold up under real conditions. Listen for flapping or shifting. If everything stays put, you’re good to go!
Troubleshooting Common Issues
Even with careful installation, problems can pop up. Here’s how to fix the most common ones.
Cover Keeps Sliding
This usually means the under-seat anchors aren’t tight enough or aren’t attached to a solid point. Re-check your zip ties and hooks. Try anchoring to a different part of the frame—sometimes a higher or lower bar works better.
Wrinkles or Bunching
Wrinkles often come from uneven tension. Loosen all straps, reposition the cover, and re-tighten evenly. Use a soft roller or your hands to smooth the fabric.
Straps Won’t Reach
If the cover’s straps are too short, use extension straps (available online) or longer zip ties. Avoid stretching the fabric—it can tear over time.
Headrest Won’t Fit
Some covers require headrest removal. If yours doesn’t specify, try loosening the cover slightly or using a headrest adapter. Never force it—this can damage both the cover and the headrest.
Maintenance Tips for Long-Lasting Covers
Once your covers are installed, a little upkeep goes a long way.
- Re-tighten monthly: Check under-seat straps every few weeks, especially after long trips.
- Clean regularly: Vacuum weekly and spot-clean spills immediately to prevent stains.
- Avoid sharp objects: Keys, tools, or pet claws can tear fabric—store items carefully.
- Use seat protectors: For families with kids or pets, add a waterproof liner underneath for extra protection.
With proper care, your seat covers can last for years—keeping your car looking great and your seats protected.
🎥 Related Video: How to put on Yiertai seat covers
📺 Mr.Tennessee
Seat Covers https://amzn.to/33Kplcb As an Amazon Associate I earn a small commission from qualifying purchases.
Final Thoughts
Attaching car seat covers under seats doesn’t have to be frustrating. With the right tools, a bit of patience, and these step-by-step instructions, you can achieve a secure, professional-looking installation every time.
Remember: the secret is in the details. Taking the time to clean the seat, anchor the covers properly underneath, and test the fit makes all the difference. Whether you’re protecting a new car or refreshing an old one, well-installed seat covers add comfort, style, and value.
So grab your zip ties, get under that seat, and enjoy the satisfaction of a job well done. Your car—and your passengers—will thank you.

