Setting the clock on your car stereo is easier than you think! This guide walks you through step-by-step instructions for most car models, including troubleshooting tips if the time keeps resetting. Get your car stereo clock accurate in minutes.
Key Takeaways
- Know your stereo type: Factory or aftermarket stereos have different clock-setting methods—check your manual or look for menu buttons.
- Use the right buttons: Most stereos use a combination of “Menu,” “Clock,” “Settings,” or “Function” buttons to access time settings.
- Set time in 12-hour or 24-hour format: Choose your preferred format during setup—many stereos let you switch between AM/PM and 24-hour modes.
- Save your settings: Always confirm and save changes before exiting the menu, or the clock may revert to the previous time.
- Check power source issues: If the clock resets every time you turn off the car, the stereo may not be getting constant power—inspect fuses or wiring.
- Reset after battery replacement: Replacing your car battery often resets the stereo clock—be ready to set it again.
- Consult your owner’s manual: When in doubt, your car or stereo manual has model-specific instructions that can save time.
How to Set Clock on Car Stereo in Simple Steps
Ever hopped into your car, glanced at the stereo, and realized the clock is wrong—again? You’re not alone. Whether it’s after a battery change, a power outage, or just a glitch, resetting the clock on your car stereo is a common task. The good news? It’s usually quick and straightforward. In this guide, we’ll show you how to set clock on car stereo in clear, easy steps—no technical skills required.
We’ll cover both factory-installed (original equipment) and aftermarket car stereos, so no matter what’s in your dashboard, you’ll find the right method. Plus, we’ll share troubleshooting tips for when the clock won’t stay set. By the end, you’ll know exactly what to do—and how to avoid common mistakes.
Why Does My Car Stereo Clock Keep Resetting?
Before we dive into the steps, let’s quickly address why this happens. Most car stereos rely on a constant power source to keep the clock running—even when the car is off. This is called “constant 12V” or “memory power.” If that connection is interrupted—like during a battery replacement, a blown fuse, or a loose wire—the stereo loses power and resets the clock.
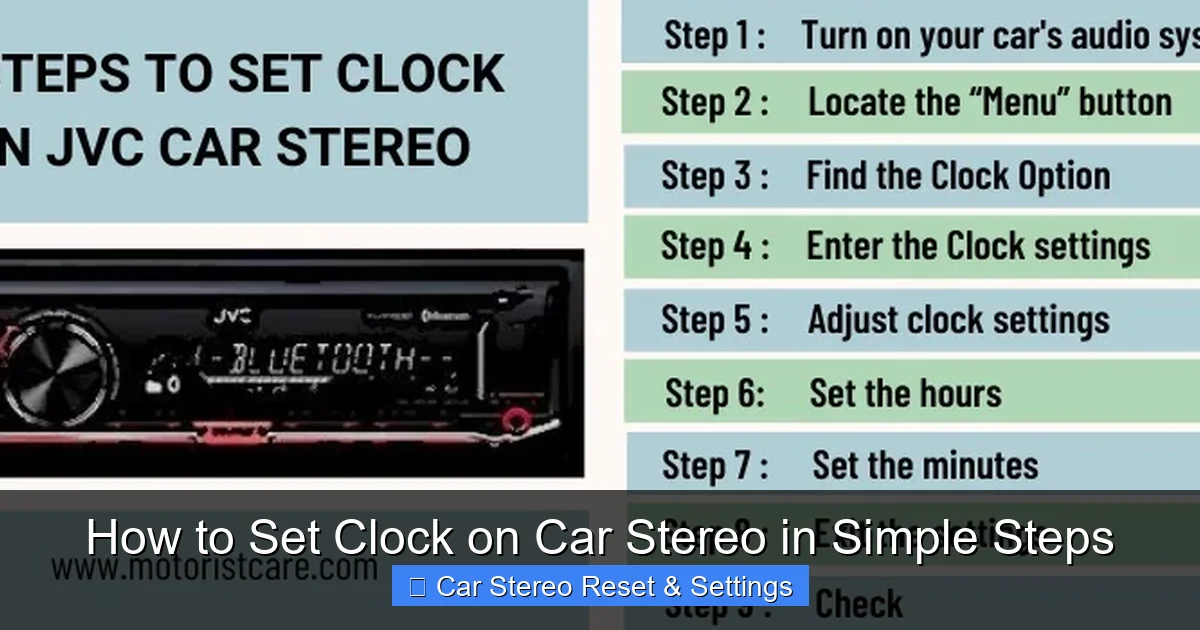
Visual guide about How to Set Clock on Car Stereo in Simple Steps
Image source: motoristcare.com
Other reasons include:
- The stereo was recently replaced or reset.
- The car was jump-started or had electrical work done.
- The internal battery in older stereos has died.
Knowing this helps you fix the root cause, not just the symptom. But first, let’s get that clock set correctly.
Step-by-Step Guide to Setting the Clock on Your Car Stereo
The exact steps vary by make and model, but most car stereos follow a similar pattern. Below are the most common methods, broken down by stereo type.
Method 1: Setting the Clock on a Factory Stereo (OEM)
Factory stereos—those that came with your car—often have hidden menus or require specific button combinations. Here’s how to access them.
Step 1: Turn on the Ignition
You don’t need to start the engine, but turn the key to the “Accessory” or “On” position so the stereo powers up. Some stereos won’t let you change settings unless the car is on.
Step 2: Locate the Clock or Menu Button
Look for a button labeled “Clock,” “Menu,” “Settings,” or “Function.” On some models, you may need to press and hold the “Power” or “Source” button for a few seconds to enter setup mode.
Step 3: Enter Clock Setting Mode
Press the “Clock” or “Menu” button. You might see options like “Time,” “Clock Set,” or “System.” Use the arrow or tuning buttons to navigate to the time setting.
Step 4: Adjust the Time
Once in the clock menu, use the preset or tuning buttons to change the hours and minutes. Some stereos let you press “+” or “–” buttons, while others require you to hold them down to scroll faster.
Step 5: Choose 12-Hour or 24-Hour Format
Many factory stereos allow you to switch between AM/PM and 24-hour (military) time. Look for a toggle option in the same menu. Choose your preference.
Step 6: Save and Exit
Press “OK,” “Enter,” or “Menu” again to save. Some stereos save automatically after a few seconds of inactivity. Don’t turn off the ignition until you’re sure the time is set.
Example: On a Honda Civic with a factory stereo, press and hold the “Power” button for 3 seconds to enter setup mode, then use the tuning knob to select “Clock” and adjust the time.
Method 2: Setting the Clock on an Aftermarket Stereo
Aftermarket stereos (like those from Pioneer, Sony, or Kenwood) usually have more intuitive menus. Here’s the general process.
Step 1: Power On the Stereo
Turn on the stereo using the power button. Make sure the car is in accessory mode.
Step 2: Access the Settings Menu
Press the “Menu” or “Settings” button. On touchscreen models, tap the gear icon or “Settings” on the screen.
Step 3: Find the Clock or Time Option
Navigate to “Clock,” “Time,” or “System Settings.” Some stereos have a dedicated “Clock” button on the faceplate.
Step 4: Set the Time
Use the on-screen controls or physical buttons to enter the current time. You may need to press “Hour” and “Minute” separately.
Step 5: Confirm and Save
Tap “Save,” “OK,” or press the “Menu” button again. The screen should return to the main display with the updated time.
Tip: On a Sony XAV-AX5000, press “Menu” > “Settings” > “Clock” > adjust time > “OK.”
Method 3: Using Steering Wheel Controls (If Available)
Some modern cars let you set the clock using steering wheel buttons. This is handy if your stereo doesn’t have easy-to-reach controls.
Step 1: Enter Setup Mode
Press and hold the “Phone” or “Voice” button on the steering wheel for 3–5 seconds. This often opens a system menu.
Step 2: Navigate to Clock Settings
Use the arrow buttons to scroll to “Clock” or “Time.” Press “OK” or “Select” to enter.
Step 3: Adjust and Save
Change the time using the up/down arrows, then confirm. The stereo will update automatically.
Note: This method works on many Toyota, Ford, and Hyundai models with advanced infotainment systems.
Troubleshooting Common Clock Issues
Even after following the steps, you might run into problems. Here’s how to fix the most common ones.
Problem: Clock Resets Every Time I Turn Off the Car
This usually means the stereo isn’t getting constant power. Check the fuse connected to the stereo’s memory circuit. It’s often labeled “Radio” or “ACC” in the fuse box. Replace it if blown. If the fuse is fine, the wiring harness may be loose—have a professional inspect it.
Problem: Can’t Find the Clock Setting
Not all stereos have a visible “Clock” button. Try pressing and holding the “Menu” or “Function” button for 5–10 seconds. Some models hide the clock setting in a submenu like “System” or “Preferences.”
Problem: Buttons Don’t Respond
If the stereo is unresponsive, it may be frozen. Turn off the car, wait 30 seconds, then restart. If that doesn’t work, disconnect the car battery for 5 minutes to reset the stereo (note: this may reset other settings too).
Problem: Time Changes After Driving
Some GPS-enabled stereos sync time automatically using satellite signals. If you prefer manual control, disable “Auto Time Sync” in the settings menu.
Pro Tips for Setting Your Car Stereo Clock
- Set it when the car is parked: Avoid distractions while driving. Set the clock when you’re safely stopped.
- Use your phone as a reference: Match the stereo time to your smartphone for accuracy.
- Write down the steps: If your stereo has a complex process, jot it down for next time.
- Update firmware: For smart stereos, check the manufacturer’s website for software updates that may improve clock functionality.
- Keep the manual handy: Store your car or stereo manual in the glove box for quick reference.
When to Call a Professional
Most clock issues are easy to fix, but if you’ve tried everything and the clock still won’t stay set, there may be a deeper electrical problem. Signs you need help:
- The stereo loses power completely when the car is off.
- Multiple settings reset, not just the clock.
- You smell burning or see damaged wiring.
In these cases, visit a car audio specialist or your dealership. They can test the power supply and repair any faults.
Conclusion
Setting the clock on your car stereo doesn’t have to be frustrating. With the right steps, you can get it done in under five minutes. Whether you have a factory stereo or an aftermarket unit, the key is knowing where to look and how to save your settings. Remember to check for power issues if the clock keeps resetting, and always consult your manual for model-specific guidance.
Now that you know how to set clock on car stereo, you can keep accurate time on every drive. No more guessing when your favorite song will play or missing your exit because you thought you had more time. Stay punctual, stay safe, and enjoy the ride!

