Installing car seat covers with headrests doesn’t have to be frustrating. This guide walks you through each step to ensure a snug, professional-looking fit in just minutes. Save time and protect your seats with confidence.
Key Takeaways
- Remove headrests first: Most covers require headrest removal for proper installation—don’t skip this step.
- Check cover compatibility: Ensure your seat covers are designed for your car’s make, model, and seat type (e.g., bucket, bench).
- Start from the top: Begin by slipping the cover over the headrest post, then work your way down the seat back.
- Use straps and hooks: Secure the cover tightly using built-in straps, hooks, or elastic bands to prevent slipping.
- Tuck and smooth fabric: Neatly tuck excess material into seams and crevices for a clean, wrinkle-free finish.
- Reinstall headrests carefully: Reinsert headrests only after the cover is fully in place to avoid tearing.
- Test the fit: Sit in the seat and adjust as needed—covers should feel snug, not loose or restrictive.
How to Put on Car Seat Covers with Headrests in Minutes
If you’ve ever wrestled with a set of car seat covers, you know how frustrating it can be—especially when headrests are involved. But with the right approach, installing seat covers with headrests can be quick, easy, and stress-free. Whether you’re protecting your seats from pets, spills, or just want a fresh new look, this step-by-step guide will help you get it done in minutes—no tools or experience required.
In this guide, you’ll learn exactly how to put on car seat covers with headrests the right way. We’ll cover everything from preparation and headrest removal to securing the cover and troubleshooting common issues. By the end, your seats will look sharp, feel comfortable, and stay protected for miles to come.
Why Proper Installation Matters
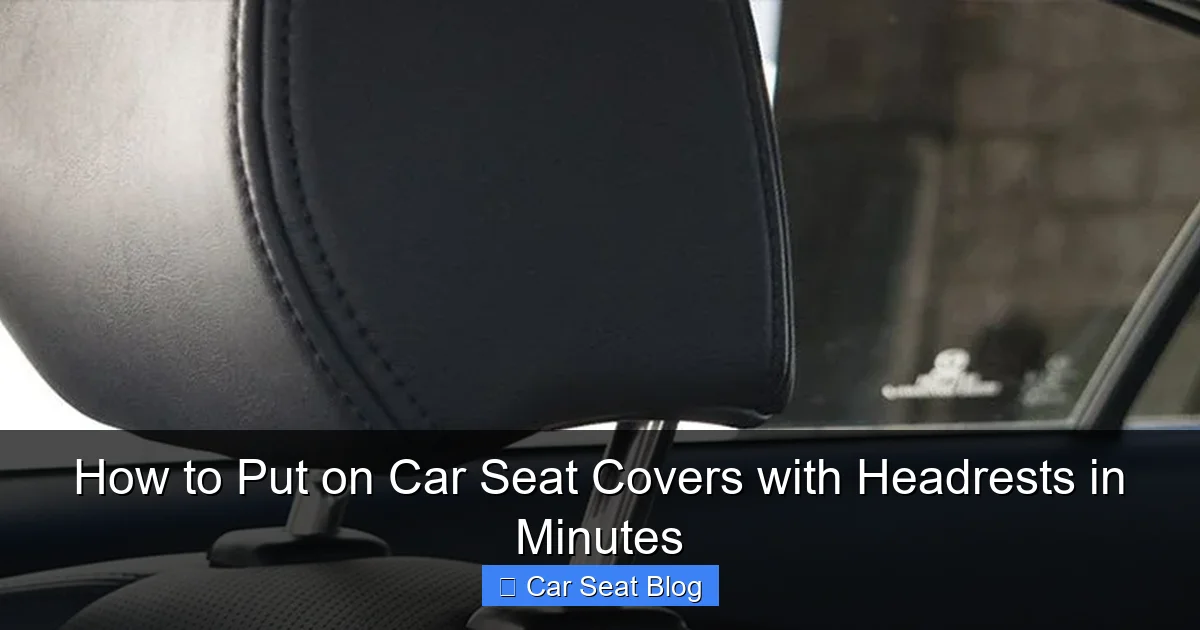
Visual guide about How to Put on Car Seat Covers with Headrests in Minutes
Image source: ic.carid.com
Before diving into the steps, it’s important to understand why proper installation matters. A poorly installed seat cover can slip, bunch up, or even interfere with seat functions like airbags or heating elements. Worse, it might look messy and defeat the purpose of upgrading your interior.
On the other hand, a well-fitted cover enhances comfort, protects your original upholstery, and gives your car a polished, custom look. Plus, it’s easier to clean and maintain. When installed correctly, seat covers with headrests stay in place, even during long drives or sudden stops.
What You’ll Need
Before you begin, gather these items to make the process smoother:
- Your new car seat covers (make sure they’re compatible with your vehicle)
- A clean cloth or vacuum (to wipe down seats first)
- A flathead screwdriver or headrest removal tool (if needed)
- A few minutes of uninterrupted time
Most modern seat covers come with instructions, but they’re often vague or assume prior knowledge. That’s where this guide comes in—clear, practical, and tailored for real-world use.
Step 1: Prepare Your Seats
Clean the Seats First
Start by cleaning your car seats thoroughly. Use a vacuum to remove dust, crumbs, and pet hair. Wipe down the surfaces with a damp cloth to eliminate grease or sticky residues. This ensures the seat covers sit flat and prevents dirt from getting trapped underneath.
Pro tip: If your seats are leather, use a mild leather cleaner. For fabric seats, a fabric-safe cleaner works best. Let the seats dry completely before installing the covers.
Check for Obstructions
Inspect the seat for any protruding features like seatbelt buckles, side airbags, or heating/cooling vents. Make sure your seat covers are designed to accommodate these. Many covers have pre-cut openings or Velcro flaps for such features.
Step 2: Remove the Headrests
Locate the Release Mechanism
Most headrests are held in place by a locking button or lever at the base of the posts. Look for a small button on the side or back of the headrest pillar. Some vehicles require you to press the button while pulling the headrest up; others may need a tool to release it.
Safely Remove the Headrest
Press the release button (or use a flathead screwdriver if needed) and gently pull the headrest straight up. Be careful not to force it—some models have a two-stage release. Set the headrest aside in a safe place where it won’t get damaged.
Important: Never skip this step. Trying to install seat covers over the headrest often leads to tearing, poor fit, or frustration.
Step 3: Unpack and Inspect the Seat Covers
Match Covers to Seats
Most seat cover sets include labels like “Driver,” “Passenger,” or “Rear Left/Right.” Match each cover to the correct seat. If labels aren’t present, compare the shape and cutouts to your seats.
Identify Key Features
Look for:
- Headrest openings (usually at the top)
- Straps or hooks underneath
- Zippers or Velcro for side airbags
- Elastic edges for a snug fit
Understanding these features helps you install the cover correctly and avoid mistakes.
Step 4: Install the Seat Cover on the Seat Back
Start at the Top
Begin by slipping the top of the cover over the headrest posts. The opening should align perfectly with the posts. Gently pull the cover down over the seat back, working from top to bottom.
Tip: If the cover feels tight, don’t force it. Wiggle it slightly or use your hands to guide the fabric into place.
Work Your Way Down
Once the top is secure, pull the cover down over the rest of the seat back. Use your hands to smooth out wrinkles and ensure the fabric lies flat. Pay attention to the sides and corners—these areas often bunch up if not handled carefully.
Tuck Excess Fabric
Most seat covers have extra material designed to be tucked into the crevices between the seat back and cushion. Use your fingers or a soft tool (like a plastic spatula) to gently push the fabric into these gaps. This creates a clean, tailored look and prevents shifting.
Step 5: Secure the Cover with Straps and Hooks
Attach Bottom Straps
Flip the seat forward (if possible) or reach underneath to locate the straps. Most covers have elastic straps with hooks or buckles that attach to the seat frame. Connect them tightly to prevent the cover from sliding.
Pro tip: Cross the straps underneath the seat for extra stability—this works especially well on bucket seats.
Fasten Side and Back Hooks
Some covers include side hooks or Velcro strips along the edges. Attach these to the seat frame or existing anchor points. These help keep the cover snug and prevent it from riding up.
Adjust for a Snug Fit
Once all straps are connected, sit in the seat and check for looseness. If the cover feels baggy, tighten the straps or reposition the fabric. A well-fitted cover should move with the seat—not against it.
Step 6: Reinstall the Headrests
Align the Posts
Carefully insert the headrest posts back into the seat. Make sure they go through the correct openings in the cover. Don’t force them—if they don’t slide in easily, double-check the alignment.
Lock the Headrest in Place
Push the headrest down until you hear a click, indicating it’s securely locked. Test it by gently pulling up—it shouldn’t budge.
Safety note: Never drive with loose or improperly installed headrests. They’re critical for neck protection in a collision.
Step 7: Final Adjustments and Inspection
Smooth Out Wrinkles
Run your hands over the cover to remove any remaining wrinkles or bumps. Focus on the seat back, sides, and cushion.
Check for Interference
Make sure the cover doesn’t block seatbelt buckles, airbag flaps, or heating/cooling vents. If it does, adjust the cover or contact the manufacturer—some covers need modifications for safety features.
Test the Seat Function
Slide the seat forward and back, recline it, and test any power functions. The cover should not restrict movement or get caught in mechanisms.
Troubleshooting Common Issues
Cover Won’t Stay in Place
If the cover keeps slipping, check that all straps are attached and tightened. Consider using non-slip seat cover pads underneath for extra grip.
Headrest Won’t Fit Through Opening
This usually means the cover isn’t designed for your headrest style. Some covers work only with removable headrests or specific post sizes. Contact the seller for a compatible version.
Fabric Rides Up or Bunches
This often happens when the cover is too large or not tucked properly. Reinstall and focus on tucking excess fabric into the seat crevices. Use a seat cover with better elasticity or a custom fit.
Straps Are Too Short or Missing
Some budget covers skimp on straps. You can purchase universal seat cover straps online or use strong Velcro strips as a temporary fix.
Tips for Long-Lasting Results
- Wash covers regularly: Follow the care label—most are machine washable. Clean them every few months to prevent odors and stains.
- Avoid sharp objects: Keep keys, tools, or pet claws away from the fabric to prevent tears.
- Use seat protectors for kids or pets: Add an extra layer under the cover for high-wear areas.
- Store spare covers properly: Fold them neatly and keep in a dry place to avoid wrinkles or mold.
Conclusion
Putting on car seat covers with headrests doesn’t have to be a chore. With the right preparation and a systematic approach, you can achieve a professional-looking fit in just minutes. Remember: remove the headrests first, work from top to bottom, secure with straps, and always double-check for safety and comfort.
By following this guide, you’ll protect your investment, enhance your car’s interior, and enjoy a cleaner, more comfortable ride. Whether you’re a weekend warrior or a daily commuter, well-installed seat covers make a big difference.
So grab your covers, take a deep breath, and get started. In no time, your car will look and feel brand new—all thanks to a few simple steps done the right way.
