How to Get Wrinkles Out of Car Seat Covers Fast and Easy
Wrinkled car seat covers can make your vehicle look messy and unkempt. This guide shows you quick, easy ways to smooth them out using heat, steam, tension, and more—no special tools required.
Key Takeaways
- Use a clothes steamer: Steam is one of the fastest and safest ways to remove wrinkles from most fabric and synthetic seat covers without damaging the material.
- Try the hair dryer method: A hair dryer on medium heat can relax wrinkles when used with a damp cloth barrier to protect the cover.
- Reinstall and tighten properly: Often, wrinkles appear because seat covers weren’t installed tightly—re-securing them can instantly smooth out creases.
- Iron with caution: Only use an iron on low heat and with a pressing cloth; never apply direct heat to leather or delicate fabrics.
- Prevent future wrinkles: Regular cleaning, proper installation, and using seat cover protectors help maintain a smooth, wrinkle-free look.
- Avoid over-wetting: Too much moisture can damage seat covers or cause mildew—always dry thoroughly after steaming or dampening.
- Know your material: Fabric, neoprene, leather, and polyester each respond differently to heat and moisture—adjust your method accordingly.
How to Get Wrinkles Out of Car Seat Covers Fast and Easy
Nothing ruins the clean look of a car’s interior faster than wrinkled seat covers. Whether you’ve just installed new ones or your old covers have started to bunch up over time, those unsightly folds and creases can make your vehicle feel messy and neglected. The good news? You don’t need professional tools or expensive treatments to fix them. With a few simple household items and the right techniques, you can get wrinkles out of car seat covers fast and easy—right from your garage or driveway.
In this guide, we’ll walk you through step-by-step methods to smooth out wrinkles on all types of seat covers, including fabric, neoprene, leather, and polyester. You’ll learn how to use steam, heat, tension, and even a little water to restore that crisp, factory-fresh look. Plus, we’ll share tips to prevent wrinkles from coming back. Let’s get started!
Why Do Car Seat Covers Get Wrinkles?
Before diving into solutions, it helps to understand why seat covers wrinkle in the first place. Most wrinkles occur due to one of these common reasons:
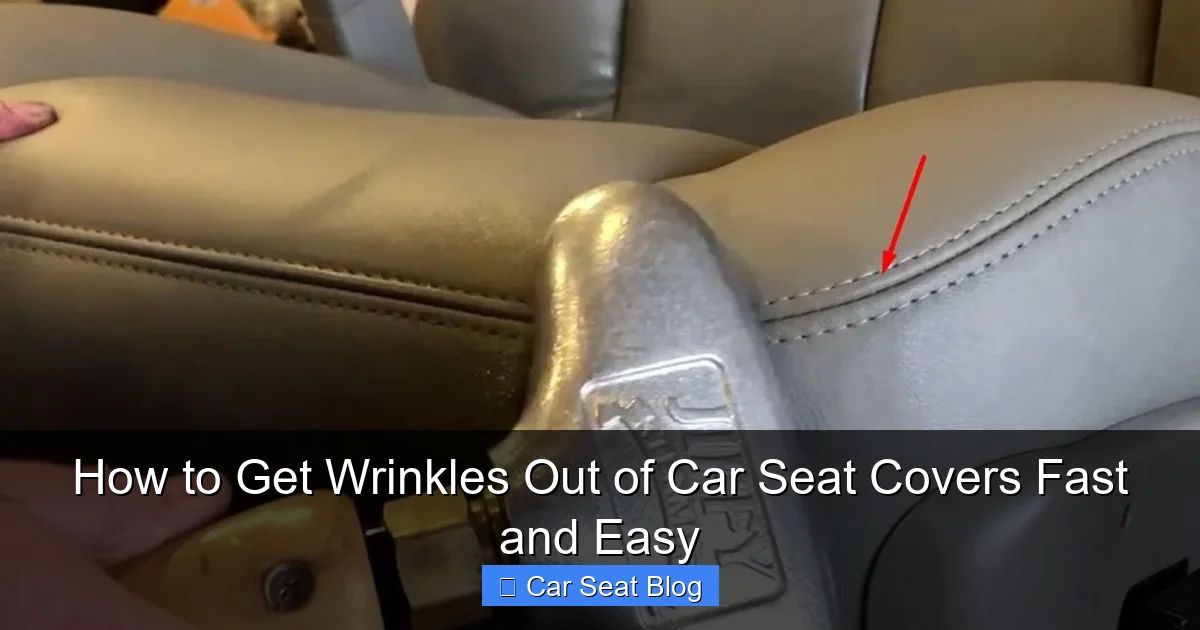
Visual guide about How to Get Wrinkles Out of Car Seat Covers Fast and Easy
Image source: psychoautos.com
- Improper installation: If seat covers aren’t pulled tight during installation, they’ll naturally bunch up as you sit and move.
- Heat and sunlight: Prolonged exposure to sun can cause materials to expand and contract, leading to creasing.
- Washing and drying: Machine washing or improper drying can shrink or distort fabric, especially if the cover isn’t re-stretched correctly.
- Material type: Some materials, like neoprene or thin polyester, are more prone to wrinkling than others.
- Frequent use: Regular sitting and movement can cause fabric to shift and fold over time.
Understanding the cause helps you choose the best fix—and avoid repeating the problem.
Method 1: Use a Clothes Steamer (Best for Fabric & Synthetic Covers)
A handheld clothes steamer is one of the most effective and gentle ways to remove wrinkles from car seat covers. It uses hot steam to relax fibers without direct contact, reducing the risk of damage.
What You’ll Need:
- Handheld garment steamer
- Clean towel or cloth
- Vacuum (optional, for pre-cleaning)
Step-by-Step Instructions:
- Prep the seat: Remove any debris or crumbs from the seat using a vacuum or brush. This ensures steam penetrates evenly.
- Fill the steamer: Add distilled water to your steamer and let it heat up according to the manufacturer’s instructions.
- Test a small area: Steam a hidden section (like under the seat flap) to ensure the material won’t discolor or melt.
- Steam in sections: Hold the steamer 6–8 inches away from the cover and move it slowly over wrinkled areas. Focus on one section at a time.
- Gently smooth with hands: As you steam, use your free hand to gently stretch and smooth the fabric. The heat and moisture will relax the fibers.
- Let it dry: Allow the seat to air dry completely before using the car. Avoid sitting on it while damp to prevent new wrinkles.
Pro Tip: For stubborn wrinkles, place a clean, dry towel over the area and steam through it. This adds gentle pressure and helps set the smooth finish.
Method 2: Hair Dryer and Damp Cloth (Great for Quick Fixes)
If you don’t have a steamer, a hair dryer and a damp cloth can work wonders—especially for light wrinkles on fabric or polyester covers.
What You’ll Need:
- Hair dryer
- Clean, slightly damp microfiber cloth
- Spray bottle with water (optional)
Step-by-Step Instructions:
- Lightly dampen the cloth: Wet a microfiber cloth and wring it out until it’s just damp—not dripping.
- Place over wrinkles: Lay the damp cloth directly over the wrinkled area. This protects the seat cover from direct heat.
- Apply heat: Set your hair dryer to medium heat (not high) and hold it 6–8 inches away. Move it in slow, circular motions over the cloth.
- Press and smooth: As the area warms up, use your hand to gently press and smooth the fabric underneath the cloth.
- Repeat as needed: For deep wrinkles, repeat the process 2–3 times, allowing the fabric to cool slightly between rounds.
- Let it air dry: Remove the cloth and let the seat dry completely before use.
Warning: Never use high heat directly on leather or vinyl—it can crack or discolor. Always use a barrier cloth.
Method 3: Reinstall and Tighten the Seat Cover
Sometimes, the easiest fix is the simplest: take the cover off and put it back on—correctly this time. Wrinkles often form because the cover wasn’t pulled tight during installation.
Step-by-Step Instructions:
- Remove the seat cover: Carefully take off the cover, following the manufacturer’s instructions. Most slip-on covers unzip or unclip from the back.
- Inspect for damage: Check for tears, stretched elastic, or worn straps that might prevent a snug fit.
- Clean if needed: Wash the cover (if machine-safe) or wipe it down to remove dust and oils that can cause slipping.
- Reinstall tightly: Start at the top and work your way down, pulling the cover taut as you go. Use your hands to smooth out any bumps.
- Secure all straps and hooks: Make sure every strap, buckle, or elastic band is fastened tightly. This prevents shifting and wrinkling.
- Test the fit: Sit in the seat and move around to see if the cover stays smooth. Adjust as needed.
Pro Tip: For bucket seats, use a seat cover with built-in elastic or adjustable straps for a tighter, wrinkle-resistant fit.
Method 4: Ironing (Use with Caution)
Ironing can remove deep wrinkles, but it’s risky if done incorrectly. Only use this method on fabric or cotton-blend covers—and never on leather, vinyl, or neoprene.
What You’ll Need:
- Clothing iron
- Pressing cloth (cotton towel or pillowcase)
- Ironing board or flat, heat-safe surface
Step-by-Step Instructions:
- Check the label: Look for care instructions on the seat cover. If it says “do not iron,” skip this method.
- Set low heat: Turn the iron to the lowest setting (usually “synthetic” or “wool”).
- Use a pressing cloth: Place a thin cotton cloth over the wrinkled area to protect the fabric.
- Iron gently: Press the iron down lightly and move it in small circles. Don’t leave it in one spot too long.
- Check frequently: Lift the cloth every few seconds to see if the wrinkle is gone. Overheating can scorch the fabric.
- Let it cool: Allow the cover to cool completely before reinstalling.
Important: Never spray water directly on the cover before ironing unless the fabric is designed for it. Excess moisture can cause water spots or damage.
Method 5: Sun and Gravity Trick (Natural Wrinkle Remover)
This no-tool method uses heat and time to relax wrinkles naturally. It’s perfect for mild creases and eco-friendly fixes.
How It Works:
- Park in the sun: Leave your car in direct sunlight for 1–2 hours. The heat will warm the seat covers.
- Open the doors: Crack the windows or doors to allow airflow and prevent overheating.
- Smooth by hand: After heating, gently stretch and smooth the covers with your hands. The warmth makes the fibers more pliable.
- Let gravity help: If possible, remove the covers and hang them over a railing or clothesline for 30–60 minutes. Gravity will pull out wrinkles.
- Reinstall when cool: Once the covers are smooth and slightly cooled, put them back on the seats.
Note: This method works best on fabric and polyester. Avoid prolonged sun exposure on leather, as it can dry out and crack.
Troubleshooting Common Issues
Even with the best methods, you might run into problems. Here’s how to handle them:
Wrinkles Keep Coming Back?
This usually means the cover isn’t installed tightly enough or the material is low-quality. Try re-securing all straps and consider upgrading to a higher-quality, stretch-fit cover.
Material Shrank After Washing?
If your cover shrunk in the wash, try soaking it in lukewarm water with a fabric conditioner, then stretch it back into shape while damp. Air dry flat.
Discoloration or Burn Marks?
Caused by too much heat or direct iron contact. Unfortunately, this damage is often permanent. Prevent it by always using a barrier cloth and testing heat on a small area first.
Leather Covers Wrinkling?
Leather doesn’t “wrinkle” like fabric—it creases due to drying or poor fit. Use a leather conditioner to restore flexibility, and ensure the cover is snug. Avoid heat-based methods.
How to Prevent Wrinkles in the Future
Once your seat covers are smooth, keep them that way with these simple habits:
- Clean regularly: Dirt and oils can weaken fibers and cause bunching. Wipe down covers monthly.
- Use seat protectors: Place a towel or seat protector over the cover when transporting pets or heavy items.
- Avoid overloading: Don’t place heavy objects on seats for long periods—they can stretch the fabric.
- Re-tighten after washing: Always reinstall covers while slightly damp and pull tight.
- Choose quality covers: Invest in stretch-fit or custom-fit seat covers designed to stay smooth.
Conclusion
Getting wrinkles out of car seat covers doesn’t have to be a chore. With the right technique—whether it’s steaming, heat, reinstalling, or a little sun—you can restore a clean, professional look in minutes. The key is knowing your material and using gentle, consistent methods to avoid damage.
Remember: prevention is just as important as repair. By installing covers properly, cleaning them regularly, and using protective measures, you’ll keep your car’s interior looking sharp for years to come. So grab your steamer, hair dryer, or iron, and say goodbye to those pesky wrinkles—your car deserves to look its best!