Finding mileage on an OBD2 scanner is a simple way to get accurate information about your vehicle’s usage. This guide will walk you through the steps of connecting your scanner, navigating menus, and reading mileage data. By the end, you’ll confidently extract mileage to help with maintenance, resale, or diagnostics.
Quick Answers to Common Questions
Can all OBD2 scanners read mileage?
No, only scanners with advanced features or manufacturer-specific support can read mileage data accurately.
Where is the OBD2 port usually located?
Most vehicles have the port under the driver’s side dashboard, near the steering column or fuse box.
Do I need the engine running to read mileage?
Often, the ignition to the “ON” position is enough, but some vehicles may require the engine running for full data access.
How do I update my OBD2 scanner?
Check the manufacturer’s website or app for firmware updates and follow their instructions carefully.
What if my mileage doesn’t match the odometer?
This could indicate data mismatch or tampering. Consult a professional for further inspection.
Introduction
If you own an OBD2 scanner, you already know it’s a powerful tool for diagnosing your vehicle. But did you know you can also check your vehicle’s mileage using it? Getting accurate mileage data through your OBD2 scanner helps you verify odometer readings, schedule maintenance, and assess vehicle health. In this guide, you’ll learn how to find mileage on an OBD2 scanner step-by-step, with tips to avoid common pitfalls and make the process smooth and easy.
Step 1: Understand What Mileage Data Is Available on OBD2 Scanners
Before starting, it’s important to know that not all vehicles or OBD2 scanners provide mileage data. Mileage is typically stored in the vehicle’s ECU (Engine Control Unit) and accessed through specific data parameters or proprietary codes.
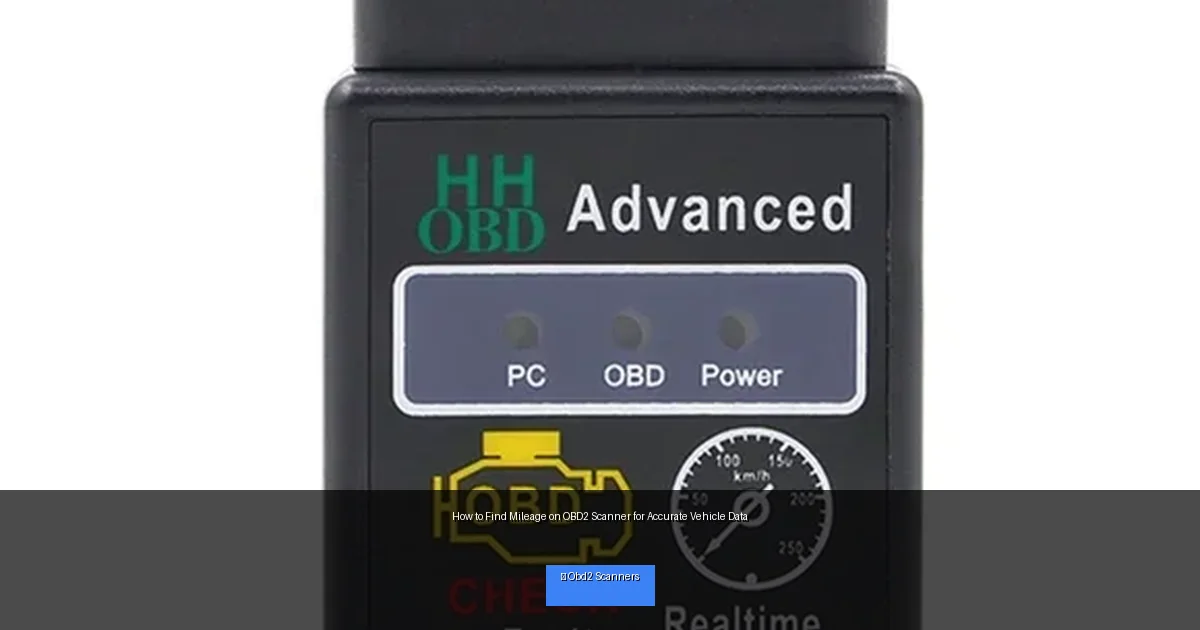
Visual guide about How to Find Mileage on OBD2 Scanner for Accurate Vehicle Data
Image source: i5.walmartimages.com
What Mileage Means in OBD2 Terms
Mileage, also called “vehicle distance traveled,” can be read as a parameter called “Distance Since DTC Cleared” or through manufacturer-specific PID (Parameter IDs). Some scanners support extended PIDs that reveal actual odometer readings.
Step 2: Choose the Right OBD2 Scanner for Mileage Reading
Basic OBD2 scanners mostly read engine trouble codes and sensor data. To find mileage, you’ll need a scanner that supports advanced diagnostics or vehicle-specific functions.
Features to Look For
- Advanced PID support
- Manufacturer-specific data reading
- Clear display of mileage or odometer data
- Compatibility with your vehicle’s make and model
Popular options include Bluetooth-enabled scanners with smartphone apps or professional-grade handheld devices.
Step 3: Locate the OBD2 Port and Connect Your Scanner
The OBD2 port is usually located under the driver’s side dashboard. Common spots include beneath the steering column, near the fuse box, or around the center console.
Connecting Your Scanner
- Turn off your vehicle’s ignition.
- Plug the scanner into the OBD2 port firmly.
- Turn on the vehicle (key to “ON” position without starting the engine for some models).
- Power on your scanner or app and wait for it to connect.
Step 4: Navigate Your Scanner to Find Mileage Data
Once connected, your scanner will communicate with your vehicle’s ECU. The exact menu names vary, but here’s a general approach:
Finding Mileage on Common Scanner Interfaces
- Look for menus labeled “Vehicle Info,” “Live Data,” or “Extended Data.”
- Some apps have a “Dashboard” or “Parameters” section with mileage display.
- If your scanner supports custom PIDs, enter the PID for mileage if available.
- Check the user manual or app help for mileage-specific commands.
For example, on Bluetooth apps like Torque Pro, you can add a custom PID to show mileage if your vehicle supports it.
Step 5: Record and Verify Mileage Data
When mileage appears, write it down or save it within your app. Compare this reading with your vehicle’s odometer to check for consistency. Discrepancies may indicate tampering or incorrect data.
Practical Tips for Accurate Mileage Reading
- Ensure your scanner firmware is up to date. Manufacturers often release updates that expand supported PIDs and functions.
- Use the scanner on a warmed-up engine. Some data only appears after the ECU has fully initialized.
- Consult your vehicle’s manual or forums. Some cars use unique PID codes for mileage.
- Consider professional tools. If mileage reading is critical, professional-grade scanners provide more reliable results.
Troubleshooting Common Issues
Scanner Doesn’t Show Mileage
- Verify scanner compatibility with your vehicle make and model.
- Check if your scanner supports extended PIDs or manufacturer-specific codes.
- Try a different OBD2 port if available.
- Restart the scanner and vehicle ignition.
Scanner Fails to Connect to Vehicle
- Check the OBD2 port for dirt or damage.
- Ensure your vehicle ignition is in the correct position.
- Update scanner firmware or app.
- Try another scanner to isolate the problem.
Conclusion
Finding mileage on an OBD2 scanner is easier than many think. With the right scanner, proper connection, and a bit of navigation, you can access accurate mileage data. This information is invaluable for vehicle maintenance, resale, and diagnostics. Remember to use up-to-date tools and consult your vehicle’s specifics for the best results. Now that you know how to find mileage on an OBD2 scanner, you have one more way to keep your vehicle running smoothly and confidently.
🎥 Related Video: How to check REAL car mileage using OBD-II scanner
📺 @Iamcarhacker – OBD2 scanners
Thinkdiag2: https://amzn.to/4gYzFOe Similiar without subscription: https://amzn.to/42iseNm ➡️ OBD2 Buyers guide PDF: …

