
Our readers keep the lights on and my garage snacks stocked. As an Amazon Associate, I earn from qualifying purchases.
Specs are compiled from manufacturer listings and verified buyer reviews and can change over time — please confirm the key details on the product page before buying.
Cloudy, yellowed headlights do more than make an old car look tired — they cut your nighttime visibility and force you to squint down every dark road. A restoration kit strips the oxidized plastic layer and applies a protective coat, restoring clarity without the cost of new housings. The twist is that “restoration” kits split into two very different camps: abrasive sand-and-polish systems that need a drill, and vapor or ceramic methods you can do by hand.
I’m Min Islam — the founder and writer behind Trending Car. This guide is built by comparing the manufacturers’ published specifications and the patterns across verified customer reviews, so you get each pick’s real strengths and trade-offs instead of marketing spin.
Your headlights are yellowed and dull, and you want them clear again without replacing them. The right plastic headlight restoration kit depends on how bad your lenses are and how much effort you are willing to put in.
Our Picks at a Glance
How To Choose The Best Plastic Headlight Restoration Kit
Before you buy, figure out one thing: how far gone are your lenses? A kit that fixes light haze will struggle with deep oxidation, and a heavy-duty kit can be overkill for a car that just needs a quick polish. Choose a kit that matches your lenses’ oxidation level and your available tools.
Check the grit range first
Sandpaper grit numbers tell you how aggressive the abrasive is. Lower numbers like 500 or 800 cut through heavy yellowing and oxidation fast; higher numbers like 3000 smooth the plastic back to a polish. A kit that skips the low grits will not fix badly neglected lenses, so read the included grits before you commit.
Decide: drill power or hand work?
Drill-backed pads spin the sanding discs for you, which speeds up the job and takes the fatigue out of your arms. Hand-rub kits are cheaper and quieter, but they demand more time and effort on heavily oxidized plastic. If you own a drill and your lenses are rough, the powered route usually wins.
Look for a protective finish
Sanding alone leaves bare plastic that re-oxidizes within weeks. The kits that last apply a clear coat, ceramic barrier, or UV-blocking sealant after the sanding step. That final layer is what keeps your headlights clear for months instead of days.
Quick Comparison
| Model | Best For | Method | Protection Type | Kit Weight | Amazon |
|---|---|---|---|---|---|
| 3M Ultra 2-Pack★ Best Overall | Best Overall / Multiple cars | Drill sanding | Clear coat | 11.64 oz | Amazon |
| Meguiar’s UltimateEasiest Application | No-tools hand restore | Hand sanding | UV sealant | 68 g | Amazon |
| Nano Bond Ceramic | Long-lasting ceramic coat | Hand sanding | Ceramic clear coat | 10.5 oz | Amazon |
| Ghguole Vapor 100ml | Quick vapor fix | Vapor atomizer | UV block coat | 1.34 lb | Amazon |
| Meguiar’s Heavy Duty | Heavy oxidation with drill | Drill pads | Ceramic shield | 11.9 oz | Amazon |
| HYHJMISTY 800g | Dealer-style vapor jobs | Vapor atomizer | Protective film | 3.94 lb | Amazon |
| VCTSELITY 800g | Complete aluminum kit | Vapor atomizer | Anti-UV coating | 3.9 lb | Amazon |
In‑Depth Reviews
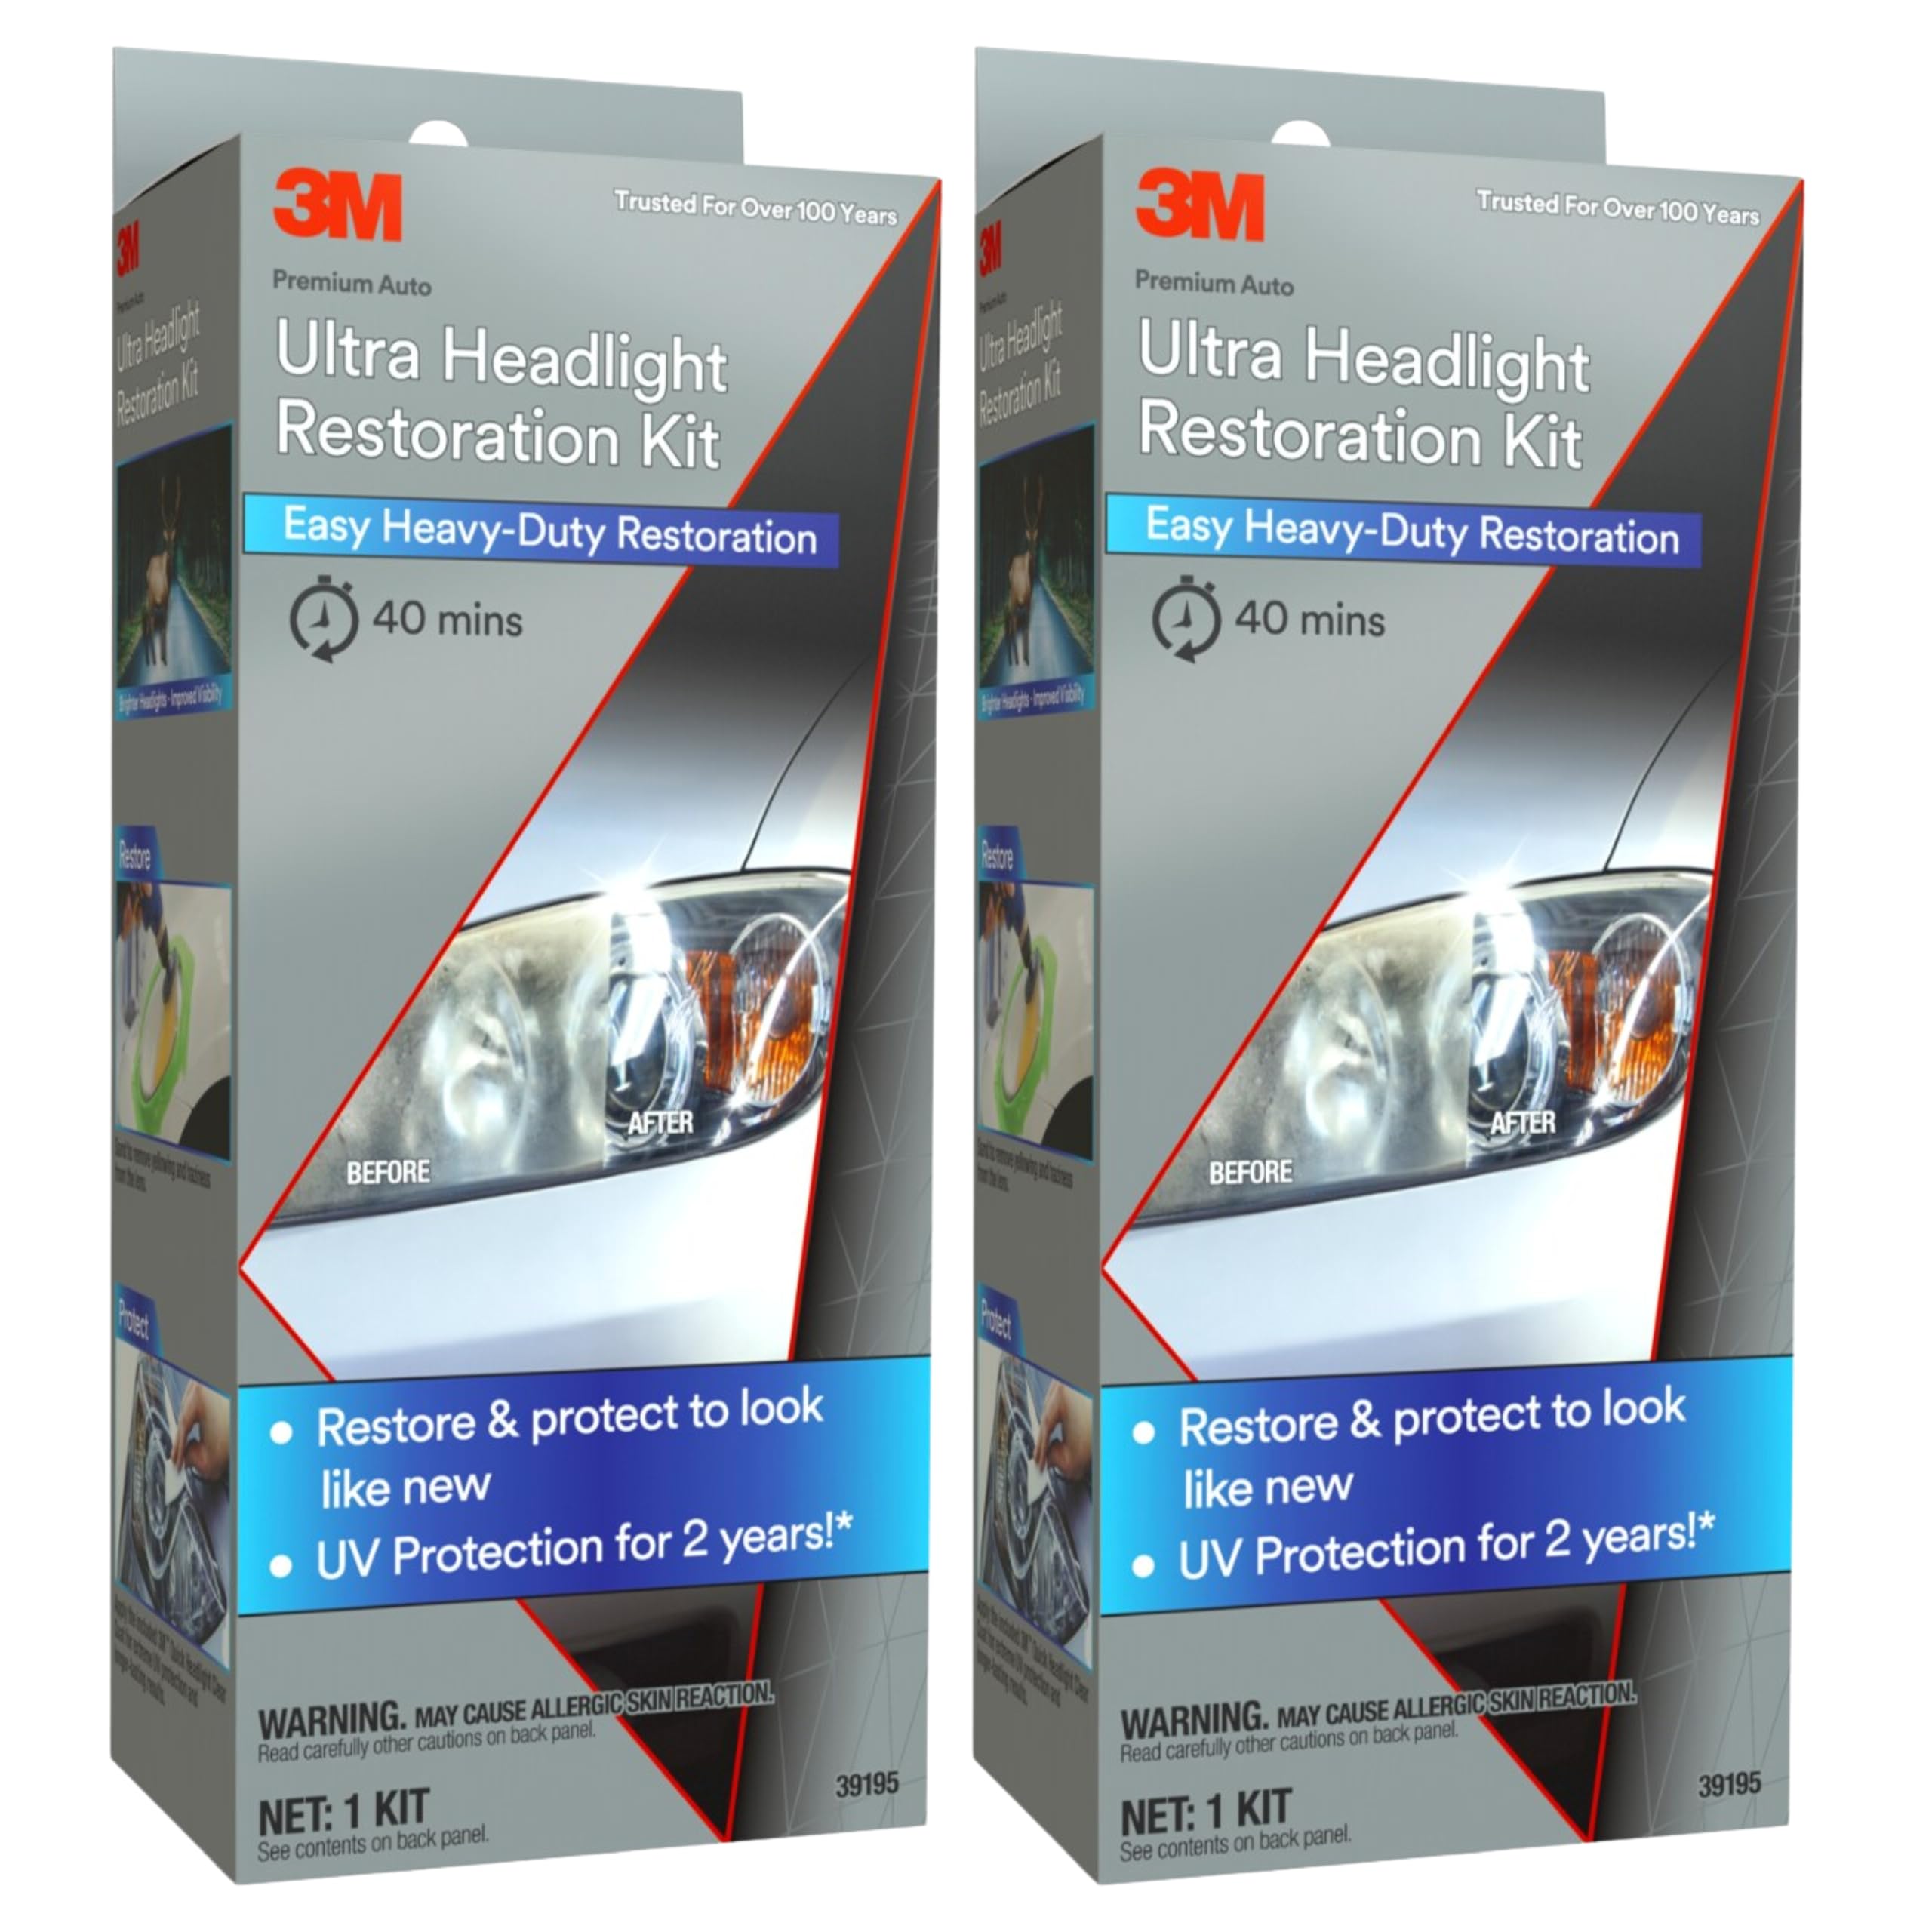
1. 3M Ultra Headlight Restoration Kit 39195, 2 Pack
Our pick — over 4.5★ from 16,000+ verified ratings; the strongest balance of quality and price.
The two-pack that gives you a spare for the garage and enough discs to fix two vehicles.
You get two complete 3M Ultra Headlight Restoration Kits in one box, so you can fix your car and still have a full spare for a second vehicle or a friend. Each kit includes a disc pad holder, 6 discs of 500-grit, 4 of 800-grit, and 1 of 3000-grit sandpaper, plus 2 Quick Headlight Clear Coats in 3-inch discs. That clear coat is the finishing layer that seals your work and stops the plastic from yellowing again quickly.
Buyers report the finish lasts, with one writing “2 years later, headlights still look new.” The catch is effort: plan about 45 minutes per headlight, and owners mention it looks worse before it looks better. Use a low drill speed, do not press hard, and follow the instructions exactly, because this system polishes scratches out rather than filling them, which is why the results last longer.
At 11.64 ounces it is a touch heavier than the hand-rub Nano Bond kit, but that weight is the drill backing plate doing the hard work for you. This is the crowd favorite for a reason — the most-discussed praise centers on how the finished lenses look and how clearly you can see afterward.
What wins people over
- Appearance is the #1 praise — owners are thrilled with like-new clarity
- True 2-pack value: restore one car, keep a spare kit
- Clear coat included to lock in the finish
Know before you start
- Labor-intensive — plan for ~45 minutes per headlight
- Included masking tape is thin; bring a thicker tape to protect paint
Reach for this if: your lenses are heavily yellowed and you want a drill-powered job with a protective clear coat, plus a spare kit for later.
Look elsewhere if: you want a quick, no-drill hand polish — this one asks for time and a power tool.
2. Meguiar’s Ultimate Headlight Restoration Kit
The hand-rub kit that skips power tools entirely and still seals in 18 months of protection.
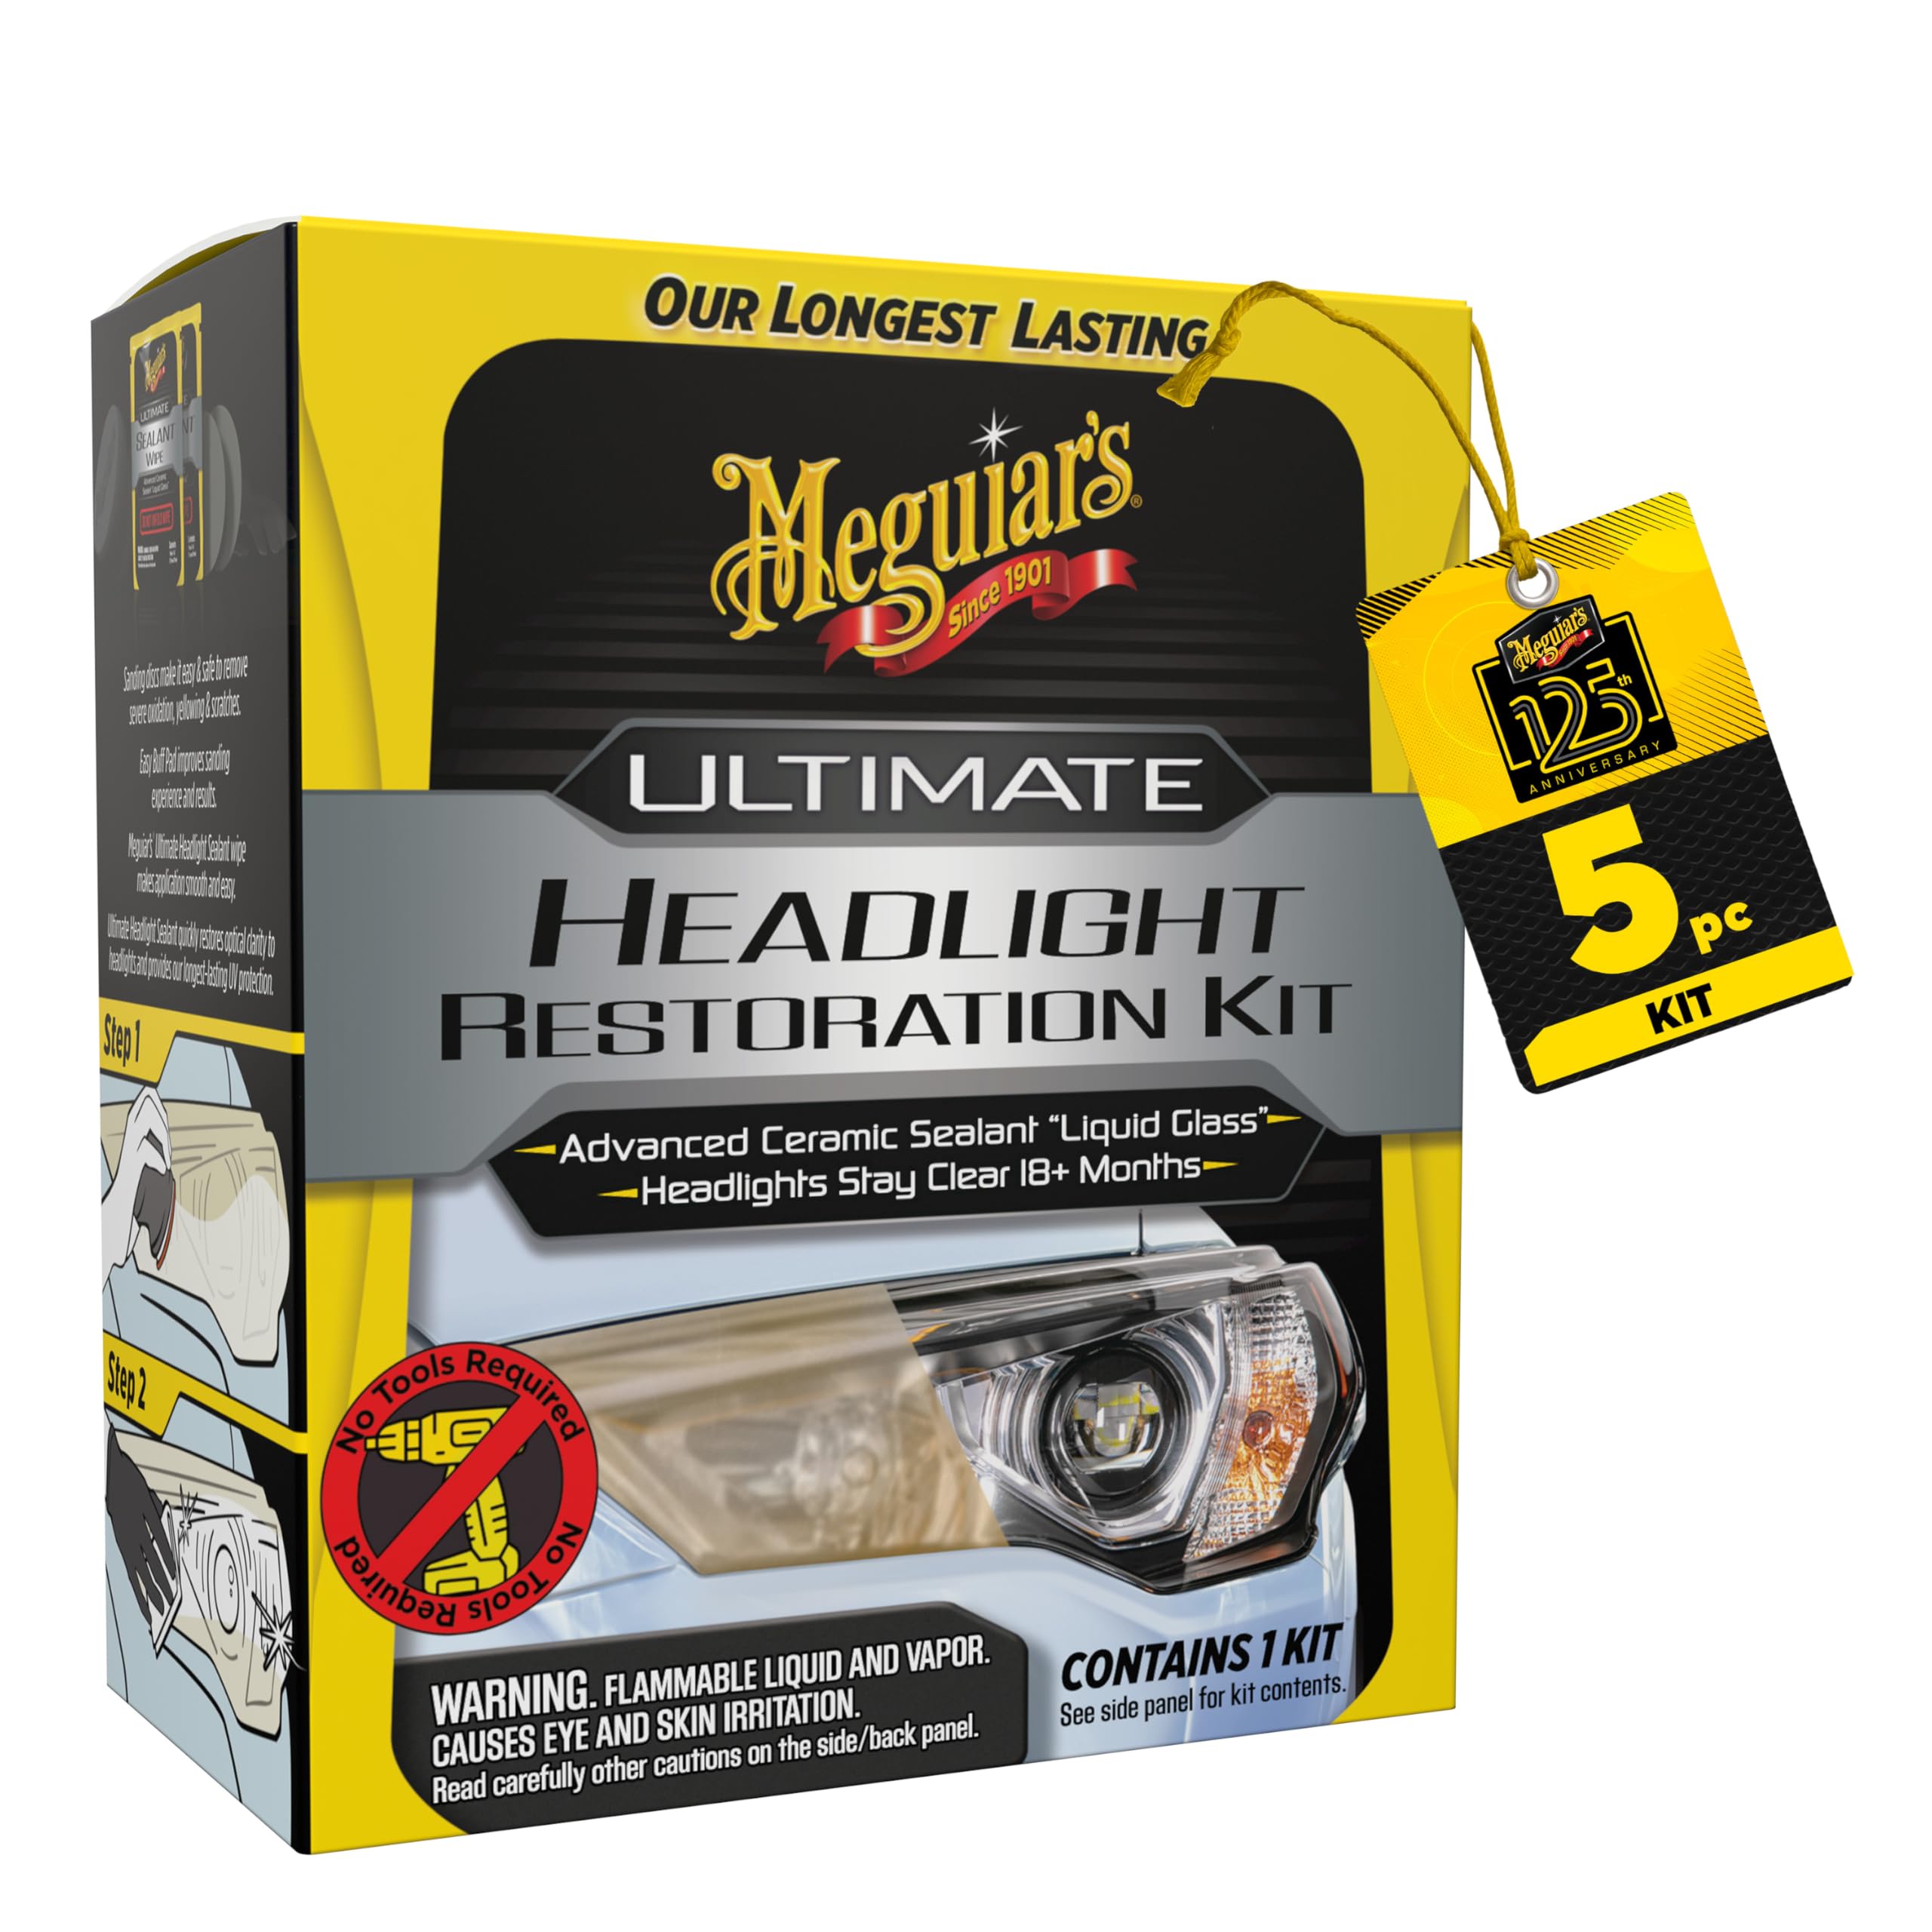
If the idea of attaching sanding discs to a drill puts you off, this is the kit built for you. It uses just two grades of sandpaper — 1000 grit and 3000 grit — followed by pre-saturated wipes that carry the Ultimate Headlight Sealant, a lens sealant with UV protection that dries crisp. No power tools or machines are needed at any step, which makes it the gentlest entry point for a first-time restorer.
Customers note fast results, with one saying “Excellent product and easy to use – in less than 10 mins my old headlights were brand new and crisp.” The trade-off is reach: the 1000-grit floor handles mild to heavy yellowing well, but deep, neglected oxidation may need more aggressive abrasives first. Owners also note the protective film holds up, with one reporting it was “still is 95% holding” after a long stretch.
The whole kit weighs just 68 grams, so it is the lightest option here by far and slips into a glove box for emergency touch-ups. Buyers consistently praise its easy, tool-free process, making it the top choice for simplicity-focused users.
Simplicity first: two grits, pre-soaked wipes, and a UV sealant add up to the lowest-effort path to clear lenses.
The honest limit: for severely oxidized plastic, start with a heavier kit or extra wet-sanding before this one.
Best if: you want a fast, tool-free restore with an 18+ month UV sealant and you are working with mild-to-heavy yellowing.
Think twice if: your lenses are deeply pitted or cracked — those need a more aggressive abrasive system.
3. Nano Bond Ceramic Headlight Restoration Kit
The hand-sanding kit that finishes with a self-leveling ceramic coat for long-term UV defense.
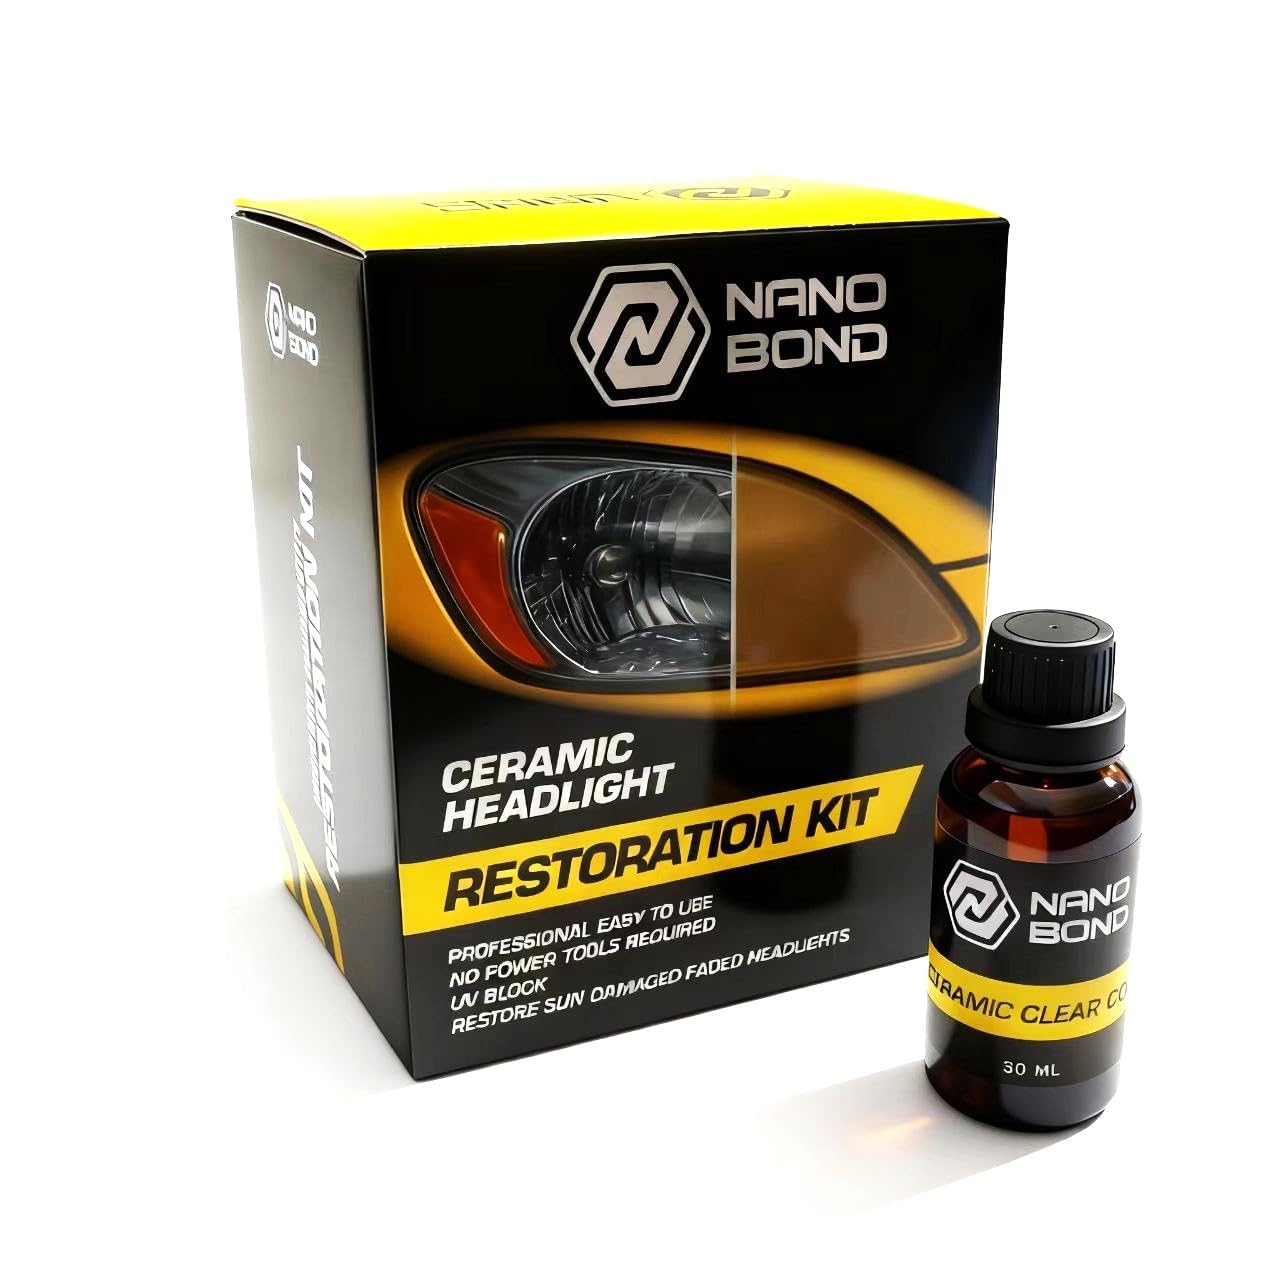
This one is built around a 3-step hand process that needs zero power tools, and the final step is the differentiator: a self-leveling clear coat that requires no wiping after the initial application. That ceramic barrier is designed to shield lenses from sun damage and extreme weather, preventing the yellowing and cracking that UV rays cause. The system treats two vehicles, so the included sanding discs and liquid coating stretch further than a single-car kit.
Owners describe the finish as a smooth, glossy result — the 30ml coating bottle covered both headlights with liquid left over. Nighttime visibility improves noticeably, and the process runs about 20 minutes, which is fast for a hand method. Buyers highlight its ease of use, with simple instructions and a complete kit ready from the start.
At 10.5 ounces it is fractionally lighter than the 11.64-ounce 3M pack, though the 3M kit’s extra weight is its drill plate. The honest trade-off is sanding: it is a light hand-sanding step that takes some time, and the longevity of the coating is still unproven in long-term owner reports. It also handled minor scratches on plastic desktop protectors, which hints at its versatility beyond just cars.
Ceramic finish: the self-leveling clear coat delivers a smooth, glossy seal that fights UV damage without needing a drill.
Expect some elbow grease: the hand-sanding step is straightforward but time-consuming on heavily oxidized lenses.
Choose this if: you want a ceramic-grade protective finish without buying or using power tools.
skip it if: your lenses are severely pitted and you would rather let a drill do the cutting work.
4. Ghguole Headlight Restoration Kit with Atomizing Cup

The gadget-style vapor kit that uses heated mist to lay down a UV-blocking coat.
This kit works differently from the others: instead of rubbing on a sealant, you heat 100ml of blue ice restoration liquid in a coated atomized steel cup, and the rising vapor carries a UV-blocking film onto the lens. It includes 6 grades of sandpaper for gradual sanding, plus a car power adapter so you can run it from your vehicle. The maker claims the vapor repairs yellowing, blurring, slight scratches, and dim areas without replacing the headlight.
Reviewers point out easy operation and fast action, with results described as “exact as its description says.” The catch is patience: the sanding step demands real elbow grease, and the instructions are clear that rush jobs do not get the desired result. The most-discussed concern is that clarity results split: some owners get crisp lenses, while a few report a yellow tint afterward, so the vapor step rewards careful technique.
There is also a one-off warning about micro cracks on certain plastics, so this is best treated as a solid temporary fix if you plan to replace the housings anyway. The 1.34-pound weight makes it a mid-weight gadget kit, and the included stainless steel cup with fast vapor heating keeps the process tidy and fast once you master the technique.
What stands out
- Vapor method lays a UV-blocking film with “high transparency and strong adhesion”
- 6 grades of sandpaper for gradual, controlled cutting
- Runs off a car power adapter, so it works anywhere
The fit note
- Clarity results are mixed — technique matters for avoiding a yellow tint
- An occasional unit may show micro cracks on certain plastics
Best for: curious DIYers who want a vapor-based UV coat and do not mind perfecting the technique.
Not for: anyone wanting guaranteed crisp results with zero learning curve.
5. Meguiar’s Heavy Duty Headlight Kit
The drill-driven two-step system built for severe yellowing on aging daily drivers.
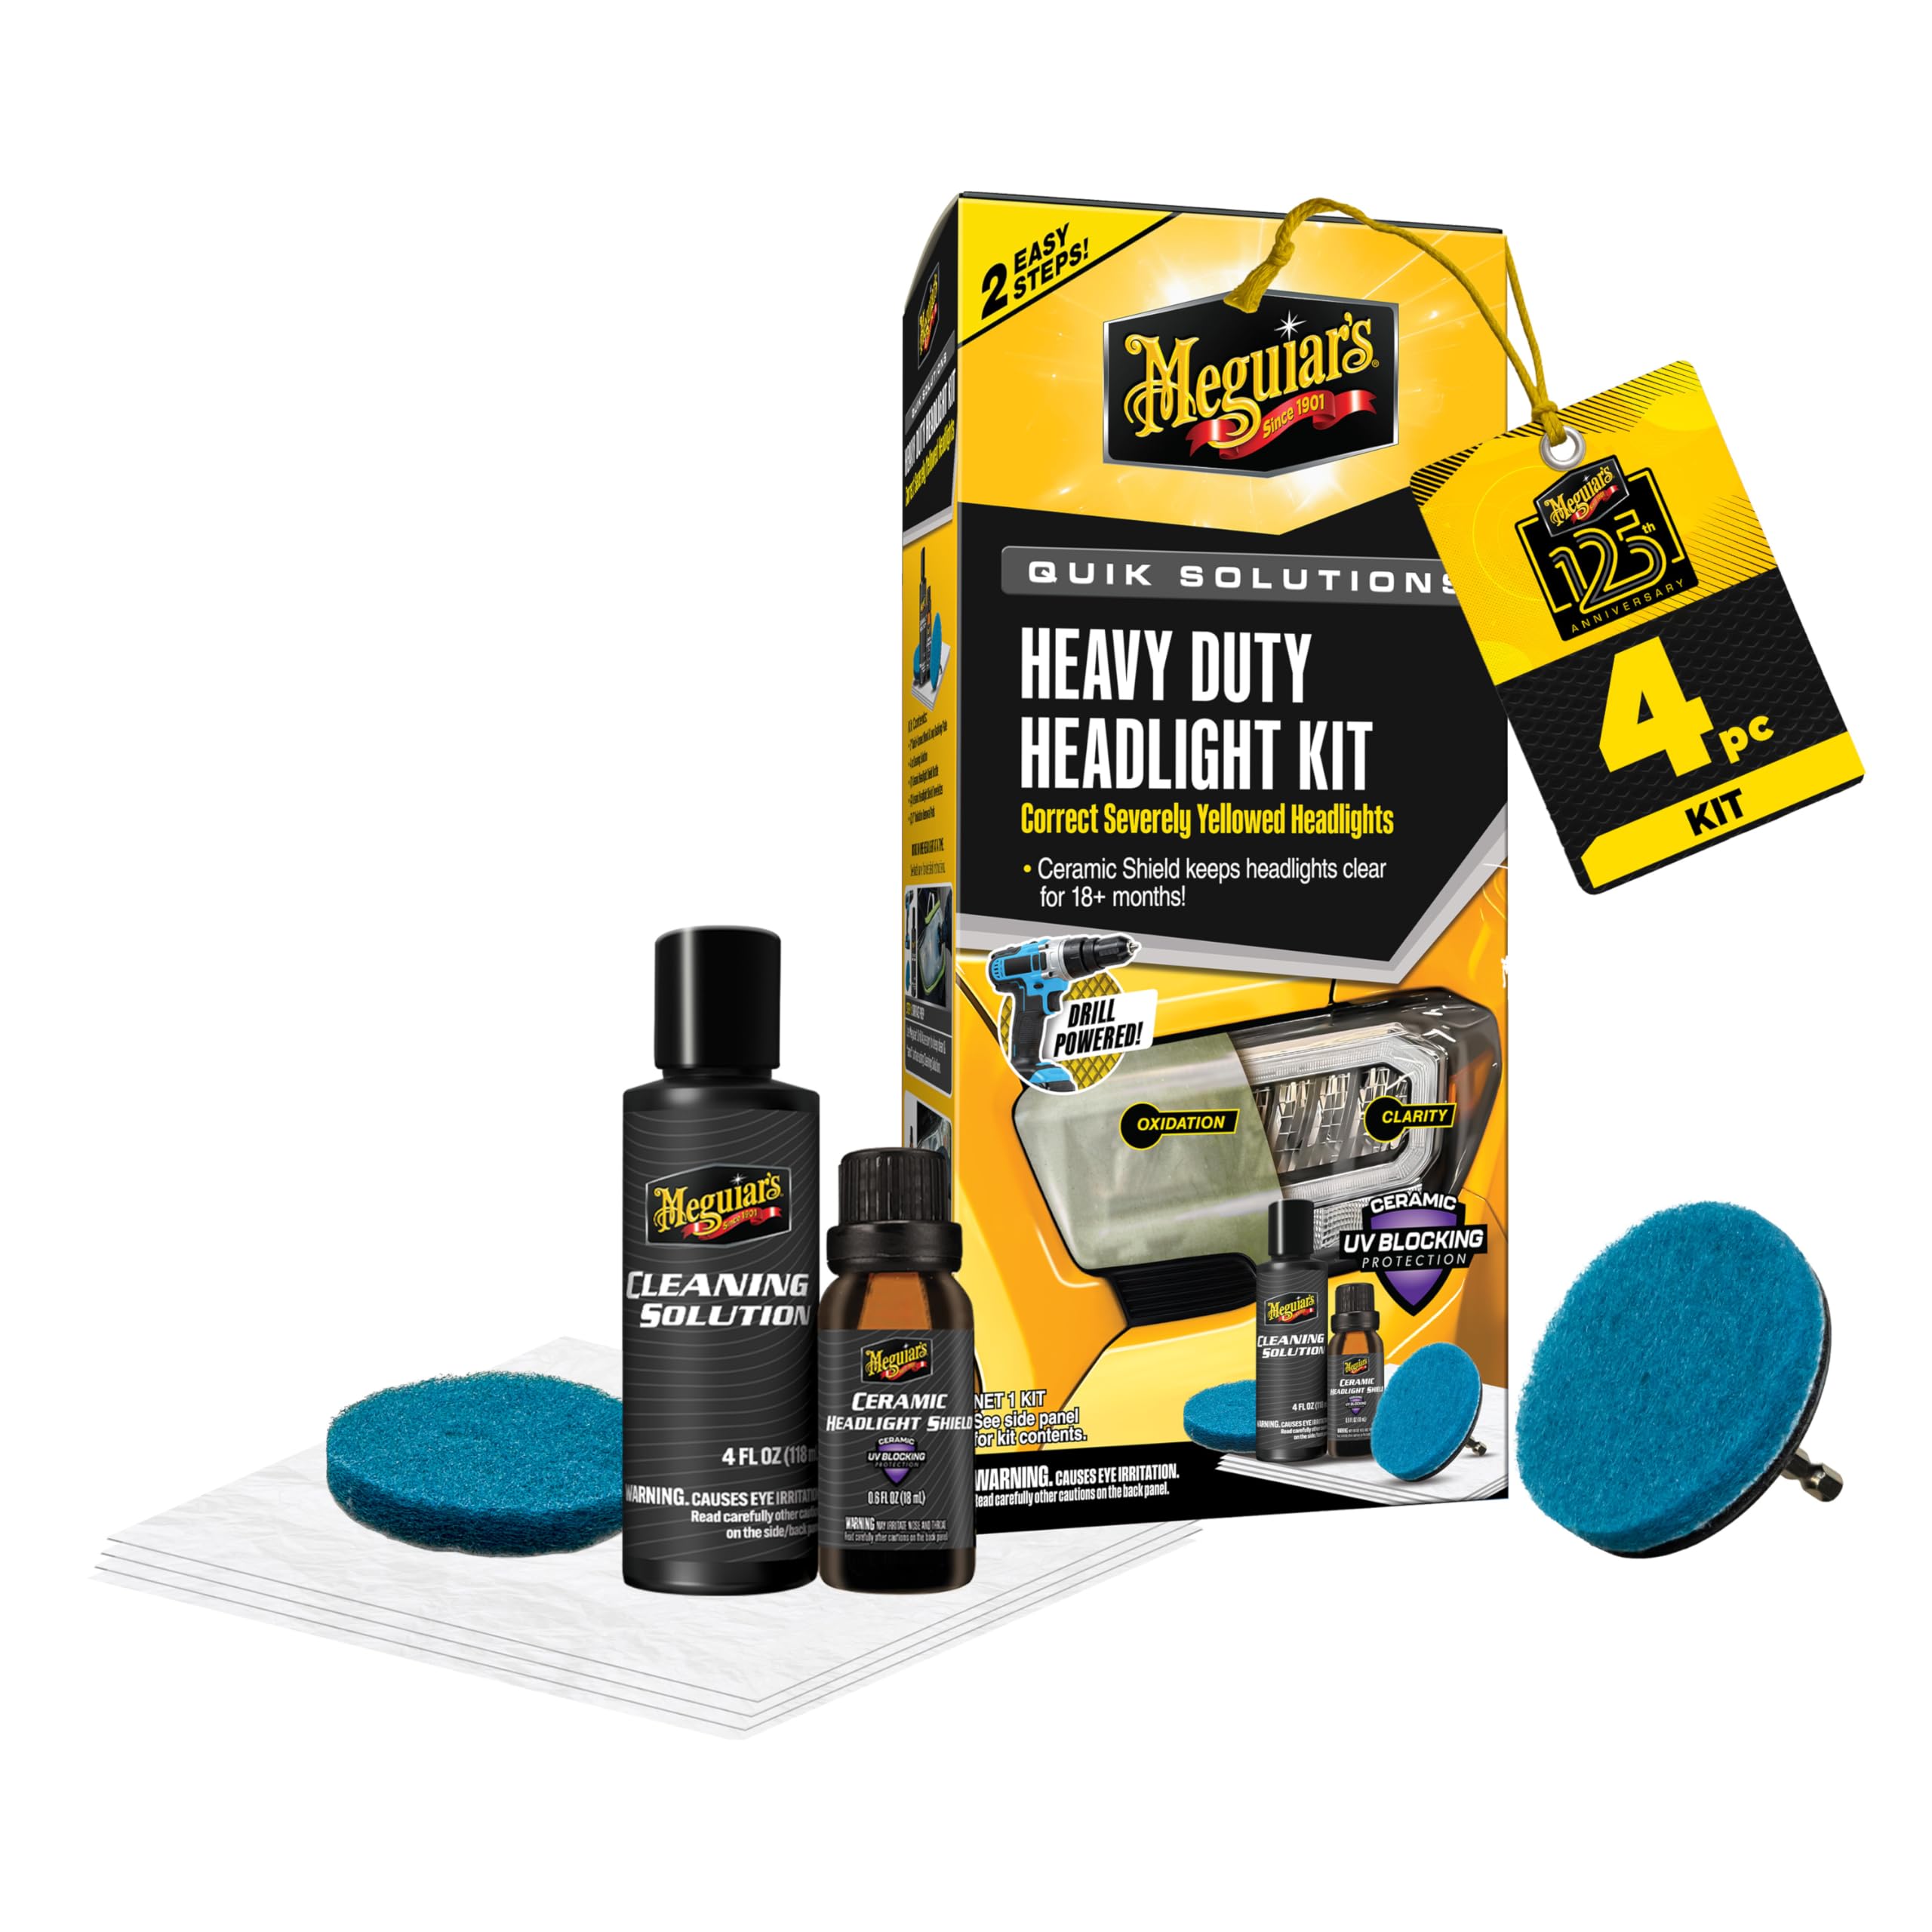
Where the brand’s Ultimate kit goes by hand, this Heavy Duty version leans into power. A 3-inch drill backing plate is included, and you attach the Cleaning Solution and Oxidation Removal Pads to a standard drill to chew through severe yellowing fast. After the machine work, you hand-apply the Ceramic Headlight Shield with UV Blocking Protection using the included towelette, locking in 18-plus months of clarity.
Shoppers say dramatic turnarounds on old vehicles — a 15-year-old truck’s lights came out looking new, and another buyer found it cleared up frosted lenses well. The recurring advice is to follow the directions closely, and several owners recommend wet-sanding with 600 grit first for truly bad lights. Buyers praise its effective oxidation removal and solid build, matching the brand’s DIY-friendly professional reputation.
At 11.9 ounces it is the heaviest of the drill kits here, but that bulk is the backing plate doing the labor for you. The catch is the two-step sequence: the first step alone shows little change, and buyers warn not to judge it until you apply the ceramic coating — that is the moment the lenses snap back to clear.
Power-assisted cut: the drill pads remove severe yellowing without wearing out your arms.
The patience test: you must complete the ceramic step before judging the result — step one alone looks like nothing happened.
Pick this if: you own a drill and your lenses are severely yellowed or oxidized enough to need real cutting power.
Look elsewhere if: you do not own a drill or prefer a gentler hand-rub application.
6. HYHJMISTY 800g Vapor Headlight Restoration Kit

The 800-gram vapor system with enough liquid to fix up to 70 headlights from one box.
This is the volume play for anyone restoring multiple cars or even selling the service. The kit bundles 800g of repair fluid, an atomizing cup with a 2-lid set, 6 sandpapers from 180# up to 1200#, an emery board, funnel, guard tape, and both a 110V power cord plus a car power cord. That liquid capacity is the headline: it can repair roughly 48 to 70 headlights, making it the best per-job value if you have a fleet.
Owners describe results that rival dealer work, with cloudy and yellowed lenses on Hondas and Subarus coming back clear and bright. The technique is the key — fill the cup only to a quarter, wait 5 to 10 minutes, and swirl in a circular motion to keep a constant vapor stream. Buyers report it beats the drill-and-polish method once you learn the trick, though the heating performance gets mixed feedback because the cup does not always warm up fast enough.
At 3.94 pounds with the toolbox, it is a full workstation rather than a glove-box kit. The honest fit note is that results depend heavily on technique, and an occasional unit arrives with a leaking cup. But for anyone restoring several vehicles, the sheer liquid capacity makes it the clear standout on cost per headlight.
The big win
- 800g of liquid handles roughly 48–70 headlights
- Dual power sources — 110V at home or car power on the go
- Includes every tool, no extra purchases
What to watch
- Heating performance is the common gripe — the cup warms slowly
- Technique matters; watch a video before your first job
Best for: multi-car owners or DIY detailers who want dealer-grade vapor results at a fraction of shop cost.
pass on it if: you only have one car and no appetite for learning the vapor technique.
7. VCTSELITY Vapor Headlight Restoration Kit
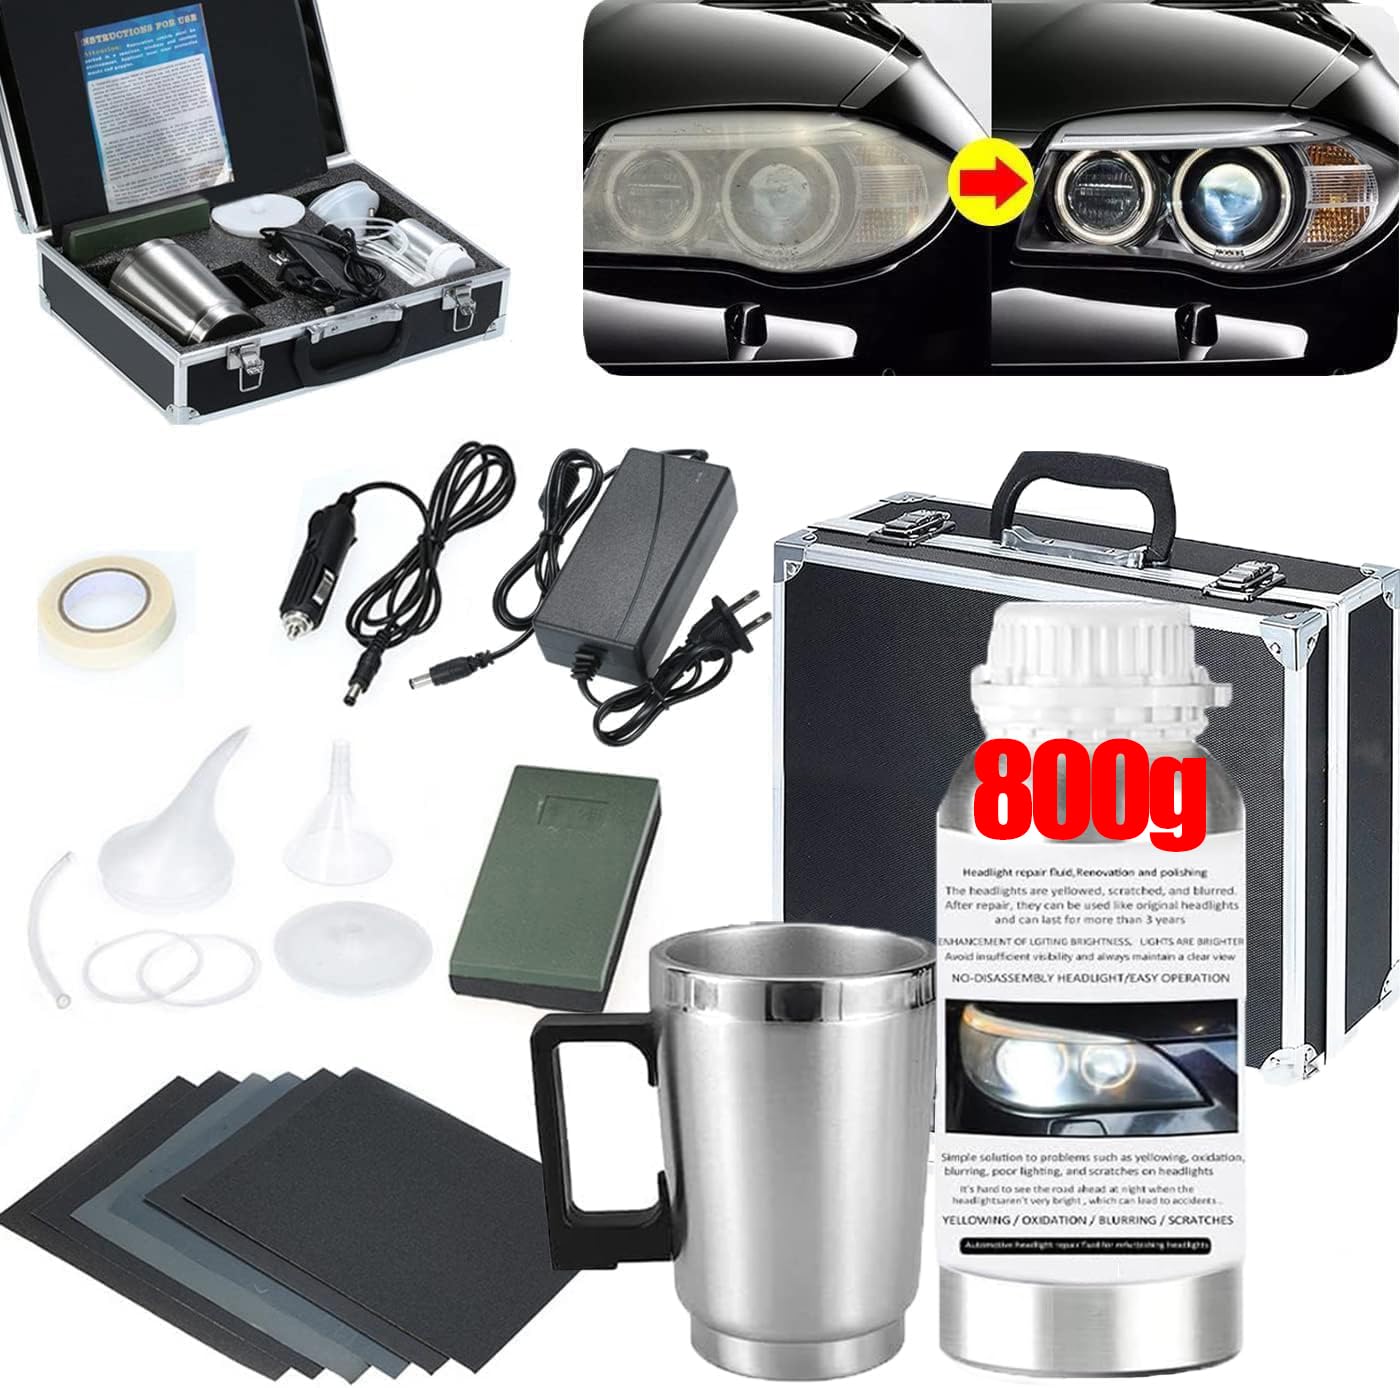
The premium vapor setup with an aluminum storage box and a 21-year-old car’s seal of approval.
This is the most complete vapor package on the list, and the aluminum alloy storage box separates it from plastic-tray rivals. Inside you get 800g of repair liquid, a coated atomized steel cup, 6 kinds of sandpaper, both 110V and car power supplies, textured paper, a funnel, a manual, 2 kinds of lids, and a sanding plate. The kit’s purpose is to eliminate yellowing, turbidity, oxidation, and cracking while also maintaining newer headlights before they age.
Owners mention it “worked perfectly on a 21-year-old car,” a strong signal for badly aged lenses. The vapor application takes 5 to 10 minutes after sanding, and buyers describe crisp lenses with a long-lasting finish. Two practical notes stand out: tape off the surrounding paint well or remove the assembly for best results, and beware that some cars — like the Ford F350 with its heavy clear coat — need serious wet sanding first.
At 3.9 pounds it is nearly identical to the HYHJMISTY kit in weight, but the aluminum case and the brand’s anti-UV coating pitch give it a more premium feel. The honest limit is that the heated cup can feel underpowered in cool conditions, and the slightly sloping headlights need a circular waving motion to coat evenly. For gadget lovers who want the full vapor experience in a durable case, this is the one.
All-in-one presentation: the aluminum storage box and complete accessory set make this the most polished vapor kit here.
The technique hurdle: breeze and cool weather affect the vapor, so work in a sheltered spot and master the circular motion.
Reach for this if: you want the premium full-kit experience with a storage case and proven results on very old cars.
Think twice if: you want a quick single-car fix — this asks for sanding time and careful vapor technique.
Understanding the Specs
Grit Sequence
Sandpaper grit numbers measure how coarse the abrasive is. Lower numbers like 500 or 800 cut fast through heavy oxidation; higher numbers like 3000 smooth the plastic to a polish. The best kits include a full range so you can cut, smooth, and refine in one session.
Vapor vs Sand-and-Coat
Two restoration philosophies exist. Sand-and-coat kits grind off the damaged plastic layer, then seal it with a clear coat or ceramic barrier. Vapor kits heat a repair liquid into a mist that bonds a UV-blocking film to the lens surface — faster application, but results depend more on technique.
FAQ
Will a restoration kit work on badly yellowed plastic headlights?
Do I need a drill to restore my headlights?
How long does a restored headlight stay clear?
What grit sandpaper should I use for heavy oxidation?
Is a vapor headlight kit better than a sand-and-coat kit?
How many headlights can one kit restore?
Can I use a headlight kit on taillights or fog lights?
Is it safe to restore headlights in place without removing them?
Does the vapor method leave any residue or smell?
Final Thoughts: The Verdict
The crowd favorite here is the 3M Ultra 2-Pack — the highest-rated pick in this guide, backed by a massive owner base who consistently praise the like-new appearance and long-lasting clarity. If you want the simplest possible hand-rub job, the Meguiar’s Ultimate delivers crisp lenses in about 10 minutes with its 18+ month UV sealant. And if you are restoring multiple vehicles or want dealer-style vapor results, the HYHJMISTY 800g kit gives you enough liquid for up to 70 headlights.
How We Picked
We do not accept paid placement. Every pick is matched to a real buyer and a real use-case; we do not hands-on test units.
Sources & Methodology
Specifications: manufacturer listings and product documentation. Review insights: verified customer reviews, as of August 2026. Pricing: not shown on this page (it changes often); check the current price via the retailer link.
As an Amazon Associate, Trending Car earns from qualifying purchases. This does not affect which products we feature.