
Our readers keep the lights on and my garage snacks stocked. As an Amazon Associate, I earn from qualifying purchases.
Specs are compiled from manufacturer listings and verified buyer reviews and can change over time — please confirm the key details on the product page before buying.
Cloudy, yellowed headlights do more than age a car—they steal your visibility at night, turning a routine drive into a guessing game. The good news is you do not need expensive replacements or a pro to fix it. The right restoration kit can make those lenses look brand new again, often in under an hour.
I’m Min Islam — the founder and writer behind Trending Car. This guide is built by comparing the manufacturers’ published specifications and the patterns across verified customer reviews, so you get each pick’s real strengths and trade-offs instead of marketing spin.
if you want a fast wipe-on solution or a drill-based system for heavy oxidation, the best headlight restoration kits deliver like-new clarity while staying affordable or requiring pro skills.
Our Picks at a Glance


How To Choose The Best Headlight Restoration Kits
Not every kit works the same way. Some rely on sanding to strip the old, damaged plastic layer off, while others use chemicals to dissolve oxidation. The right choice depends on how bad your lenses look and how much elbow grease you are willing to put in.
Sand or No Sand
The biggest fork in the road is whether the kit requires sanding. Drill-based or hand-sanding kits dig deep and fix heavy yellowing and pitting (tiny chips from debris), but they take more time and care. No-sand kits are faster and simpler, but they only work on light to moderate haze and may not last as long.
The Coating Matters Most
What you put on after cleaning is what keeps the lenses clear. A kit that finishes with a ceramic (a hard, glass-like layer) or UV-blocking clear coat (a top layer that blocks sun rays) will protect against re-yellowing far longer than one that stops at polishing. Without that barrier, the sun starts damaging the plastic again within weeks.
Quick Comparison
| Model | Best For | Process | Protection Type | Kit Contents | Amazon |
|---|---|---|---|---|---|
| CERAKOTE Ceramic Kit★ Best Overall | Best Overall | No power tools | Ceramic coating | 10 wipes, sanding kit | Amazon |
| 3M Lens Restoration SystemBest Drill-Based | Best Drill-Based | Drill-activated | Polish + sealer | Sanding discs, foam pad, polish | Amazon |
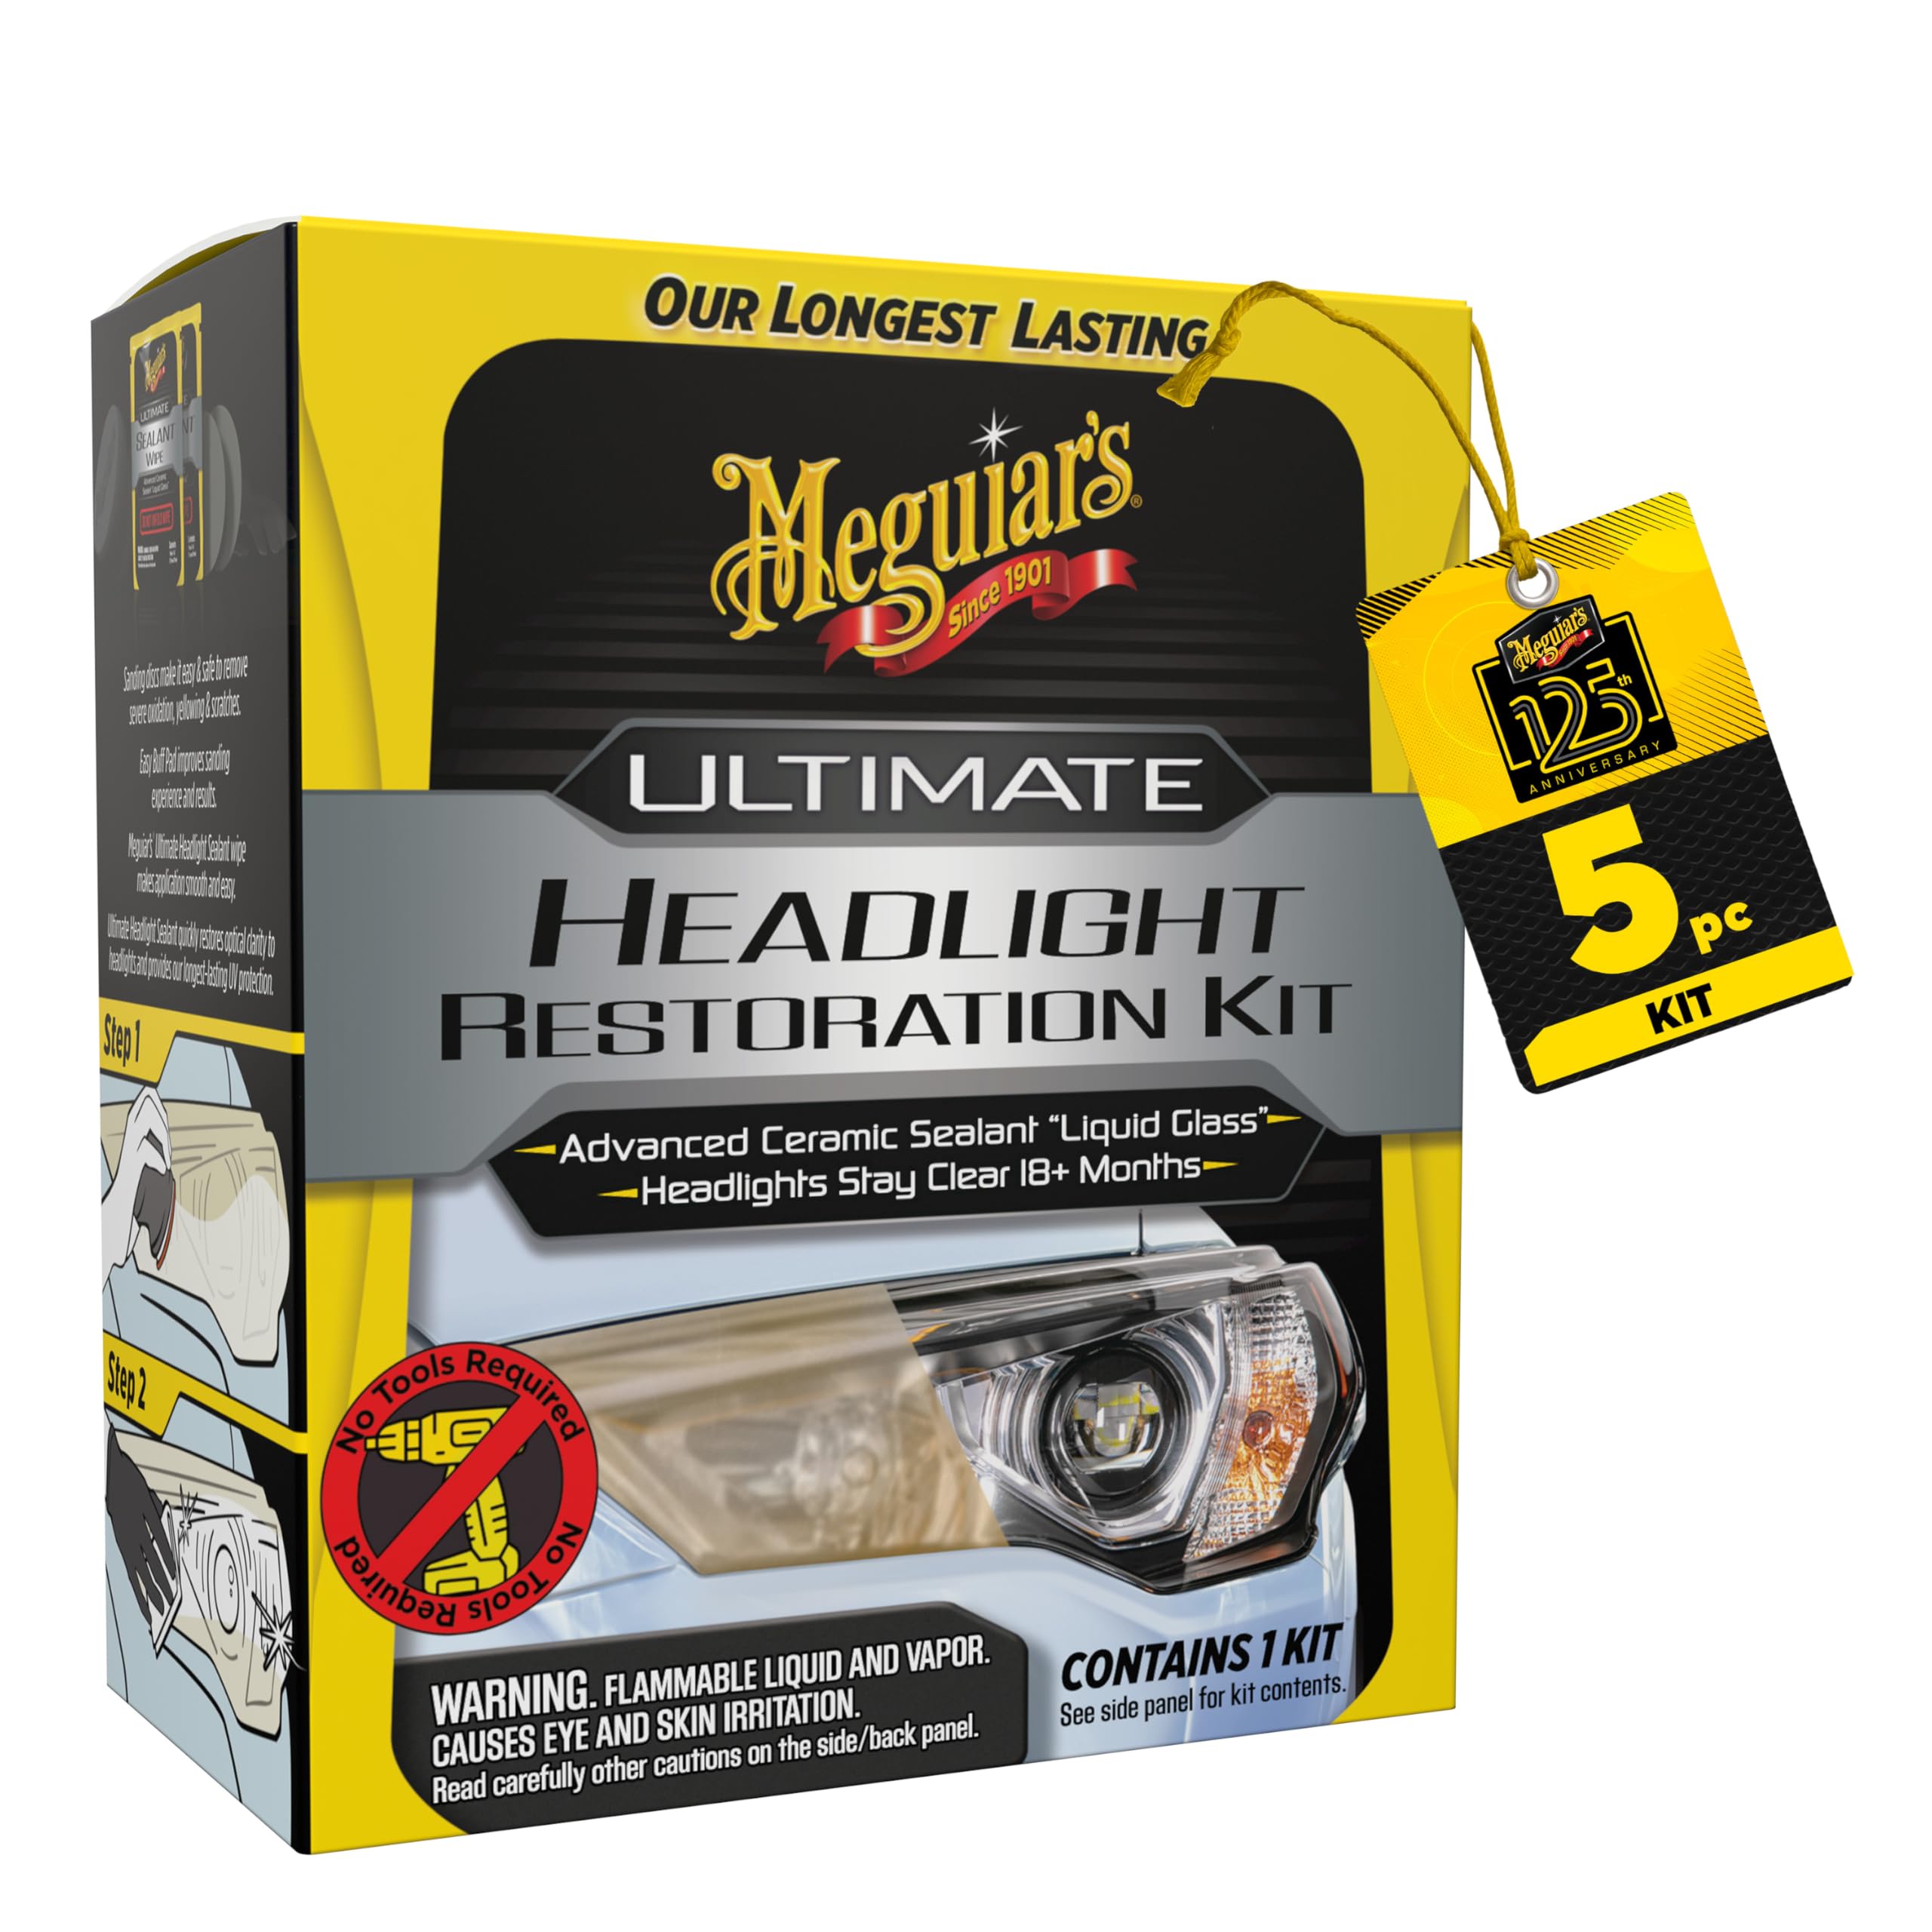
| Meguiar’s Ultimate KitLongest Protection | Longest Protection | No power tools | UV sealant (18+ months) | 1000/3000 grit discs, sealant wipes | Amazon |
| SYLVANIA Headlight Repair Kit | Best Value | No power tools | UV block clear coat | Sandpaper, activator, compound, UV coat | Amazon |
| Chemical Guys Ceramic Kit | Best No-Sand Option | No sanding required | HydroCharge ceramic spray | Compound, ceramic spray, applicator, microfiber | Amazon |
| Meguiar’s Two Step Kit | Budget Pick | No drill required | UV coating (12-month) | Abrasive pads, cleaner, coating | Amazon |
| POLIWELL Drill Kit | Best Affordable Drill Kit | Drill-based | UV block coat | 24-pack: discs, pads, drill attachment | Amazon |
| ROYWOO Repair Kit | Best for Professionals | Fumigation/vapor | Polymer coating | 600ml liquid, atomizer, sandpapers | Amazon |
| Toretark No-Sand Kit | Budget Entry-Level | Spray and wipe | Ceramic sealant (60-day) | Solution, sealant, cloths | Amazon |
In-Depth Reviews
1. CERAKOTE Ceramic Headlight Restoration Kit
Our pick — over 4.5★ from 71,500+ verified ratings; the strongest balance of quality and price.
The crowd favorite that chemically bonds a ceramic shield to your lenses for lasting clarity.
This kit skips the drill entirely. You get eight oxidation-removing wipes, a sanding kit for stubborn spots, and two ceramic coating wipes that the manufacturer states apply a layer designed to last as long as you own the vehicle. The entire process takes about 30 minutes, and the formula is designed to provide UV protection (a sun-ray barrier) that chemically bonds to the lens rather than just sitting on top of it. That means UV rays cannot attack the plastic directly, so the clarity lasts.
What wins people over here is the real-world result. Owners describe taking foggy, yellowed headlights to a “crisp, like-new finish” and note that the ceramic coating feels smooth and glossy, unlike previous kits that faded quickly. The kit is light at 4.8 ounces, so it is easy to keep in the glove box, and it covers two standard headlights—some owners even split the supplies across two cars by being careful with the sanding passes.
At 4.6 stars and a massive fan base, this is the most-trusted option for a reason. The trade-off is that the sanding step is still necessary for heavy oxidation, so you cannot skip it entirely, but the ceramic finish at the end is what makes this pick stand apart from cheaper polish-only kits like the Toretark entry-level option.
Why it Earns the Top Spot
- Ceramic coating chemically bonds for long-term UV protection
- No power tools needed—just wipes and a sanding pad
- 30-minute process delivers professional-grade clarity
Who Should Think Twice
- Heavy pitting may require extra sanding beyond the kit’s materials
- Gloves are snug; large hands may find them tricky to put on
Reach for this if: you want a proven, no-tool system that ends with a ceramic shield—this is the one owners consistently call the best they have used.
Look elsewhere if: your lenses are deeply pitted; you may need a drill-based kit like the 3M to cut down enough material first.
2. 3M Headlight Lens Restoration System, 39008
A drill-powered workhorse that eats through the worst yellowing with 500-grit (coarse) aggression.
This kit is built for the hardest cases. It uses 500-grit and 800-grit sanding discs that spin with your drill to mechanically strip the oxidized plastic layer. The system then moves to a Trizak disc and foam polishing pad with compound to finish the surface. Buyers report that the whole job on both SUV headlights takes about 40 minutes. One owner noted the kit has enough material for roughly five more sets, making it a solid value for multiple vehicles.
The catch is that masking tape is not included, and reviews advise using duct tape instead because the thin blue tape can let the drill slip and scratch the paint. At 4.64 ounces, the kit itself is light, but you need a drill and some patience to work through the grits in sequence. The results, however, are described as “crisp, like new” even on 13-year-old, 220k-mile lenses.
The honest take: If you have a drill and severely oxidized lights, this is the most effective option—just budget for better tape and plan for 40 minutes of work.
Choose this for: tackling the thickest yellowing and pitting; it restores clarity faster than hand-sanding ever could.
Skip if: you do not own a drill or prefer a no-power-tool process—the CERAKOTE is a better fit for drill-free work.
3. Meguiar’s Ultimate Headlight Restoration Kit
A tool-less kit that seals the lens with a UV barrier rated for 18 months of protection.
Meguiar’s breaks its system into two sanding steps using 1000-grit and 3000-grit (medium and fine) discs that you work by hand, then finishes with pre-saturated wipes that lay down a UV sealant. The sealant dries completely clear and is designed to protect against re-oxidation for 18 months or more. Buyers consistently praise the clarity results, with one owner reporting that less than 10 minutes of effort made old headlights “brand new and crisp.”
The kit weighs just 68 grams and includes everything you need—no drill, no extra purchases. The common advice across reviews is to follow the instructions exactly, as rushing the sanding step can leave uneven spots. The sealant is the star here; owners note that most kits only abrade (sand) the lens, but this one actually protects it long-term.
The bottom line: This is the kit to grab if you want maximum protection duration from a hand-sanding system—just be patient with the sanding discs and you will get showroom-level clarity.
Best for: drivers who want to restore their lights once and not think about it again for over a year.
Consider another if: your lenses have deep physical pitting; the light 1000-grit discs may take too long to cut through it—try the 3M drill kit instead.
4. SYLVANIA Headlight Restoration Kit

A complete hand-sanding kit with an exclusive UV-block clear coat that makes cloudy lights look brand new.
Sylvania’s kit includes a surface activator, three grades of sandpaper, a clarifying compound, and an exclusive UV-block clear coat—everything you need without a tool in sight. The process takes about 1.5 hours if you follow the instructions carefully, and owners mention saving anywhere from hundreds to over versus dealership replacement costs. One buyer restored 17-year-old headlights that had failed inspection, describing the result as “like new.”
The key to success here is patience. The sanding step uses all three papers for 2-3 minutes each, and the UV clear coat must be applied in a single overlapping stroke in the shade. A few owners caution that reworking the UV coat after it starts drying can leave a slight haze, so read the directions closely. At 4.8 ounces, the kit is compact and has enough material for two standard headlights, with some reviewers even using it on three smaller lights.
What owners agree on: take your time on the sanding and do not rework the UV coat—do that and you get results that rival a professional shop for a fraction of the cost.
Grab this if: you want a reliable, no-power-tool system that includes a dedicated UV coating and you are willing to spend 90 minutes on the job.
Pass if: you want a quick 10-minute fix; this one rewards thorough work, unlike the fast Chemical Guys no-sand option.
5. Chemical Guys Headlight Restoration and Ceramic Protection Kit
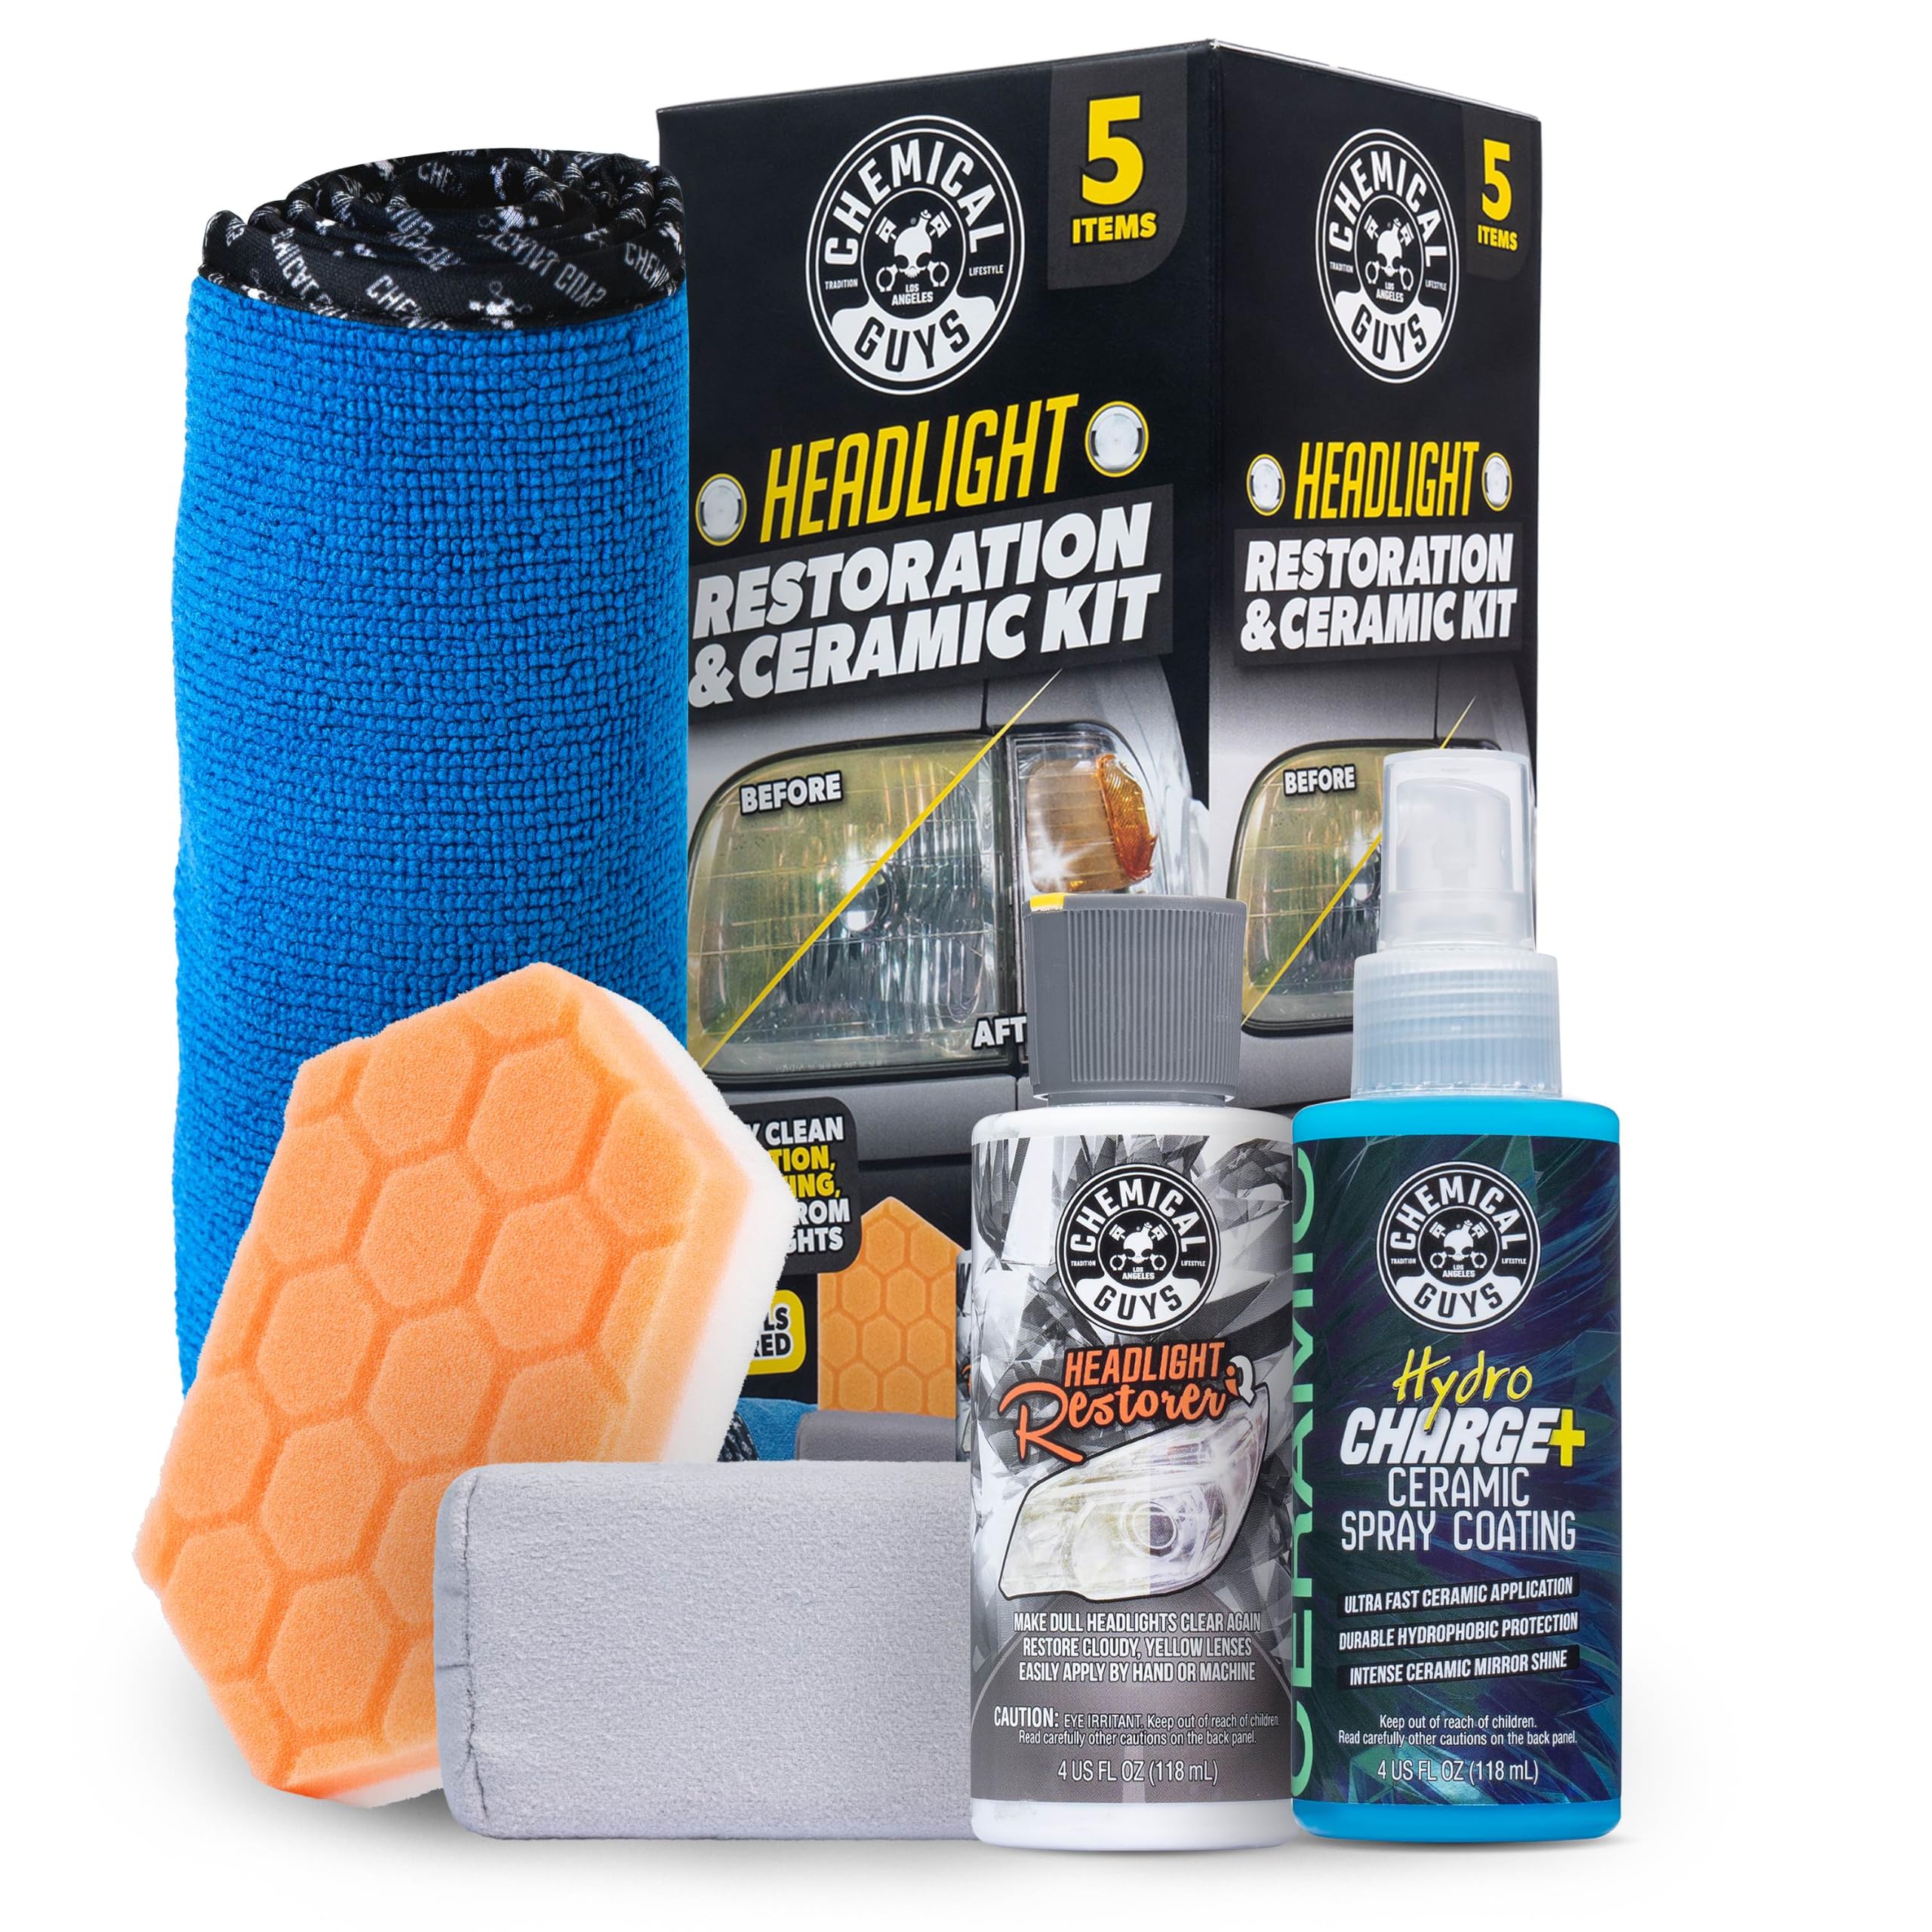
A literal wipe-on solution that uses three drops of compound per lens to clear haze without abrasion.
This kit is for the person who wants clarity without dust, water, or elbow grease. It includes a restoration compound that cuts through light to moderate oxidation, a HydroCharge ceramic spray (a ceramic coating you spray on) that protects against future UV damage, a microfiber towel, and an applicator. Owners apply just three drops of the compound per headlight, rub it in, wipe away the residue, and follow with the ceramic spray. One owner used it on a 1967 boat windshield that was so cloudy you could barely see through it and reported it worked with “very minimal elbow grease.”
The star rating sits high, and the feedback is clear: this kit is easy to the point of being easy, and it restores about 90% clarity on mild cases. The trade-off is longevity. Some owners say the results do not last as long as sanded treatments like the CERAKOTE, and one buyer plans to reapply monthly. At just over a pound, it is the heaviest of the simple kits, but the bottle delivers multiple applications.
The Fastest Route to Clarity
- No sanding, no water, no power tools—rub on and wipe off
- Three drops per lens; the bottle goes a long way
- Ceramic spray adds UV protection after cleaning
The Catch
- Not effective on heavy oxidation or deep pitting
- Results may need monthly reapplication for maximum clarity
Choose this for: a low-effort maintenance clean on moderately hazy lights—keep it in the garage for a quick touch-up whenever the lenses start looking dull.
Skip it for: seriously neglected headlights; those need sanding to remove the damaged plastic layer first, like the 3M provides.
6. Meguiar’s Two Step Headlight Restoration Kit

A two-step hand system that brings moderate haze back to life with a 12-month protective coating.
Meguiar’s two-step process is refreshingly straightforward. You apply their cleaning solution to the included abrasive pads and scrub by hand to remove oxidation and yellowing, then follow up with a headlight coating spray that seals the lens for up to 12 months. No drill, no complicated grit sequence. The kit weighs 12.8 ounces and includes enough material for one full restoration with some left over for maintenance.
Effectiveness is the most-praised aspect by a wide margin, with over 1,000 mentions. A common hybrid technique among experienced users involves pre-wet-sanding with 400-1500 grit sandpaper before using the kit’s paste, then finishing with the included spray for the best results. The spray itself gets high marks—it fills fine scratches and restores a like-new transparency.
Verdict: A solid, affordable middle-ground kit that works best on moderate yellowing and rewards those who add a bit of extra sanding prep before diving in.
Best for: budget-conscious owners dealing with moderate cloudiness who want a reputable brand and built-in UV protection.
Not ideal for: severely neglected lenses that need aggressive drill sanding—stick with the 3M for those.
7. POLIWELL Headlight Restoration Kit, 24-Pack

A complete 24-piece drill set for under that walks you from 800-grit up to a UV sealant.
POLIWELL packs serious value into this box. You get six grits of sanding discs starting at 800 and moving through 1000, 3000, and 5000, plus scouring pads, a foam pad with compound, and a UV block coat. The drill attachment makes quick work of heavy oxidation, with owners reporting about 20 minutes per light. The set is designed for headlights, taillights, fog lights, and even directional lights.
The instructions are printed on the packaging, which some owners find clear and others say could be better. The recurring note is that minor swirl marks may appear after sanding, but those polish out with the included compound. A handful of customers note after 6 months that the lenses are still clear, suggesting the UV coat does its job when applied correctly. At under a pound, it is lighter than the professional kits and takes up very little shelf space.
What to know: This kit gives you the full drill-based restoration experience at a budget-friendly price—just expect to do a final polish pass to eliminate any sanding swirls.
Reach for this if: you already own a drill and want the most discs for the least money—great for doing multiple cars or sharing with a friend.
Consider a premium kit if: you prefer a single-brand system with bonded warranty support, like the 3M for drill use.
8. ROYWOO Headlight Repair Kit

A heavy-duty fumigation system that sprays a polymer (hard plastic) coating onto the lens for industrial-strength clarity.
This kit operates differently from every other option here. Instead of wiping on a coating, you use a heated atomizer cup (a tool that vaporizes liquid) to vaporize a 600ml repair liquid that condenses onto the headlight surface, forming a hard, clear polymer layer. The kit includes six grits of sandpaper, a sponge sanding board, and the atomizer tool. The manufacturer claims the 800-gram capacity is enough to repair nearly 80 headlights. One owner used it to restore a polycarbonate skid-steer windshield that had severe scratches and cracking, bringing it to perfect clarity.
The process is labor-intensive and requires skill. The sanding stage is critical—you need to remove all cracks, scratches, and yellowing before fumigation. The atomizer must heat up for a few minutes before use, and the fumes are toxic, so owners recommend wearing an N95 mask (a respirator for airborne particles). The durability is outstanding: one reviewer noted the results lasted about 3 years before needing a repeat. At 4.16 pounds, this is the heaviest kit by far and is best suited for serious DIYers or small shops.
Professional-Level Results
- Fumigation process creates a uniform, hard polymer coating
- High capacity—600ml liquid covers numerous jobs
- Results can last years, according to owners
Not for Casual Users
- Requires careful wet sanding and toxic fume precautions
- Heavy equipment; not convenient for quick glove-box storage
Best for: advanced users or professionals who restore multiple vehicles and need a long-lasting, industrial-quality finish.
Too much if: you just want to clean your daily driver’s lights in 20 minutes—this kit demands time, space, and safety gear.
9. Toretark Car Headlight Restoration Kit
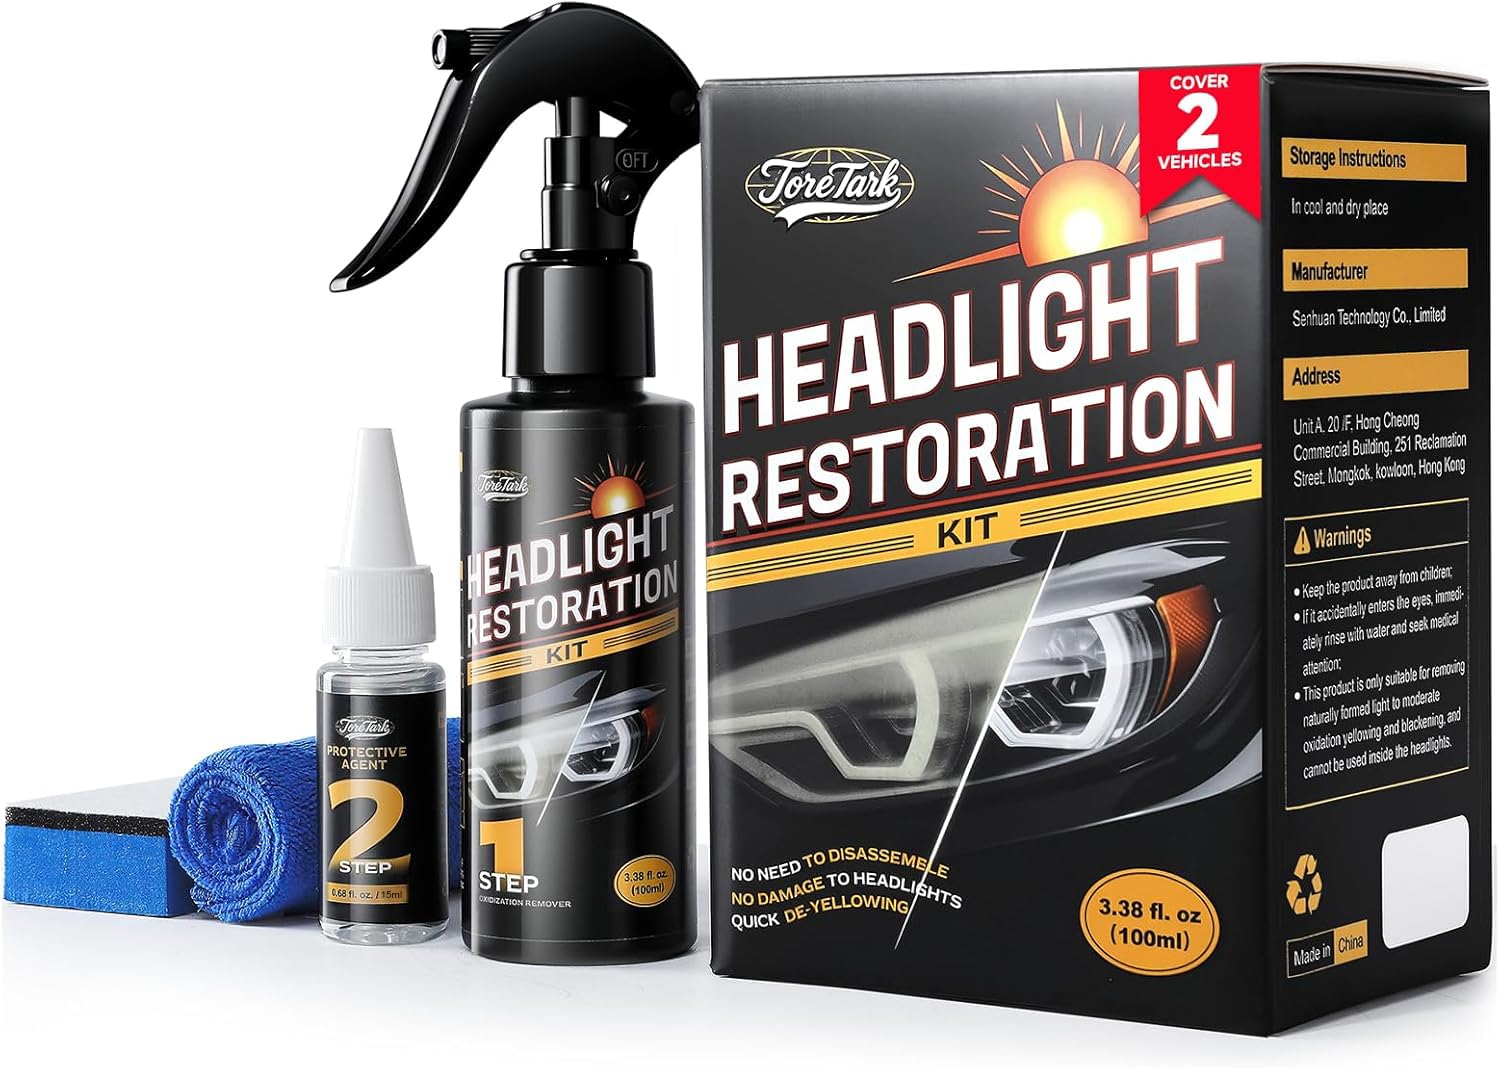
A spray-on, rinse-off system that restores clarity without touching a grain of sandpaper.
Toretark’s kit is the polar opposite of a sanding-heavy restoration. You spray the cleaning solution on the lens, rinse it off, then apply the sealant in one direction only. The manufacturer states this is a true ceramic coating that bonds to the lens rather than a temporary dressing that washes off. Each application provides up to 60 days of protection, and the kit includes enough sealant for three applications across up to 6 headlights in total.
The biggest praise comes from owners who were intimidated by sanding. One buyer called it “awesome” and said it works without sanding or scrubbing at all. The key instruction is to apply the protective agent in one direction only—going back and forth causes visible streaks. The most common mistake is applying it in hot weather; reviewers point out that 80+ degree temperatures cause the coating to dry too fast, leaving streaks. Work in cool, shaded conditions for the best result.
The honest read: This is the easiest restoration method available, but the 60-day protection window means you will be reapplying more often than with a sanded, long-term ceramic fix like the CERAKOTE.
Perfect for: beginners or anyone who wants a no-mess, no-skill solution for light haze—great for keeping in the trunk for a quick clean before a road trip.
Not for: drivers with deep yellowing who want a one-and-done treatment lasting years.
Understanding the Specs
Sanding Grit Sequence
Grit numbers tell you how rough the sandpaper is. A lower number like 500 or 800 is coarse and cuts through heavy oxidation fast. A higher number like 3000 or 5000 is fine and smooths the surface for a clear finish. Most kits walk you through a sequence from coarse to fine. Skipping a grit or rushing a step leaves visible scratches that the final coating will not hide.
Ceramic vs. UV Coating
A ceramic coating chemically bonds to the plastic and creates a hard, glass-like layer that blocks UV rays. Standard UV coatings sit on top and wear off faster. If a kit says “ceramic,” you are getting longer protection and better scratch resistance. If it only lists “UV clear coat,” expect to reapply more frequently—the trade-off is usually a simpler application process with no sanding required.
FAQ
How often do I need to restore my headlights?
Can I use these kits on fog lights or taillights?
Does a no-sand kit work as well as one with sanding?
How long does the whole restoration process take?
Will a restoration kit work on glass headlights?
What is the difference between a drill kit and a hand-sanding kit?
Do I need to buy anything extra to use these kits?
Why does my headlight turn yellow again so fast after some treatments?
Final Thoughts: The Verdict
If you want the best headlight restoration kits have to offer—backed by tens of thousands of owners who call it the most effective they have used—the CERAKOTE Ceramic Kit is the clear winner because its ceramic coating chemically bonds to the lens for long-term UV protection. If you prefer to let a drill do the heavy lifting on severely yellowed lights, the 3M Lens Restoration System cuts through the toughest oxidation in about 40 minutes. And for a fast, no-mess refresh on moderately hazy headlights, the Chemical Guys Kit requires zero sanding and delivers clarity in minutes.
How We Picked
We do not accept paid placement. Every pick is matched to a real buyer and a real use-case; we do not hands-on test units.
Sources & Methodology
Specifications: manufacturer listings and product documentation. Review insights: verified customer reviews, as of July 2026. Pricing: not shown on this page (it changes often); check the current price via the retailer link.
As an Amazon Associate, Trending Car earns from qualifying purchases. This does not affect which products we feature.