
Our readers keep the lights on and my garage snacks stocked. As an Amazon Associate, I earn from qualifying purchases.
Specs are compiled from manufacturer listings and verified buyer reviews and can change over time — please confirm the key details on the product page before buying.
Your headlights are turning yellow, and night driving feels like looking through a fogged-up window. A good headlight cleaner restores that lost visibility, but with spray-on liquids, all-in-one sanding kits, and ceramic coatings all promising “like new” results, picking the wrong one can leave you with scratched plastic or work that fades in weeks. This guide cuts through the haze with eight proven kits, ranked by real owner feedback and the hard specs that separate a one-time fix from a product you will reapply every season.
I’m Min Islam — the founder and writer behind Trending Car. This guide is built by comparing the manufacturers’ published specifications and the patterns across verified customer reviews, so you get each pick’s real strengths and trade-offs instead of marketing spin.
The right headlight cleaner delivers clear, safe night vision and lasts long after the application wipe is dry — here are the kits owners trust to do it right the first time.
Our Picks at a Glance


How To Choose The Best Headlight Cleaner
Not every kit attacks the same level of damage. A paste polish handles surface haze, but a full restoration kit with sanding discs cuts through deep yellowing and seals the plastic so the fog does not creep back. Pay attention to what you are actually buying: a temporary polish is different from a UV-blocking restoration treatment.
Grit and Abrasion — The Most Overlooked Spec
The grit number of the sandpaper or abrasive determines how deep you cut into the plastic. Kits that rely on a single 280-grit or 500-grit abrasive can remove heavy oxidation but leave fine scratches behind unless they include progressively finer grits (like 1000, 2000, or 3000) to polish the surface smooth. A multi-grit progression is the hallmark of a serious restoration kit; a single-grade compound is a cosmetic quick fix.
Protection Layer — The Difference Between a Week and a Year
Once you strip off the oxidized plastic, the raw lens underneath is vulnerable to UV light. Without a dedicated clear coat, UV-blocking sealant, or ceramic coating, the lens re-yellows in a matter of weeks or months. Kits that advertise “18+ months of protection” or “lasts as long as you own your vehicle” include a finishing sealant that chemically bonds to the plastic. Skip this step and you gain clarity only briefly; the protection step is what makes the effort worth it.
Quick Comparison
| Model | Best For | Abrasive Grits | Protection Type | Tool Required | Amazon |
|---|---|---|---|---|---|
| CERAKOTE Ceramic Headlight Restoration Kit★ Best Overall | Best Overall UV protection | Sandpaper + Oxidation Wipes | Ceramic Coating | None | Amazon |
| 3M Headlight Lens Restoration SystemTop Performer | Drill-powered depth | 500 | Polish Compound | Drill | Amazon |
| 200ml Car Headlight Restoration LiquidBest Value | Vapor-based refinishing | N/A (vapor polish) | Repair Fluid | Atomizing Cup | Amazon |
| Sylvania Headlight Restoration Kit | Complete no-tool restoration | 3-grit paper | UV Block Clear Coat | None | Amazon |
| Meguiar’s Ultimate Headlight Restoration Kit | Fast hand-sanding sealant | 1000 / 3000 | UV Sealant (18+ months) | None | Amazon |
| 800g Auto Headlight Restoration Liquid | Large-volume vapor kit | N/A (vapor polish) | Repair Fluid | Atomizing Cup | Amazon |
| T-Cut Headlight Polishing Compound | Budget hand polish | 280 (fine-medium) | Polishing Wax | None | Amazon |
| ROYWOO Headlight Repair Kit | Heavy-duty with atomizer | 6 grit sandpapers | 600ml Repair Liquid | Atomizing Cup | Amazon |
In‑Depth Reviews
1. CERAKOTE Ceramic Headlight Restoration Kit
Our pick — over 4.5★ from 71,500+ verified ratings; the strongest balance of quality and price.
The ceramic-heavyweight that chemically bonds to your lenses, promising to outlast your ownership of the car.
This kit does not use a temporary wax. The three-step process uses Oxidation Removing Wipes, a Sanding Kit, and two Ceramic Coating Wipes. The ceramic coating chemically fuses to the polycarbonate lens (a tough, clear plastic). It includes built-in UV protection, so once you wipe it on, the lens is shielded from the sun. You need no power tools for any step — a time-saver for anyone nervous about drilling into their car.
The crowd favorite — it holds one of the highest owner satisfaction scores in the category. Reviewers praise the effectiveness most, followed by how easy the process is. A recurring honest note is that the clarity result depends heavily on following the video directions precisely: work in the shade, use 50% overlap on strokes, and finish applying in under a minute.
Some buyers report that after about 9 months the headlights begin to re-cloud, which contradicts the brand’s claim that it lasts “as long as you own your vehicle.” That gap is worth noting: the ceramic protection is real and long-lasting, but the surface prep — completely removing every trace of old oxidation — determines how tight that bond holds. For most cars, expect annual maintenance rather than a one-and-done. Unlike the 3M kit, this one stops at a ceramic wipe rather than a polish, so it protects longer but requires more careful prep.
Why It Clears the Crowd
- Ceramic coating provides genuine UV-blocking protection after the repair
- No drill, no machine — just wipes and sandpaper for a clean finish
- Kit weighs only 4.8 ounces (136 grams), lighter than many competitors
The Recurring Reality Check
- Yearly reapplication is typical for most cars despite the brand’s lifetime claim
- Mistakes in the coating step (wind, re-wiping) can leave visible haze
Grab it if you want: a ceramic-sealed finish that protects your headlights from UV for as long as you own the car, with minimal gear.
Think twice if: your lenses are deeply pitted or cracked — ceramic fills nothing; it only coats what you prep.
2. 3M Headlight Lens Restoration System, 39008
The drill-powered workhorse that chews through heavy yellowing in a 40-minute session per set of lights.
This system is for the person who wants raw removal power. The kit uses a drill-activated 500-grit sanding disc and a foam polishing pad. The 500-grit sanding disc cuts deep oxidation fast, and the foam pad polishes it out, leaving a finish that one buyer described as “crisp” after tackling 13-year-old lenses with 220,000 miles of wear.
Owners consistently praise the effectiveness and the quality of the included discs — there are enough sanding discs in the box for about five more headlight sets after your first job. The process takes about 40 minutes for a pair of SUV headlights, which is significantly faster than a manual sanding kit like Meguiar’s. However, the kit does not include a drill, so you need one on hand. The included masking tape is thin; owners recommend heavy-duty duct tape to protect your paint from scratches.
At just 4.64 ounces (132 grams), the 3M kit is a 2.3x lighter package than the 200ml vapor-based repair fluid — a massive weight gap that reflects its sanding-disc approach versus a liquid system. The verdict from the owner community: this is the most effective drill-based kit available, though the clarity can be mixed if the lens has internal clouding that sanding cannot touch. It offers sharper removal power than the CERAKOTE kit but lacks UV protection.
Best for the drill owner: If you already have a variable-speed drill and want maximum cutting power for deeply yellowed lenses, this kit outworks any hand-sanding competitor in a fraction of the time.
A fair caveat: The finishing compound is a polish, not a UV sealant — you will need an additional clear coat or ceramic wipe if you want the results to last beyond a few months.
Reach for this when: your headlights look like frosted glass — the 500-800-3000 grit progression will grind that haze down to fresh plastic.
Look elsewhere if: you want a tool-free project or a kit that includes a UV-blocking top coat.
3. 200ml Car Headlight Restoration Liquid
A vapor-based refill that relies on an atomizing cup (a device that heats liquid into vapor) to steam-clean plastic back to clarity.
This kit works differently from the sand-and-polish approach. The 200ml repair liquid is poured into an atomizing cup, which heats the liquid and emits a vapor that reflows the plastic surface to fill fine scratches and remove haze. The key instruction — and the most common source of trouble — is to never apply the liquid directly onto the lens, as the raw chemical can damage the plastic.
Owners highlight the functionality of the system — 67 positive mentions make it the standout feature — and the quality of the results when the proper prep and application steps are followed. The process requires patience and a wind-free environment. Users who skip the YouTube tutorial often struggle. The most-sounded caution from the community is durability: the vapor treatment can cause micro cracks on certain plastics, especially if the surface was not prepped uniformly with the correct sandpaper grit.
At 10.9 ounces (309 grams), this is a heavy bottle by headlight-cleaner standards — a 2.3x weight gap compared to a traditional sanding kit like the 3M system above. The bulk is the liquid itself, which means you get many more treatments per purchase if you already own an atomizing cup.
The right fit: This is ideal if you are comfortable with a more technical process involving vapor and an atomizer — you can refinish multiple cars from a single 200ml bottle.
skip it if: you want a simple wipe-on polish or if your headlights already have hairline cracks; the vapor may worsen them.
Best for: experienced DIYers who want a low-abrasion, high-volume refinishing solution that fills micro scratches.
Not for: a quick weekend fix — this method needs dedicated setup and a still workspace.
4. T-Cut Headlight Polishing Compound

The straightforward paste polish for mild haze — rub it on with a cloth and watch the yellow lift.
If your headlights are slightly hazy rather than deeply yellowed, this T-Cut compound does the job with nothing more than elbow grease and a rag. The 280-grit aluminum oxide abrasive is medium-fine, aggressive enough to remove surface oxidation but gentle enough to apply by hand or with a machine buffer. It works on plastic, glass, and acrylic headlights — a rare material range that also makes it useful for polishing light scratches out of other surfaces.
Owners mention it works great for lifting haze and even removing scratches left by other restoration kits. The simple paste format means no mixing, no sanding discs, and no waiting. However, several buyers found that hand application alone did not produce a crisp finish — the compound works best as a polishing follow-up after a proper wet-sanding step, or when used with a drill buff pad. It lacks the grit progression of the 3M kit, so it cannot handle heavy oxidation as well.
When to reach for it: This is your ideal if you need a quick shine-up before selling the car, or if the haze is light enough that a single polish pass is all you need.
Fair honesty: For heavy yellowing or deeply scratched lenses, a multi-grit kit will outperform this paste every time.
Reach for it if: you want a simple, inexpensive polish for mild haze or to buff out scratches — no tools, no learning curve.
Look elsewhere if: your headlights are badly yellowed or you need a lasting UV protection layer.
5. SYLVANIA Headlight Restoration Kit

The all-in-one no-tool kit that includes a dedicated UV block clear coat for lasting protection.
Sylvania brings a complete system: surface activator, premium sandpaper in three grits, a clarifying compound, and an exclusive UV block clear coat. That clear coat is the star — it is a separate step applied after sanding and polishing, creating a hard protective layer that prevents the plastic from re-yellowing. The kit requires no power tools, just your hands, a spray bottle, and about 1.5 hours of your time.
What wins owners over is the overall functionality and the appearance. The most-praised elements are the clear results and the money saved versus dealership replacement — one owner noted the kit saved compared to a professional replacement on a 17-year-old car. The UV coating is the key differentiator here; unlike the 3M kit, which leaves bare polished plastic exposed to the sun, this one seals the work.
The honest trade-off is the learning curve. The process is finicky: you must apply the activator twice, sand each of the three grits for 2-3 minutes, and apply the UV sealer in the shade without reworking it. A mistake in the UV step — such as overlapping strokes or applying in direct sun — can leave a permanent haze that is not fixable.
The strongest case: If you want a single kit that does everything from stripping oxidation to applying a lasting UV clear coat, this is the most complete no-tool option available.
One caveat: The 400-grit paper can leave faint marks on softer plastic; some owners recommend supplementing with a finer 2500-grit sheet for the final pass.
Best for: owners who want showroom-quality clarity with a genuine UV block — the kit includes and applies a protective layer, not just a polish.
pass on it if: you want a 20-minute job; this is a deliberate afternoon project.
6. 800g Auto Headlight Restoration Liquid

The four-times-larger refill bottle for the vapor-atomizer crowd who refinish multiple vehicles.
This is the big brother of the 200ml vapor kit. Also from Ghguole, it uses the same atomizing-cup method — pour the repair liquid into the cup, heat it, and apply the vapor to the lens. The enormous 800g bottle (roughly four times the 200ml version) makes sense if you are restoring headlights for a whole fleet or plan to reapply every season. The silicon carbide grit material (a very hard abrasive for sharp cutting) in the included sanding supplies adds a fine-grit finishing step that the smaller kit lacks.
Functionality and quality lead the owner feedback, with the most positive mentions centered on how well the vapor removes oxidation and haze when the prep work is done right. Customers note the atomizer occasionally produces puffs of vapor instead of a steady stream, and the process can feel tedious — reviewers point out roughly 45 minutes per headlight for proper sanding before the vapor step. The instructions cover the vapor step well but skip details on sanding preparation, which is a bigger issue here than with the simpler 200ml kit.
Reach for it if: you already own an atomizing cup and need a massive refill supply — 800g goes a long way for multiple cars or annual touch-ups.
A realistic caution: This kit demands more setup and patience than a simple sand-and-wipe kit; it is not a grab-and-go product.
Best for: the dedicated DIYer who wants a high-volume liquid supply for vapor-based refinishing on multiple vehicles.
Not for: quick first-time users who want a simple to use, single-session kit.
7. Meguiar’s Ultimate Headlight Restoration Kit
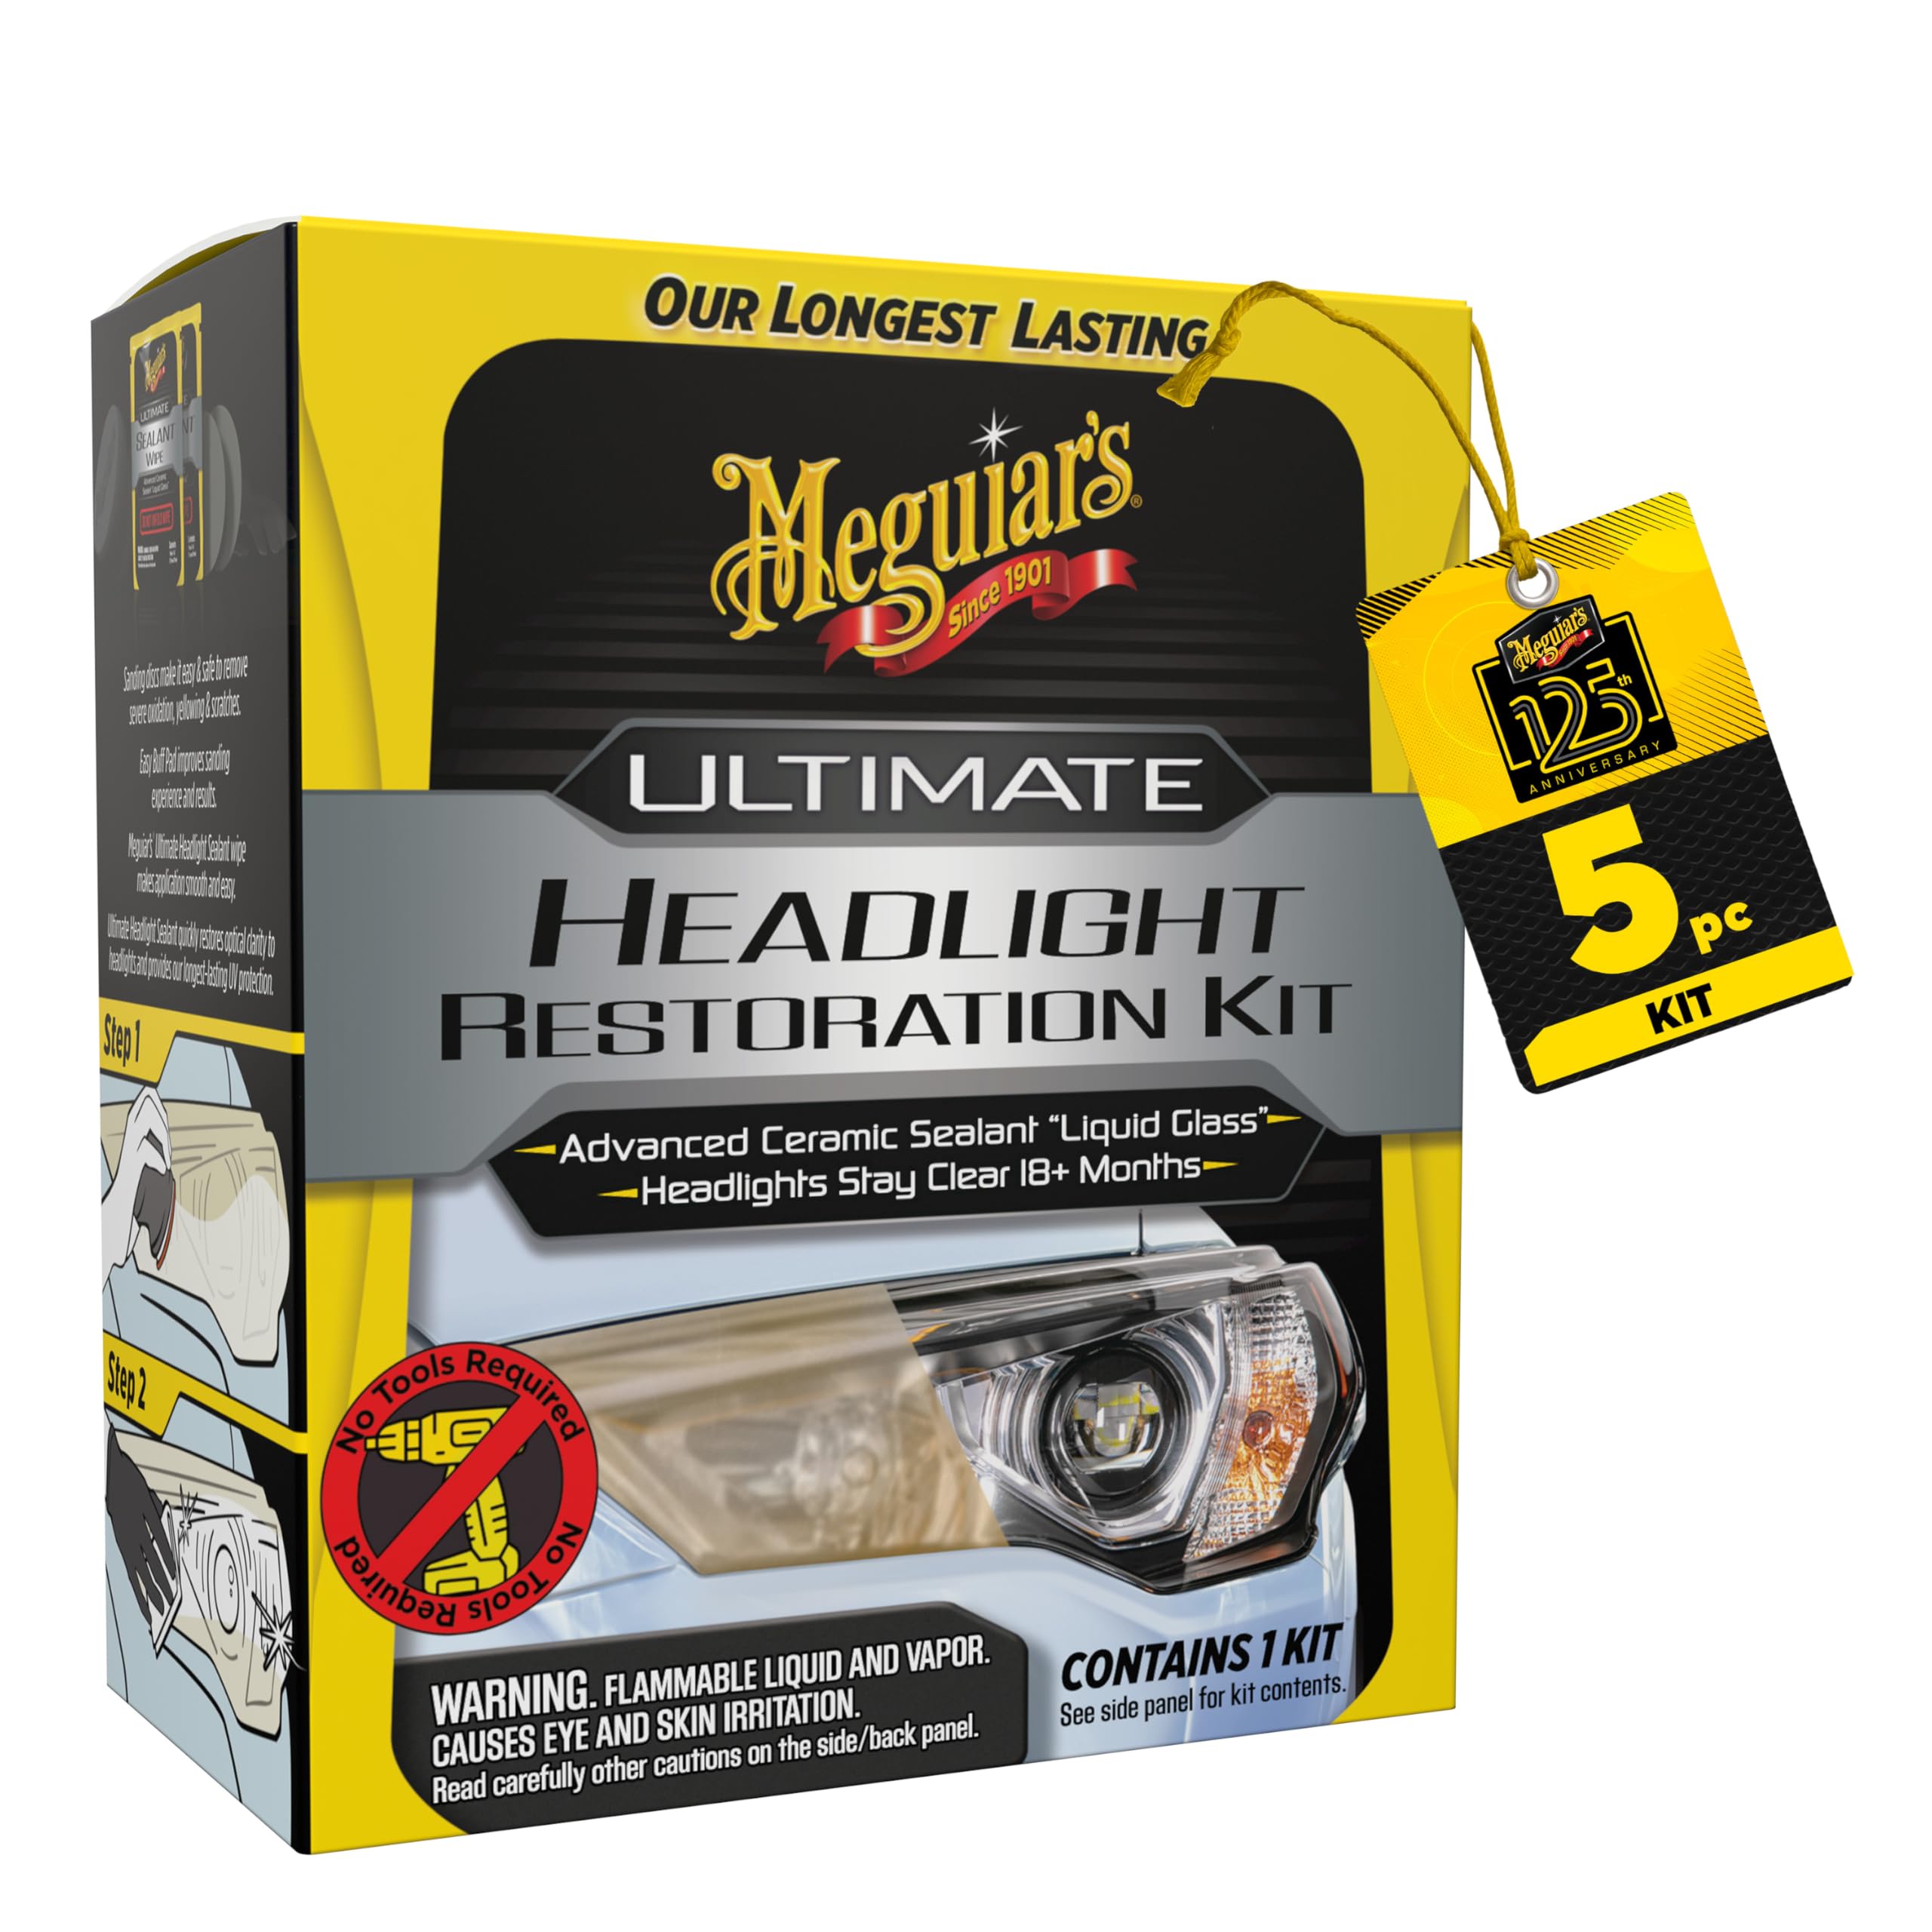
A boutique kit that skips heavy sanding for a targeted 1000/3000 grit progression and a fast-drying sealant.
Meguiar’s designed this one for speed without sacrificing protection. You get two grades of sanding paper — 1000 grit and 3000 grit — which is a narrower range than the 3M kit but perfectly calibrated for mild-to-moderate yellowing. After sanding, you wipe on pre-saturated sealant wipes that deliver a UV-blocking clear coat rated for 18+ months of protection. The sealant dries completely clear, so there is no risk of hazy residue.
What owners love most is how easy it is. The effectiveness is the top praise, followed by the ease of use. One owner summed it up: in less than 10 minutes, old headlights looked brand new and crisp. That speed comes from the tool-free design — no drill, no atomizer, just hand sanding and wipes. The sealant step is the standout feature; unlike many kits that stop at polishing, this one seals the plastic against UV re-oxidation.
The honest feedback from the community is that the 18+ month claim may be optimistic in practice — some buyers noted the sealant begins to degrade before the minimum promised duration. The kit weighs only 0.15 pounds (68 grams), which is the lightest in this roundup by far, reflecting the small volume of sealant wipes.
When to grab it: If your headlights are mildly hazy and you want a fast, no-mess kit that includes genuine UV sealant wipes for lasting protection.
A real note: The drying time for the sealant is longer than advertised for some users, so factor in 30+ minutes of curing before driving.
Best for: those who want a quick, tool-free restoration with a clear UV sealant that lasts longer than most wipes.
Think twice if: your lenses are heavily yellowed or pitted — the two-grit system lacks the aggressive cutting power of a 500-grit start.
8. ROYWOO Headlight Repair Kit

The 600ml atomic-level kit that includes six sanding grits and a heated vapor cup for industrial-level results.
ROYWOO offers the most comprehensive atomizer kit in this list. The 600ml repair liquid (packaged in a 4.16-pound kit) works with the included heated boiler cup to produce a vapor that reflows the lens surface. What sets this apart from the Ghguole kits is the six-grit sandpaper progression, giving you a much finer range for a smoother finish. The manufacturer claims the kit can repair nearly 80 headlights if used properly — a massive value proposition for a shop or a homeowner with multiple cars.
Owner feedback is overwhelmingly positive on effectiveness. The most singular praise comes from a buyer who restored a polycarbonate skid-steer windshield from severe scratches to perfectly clear, saving over in replacement cost. The atomizer cup itself earns strong marks for its upgraded electrolytic liner (a coating that prevents corrosion), which the brand claims produces a finer vapor that saves both liquid and application time.
The process is labor-intensive. Several hours of sanding may be required for badly damaged lenses, and the instructions strongly emphasize that the first sanding step is the most critical — if you do not remove all scratches and yellowing before the vapor step, you seal the flaws in permanently. The kit also releases toxic fumes during the vapor process, so an N95 mask (a type of respirator) is recommended.
Reach for it if: you need a true pro-grade system that can handle everything from fogged headlights to heavily scratched polycarbonate windshields — 600ml of liquid covers dozens of treatments.
A significant caveat: This is not a beginner’s kit. The six-grit sanding sequence and vapor application demand patience, proper ventilation, and careful masking with heavy-duty tape.
Best for: the serious DIYer or small shop that wants a complete, multi-use vapor restoration station for dozens of headlights.
it’s not for you if: you want a quick Sunday afternoon fix — this is a dedicated multi-hour project with chemical vapor.
Understanding the Specs
Grit Progression — The Sandpaper Ladder
The grit number tells you how coarse the abrasive is. A lower number (like 280 or 500) cuts deeper into the plastic, removing heavy yellowing and deep oxidation quickly. A higher number (2000, 3000, or higher) polishes out the fine scratches left by the coarser grit. The best kits include a progression — for example 500 → 800 → 3000 — so you cut deep, then smooth over, then polish. A kit with only one or two grits may leave visible sanding marks if you stop too early.
Protection — UV Sealant vs. Clear Coat vs. Ceramic
Once the old, oxidized plastic is sanded away, the raw lens underneath is vulnerable to UV light. A UV sealant or clear coat creates a thin sacrificial layer that absorbs the sun’s rays so the plastic does not yellow again. A ceramic coating chemically bonds to the lens for a harder, longer-lasting shield. Some kits stop at polishing with no protection layer — these will need reapplication within weeks. Look for kits that explicitly mention UV protection, sealant, or ceramic coating in the steps.
FAQ
How often do I need to reapply a headlight cleaner or restoration kit?
Will a headlight cleaner work on deeply scratched or pitted lenses?
Can I use a drill-powered restoration kit on any car?
Do vapor-based headlight repair liquids work as well as sanding kits?
Is it worth buying a kit that includes a UV clear coat over a simple polish?
Can I use a headlight restoration kit on my tail lights or fog lights?
How long does a single restoration session usually take?
Will a headlight cleaner fix foggy headlights on the inside of the lens?
What should I do to prepare my car before using a restoration kit?
How do I know if my headlights are too far gone for any restoration kit?
Final Thoughts: The Verdict
For the majority of shoppers, the best headlight cleaner winner is the CERAKOTE Ceramic Headlight Restoration Kit because it combines a powerful ceramic coating with an easy no-tool process that keeps your lenses clear for months. If you want a drill-powered system that cuts through the deepest yellowing fast, grab the 3M Headlight Lens Restoration System. And for a complete, tool-free kit that includes a dedicated UV clear coat for lasting showroom results, the SYLVANIA Headlight Restoration Kit is the one to reach for.
How We Picked
We do not accept paid placement. Every pick is matched to a real buyer and a real use-case; we do not hands-on test units.
Sources & Methodology
Specifications: manufacturer listings and product documentation. Review insights: verified customer reviews, as of July 2026. Pricing: not shown on this page (it changes often); check the current price via the retailer link.
As an Amazon Associate, Trending Car earns from qualifying purchases. This does not affect which products we feature.