
Learn how to turn your laptop into an OBD2 scanner for easy and cost-effective car diagnostics. This guide walks you through the necessary tools, software, and step-by-step instructions to diagnose your vehicle using your laptop. Save money and gain control over your car maintenance with this simple DIY method.
Quick Answers to Common Questions
Can I use any laptop for OBD2 scanning?
Most laptops with USB, Bluetooth, or Wi-Fi support can be used, but check compatibility with your chosen adapter and software.
Is an internet connection needed during scanning?
Not necessarily. Many OBD2 software programs work offline, but you’ll need internet access to update software or look up codes.
Can I use this method on all cars?
OBD2 is standard on most vehicles built after 1996, but some older or non-US cars may not support it fully.
What if my laptop doesn’t detect the adapter?
Try reinstalling drivers, checking USB ports, or pairing Bluetooth again. Restarting devices often helps.
Is Bluetooth or USB adapter better?
USB adapters offer more stable connections, while Bluetooth adapters offer convenience and wireless use. Choose based on your preference.
How to Turn Laptop into OBD2 Scanner for Easy Car Diagnostics
If you want to save money on car repairs and better understand your vehicle’s health, turning your laptop into an OBD2 scanner is a smart move. This complete guide will walk you through everything you need to know—from choosing the right OBD2 adapter to installing software and interpreting diagnostic codes. By the end, you’ll be ready to perform easy car diagnostics right from your laptop.
What You Will Learn
- What an OBD2 scanner does and why you need one
- How to select the right OBD2 adapter for your laptop and car
- Step-by-step instructions for connecting your laptop to your car’s OBD2 port
- How to install and use software for reading diagnostic codes
- How to troubleshoot common issues and interpret results
Step 1: Understand OBD2 Scanners and Their Importance
On-Board Diagnostics 2 (OBD2) is a standardized system used in most cars manufactured after 1996. It provides access to your vehicle’s health data through a diagnostic port. An OBD2 scanner reads this data, helping you identify issues like engine problems, emission faults, and sensor errors.
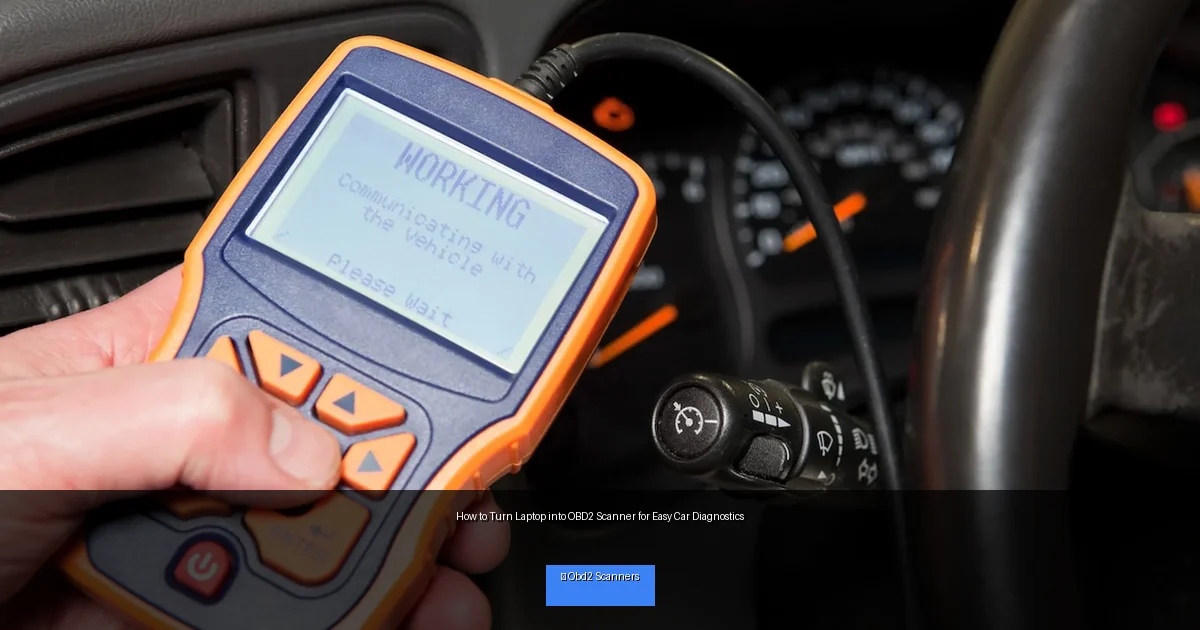
Visual guide about How to Turn Laptop into OBD2 Scanner for Easy Car Diagnostics
Image source: repairsmith-prod-wordpress.s3.amazonaws.com
Using your laptop as an OBD2 scanner allows you to:
- Read trouble codes (DTCs)
- Clear error codes
- Monitor real-time data
- Diagnose car problems without expensive visits to mechanics
Step 2: Choose the Right OBD2 Adapter
The OBD2 adapter connects your car’s diagnostic port to your laptop. There are three main types:
USB OBD2 Adapters
These plug directly into your laptop’s USB port. They’re usually reliable and fast but require a cable connection.
Bluetooth OBD2 Adapters
These adapters connect wirelessly to your laptop via Bluetooth. They offer more convenience but may have compatibility issues on some laptops.
Wi-Fi OBD2 Adapters
These create a Wi-Fi network your laptop can join. They’re versatile and work well with various devices, including laptops.
Tip: Check your laptop’s connectivity options and your car’s OBD2 port location before buying an adapter. Popular brands include ELM327-based adapters, which are widely supported by software.
Step 3: Locate Your Car’s OBD2 Port
The OBD2 port is usually located under the dashboard near the driver’s seat. Common places include:
- Below the steering column
- Near the fuse box
- Underneath the dashboard panel
The port is a 16-pin trapezoidal connector. If you have trouble finding it, consult your vehicle’s manual or search online for your car’s specific port location.
Step 4: Prepare Your Laptop
Check System Requirements
Make sure your laptop meets the minimum requirements for the OBD2 software you plan to use. Most apps work on Windows, but some also support Mac and Linux.
Install Necessary Drivers
Some OBD2 adapters require specific drivers. Your adapter’s package should include instructions or links. Installing drivers correctly ensures your laptop recognizes the device.
Step 5: Install OBD2 Diagnostic Software
There are many software options to turn your laptop into an OBD2 scanner. Here are a few examples:
- OBD Auto Doctor: User-friendly interface, free and paid versions.
- Torque Pro (via emulator): Popular on Android, can be run on laptops with emulators.
- ScanMaster: Advanced features for serious users.
- FORScan: Designed for Ford, Mazda, Lincoln, and Mercury vehicles.
Tip: Choose software compatible with your adapter and car model.
Step 6: Connect Your Laptop to the Car
Plug in Your OBD2 Adapter
Insert the adapter into the vehicle’s OBD2 port firmly.
Turn on Your Vehicle
Switch the ignition to the “on” position without starting the engine. This powers the car’s computer.
Connect Your Laptop to the Adapter
- For USB adapters, plug the adapter into your laptop’s USB port.
- For Bluetooth adapters, pair your laptop’s Bluetooth with the device.
- For Wi-Fi adapters, connect your laptop to the adapter’s Wi-Fi network.
Step 7: Launch the Diagnostic Software and Scan
Open the installed software. It should detect the adapter automatically. If not, select the correct communication port manually.
Start a scan to read diagnostic trouble codes and real-time data. The software will display error codes, sensor readings, and other useful information.
Step 8: Interpret Diagnostic Codes
OBD2 codes usually start with a letter (P, B, C, U) followed by numbers. For example, P0301 means “Cylinder 1 Misfire Detected.”
- P codes: Powertrain (engine and Transmission Warning: What It Means and What to Do”>transmission)
- B codes: Body (airbags, seat belts)
- C codes: Chassis (brakes, suspension)
- U codes: Network (communication errors)
Use the software’s code definitions or online databases to understand what each code means. This helps you decide if you can fix the issue yourself or need professional help.
Troubleshooting Common Issues
Adapter Not Detected
- Ensure the adapter is plugged in properly.
- Check that the vehicle ignition is on.
- Verify drivers are installed correctly.
- Try a different USB port or reconnect Bluetooth/Wi-Fi.
Software Unable to Read Codes
- Make sure your car’s OBD2 system is compatible.
- Update your software to the latest version.
- Restart software and reconnect adapter.
Connection Drops Frequently
- Use a USB adapter for more stable connection.
- Reduce distance between the adapter and laptop for Bluetooth/Wi-Fi.
- Replace adapter if faulty.
Practical Tips for Using Your Laptop as an OBD2 Scanner
- Keep your software updated: Developers add new car models and fix bugs regularly.
- Use a laptop stand or mount: For easy viewing and safer operation while parked.
- Take notes: Record codes and symptoms to track recurring problems.
- Clear codes after repairs: Resetting codes helps confirm if issues are resolved.
- Respect safety: Always perform diagnostics with the vehicle parked and engine off or idling, depending on instructions.
Conclusion
Turning your laptop into an OBD2 scanner is a cost-effective way to take control of your car diagnostics. With the right adapter, software, and a little setup, you can easily read, clear, and understand vehicle trouble codes. This empowers you to save on repair costs and maintain your car better. Follow this guide carefully, and you’ll be scanning like a pro in no time!
🎥 Related Video: How to use laptop as OBD2 Scanner
📺 @Iamcarhacker – OBD2 scanners
Best laptop software: https://www.iamcarhacker.com/best-laptop-obd2-software/ ➡️ OBD2 Buyers guide PDF: …