
Our readers keep the lights on and my garage snacks stocked. As an Amazon Associate, I earn from qualifying purchases.
Specs are compiled from manufacturer listings and verified buyer reviews and can change over time — please confirm the key details on the product page before buying.
You bought a car so you could see where you are going at night, but those cloudy headlights are stealing most of your low beams. The glare scatters; the road dims. The answer isn’t a new housing or a mechanic — it’s the right polish for headlights that brings back the factory-clear plastic and locks it there. Below, you’ll find the nine kits and compounds that actually do it, ranked by real owner results.
I’m Min Islam — the founder and writer behind Trending Car. This guide is built by comparing the manufacturers’ published specifications and the patterns across verified customer reviews, so you get each pick’s real strengths and trade-offs instead of marketing spin.
if you want a thirty-minute wipe-on solution or a drill-powered restoration, the best polish for headlights depends on how much oxidation you are dealing with and how long you want the clarity to last — and these nine picks cover every scenario.
Our Picks at a Glance

How To Choose The Best Polish for Headlights
The goal is simple: restore optical clarity and protect the plastic from UV rays long-term. But not every polish is a permanent fix. Here is how to match the method to the mess.
Ceramic vs. Standard Acrylic Coatings
A ceramic coating (like the one from CERAKOTE) chemically bonds to the lens and promises protection for as long as you own the vehicle. Standard polymer or acrylic coatings are cheaper and easier to apply but typically need renewal every year or two. If you park outdoors, a ceramic layer saves you from re-polishing annually.
Hand Application vs. Drill-Powered
Some kits, like the 3M 39008, are designed to work with a drill. They cut faster and handle heavy oxidation in one pass. Hand-polishing gives you more control and zero risk of burning through the plastic, but it requires more elbow grease. Choose based on your drill access and patience level.
Kit Contents: What You Actually Get
An all-in-one kit should include sanding discs (or pads), a polishing compound, and a protective clear coat or ceramic wipe. Some kits include the masking tape and cloths; others expect you to supply them. The number of headlights the kit covers is also key — most 30ml bottles handle two cars, but a 16oz bottle of Griot’s Garage will last through multiple vehicles and other plastic surfaces.
Quick Comparison
| Model | Best For | Coating Type | Kit Weight | Application | Amazon |
|---|---|---|---|---|---|
| CERAKOTE Ceramic Headlight Restoration Kit★ Best Overall | Long-term ceramic protection | Ceramic | 4.8 oz | Hand wipes | Amazon |
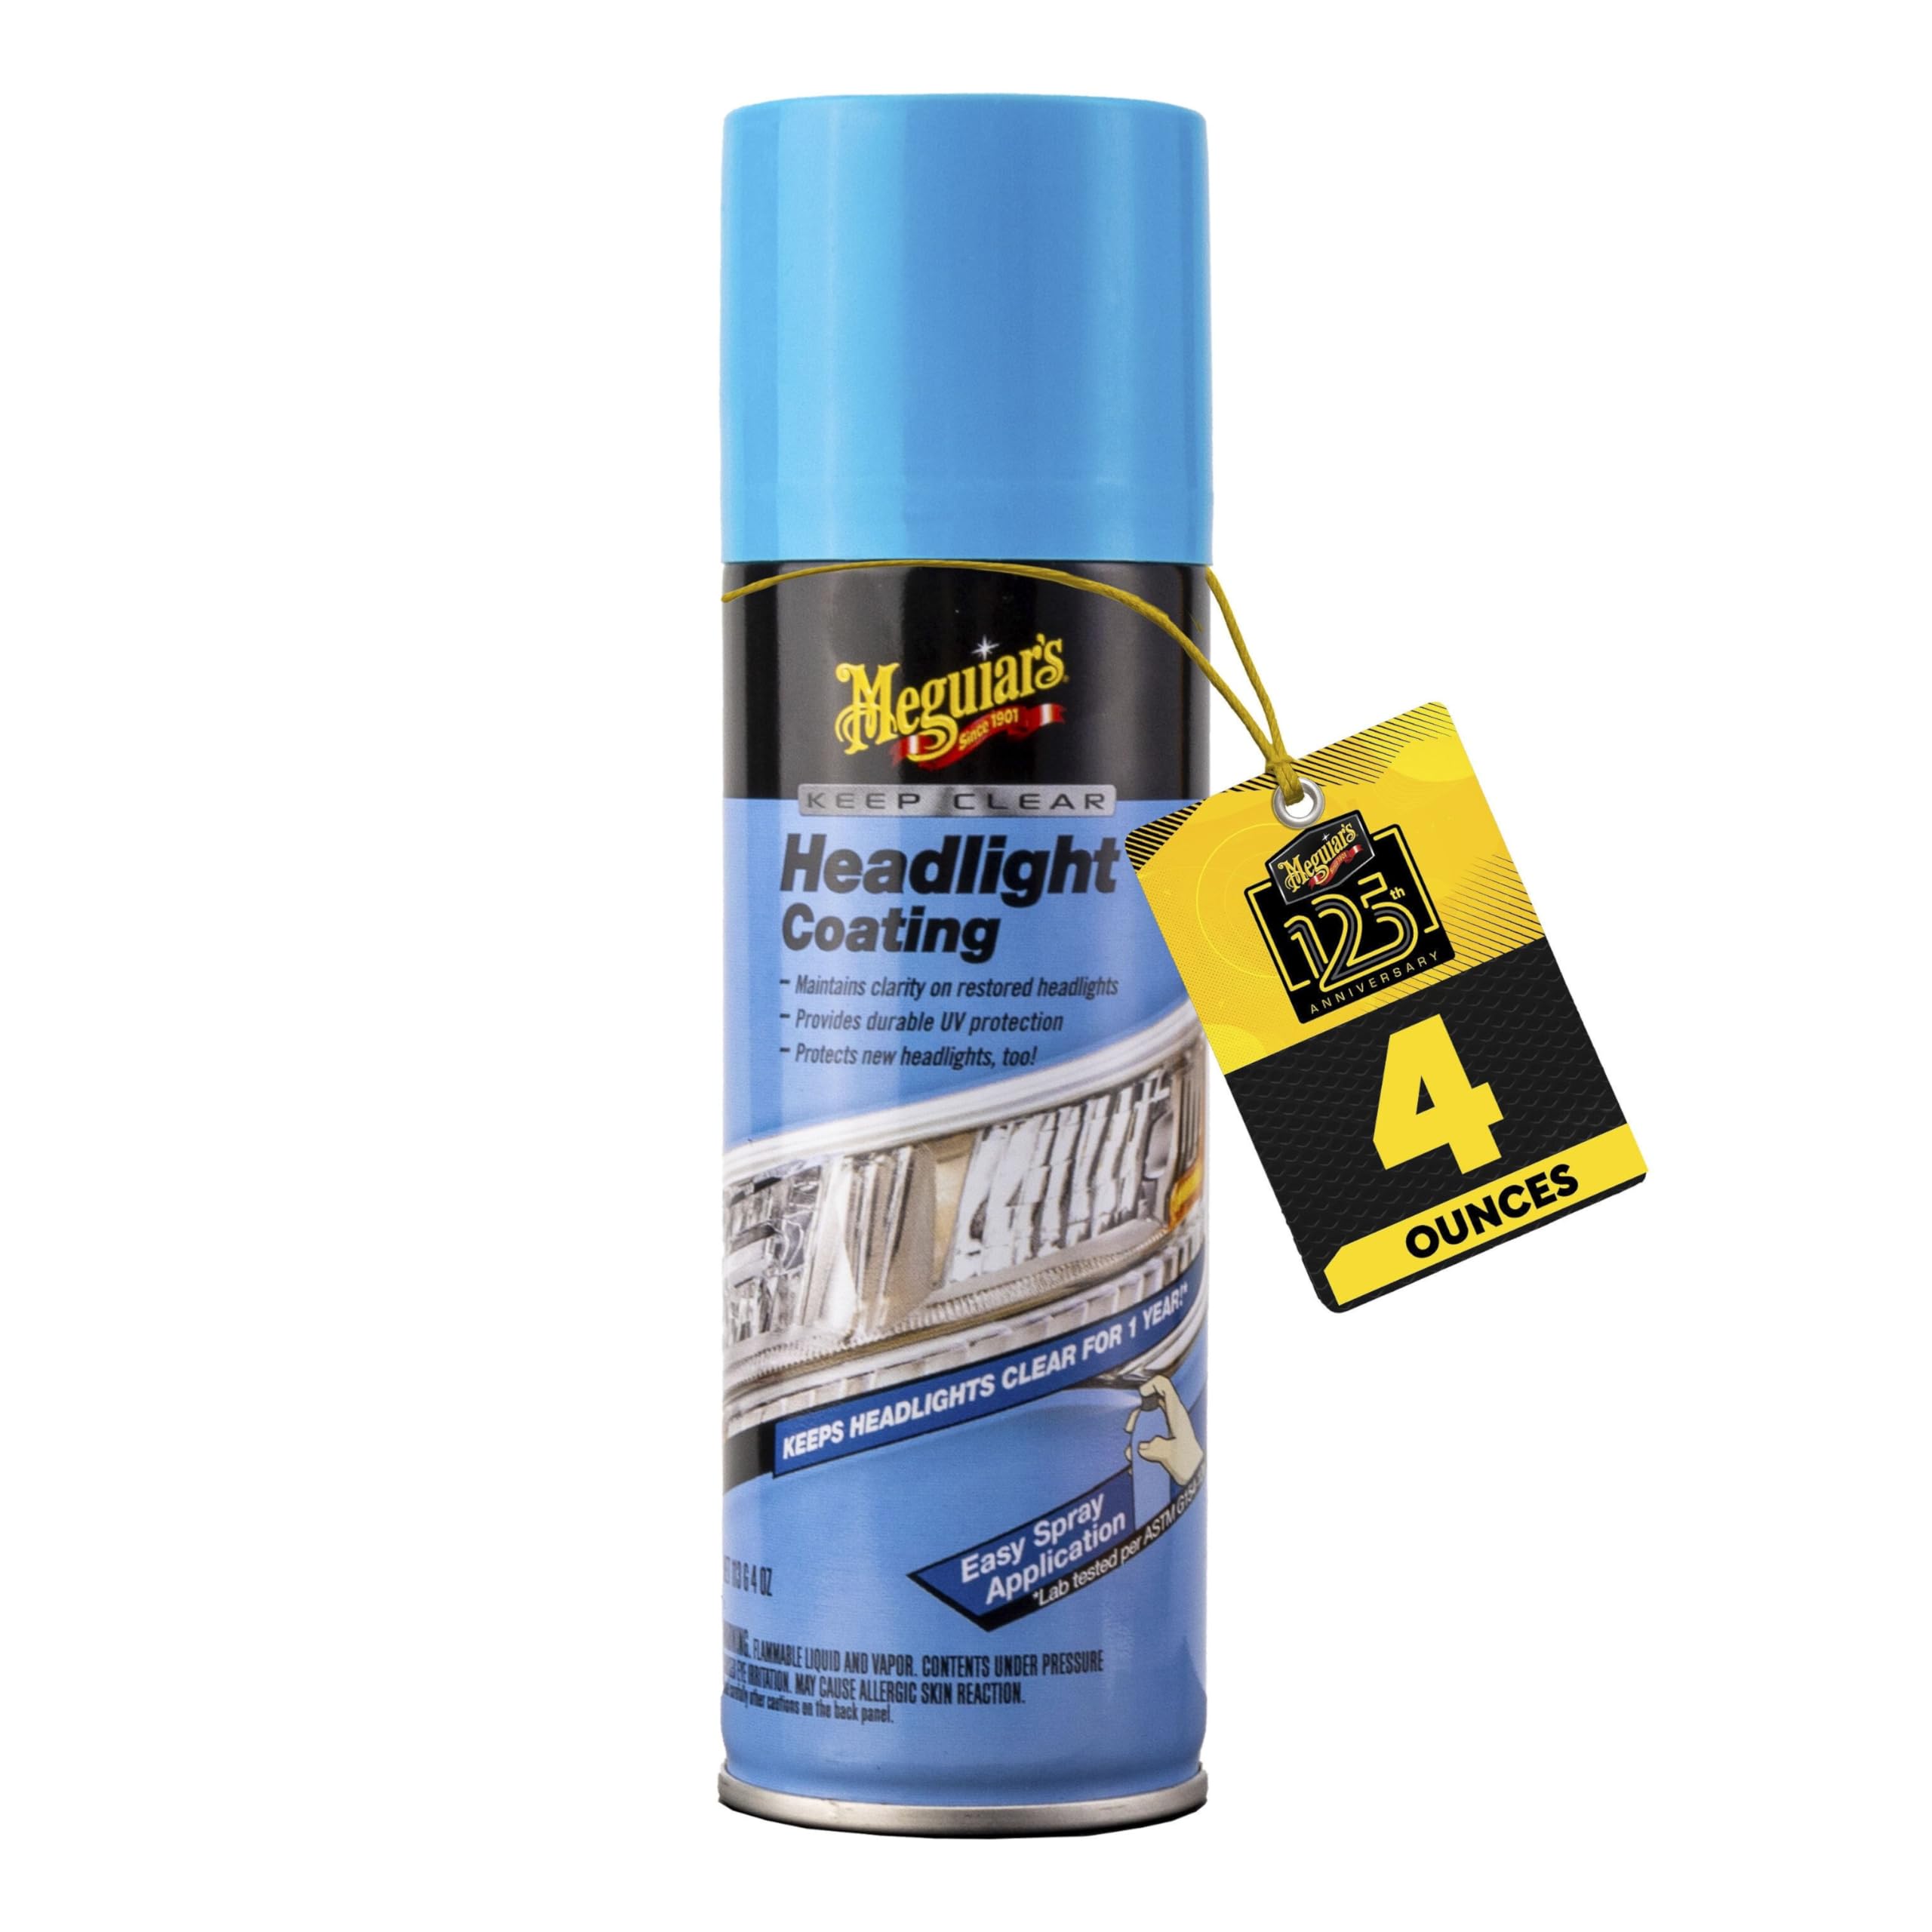
| Meguiar’s Keep Clear Headlight CoatingTop Performer | Year-long UV spray protection | Acrylic polymer | 6.21 oz | Aerosol spray | Amazon |
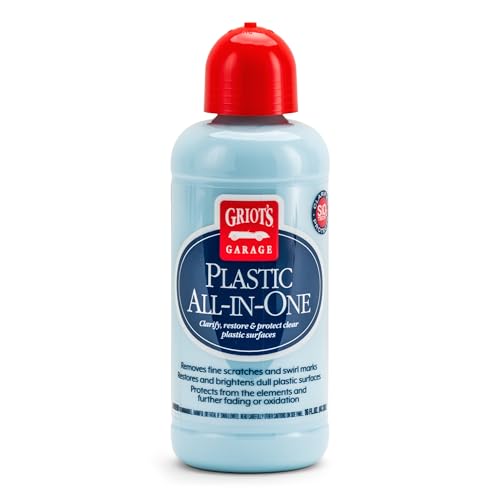
| Griot’s Garage Plastic All-in-OneMulti-Surface Hero | Multi-surface polish and protection | SiO2 ceramic polymer | 454 g | Hand or polisher | Amazon |
| 3M Headlight Lens Restoration System | Drill-powered heavy oxidation removal | Polish only | 4.64 oz | Drill | Amazon |
| Meguiar’s PlastX Cleaner & Polish | Quick hand-polish for light haze | Polymer | 10 oz | Hand with foam pad | Amazon |
| T-Cut Headlight Polishing Compound | Mechanical scratch removal | Aluminum oxide compound | 150 g | Hand or machine | Amazon |
| SYLVANIA Headlight Restoration Kit | Complete all-in-one restoration | UV block clear coat | 4.8 oz | Hand sanding and spray | Amazon |
| Nano Bond Ceramic Headlight Restoration Kit | Self-leveling ceramic for two cars | Ceramic | 10.5 oz | Hand with sanding discs | Amazon |
| QUNNIE Headlight Repair Fluid Set | Professional vapor repair | Polymer vapor liquid | 3.58 lbs | Fumigation / hand sanding | Amazon |
In‑Depth Reviews
1. CERAKOTE Ceramic Headlight Restoration Kit
Our pick — over 4.5★ from 71,500+ verified ratings; the strongest balance of quality and price.
The wipe-on ceramic that promises to outlast your ownership.
The defining claim is bold: a ceramic coating that chemically bonds and provides UV protection for as long as you own the vehicle. That is a lot of confidence for a 10-wipe kit. The process involves eight Step 1 oxidation-removing wipes, a Step 2 sanding kit, and two Step 3 ceramic coating wipes — all without a single power tool. Buyers report that the three-step procedure takes about 30 minutes in the shade, and the results are dramatic on foggy lenses. The thing everyone raves about is the effectiveness — over 13,000 mentions praise how well the oxidation wipes and ceramic layer restore clarity.
However, the clarity itself is a mixed story. While many say the headlights come out crisp, the consensus also shows that the clarity can fade or appear foggy if the application steps are rushed. Owners mention that the clarity lasts about 9 months before clouding returns, which is shorter than the “lifetime” marketing claim suggests. At 4.8 ounces, the kit is light, but the included sanding materials are enough for about two cars if you split the supplies carefully.
The Ceramic Edge
- Ceramic coating bonds with the lens, offering long-term UV protection without an additional spray.
- No power tools or drill required — everything is done by hand in about 30 minutes.
- Each kit includes separate oxidation-removing wipes and sanding discs, giving you two layers of restoration.
The Application Caveat
- Customers note that clarity lasts about 9 months before clouding returns, not the “lifetime” some expect.
- The sanding step requires patience; rushing it can leave the headlight looking foggy.
Reach for this if: You want a simple no-drill ceramic restoration that handles medium oxidation and don’t mind a yearly reapplication.
Look elsewhere if: Your lenses are severely pitted or scratched — this kit’s hand-sanding may not cut deep enough, and a drill-powered system like the 3M kit below is a better fit.
2. Meguiar’s Keep Clear Headlight Coating
The spray-on shield that keeps polished lenses clear for a year.
Unlike a full restoration kit, this 4-ounce aerosol serves purely as a maintenance coating. You apply it after polishing your headlights, and its proprietary polymer formula creates a durable layer of UV protection that prevents hazing and yellowing for up to 12 months. At 6.21 ounces versus the CERAKOTE kit’s 4.8 ounces, it is a spray — just aim, mist, and let dry. Reviewers point out that it works brilliantly as a post-restoration sealer: “must be reapplied within 2 years in the California sun,” one long-term note reads, confirming the yearly window.
The twist is that the formula lacks the heavy-duty abrasive power of a polish — it is a coating, not a correction. If you spray it over still-cloudy lenses, you’ll seal in the haze. Owners praise how easy the aerosol makes reapplying protection after road trips, but durability is a mixed subject: some report needing to reapply every few months rather than waiting the full year. The clarity aspect also gets mixed marks — the layer can look flawless when applied properly, but can fog if the spray is laid on too thick or in humid conditions.
One-year UV guard: Ideal for sealing freshly polished lenses with a spray application that takes seconds. The trade-off is durability — expect to reapply every few months if you drive a lot, and always polish first.
Best suited for: Drivers who have already restored their headlights and just want a quick spray-on UV layer to avoid re-polishing for a full year.
Not for: Anyone hoping to fix heavy oxidation with a spray alone — this needs a clean, polished lens to bond properly.
3. Griot’s Garage Plastic All-in-One
One bottle that polishes headlights, gauges, and even a watch face.
This 16-ounce liquid is not just for headlights — the brand markets it for B-pillars, motorcycle windscreens, instrument clusters, and convertible windows. It uses tiny abrasives to remove yellowing and light scratches, then delivers a layer of SiO2 ceramic, resin, and silane polymers to prevent dullness and water spots. Unlike the CERAKOTE kit that is a one-time ceramic wipe, this creates a durable barrier that makes future cleaning easier. Shoppers say it restores cloudy headlights to clear-as-new condition and even pulled micro-scratches out of a Ducati’s plastic.
The head-turner is the value: at 16 ounces, this bottle contains far more product than any single-use kit — enough for multiple vehicles and other plastic surfaces. It works by hand for quick touch-ups or with a random orbital polisher for faster restoration. The trade-off in the data is that the scratch-resistance gets mixed marks from owners. It works well for light to moderate scratches, but it is not a heavy-duty abrasive compound. Several owners note they need to apply it two to three times a year to maintain the clarity, which feels like a minor chore given the bottle size.
Multi-surface polish: The sheer volume and versatility are the draw — one bottle for headlights, taillights, and even a cabin cluster. The catch is the need for periodic reapplication, and it struggles with deep pitting.
Pick this if: You want a single product that works on multiple plastic surfaces around your car, bike, or boat, and you value a large bottle for future use.
skip it if: Your headlights are heavily pitted or cracked — this polish is for maintenance, not deep restoration.
4. 3M Headlight Lens Restoration System, 39008

The drill-based system that cuts through the hardest yellowing.
If your headlights are deeply oxidized and no hand polish will touch them, this is the kit to reach for. The 3M 39008 uses drill-activated sanding discs — 500- and 800-grit — to mechanically abrade away the yellowed plastic, followed by a Trizak disc and polishing compound to restore optical clarity. The kit itself weighs 4.64 ounces, but the real weight is in the drill work. Owners call it the most effective kit they have used, with several noting that 40 minutes of work on a 13-year-old SUV transformed the lenses to “crisp.”
The clarity results are mixed, though. While many see huge improvements, the cloudiness can remain inside the lens if the oxidation has penetrated the plastic. One owner used half-speed on the drill to avoid heat damage and found that masking tape alone was not enough to protect the paint — duct tape was needed. The kit includes enough sanding discs for about five more sets of headlights, which is excellent value if you have multiple cars. Still, the need for a drill and the risk of scratching adjacent paint if you skip the heavy tape are real hurdles for a beginner.
The Cutting Power
- Drill-powered sanding removes the harshest yellowing and surface damage that hand polishes cannot touch.
- Kit includes 500- and 800-grit discs plus a Trizak disc, with enough material for roughly five additional headlight sets.
- Fast process — buyers report around 40 minutes for both lights on an SUV.
The Setup Effort
- Requires a drill; masking tape alone is often not enough to protect paint — heavy-duty duct tape is recommended.
- If the oxidation has penetrated deep into the plastic, cloudiness may remain inside the lens even after sanding.
Best for: Those with heavily oxidized lenses who own a drill and are comfortable with a little wet sanding.
Who should pass: If you want a no-tools approach or are worried about scratching your car’s paint, stick with the hand-applied kits above.
5. Meguiar’s PlastX Clear Plastic Cleaner & Polish

An eight-minute hand polish for light haze and micro-scratches.
This 10-ounce bundle comes with a microfiber cloth and a foam pad, turning a simple hand polish into a streak-free system. The gel formula is water-resistant and works on uncoated plastics — headlights, instrument clusters, convertible windows, and Plexiglass. Unlike the drill-powered 3M kit, this is a gentle cleaner-polish designed for light oxidation and fine surface scratches. One owner took 8 minutes to restore a 2014 Mazda’s headlights, calling the results “great.”
The limitation is clear in the data: effectiveness scores are strong from owners dealing with mild haze, but the product is ineffective for severe yellowing. One review specifically notes that it removes some hazing but will not completely clear a heavily oxidized lens. The bottle is generous at 10 ounces, and the water-resistant polymer formula creates a durable barrier that lasts through several washes. For a quick weekly touch-up or a clean on a cluster cover, it is tough to top — just do not expect it to replace a full restoration kit.
Light-duty cleaner: Works beautifully on gauge clusters, motorcycle windshields, and lightly hazed headlights. For deep yellowing, you will need something stronger.
Grab this when: You have a cluster cover, phone screen, or lightly hazed headlight that needs a quick 10-minute polish with no power tools.
Use something else if: Your headlights are deeply yellowed and pitted — this will not cut through that level of oxidation.
6. T-Cut Headlight Polishing Compound

The old-school paste for hand-rubbing out scratches.
T-Cut is a classic abrasive compound that uses 280-grit aluminum oxide to cut through oxidation. Unlike the wipe-on CERAKOTE kit, this is a paste that requires vigorous circular rubbing — by hand or with a machine. One owner used it on a 2016 CR-V and a 2003 Explorer, reporting that it removed scratches caused by another brand’s polish. It works on plastic, glass, and acrylic headlights, making it a versatile choice if your lens material is unknown.
The data shows a mixed effectiveness story: one owner got a “good” result with a 10-minute rub, while another rated it 3 out of 5, noting the results were not crisp and recommended a full kit with sandpaper and a drill buff pad. The 150-gram tub is small, and you will use most of it on a single set of lights if you are hand-polishing. It is the cheapest option by weight, but the effort required is higher than a modern ceramic wipe.
Old-school compound: Strips oxidation effectively if you have the arm strength and time. The 280-grit paste is aggressive, but for best results, expect to follow up with a finer polish.
Ideal for: Experienced DIYers who want an abrasive compound to remove scratches caused by other products, and who are comfortable with hand polishing.
Consider another kit if: You prefer a quick, clean wipe-on solution or want a built-in UV coating.
7. SYLVANIA Headlight Restoration Kit

A full no-tools system that includes a dedicated UV block clear coat.
SYLVANIA packs a lot into a 4.8-ounce box: surface activator, premium sandpaper, clarifying compound, and an exclusive UV block clear coat. The process does not require a drill — you hand-sand, apply the clarifying compound, and finish with the UV clear coat. Owners used it on a 17-year-old Yaris that failed inspection, taking about 1.5 hours to restore the lenses to “like new” condition. The UV block coating is a smart addition that the basic T-Cut paste lacks.
The caveat is application precision. Several owners note that overlapping strokes with the UV clear coat can cause haze on one headlight, making the final finish tricky. The kit expects you to supply a water spray bottle and paper towels, which is not mentioned on the box. For the effort, the result is a bargain — one owner saved an estimated versus replacing the headlights. The kit covers two headlights, and the sandpaper grits go up to 2500 for a fine finish, but the learning curve on the UV spray is real.
All-in-one UV system: Includes everything but water and paper towels. The UV block clear coat is the standout feature, but it demands a steady hand to avoid a hazy finish.
Choose this if: You want a complete restoration with a dedicated UV coating and are willing to read instructions carefully to avoid spray overlap.
Think twice if: You prefer a wipe-on ceramic coating that self-levels — the SYLVANIA spray requires more technique.
8. Nano Bond Ceramic Headlight Restoration Kit
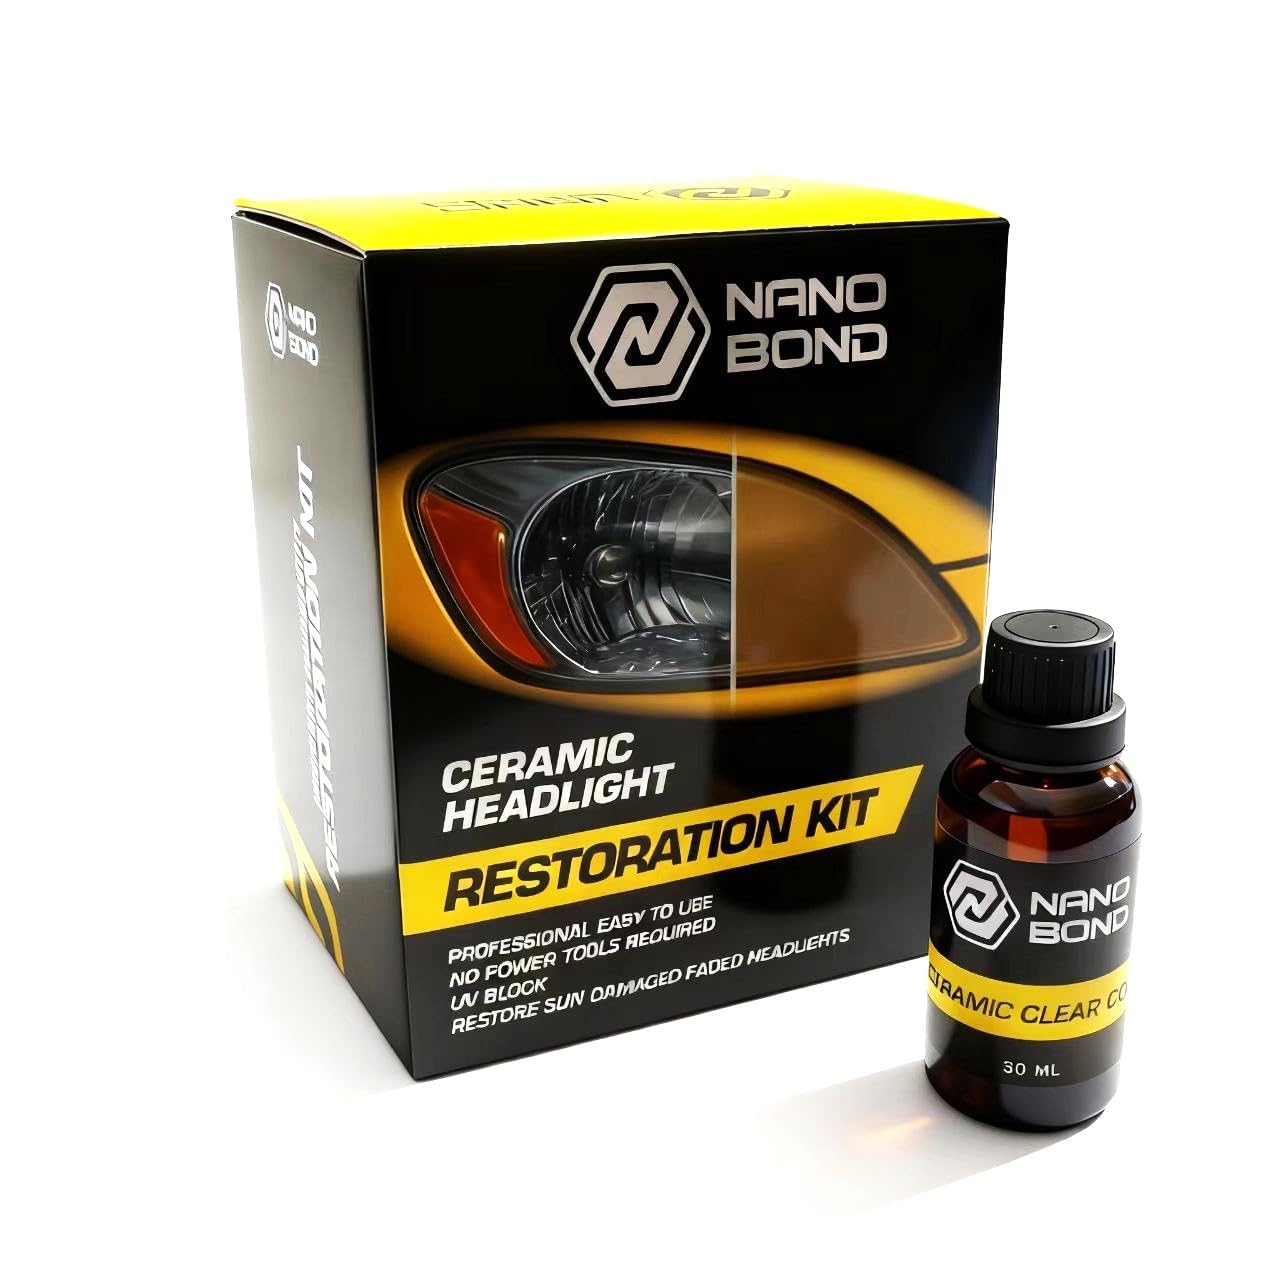
The self-leveling ceramic clear coat that hides your mistakes.
Nano Bond’s 30ml bottle is a ceramic headlight restoration kit that stands out for its self-leveling clear coat. You apply the liquid after sanding, and it flows out into a smooth, glossy finish without wiping — no streaks, no brush marks. The kit includes sanding discs to cut through oxidation, and the 30ml bottle is enough to treat two vehicles. Owners call it “easy to use” and note that the nighttime visibility improved noticeably after the process.
The cleaner bottle is smaller than some expect at 30ml, but the included tools are good quality. The 10.5-ounce kit weight comes from the sanding discs and accessories rather than the liquid itself. The self-leveling property is a genuine benefit for beginners who struggle with even spray coats, but the ceramic layer is permanent only if the sanding prep is perfect — one owner noted that an occasional small scratch remained after the coating. For the price, it is a solid mid-range option that bridges the gap between the CERAKOTE wipes and the 3M drill kit.
The Self-Leveling Advantage
- Self-leveling clear coat flows into a smooth, glossy finish without wiping or buffing.
- 30ml bottle is enough to treat two vehicles, and all sanding discs are included.
- No power tools required — a simple hand-sand and hand-apply process.
The Bottle Size Reality
- The cleaner bottle is smaller than some expect at 30ml, though owners confirm it covers two cars.
- If the sanding prep is not thorough, the ceramic coating may leave visible scratches underneath.
Best for: Beginners who want a forgiving, self-leveling ceramic finish and value a kit that covers two vehicles.
Not for: Heavy pitting or deep scratches — this kit is for restoring faded clarity, not fixing damaged lenses.
9. QUNNIE Headlight Repair Fluid Set

The industrial-weight vapor system for restoration pros.
This is a different approach entirely: a polymer vapor liquid that you apply after sanding. The 3.58-pound set includes 1600g of fluid, which is massive compared to the 30ml Nano Bond bottle. The process involves wet sanding the lens, then applying the fluid via a “fumigation” method that fills microscopic cracks and restores clarity. Owners call it a “repeat buy” and note that the instructions are easy to follow for a DIY enthusiast.
The product carries specific warnings: do not store in the sun, wear a mask during application, and keep away from pregnant women, children, and the elderly. These are serious safety notes that the simple ceramic wipes do not require. The final result, according to the data, makes headlights look “brand new” when the process is followed carefully. The brand also warns that sandpaper cannot be reused after sanding, and the lens should not be touched with hard objects for five hours after fumigation. This is clearly not a casual product — it is for someone who does restoration work regularly.
Professional vapor set: The included 1600g of fluid is enough for many restorations, and the results are described as “most effective” by repeat buyers. The safety precautions (mask, no contact for vulnerable individuals) are serious and non-negotiable.
Buy this if: You are a DIY enthusiast or professional restorer who wants a large-volume vapor system for multiple cars, and you can follow strict safety guidelines.
Stick to a standard kit if: You just want a quick one-time headlight polish and do not want to deal with mask and glove procedures.
Understanding the Specs
Coating Chemistry: Ceramic vs. Polymer
A ceramic coating (like the one in the CERAKOTE kit) uses silica (SiO2) and silane polymers that chemically crosslink with the plastic lens. This creates a hard, UV-resistant barrier that can last for several years. A polymer or acrylic coating (like Meguiar’s Keep Clear) forms a softer, sacrificial layer that wears off over months. Ceramic costs a bit more but saves you from re-polishing annually.
Abrasives: Grit Number and Material
The grit number tells you how coarse the abrasive is. A lower number (280, 500) cuts faster but leaves scratches that need finer grits (800, 2000) to polish out. Aluminum oxide is the most common abrasive in headlight kits — it is hard enough to cut polycarbonate but won’t damage glass if you use the correct grit. The 3M kit uses 500-grit discs for the first pass, which is aggressive enough for heavy oxidation.
FAQ
Can I use a regular car wax instead of a headlight polish?
How often do I need to reapply a headlight coating?
Will a drill-powered kit damage my headlights?
What is the difference between a wipe and a spray coating?
Can I use headlight polish on taillights or fog lights?
Why do my headlights stay cloudy after using a polish?
Is it cheaper to restore headlights or replace them?
How long after applying a ceramic coating can I drive in the rain?
Can I use headlight polish on my car’s clear coat paint?
Do all headlight restoration kits include sandpaper?
Final Thoughts: The Verdict
For most buyers, the polish for headlights winner is the CERAKOTE Ceramic Headlight Restoration Kit because its wipe-on ceramic system is simple to apply, does not require a drill, and the feedback from over 71,000 ratings shows it delivers consistent, like-new results. If you want year-long UV spray protection for freshly polished lenses, grab the Meguiar’s Keep Clear Headlight Coating. And for heavily oxidized lenses that need a drill-powered deep cut, the 3M Headlight Lens Restoration System is the one to reach for.
How We Picked
We do not accept paid placement. Every pick is matched to a real buyer and a real use-case; we do not hands-on test units.
Sources & Methodology
Specifications: manufacturer listings and product documentation. Review insights: verified customer reviews, as of July 2026. Pricing: not shown on this page (it changes often); check the current price via the retailer link.
As an Amazon Associate, Trending Car earns from qualifying purchases. This does not affect which products we feature.