
Our readers keep the lights on and my garage snacks stocked. As an Amazon Associate, I earn from qualifying purchases.
Specs are compiled from manufacturer listings and verified buyer reviews and can change over time — please confirm the key details on the product page before buying.
Yellow, cloudy headlights don’t just make your car look older — they cut your night vision dangerously. You can fix them at home in under an hour for far less than a shop charges. The trick is matching the kit to your headlights’ condition and your comfort with sanding.
I’m Min Islam — the founder and writer behind Trending Car. This guide is built by comparing the manufacturers’ published specifications and the patterns across verified customer reviews, so you get each pick’s real strengths and trade-offs instead of marketing spin.
Your car’s headlights are foggy and yellowed, making night driving harder than it should be. The right diy headlight restoration kit can bring them back to clear, safe visibility without a trip to the shop.
Our Picks at a Glance


How To Choose The Best DIY Headlight Restoration Kit
The right kit depends on your headlights’ oxidation level and your willingness to sand. A simple wipe-on polish works for light haze, while heavy yellowing and deep scratches need sanding steps to cut through the damaged plastic layer. The final protectant — a UV-blocking clear coat or ceramic layer — determines how long your headlights stay clear.
Assess the Damage: Haze vs. Heavy Oxidation
If the plastic feels smooth but looks milky, you probably just have surface oxidation that a chemical wipe or fine-grit sanding can fix. If you can feel roughness or see deep scratches, you need a kit with multiple sanding grits (500 to 3000) and a polishing step to level the surface before applying a sealant. Kits that include sanding discs typically handle the worst cases.
The Final Coating Matters Most
A polish-only kit leaves headlights unprotected. Without a protectant, plastic re-oxidizes within weeks under direct sun. Look for a kit that includes a dedicated clear coat, a UV-blocking wipe, or a ceramic coating step. These layers chemically bond to the plastic, keeping lenses clear for eighteen months or longer.
Quick Comparison
| Model | Best For | Kit Style | Protection Type | Item Weight | Amazon |
|---|---|---|---|---|---|
| CERAKOTE Ceramic Kit★ Best Overall | Best Overall | Hand Wipe & Sand | Ceramic Coating | 4.8 oz | Amazon |
| 3M Lens RestorationDrill-Powered Pick | Drill-Powered Speed | Drill Discs & Polish | Polish Only | 4.64 oz | Amazon |
| Dixseplu 137Pcs KitGrit Range King | Grit Versatility | Drill & Hand Discs | None Included | — | Amazon |
| Sunxeke 160Pcs Kit | Dremel Compatibility | Drill Discs & Pads | None Included | — | Amazon |
| SYLVANIA Restoration Kit | Tool-Free UV Coating | Hand Sand & Wipe | UV Block Clear Coat | 4.8 oz | Amazon |
| 3D GLW Series Restore | Pro Polisher Users | Liquid Polish | UV Inhibitors | 9.59 oz | Amazon |
| Shineboc 193Pcs Kit | Color-Coded Grits | Drill Discs & Pads | None Included | — | Amazon |
| Meguiar’s Ultimate Kit | Tool-Free 18-Month Seal | Hand Sand & Wipe | UV Sealant (18+ mo) | 68 g | Amazon |
| Nano Bond Ceramic Kit | Self-Leveling Clear Coat | Hand Sand & Liquid | Ceramic Coating | 10.5 oz | Amazon |
In‑Depth Reviews
1. CERAKOTE® Ceramic Headlight Restoration Kit
Our pick — over 4.5★ from 71,500+ verified ratings; the strongest balance of quality and price.
The crowd favorite that bonds a ceramic layer to your lenses for protection that lasts.
This ten-piece kit earns the top spot because it delivers a ceramic coating (a hard, protective layer that bonds to the plastic) without needing any power tools — just your hands and about thirty minutes. You start with oxidation-removing wipes, then sand away deeper haze with the included sanding materials, and finish with a ceramic coating wipe. That final step is the big deal: the ceramic chemically bonds to the plastic and provides UV protection that the maker says lasts as long as you own your vehicle. The whole kit weighs just 4.8 ounces, so it fits in one hand. Over thirteen thousand buyers praise its effectiveness, though a few note the first application lasted about nine months before cloudiness returned, meaning yearly reapplication is realistic. One owner called the result a “crisp, like-new finish” on a twenty-year-old car. This kit is for you if you want a simple, no-tools process and lasting clarity. skip it if your lenses are deeply pitted or cracked — the hand-sanding may not be aggressive enough.
The trade-off: if your headlights have deep internal damage or white spots that cannot be sanded out, even this coating won’t fix them. But for standard oxidation and yellowing, the before-and-after jump is dramatic. This kit is the top choice because it combines a simple process with a genuine ceramic seal that most budget options skip entirely.
What Owners Praise
- The ceramic coating layer provides real UV protection that outlasts simple polishes
- The hand-only process means zero risk of burning through paint with a drill
- Kit includes everything — no need to buy sandpaper or wipes separately
Honest Caveat
- Some buyers report the clarity fades after roughly nine months, requiring a redo
- Heavy oxidation needs thorough sanding, so the process is still physical work
Reach for this if: you want a proven, tool‑free system with a ceramic seal that handles most haze.
Look elsewhere if: your lenses have deep internal cracks or you prefer a drill‑powered sanding approach.
2. 3M Headlight Lens Restoration System, 39008
The drill-powered restoration that cuts through heavy yellowing in under an hour.
This kit is the faster choice for badly yellowed lenses because it uses drill-activated sanding discs (a power-tool attachment that spins to remove heavy oxidation quickly). The grit is aluminum oxide at a medium 500 grit, and the kit includes a 3-inch diameter disc system along with a polishing pad and compound. Owners mention it took about forty minutes to restore both SUV headlights, with results described as “crisp, like new.” The kit weighs just 4.64 ounces. Compared to the CERAKOTE kit above, this one trades the ceramic seal for speed — the sanding power handles deeper damage, but there is no dedicated UV coating in the box, so you will want to add a separate sealant afterward. This is for you if your headlights are heavily oxidized and you own a drill. pass on it if you prefer a one-step, no-power-tool process.
The most-discussed positive is effectiveness, with over forty-six hundred owners calling it out. A common tip from the review pages: regular masking tape may not stick well enough, so use duct tape to protect the paint around the lights. The 3M name brings confidence in the sanding discs, and the kit has enough material for roughly five more sets of headlights.
The speed angle: For a DIYer with a drill who wants the fastest route from haze to clear, this is the strongest option. The catch is the lack of a built-in UV protectant — budget for a separate clear coat spray.
Best for: anyone comfortable using a drill who needs to cut through severe yellowing quickly.
Think twice if: you want a one-step system with lasting UV protection included.
3. Dixseplu 137Pcs 3 Inch Sanding Disc Polishing Kit
A massive disc kit for detailers who need every grit from 60 to 10,000.
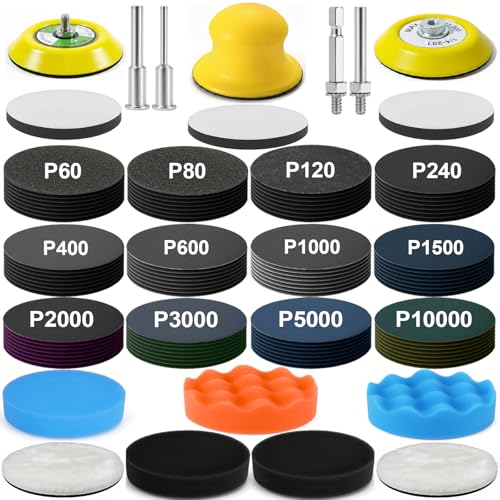
This set comes with 120 sandpapers in grits from 60 to 10,000, plus wool pads, sponge pads, backing plates, and adapter rods for drills and rotary tools. It is built for more than headlights — it works on wood, metal, resin, glass, and stone. For headlight restoration, you can start with a coarse grit to strip heavy oxidation and step all the way up to 10,000 for a mirror polish. The discs use a hook-and-loop system for quick changes. The kit includes a handheld sanding pad too, so you can do precise manual work on curves.
The top aspect that owners praise is quality, with ten people mentioning it. Another noted the kit is “sufficient for sanding and polishing two Altima headlights.” A few mention the adhesive could be stronger on certain materials, and the foam pads may wear with heavy heat. But for the price, you get a workshop’s worth of abrasives.
Versatility plus: Unlike the all-in-one kits above, this is a supply depot — you supply the polish and UV coat separately. That makes it ideal if you already own a clear coat spray and just need the sanding hardware.
Reach for this if: you do multi-project detailing and want a single box for headlights, paint correction, and metal polishing.
Look elsewhere if: you want a single-step kit with everything including the final protectant.
4. Sunxeke 160PCS 3 Inch Sanding Discs Drill Polishing Kit
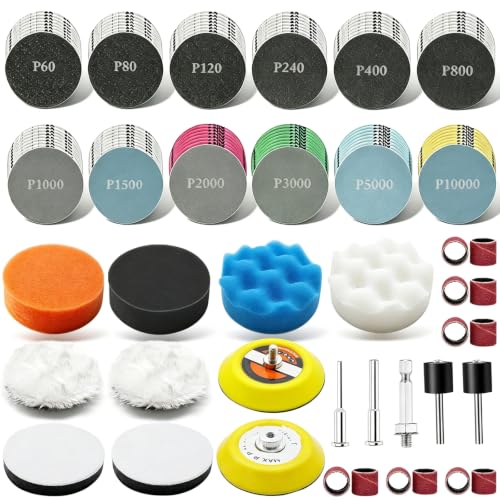
A complete 160-piece polishing set that shines with Dremel tools and rotary sanders.
This set includes 120 sanding discs across twelve grits from 60 to 10,000, along with sanding sleeves, drums, backing plates, and wool-like polishing pads. The discs are silicon carbide and support wet sanding, which reduces dust. The hook-and-loop backing is strong enough to stay attached during wet sanding. The quality of the pieces is the most-praised aspect, with eighteen owners singling it out. One buyer used it to restore twenty-year-old four-wheeler headlights that would have cost nearly to replace, calling the kit “one of the best purchases I’ve made on Amazon in the past month.”
The honest downside flagged in the data is durability — some users report the foam discs do not hold up to heat from extended use. You also need your own final clear coat since this kit does not include one. For someone who already owns a Dremel or impact driver and wants a broad range of grits in one package, this covers the sanding and polishing steps.
Heads-up: The foam backing pad can degrade under high-speed friction, so take breaks during longer sessions to let it cool.
Best for: Dremel and rotary-tool users who want grits from 60 through 10,000 in one organized box.
Skip if: you need a single-step kit with a UV sealant included.
5. SYLVANIA Headlight Restoration Kit

A complete restoration system with a dedicated UV block clear coat for lasting clarity.
The SYLVANIA kit includes a surface activator, premium sandpaper, a clarifying compound, and an exclusive UV block clear coat — all without needing power tools. The process involves hand-sanding with three grit levels and then applying the UV protector in a shaded area with overlapping strokes. The data shows the clear coat is the standout feature; it dries clear and blocks UV to resist re-yellowing. Owners repeatedly mention how much money this saves versus replacement — one buyer saved roughly restoring a RAV4, another saved about on a 17-year-old Yaris. The top positive aspect is functionality, with five thousand owners calling it effective.
The process takes about 1.5 to 2 hours, and the instructions recommend using a spray bottle to keep the lens wet during sanding. A small share of buyers found that overlapping strokes during the UV coat application caused a slight haze on one headlight, so a steady hand matters. It comes in at 4.8 ounces.
What gives it an edge: The UV block clear coat is a proper final step, unlike the bare polish of the 3M kit. This makes it a true all-in-one if you want a non-ceramic option.
Reach for this if: you want a no-power-tools kit that includes a real UV protection layer for long-term clarity.
Look elsewhere if: you prefer a ceramic coating over a traditional clear coat.
6. 3D GLW Series Headlight Restore – 2-Step Kit

A liquid polish from a pro brand that works best with a DA polisher for a professional finish.
The 3D GLW Series is a two-step liquid system designed to remove oxidation, grime, and scratches. It includes UV inhibitors built into the formula to help resist future yellowing. No power tools are required according to the label, but the data shows most detailers get the best results using a 2-inch or 3-inch dual-action polisher and a cutting pad. One owner who runs a headlight restoration business says it “leaves the professional finish that I am looking for.” The bottle is 8 ounces, and the package weighs 9.59 ounces.
This product has a split reception among buyers. It works well for light-to-moderate haze, but some owners found it did little for severely cloudy lenses, with one saying “it did not do too well.” The maker claims “UV inhibitors” are in the polish, but there is no dedicated clear coat step — the protection is mixed into the polish itself. This makes it a better fit for routine maintenance or mild cases rather than full heavy oxidation. If your lenses are only slightly dull, this may be enough; if they are deeply yellowed, choose the CERAKOTE or 3M kit instead.
Who this is for: car enthusiasts who already own a DA polisher and want a quick liquid polish to refresh slightly hazy lenses. Not for heavily pitted or deeply yellowed plastic.
Best for: pro detailers or weekend waxers doing light restoration with a machine polisher.
Skip if: your headlights have thick yellow crust or deep scratches that need aggressive sanding.
7. Shineboc 193 Pcs 3 Inch Sanding Discs Polishing Kit
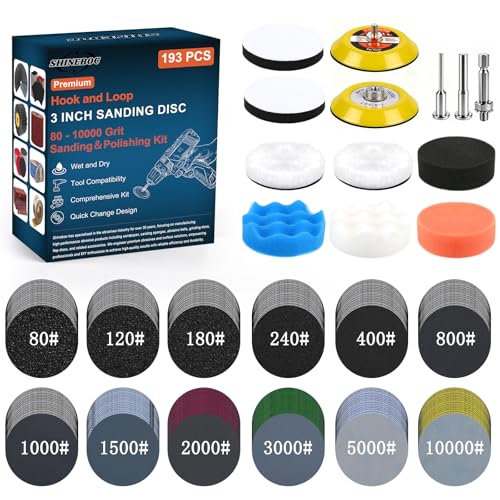
A huge abrasive arsenal with color-coded grits so you never grab the wrong disc.
This 193-piece kit includes twelve grit levels from 80 to 10,000, each with a unique color and printed grit size for instant identification. It also comes with a washable wool pad and four color-coded sponge pads for cutting and polishing in sequence. The hook-and-loop design makes disc swaps fast, and a foam backing pad reduces vibration during sanding. The silicon carbide material supports both wet and dry sanding. Owners praise the effectiveness most, with seventeen calling it out. One said it “cleaned my yellow headlights right up quickly.”
The kit covers headlights, wheel rash, epoxy resin, and shower glass. Like the other disc kits, it does not include a final protectant, so you will need a separate clear coat or ceramic spray. The color-coding is a small but real quality-of-life improvement when you are moving through multiple grits in one session.
The standout feature: The color-coded system eliminates guesswork — no squinting at tiny numbers on wet sandpaper. The padded foam backing also reduces hand fatigue during longer jobs.
Reach for this if: you like organized tool setups and want a wide grit selection with easy disc identification.
Look elsewhere if: you need a kit that includes a UV protectant or clear coat step.
8. Meguiar’s Ultimate Headlight Restoration Kit
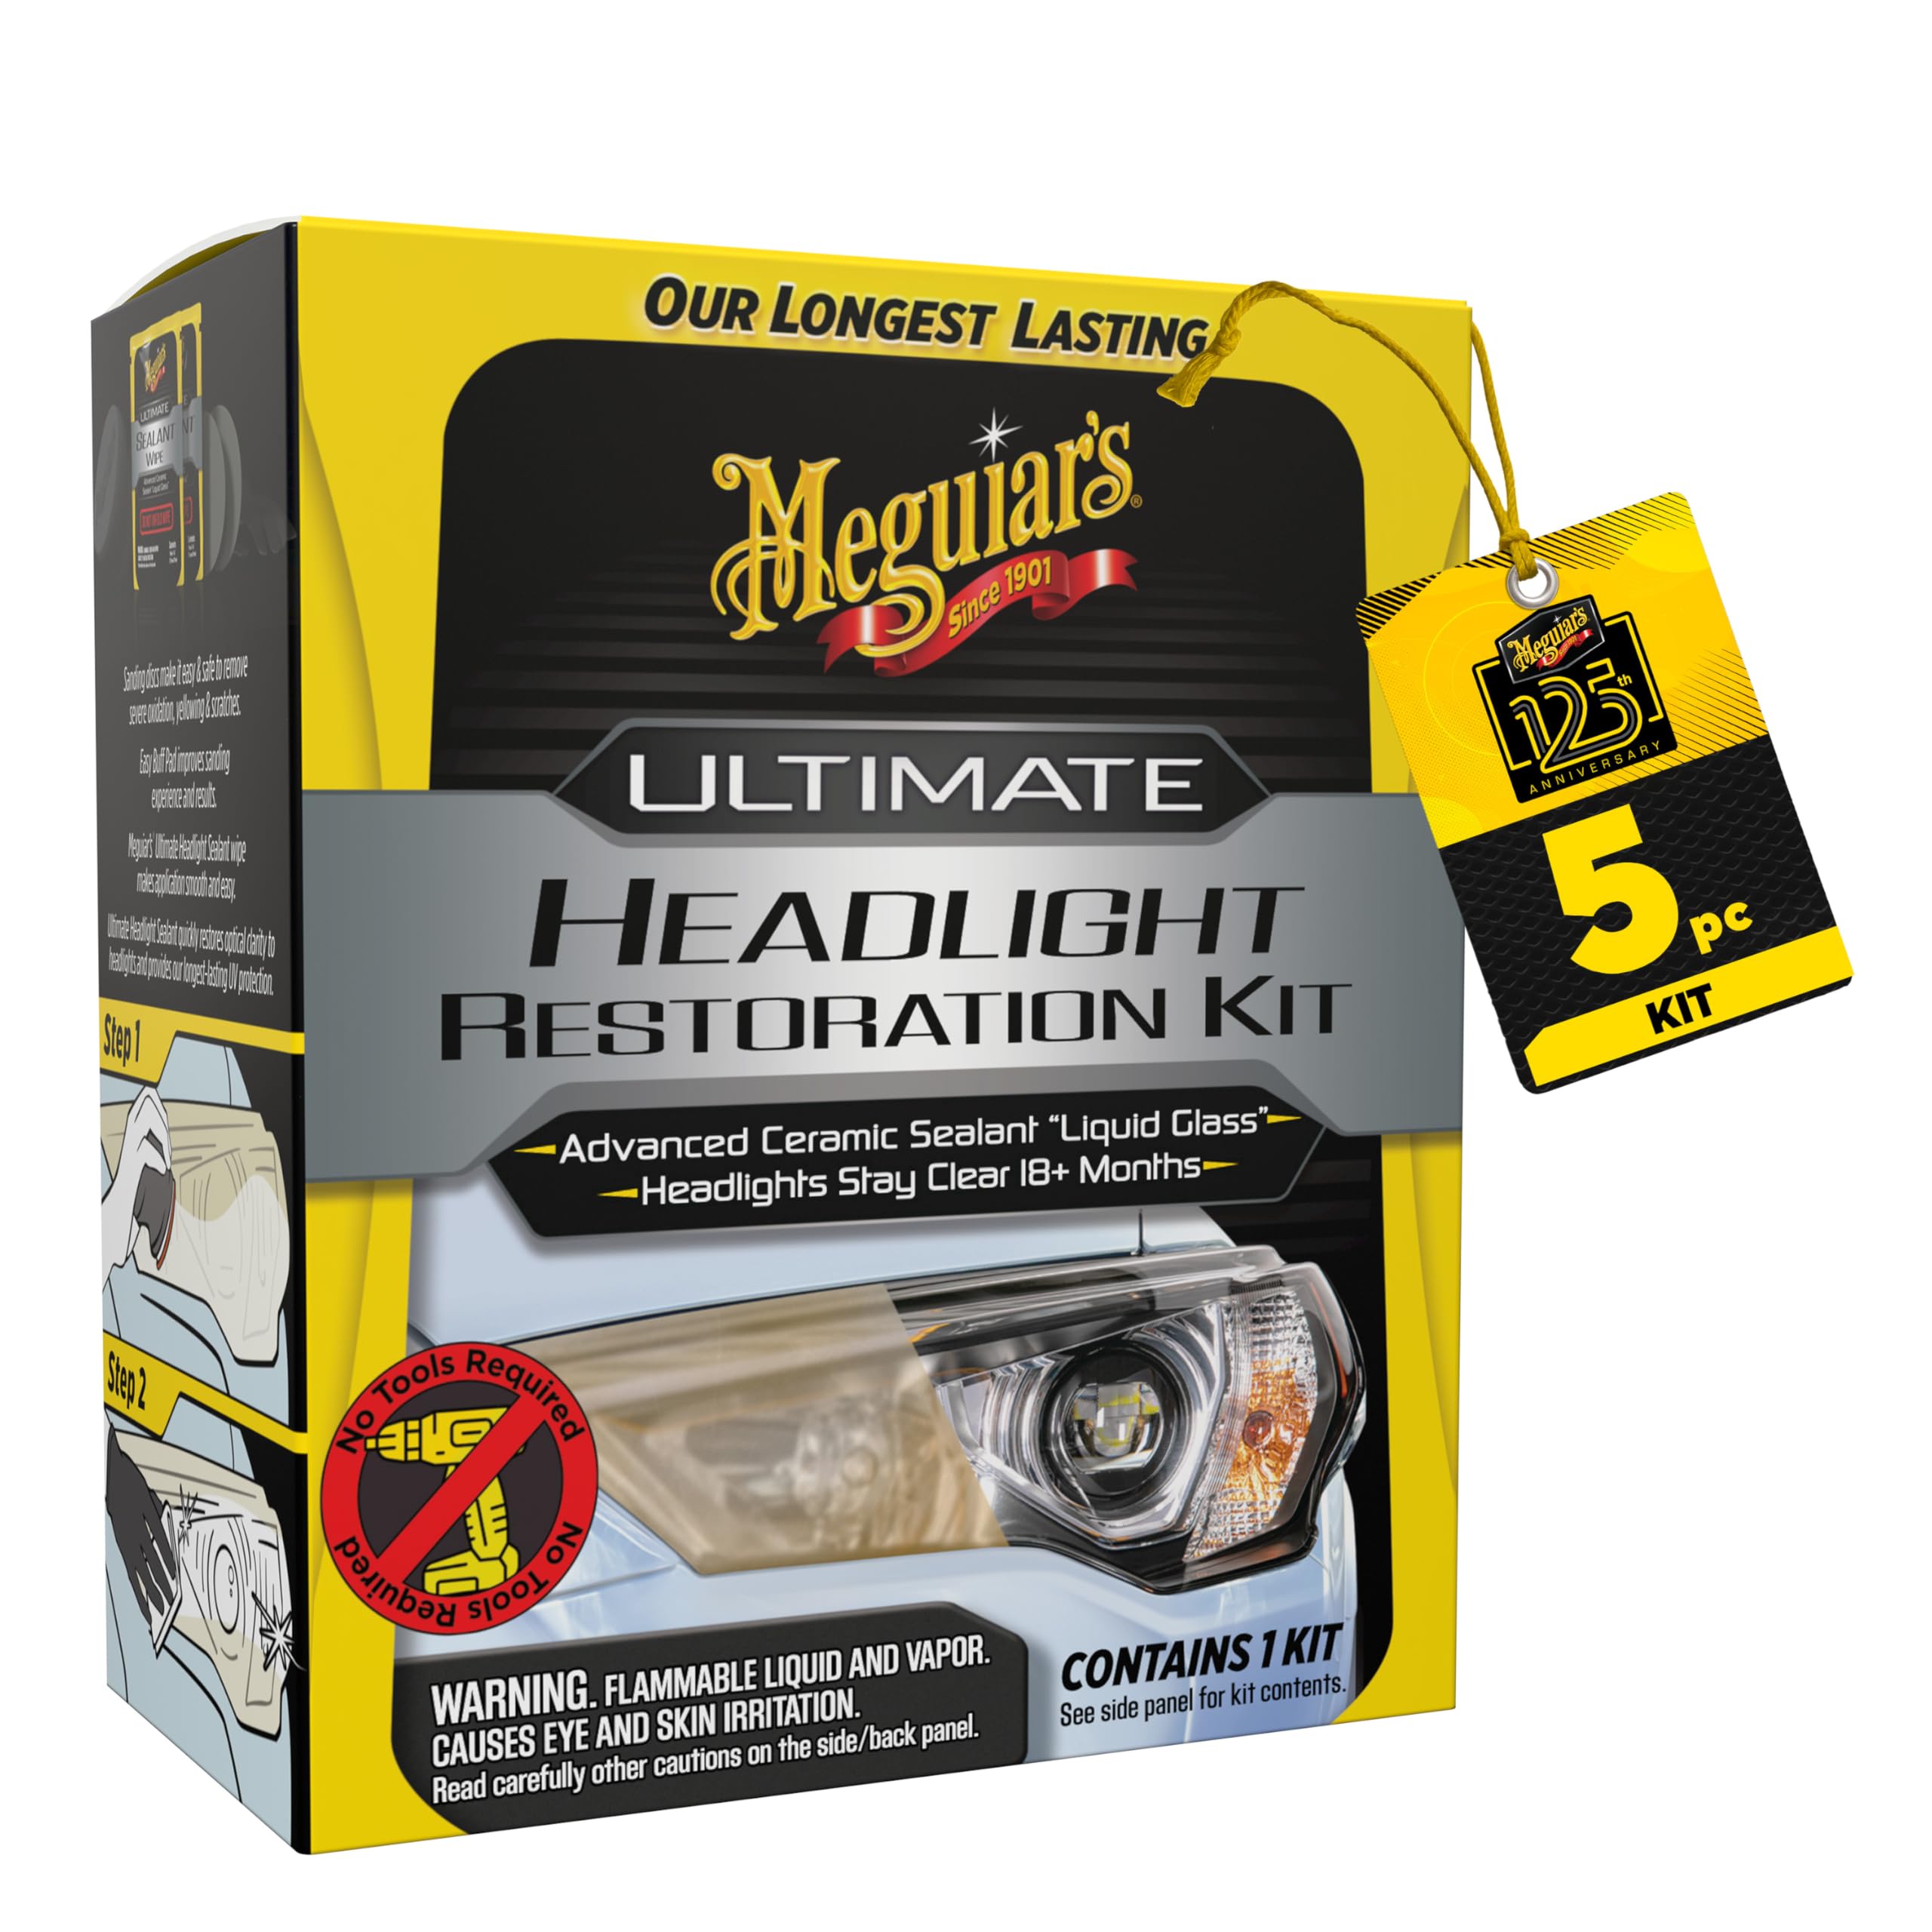
A tool-free hand-sanding kit with an 18-month UV sealant that dries crisp.
Meguiar’s uses two grades of sandpaper (1000 and 3000 grit) to remove yellowing, followed by pre-saturated wipes that seal the lens with UV protection for eighteen-plus months. No power tools required. The sealant is the key differentiator here — it dries completely clear and is designed to block re-oxidation for a stretch that rivals most ceramic coatings. The kit is light at 68 grams. Effectiveness is the most-called-out positive, with 154 owners mentioning it. One owner said “in less than 10 mins my old headlights were brand new and crisp.”
The honest caveat is that the sealant life claim is eighteen months minimum, and a few owners reported it fading sooner. “It’s not lasting as long as it states for the minimum,” one noted. The instructions stress following every step exactly to get the advertised lifespan. This kit is a strong competitor to the CERAKOTE — both are tool-free, but Meguiar’s uses a traditional sealant wipe while CERAKOTE uses a ceramic coating.
Key trade-off: The wipes-based sealant is simpler to apply than a ceramic wipe, but some users saw the protection wear off before the claimed eighteen months. Works best when you follow the directions to the letter.
Best for: buyers who want a no-drill kit with a strong UV sealant that handles moderate oxidation.
Think twice if: you want a ceramic-based coating that chemically bonds rather than a wipe-on sealant.
9. Nano Bond Ceramic Headlight Restoration Kit
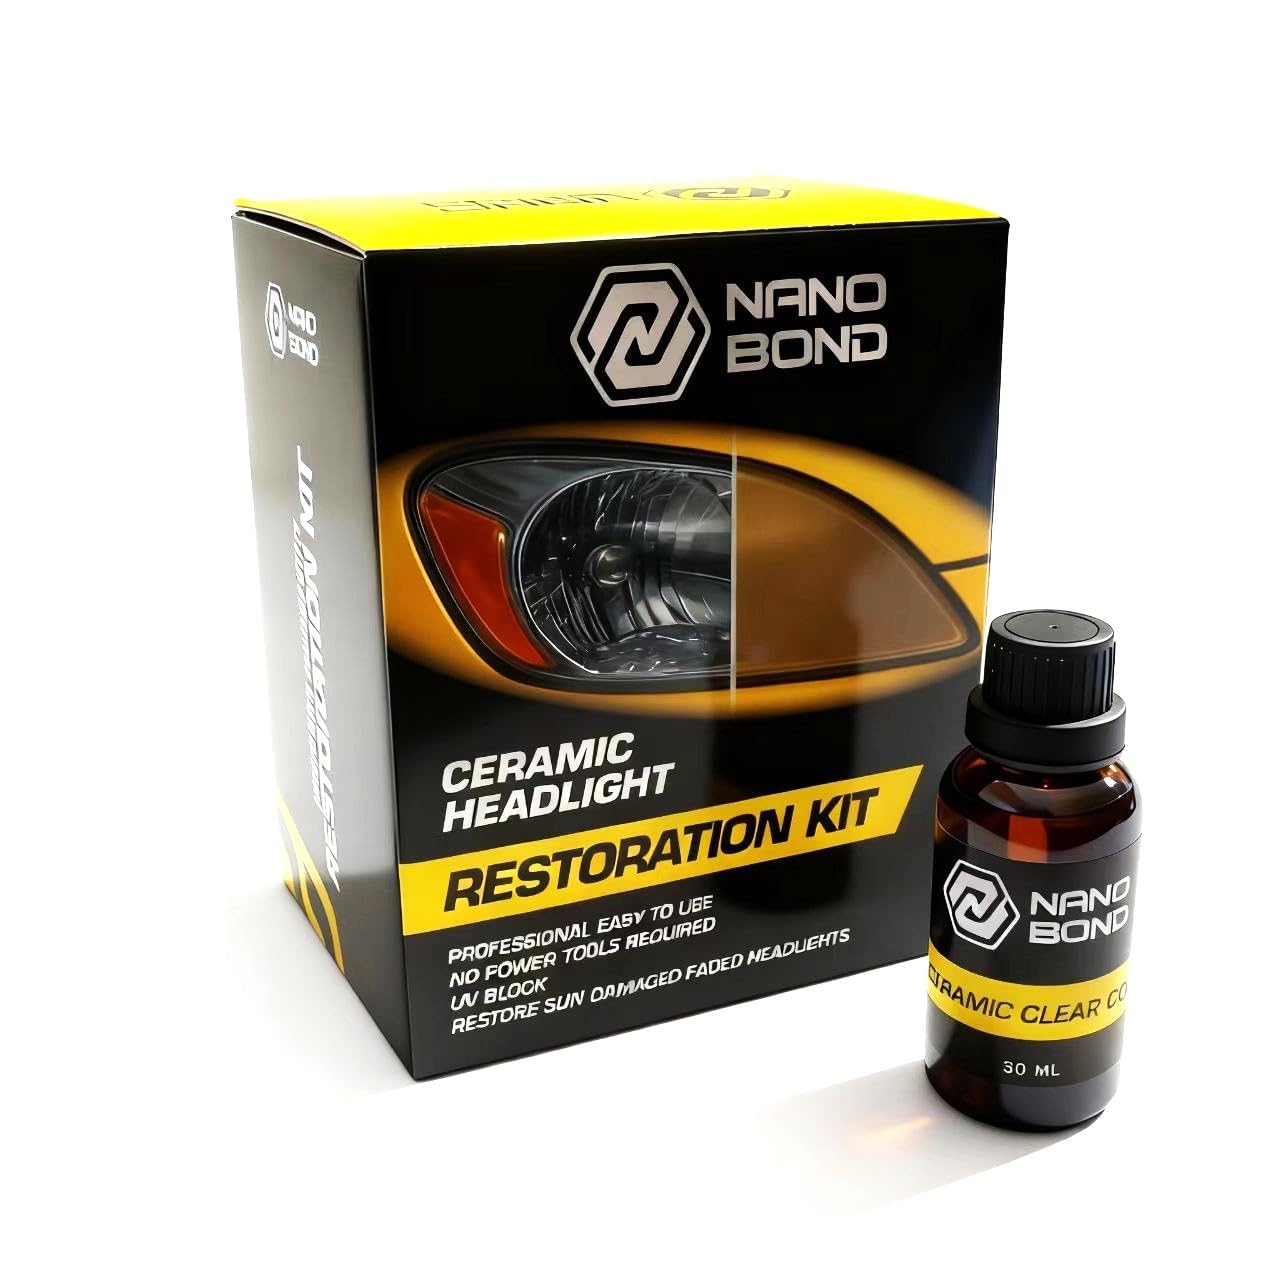
A self-leveling liquid ceramic that fills micro-scratches as it cures.
This kit uses a three-step hand process with a self-leveling ceramic coating that requires zero wiping after the initial application. The ceramic layer flows into tiny imperfections and sets clear, which means less risk of brush marks compared to standard wipe-on coatings. It includes sanding discs to cut through oxidation first, then a cleaner, and finally the liquid ceramic. The 30ml bottle covers two headlights with some left over, according to the data. Owners say it made their headlights “go from totally foggy to nice and clear” and improved nighttime visibility noticeably.
The kit is heavier than most at 10.5 ounces due to the liquid bottle. No power tools are needed. The brand has eight years of focus on protective coatings. The only recurring note from buyers is that the cleaner bottle is smaller than expected, but most agreed it was still enough for the job. For someone who wants a low-effort ceramic application that fills fine scratches, this is a solid option.
The differentiator: Most ceramic kits use a wipe that you must apply in a precise 50% overlap pattern. The self-leveling liquid here reduces that hassle — you apply it, and it spreads evenly on its own.
Reach for this if: you are nervous about applying a standard ceramic wipe evenly and want a self-leveling liquid instead.
Look elsewhere if: you prefer a larger bottle or a kit with more included pieces.
Understanding the Specs
Ceramic Coating vs. Clear Coat Sealant
A ceramic coating is a liquid polymer that chemically bonds to the plastic lens, creating a hard, hydrophobic layer that resists UV rays and oxidation. A clear coat sealant, like the type in the SYLVANIA or Meguiar’s kit, is a wipe-on polymer that dries clear and blocks UV but is a softer barrier. Ceramic tends to last longer (years, as claimed) while clear coat sealants may need reapplication after roughly eighteen months. Both beat no protection at all.
Sanding Grit Numbers
Lower grit numbers (60, 80, 120) are coarse and remove deep oxidation and scratches quickly but leave visible marks. Higher grits (1000, 2000, 3000) are fine and smooth the surface for a clear finish. Grits above 3000 (5000, 10000) are for polishing to a mirror shine. Most headlight kits start around 500 grit and step up to 3000 grit for the final polish. Skipping grits in the sequence can leave scratches behind.
FAQ
Will a restoration kit work on deeply scratched or pitted headlights?
How long does a DIY headlight restoration last?
Do I need a drill to use these kits?
Can I restore only one headlight or do I need to do both?
What is wet sanding and why is it important?
Will these kits work on fog lights or tail lights?
Can I use a UV clear coat from a spray can instead of the kit’s sealant?
Is a 10,000 grit disc necessary for headlight restoration?
Final Thoughts: The Verdict
Across the board, the diy headlight restoration winner is the CERAKOTE Ceramic Headlight Restoration Kit because it combines a simple hand-only process with a genuine ceramic coating that provides long-lasting UV protection. If you want a drill-powered option for heavy yellowing and already own a drill, grab the 3M Lens Restoration System. And for a tool-free kit with an eighteen-month UV sealant, the Meguiar’s Ultimate Headlight Restoration Kit is the one to reach for.
How We Picked
We do not accept paid placement. Every pick is matched to a real buyer and a real use-case; we do not hands-on test units.
Sources & Methodology
Specifications: manufacturer listings and product documentation. Review insights: verified customer reviews, as of July 2026. Pricing: not shown on this page (it changes often); check the current price via the retailer link.
As an Amazon Associate, Trending Car earns from qualifying purchases. This does not affect which products we feature.