Replacing car seat covers at home is easier than you think. With the right tools and a bit of patience, you can refresh your car’s interior, improve comfort, and even customize your style—all without visiting a professional.
Quick Answers to Common Questions
Tip/Question?
Do I need to remove the seat to replace the covers?
Not always. Slip-on covers can be installed without removal. But for factory seats with stapled fabric, removing the seat gives you better access and a cleaner result.
Tip/Question?
Can I install seat covers with side airbags?
Yes—but only use covers designed for your specific car model. These have built-in tear seams that allow airbags to deploy safely.
Tip/Question?
How do I know if my seat covers are custom-fit?
Custom-fit covers are labeled with your car’s make, model, and year. They usually have precise cutouts for controls and airbags.
Tip/Question?
What’s the best material for hot climates?
Breathable fabrics like mesh or moisture-wicking polyester are ideal. Avoid leather, which can get uncomfortably hot.
Tip/Question?
Can I wash my seat covers in a washing machine?
Only if the manufacturer says so. Most slip-on fabric covers are machine-washable, but neoprene and leather should be hand-cleaned.
Can You Replace Car Seat Covers Easily at Home?
If your car’s seats are stained, torn, or just outdated, you might be wondering: Can you replace car seat covers at home? The short answer is yes—and it’s often much easier than people expect. Whether you’re looking to restore a classic car, upgrade your daily driver, or simply give your interior a fresh look, replacing seat covers yourself can save you hundreds of dollars and give you a sense of accomplishment.
In this guide, we’ll walk you through the entire process step by step. You’ll learn what tools you need, how to remove old covers safely, how to install new ones, and how to avoid common mistakes. By the end, you’ll have the confidence to tackle this DIY project like a pro—no mechanic required.
Why Replace Your Car Seat Covers?
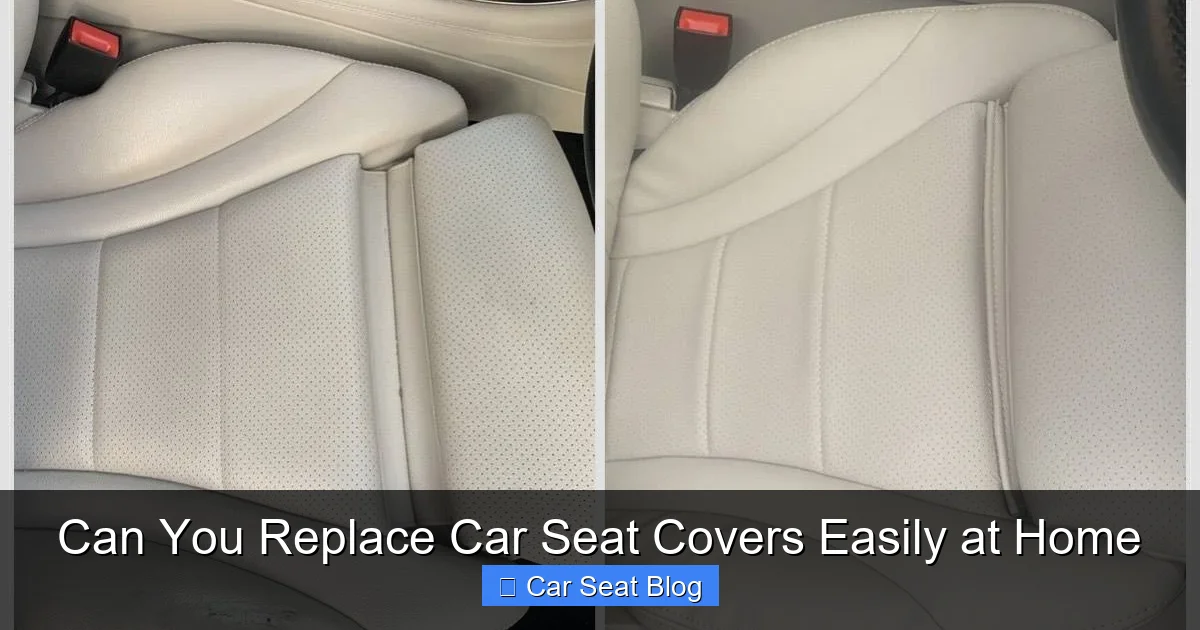
Visual guide about Can You Replace Car Seat Covers Easily at Home
Image source: dsaseatfactory.com
Before diving into the how-to, let’s talk about why you might want to replace your seat covers in the first place.
Over time, seat covers wear out. Sun exposure, spills, pet hair, and daily use can leave them faded, cracked, or smelly. Replacing them can dramatically improve your car’s interior appearance and comfort. Plus, new covers can protect your original seats from future damage—especially if you have kids, pets, or frequently transport messy items.
Another great reason? Customization. Want sporty black neoprene covers for your SUV? Or maybe premium leather-look fabric for a luxury feel? Replacing your seat covers lets you personalize your ride to match your style.
And let’s not forget resale value. A clean, well-maintained interior can boost your car’s value when it’s time to sell or trade in.
Tools and Materials You’ll Need
You don’t need a full garage of tools to replace car seat covers. Here’s a simple list of what you’ll likely need:
- Trim removal tool or plastic pry tool: Prevents scratching or damaging interior panels.
- Screwdrivers (Phillips and flathead): For removing bolts and screws.
- Pliers: Useful for gripping stubborn clips or wires.
- Socket wrench set (optional): Helpful if you’re removing the entire seat.
- Vacuum cleaner: To clean debris from the seat frame before installing new covers.
- New seat covers: Choose custom-fit or universal, depending on your car and preference.
- Staple gun and staples (if sewing or reupholstering): Only needed if you’re doing a full reupholstery job.
- Zipper lubricant or silicone spray (optional): Helps zippers on new covers slide smoothly.
Most of these tools are affordable and reusable for future projects. If you’re only replacing slip-on covers, you might not even need a screwdriver.
Step 1: Choose the Right Seat Covers
Not all seat covers are created equal. The type you choose will affect comfort, durability, and ease of installation.
Types of Seat Covers
- Universal-fit covers: Designed to fit a wide range of vehicles. They’re affordable and easy to install but may not look as tailored.
- Custom-fit covers: Made specifically for your car’s make, model, and year. They offer a snug, factory-like fit and often include cutouts for airbags, seat belts, and controls.
- Material options:
- Neoprene: Water-resistant, great for outdoor or family use.
- Leather or faux leather: Sleek and easy to clean, but can get hot in summer.
- Fabric (polyester, canvas): Breathable and comfortable, ideal for daily driving.
- Sheepskin or wool: Luxurious and warm, perfect for cold climates.
When shopping, check reviews and confirm compatibility with your vehicle. Custom-fit covers are usually worth the extra cost for a professional look.
Step 2: Prepare Your Workspace
Before you start, make sure you have enough space and good lighting. Work in a garage or driveway if possible. Lay down a towel or blanket to protect the seat and your clothes.
Safety First
- Turn off the car and remove the keys.
- If your car has side airbags (most modern cars do), avoid cutting or modifying the seat fabric in a way that could interfere with deployment.
- Disconnect the battery if you’re removing the seat entirely—this prevents accidental airbag deployment.
Taking these precautions ensures a safe and smooth process.
Step 3: Remove the Old Seat Covers
The method depends on whether your seats have removable covers or if you’re doing a full reupholstery.
For Slip-On or Zippered Covers
Many aftermarket covers simply slip over the seat and fasten with straps or zippers. To remove:
- Unzip or unbuckle all fasteners.
- Gently pull the cover up and off the seat, starting from the top.
- If it’s stuck, use a plastic pry tool to loosen it without tearing.
For Factory or Stapled Covers
If your car came with stitched or stapled covers, you’ll need to remove the seat for full access.
Step-by-Step Seat Removal
- Locate the bolts at the base of the seat (usually four—two in front, two in back).
- Use a socket wrench or screwdriver to remove them. Keep bolts in a small container so you don’t lose them.
- Disconnect any electrical connectors for heated seats, airbags, or seat sensors. Press the release tab gently—don’t force it.
- Lift the seat straight up and out of the car. Have a helper if it’s heavy.
Once the seat is out, you can remove the old cover. Look for clips, hog rings (metal fasteners), or staples holding the fabric in place. Use pliers to carefully remove them.
Tip: Take Photos
Snap pictures of the seat from all angles before disassembling. This helps you remember how everything fits when it’s time to reassemble.
Step 4: Install the New Seat Covers
Now for the fun part—putting on the new covers!
For Slip-On Covers
- Start by aligning the cover with the seat. Make sure zippers, straps, and cutouts match up.
- Pull the cover over the seat from top to bottom.
- Secure all straps underneath the seat. Tighten them evenly for a smooth fit.
- Zip or fasten all closures.
For Custom or Reupholstered Covers
If you’re installing a new cover over the original foam, follow these steps:
- Place the new cover over the seat, aligning all seams and openings.
- Start stapling or clipping from the center and work outward to avoid wrinkles.
- Use a staple gun to secure the fabric to the seat frame. Space staples 2–3 inches apart.
- Trim excess fabric carefully with scissors.
- Reattach any plastic trim or side panels.
Test Fit and Adjust
Before finalizing, sit in the seat and check for comfort. Make sure the cover isn’t too tight or loose. Ensure seat belts, airbags, and controls are fully accessible.
Step 5: Reinstall the Seat (If Removed)
If you removed the seat, it’s time to put it back.
- Carefully lower the seat into place.
- Reconnect all electrical connectors. Listen for a click to ensure they’re secure.
- Replace the bolts and tighten them firmly—but don’t over-tighten.
- Reconnect the battery if you disconnected it.
- Test seat functions: adjust the seat, test heating/cooling, and check airbag warning lights on the dashboard.
Troubleshooting Common Issues
Even with careful planning, things can go wrong. Here’s how to fix common problems:
- Cover is too tight or won’t fit: Double-check that you have the correct model. Some covers need to be stretched slightly—try warming them with a hair dryer for easier installation.
- Wrinkles or bunching: Remove the cover and reinstall, pulling fabric taut as you go.
- Straps won’t tighten: Make sure they’re threaded correctly under the seat. Some covers have hidden anchor points.
- Airbag light comes on: This means a sensor was disconnected or damaged. Recheck all electrical connections.
- Cover shifts when sitting: Add non-slip pads or use extra straps for a tighter fit.
Maintaining Your New Seat Covers
To keep your new covers looking great:
- Vacuum regularly to remove dust and crumbs.
- Spot-clean spills immediately with a damp cloth and mild soap.
- Use fabric or leather protectant sprays to repel stains.
- Avoid direct sunlight when possible to prevent fading.
- Wash removable covers according to the manufacturer’s instructions.
With proper care, your new seat covers can last for years.
Conclusion
So, can you replace car seat covers easily at home? Absolutely. With the right tools, a bit of patience, and this step-by-step guide, you can transform your car’s interior in just a few hours. Whether you’re upgrading for style, comfort, or protection, DIY seat cover replacement is a rewarding project that saves money and boosts pride in your ride.
Don’t let worn-out seats bring down your car’s vibe. Grab your tools, pick out some stylish new covers, and get to work. Your car—and your passengers—will thank you.

